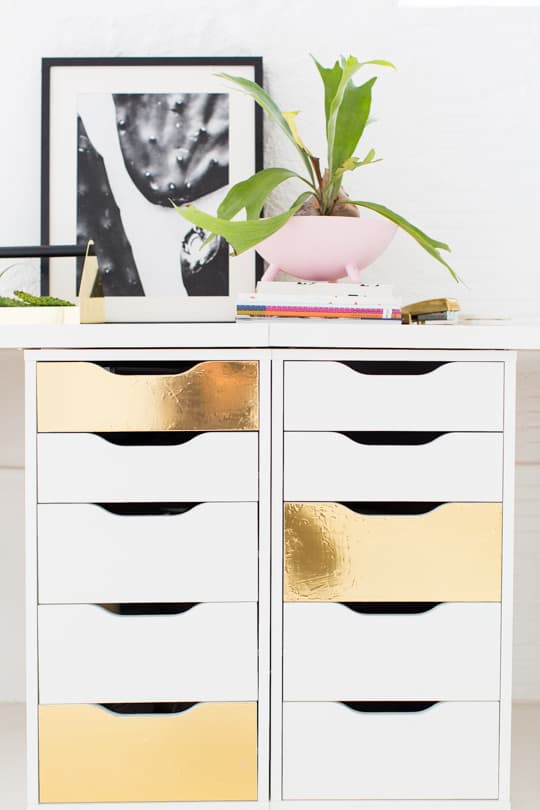
DIY Faux Brass Drawer Fronts
Give any space a quick and shiny makeover with these DIY Faux Brass Drawer Fronts!
I seriously want to gold foil ALL THE THINGS. It’s a problem.
I hope I don’t look back at these years and have the same feelings as I do when I look at old middle school photos of myself with my over-plucked eyebrows and massive braces.
You know, the kind of feeling when you wonder why no one stepped in to save you from yourself…
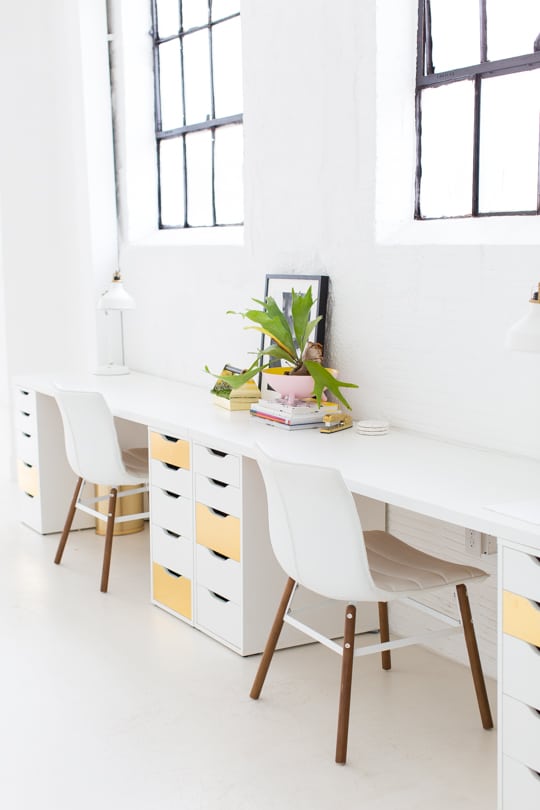
In this instance it may be too late. Because now I’ve gone and created DIY Faux Brass Drawer Fronts on all of our desk drawers in our Sugar & Cloth studio.
I can’t help it, especially since I discovered this new metallic gold foil that’s only feeding my habit.
A ) It’s only $10!
B) You now get a giant roll of it that’s actually big enough to cover lots of things (which previously did not exist in my world)!
I hope you guys have prepared yourselves for gold madness around here…
Materials and Tools Needed to Make DIY Faux Brass Drawer Fronts
READER NOTE! Just a fair warning that I’m not using transfer paper in it’s usual setting here.
Some of you gold foiling pro’s may cringe. But this is what works for this particular project in a manner that’s easy for a wide variety of skill levels to do at home.
Reactive gold foil — You can also just use metallic adhesive gold vinyl to be able to skip the glue step!
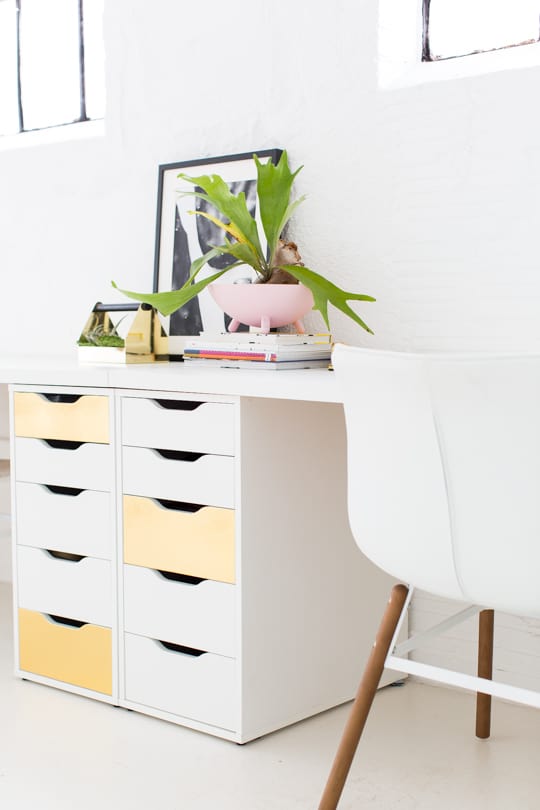
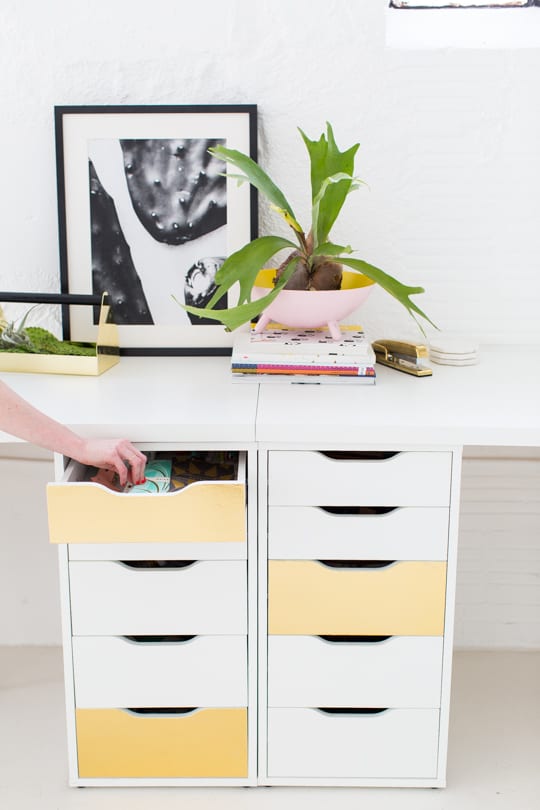
Drawer — Ours is an IKEA Alex drawer unit. This DIY works with cabinet!
Scissors
How to Make DIY Faux Brass Drawer Fronts
1 — Go ahead and cut a small piece of foil that’s just about 1-2 inches bigger than your drawer fronts on all sides so it’s easier to work with when adhering.
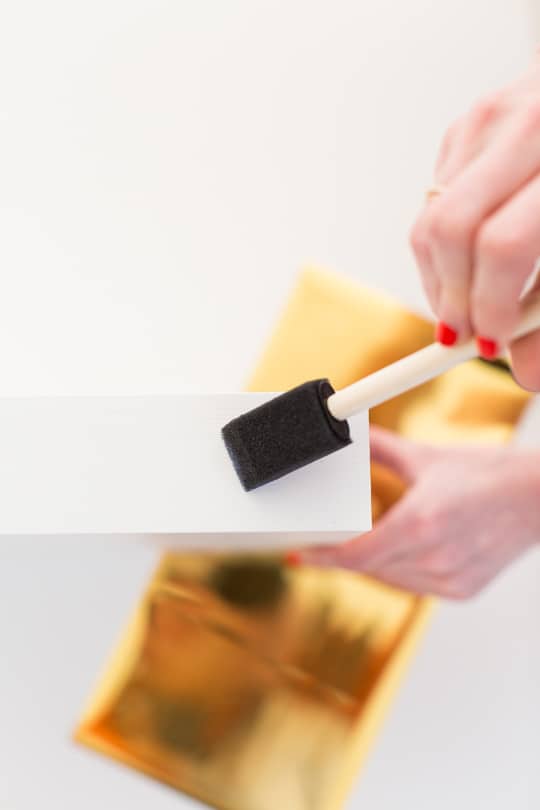
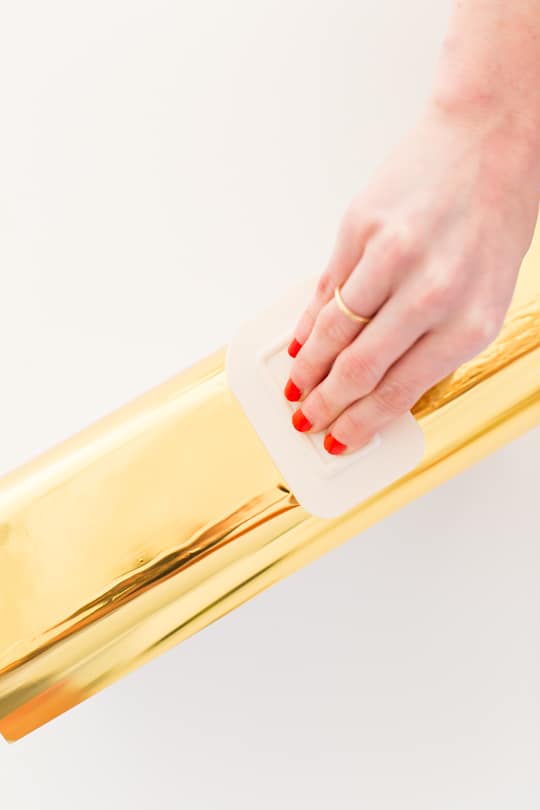
2 — Next, use a foam brush to brush on a thin layer of the screen adhesive. But DON’T let it dry before applying the foil as the bottle states.
3 — Go ahead and immediately lay the gold foil (gold side up, obviously) on the adhesive and use the craft squeegee to push the bubbles out.
(THIS is what I meant by not using the foil as you usually would in order to make it easier for most people, if you’d like to attempt this the pro way, more power to you!)
NOTE: If you’re pressing too hard or if the glue is too tacky/dry before apply the foil, it will pull the foil away from the surface, so be gentle with it.
Also don’t freak out if it’s not perfect, you actually won’t even notice most imperfections! Mine had lots from trial and error, and you don’t even notice them in real life.
4 — Once it’s nice and smooth, flip the surface face down and use an X-ACTO knife to trim away the excess foil.

5 — Now just install the drawer fronts and you’re ready to glimmer, er… something like that.
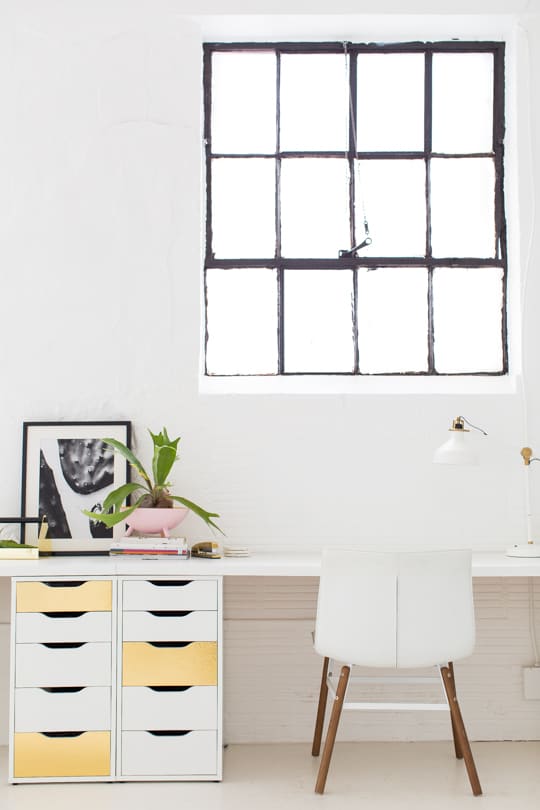
Now I’m just trying to decide on a cool DIY plant stand idea for in between the windows above our desks. What do you think?
I really want a retro vibe to it. But I’m going to leave the touches of gold as-is, I’m officially cutting myself off from gold in this corner!
Please note that we may earn a commission for some of the above affiliate links. However, products featured are independently selected and personally well-loved by us!