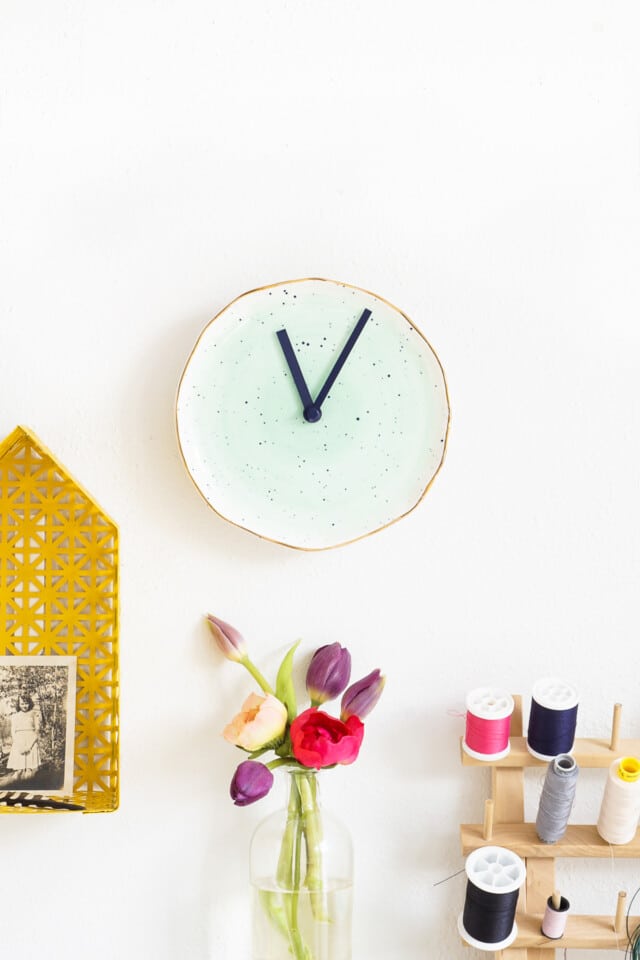
DIY Plate Clock
Who knew a plate could tell time? Follow our simple guide to make your own unique DIY Plate Clock!

Why settle for an ordinary clock when you can create one that’s uniquely yours? This DIY Plate Clock is the perfect blend of function and style, turning a simple dinner plate into a stunning timepiece. That’s why, I, Erin am excited to share our newest project!
Whether you’re looking to upgrade your home decor, add a chic touch to your office, or craft a one-of-a-kind gift, this project is as easy as it is eye-catching. With just a few supplies (a decorative plate, a battery-powered clock mechanism, and a little creativity), you’ll have a beautiful, custom clock in no time. Ready to get started? Let’s turn time into a work of art!
Materials and Tools Needed
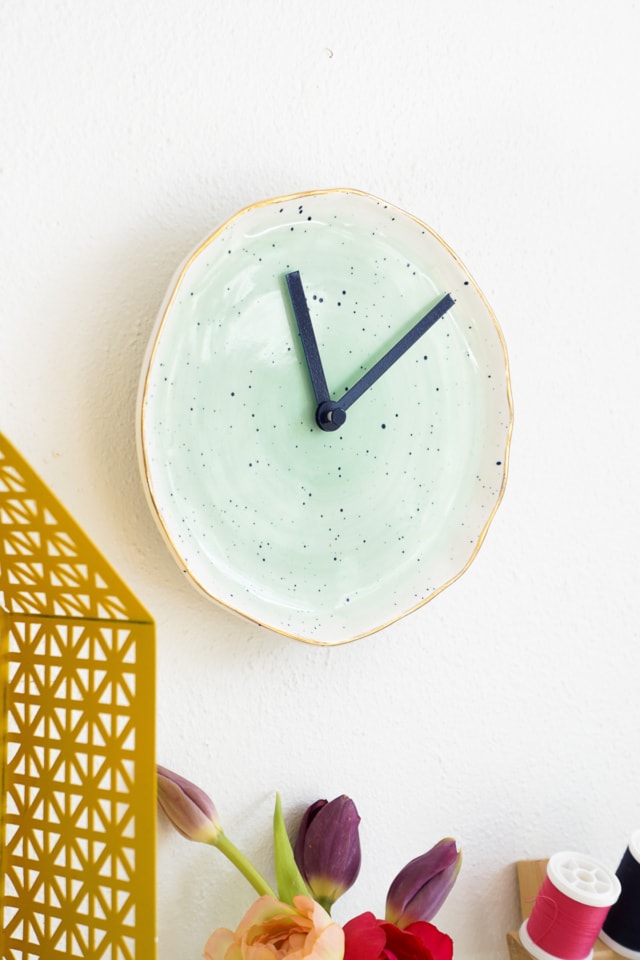
- Decorative dinner plate — Find a design you love! Ours is a pretty plate from Anthropologie.
- Clock movement mechanism kit — Available at craft stores or online
- Cordless drill with 1/2″ glass and tile drill bit
- Industrial strength adhesive — For securing the mechanism
- Picture hanger — To hang your clock
- Spray paint — Optional for customizing clock hands or the mechanism.
How to Make a DIY Plate Clock
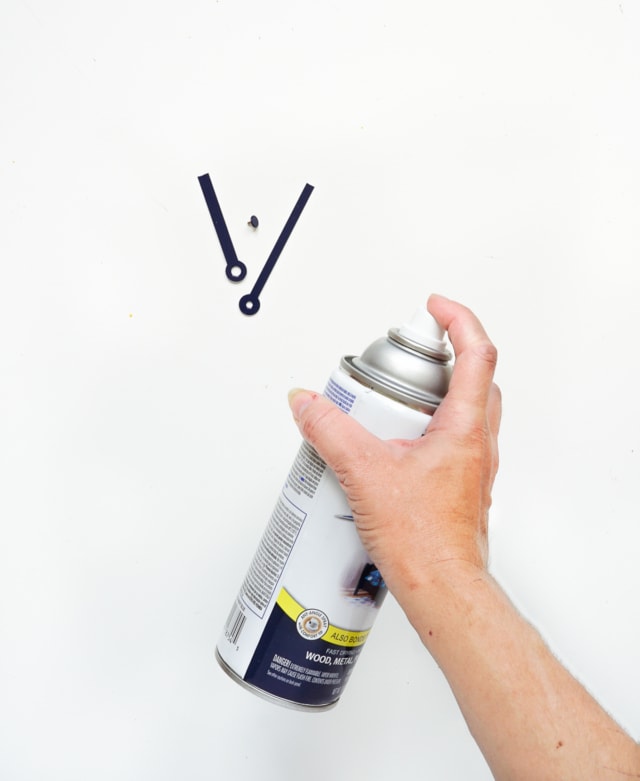
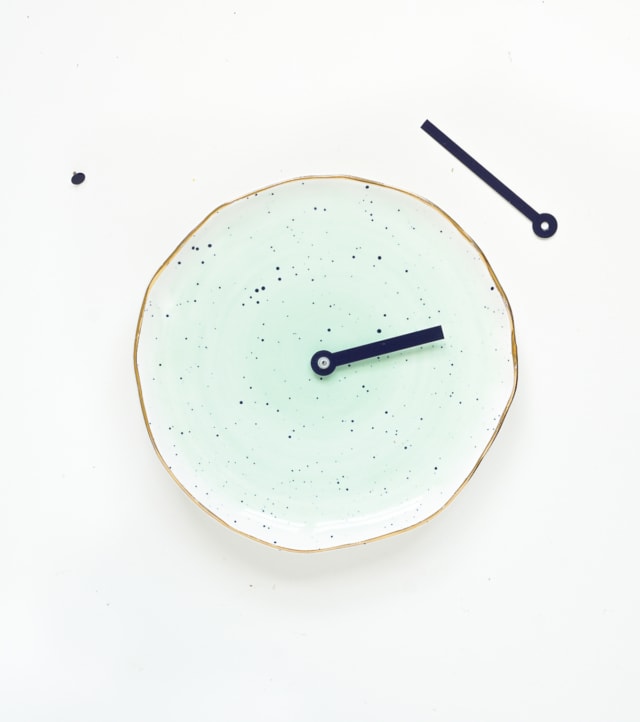
Optional: If desired, spray-paint the clock hands for a custom look. Our clock mechanism arrived with white hands. So I spray-painted them navy to match the plate’s speckle and for a bit more contrast. Skip this step if your clock hands arrive in the correct color. Dry-fit the mechanism before gluing to ensure everything aligns properly.
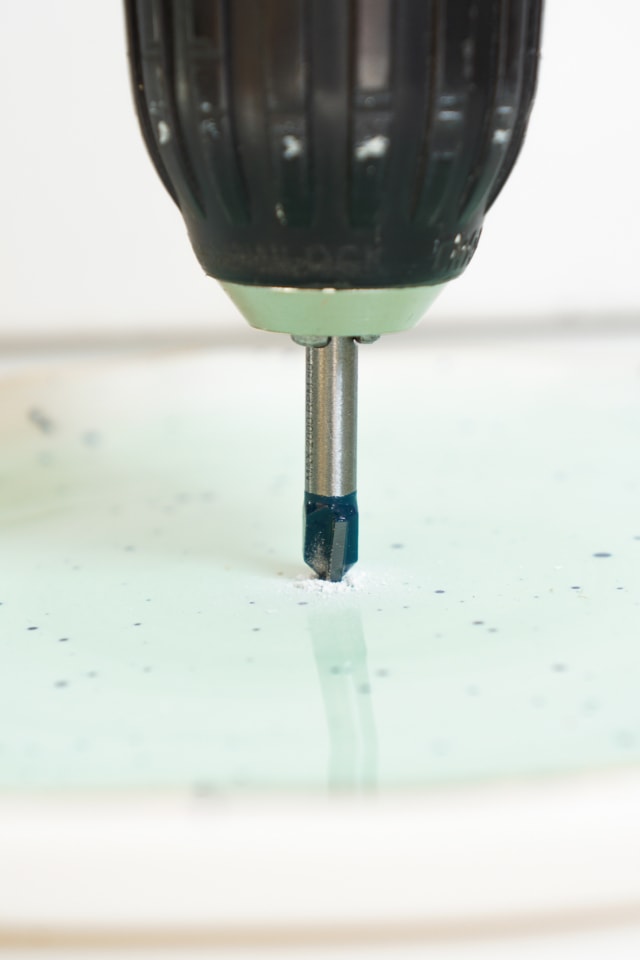
1 — Drill the center hole: Using the glass and tile drill bit, carefully drill a hole in the center of the plate. Drill from the front to the back to minimize chipping on the plate’s surface. Apply light pressure and let the drill do the work to avoid cracking the plate.
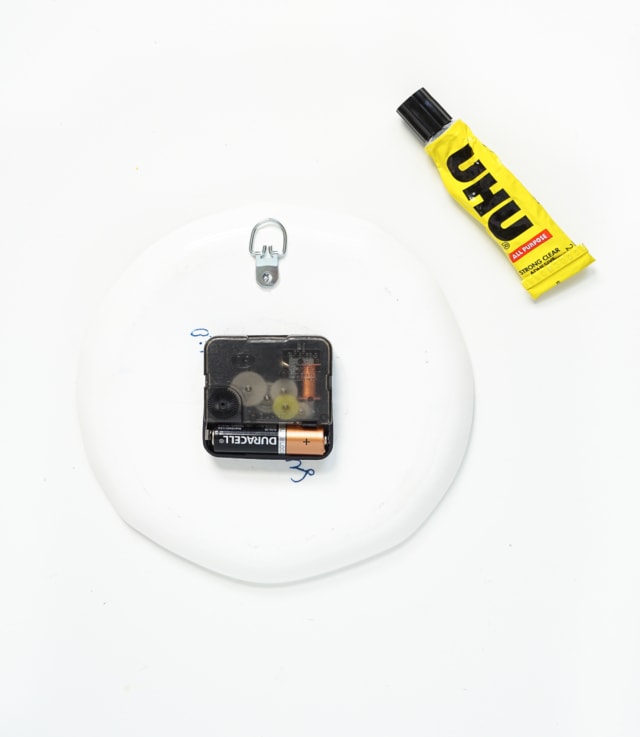
2 — Attach the clock mechanism: Normally, the included nut secures the mechanism to the plate, but if your plate is slightly too thick (like ours which was about about 1/16″ thick), the nut may not fit properly. Instead, apply industrial-strength adhesive to secure the clock mechanism to the back of the plate, ensuring the center post fits through the drilled hole.
3 — Add the picture hanger: Glue the picture hanger above the clock mechanism on the back of the plate. Position the picture hanger evenly above the clock mechanism so your clock hangs straight. Let everything dry completely before moving on. Make sure you can still reach the battery compartment before securing the mechanism permanently.
4 — Attach the clock hands: Once dry, flip the clock over and attach the hands. The hands should easily pop onto the center post of the clock mechanism. Short hand (hour) first. Then, long hand (minute) second. Finally, topper (if included) last. Hang your new DIY plate clock and enjoy your stylish, functional decor piece!
Tutorial Tips and Tricks
- Choose the right hands: Some clock kits come with oversized hands. If yours are too long for the plate, trim them or find a smaller set.
- Drilling tips: Place a small piece of masking tape over the spot where you’ll drill to help prevent the drill bit from slipping. Drilling through ceramic or glass generates heat. Dip the drill bit in water periodically or mist the plate with water to prevent overheating.
More Organization Projects
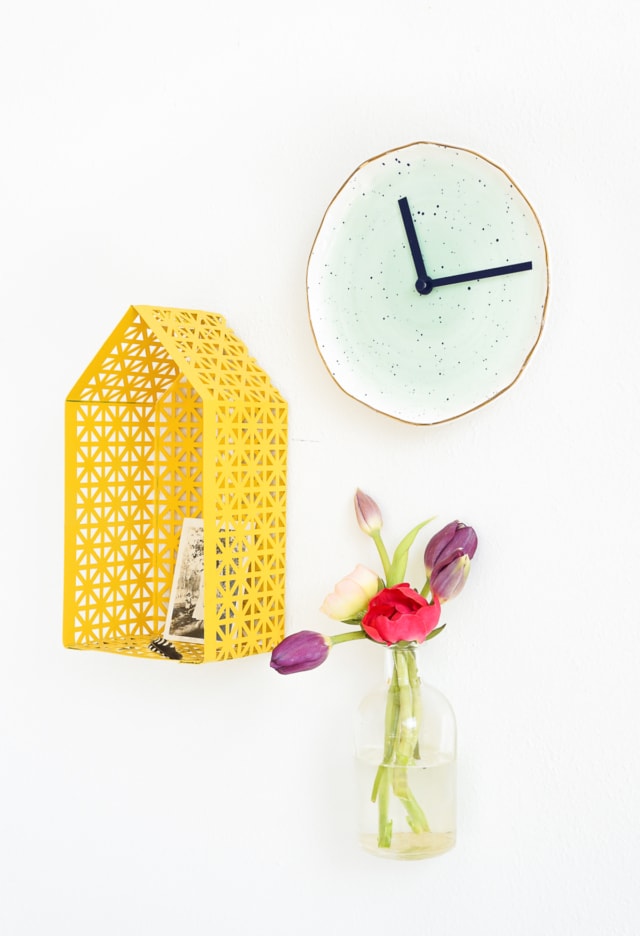
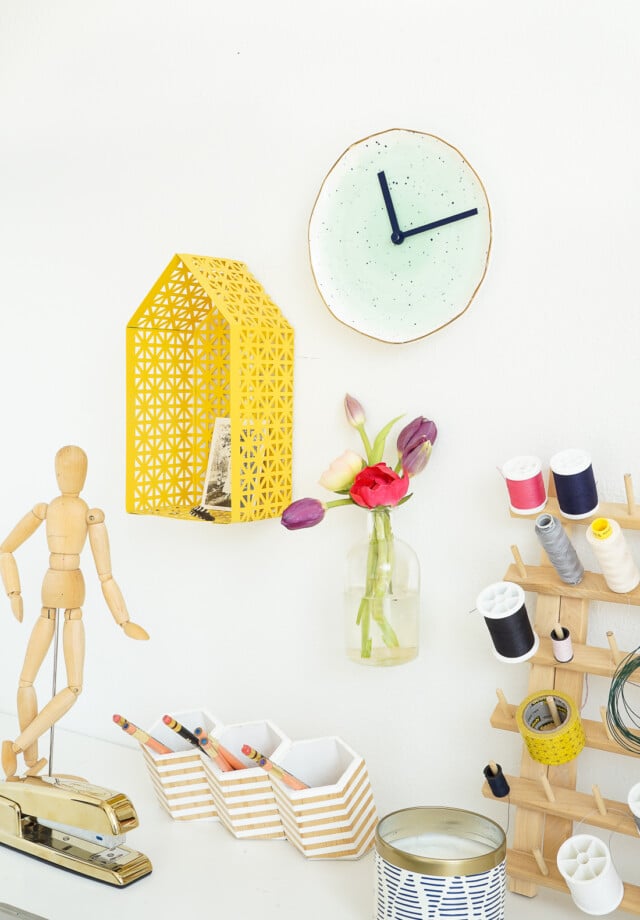
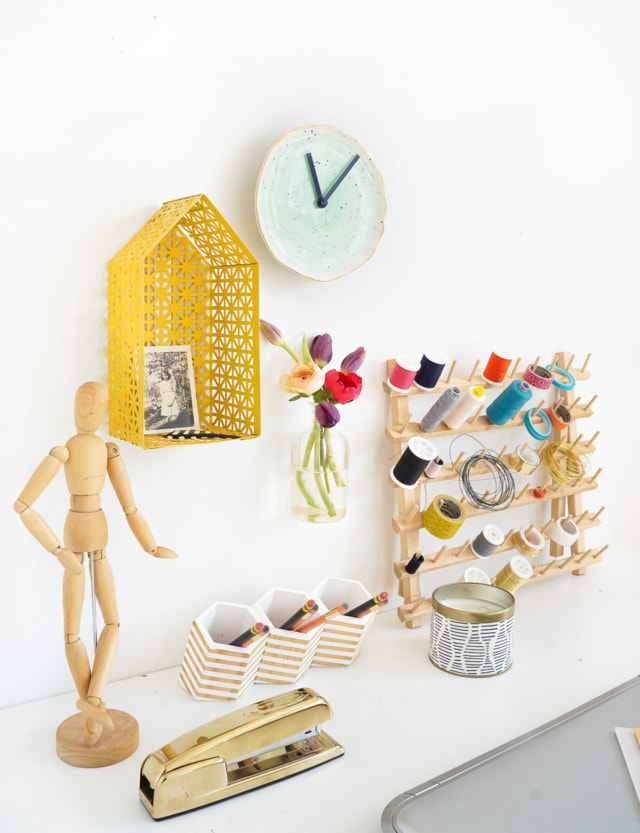
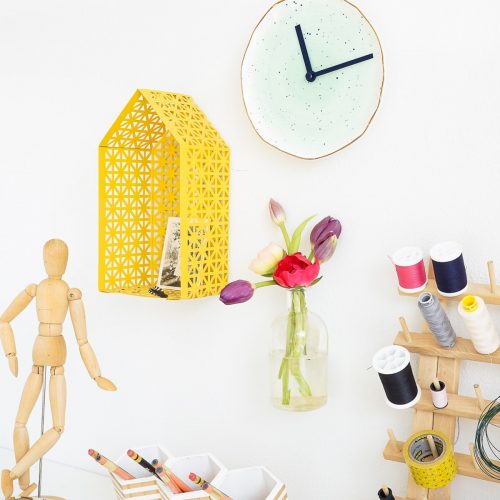
The DIY clock (which we hung above our hexagon DIY pen holder) together with your geometric DIY chalkboard desk is now ready for display! For more ideas and projects to keep you organized, check out our other projects below —
- Marble DIY Tabletop Clock
- Mid Century DIY Wall Clock
- 46 Cute Desk Accessories to Brighten Your Workspace
- 16 Genius Ikea Desk Hacks You Need In Your Life
Equipment
- Drill with 1/2″ glass and tile drill bit
- Industrial strength adhesive
Materials
- 1 plate
- 1 clock movement mechanism kit
- 1 picture hanger
Instructions
- Drill the center hole: Using the glass and tile drill bit, carefully drill a hole in the center of the plate. Drill from the front to the back to minimize chipping on the plate’s surface.
- Attach the clock mechanism: Normally, the included nut secures the mechanism to the plate, but if your plate is slightly too thick (like ours which was about about 1/16″ thick), the nut may not fit properly. Instead, apply industrial-strength adhesive to secure the clock mechanism to the back of the plate, ensuring the center post fits through the drilled hole.
- Add the picture hanger: Glue the picture hanger above the clock mechanism on the back of the plate. Let everything dry completely before moving on.
- Attach the clock hands: Once dry, flip the clock over and attach the hands. Short hand (hour) first. Then, long hand (minute) second. Finally, topper (if included) last.

Don’t forget to share your DIY Plate Clock with us on Instagram using the hashtag #sugarandclothloves. We always love seeing all of your creations! Looking for more interior design inspiration? You can find all of our home decor tutorials and ideas right here!
Tiled Backyard Patio Before & After
Patio before and after inspiration! See how we transformed a…
Affordable Wall Art: 54 Stylish Prints Under $200
Looking for affordable wall art that still makes a big…
Continue Reading Affordable Wall Art: 54 Stylish Prints Under $200
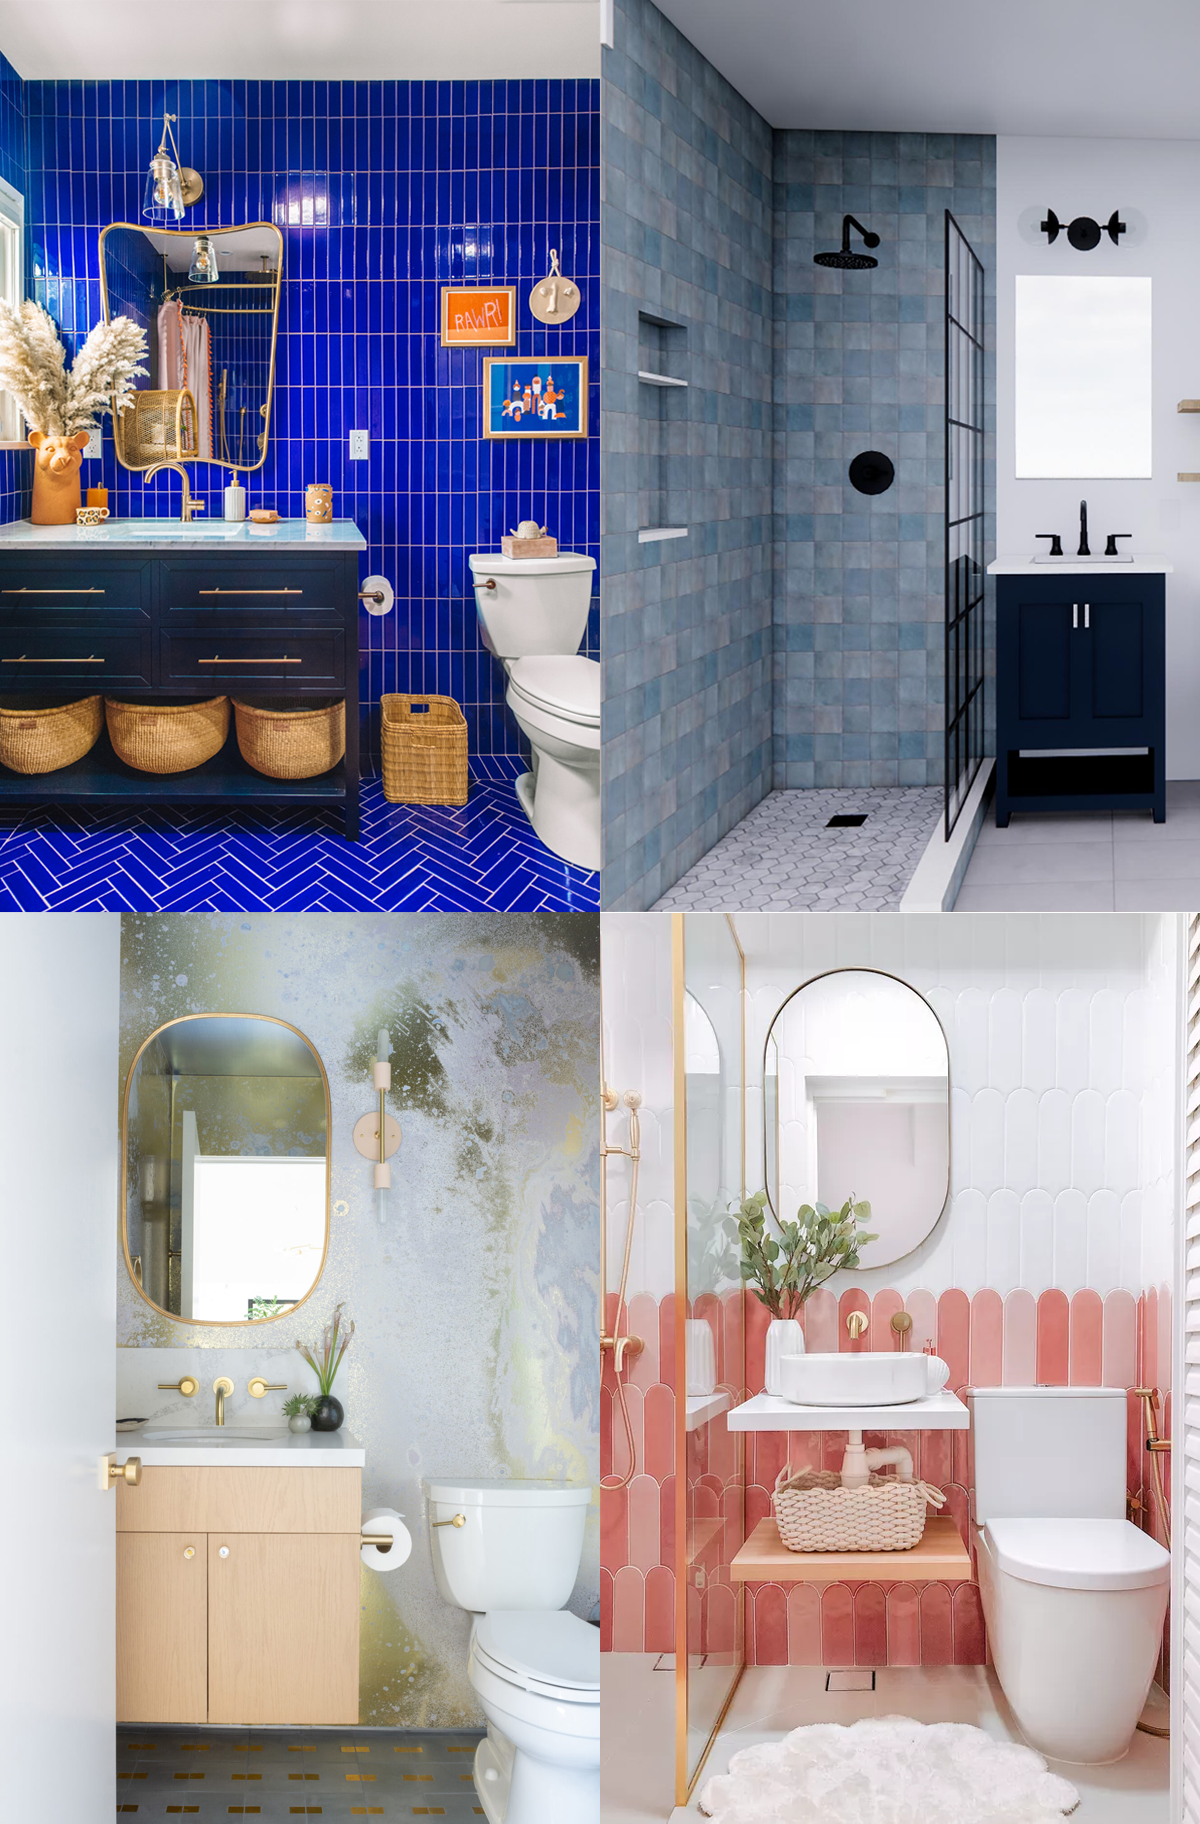
Small Bathroom Ideas That Make a Big Impact
Find practical small bathroom ideas, including clever storage solutions, decor…
Continue Reading Small Bathroom Ideas That Make a Big Impact
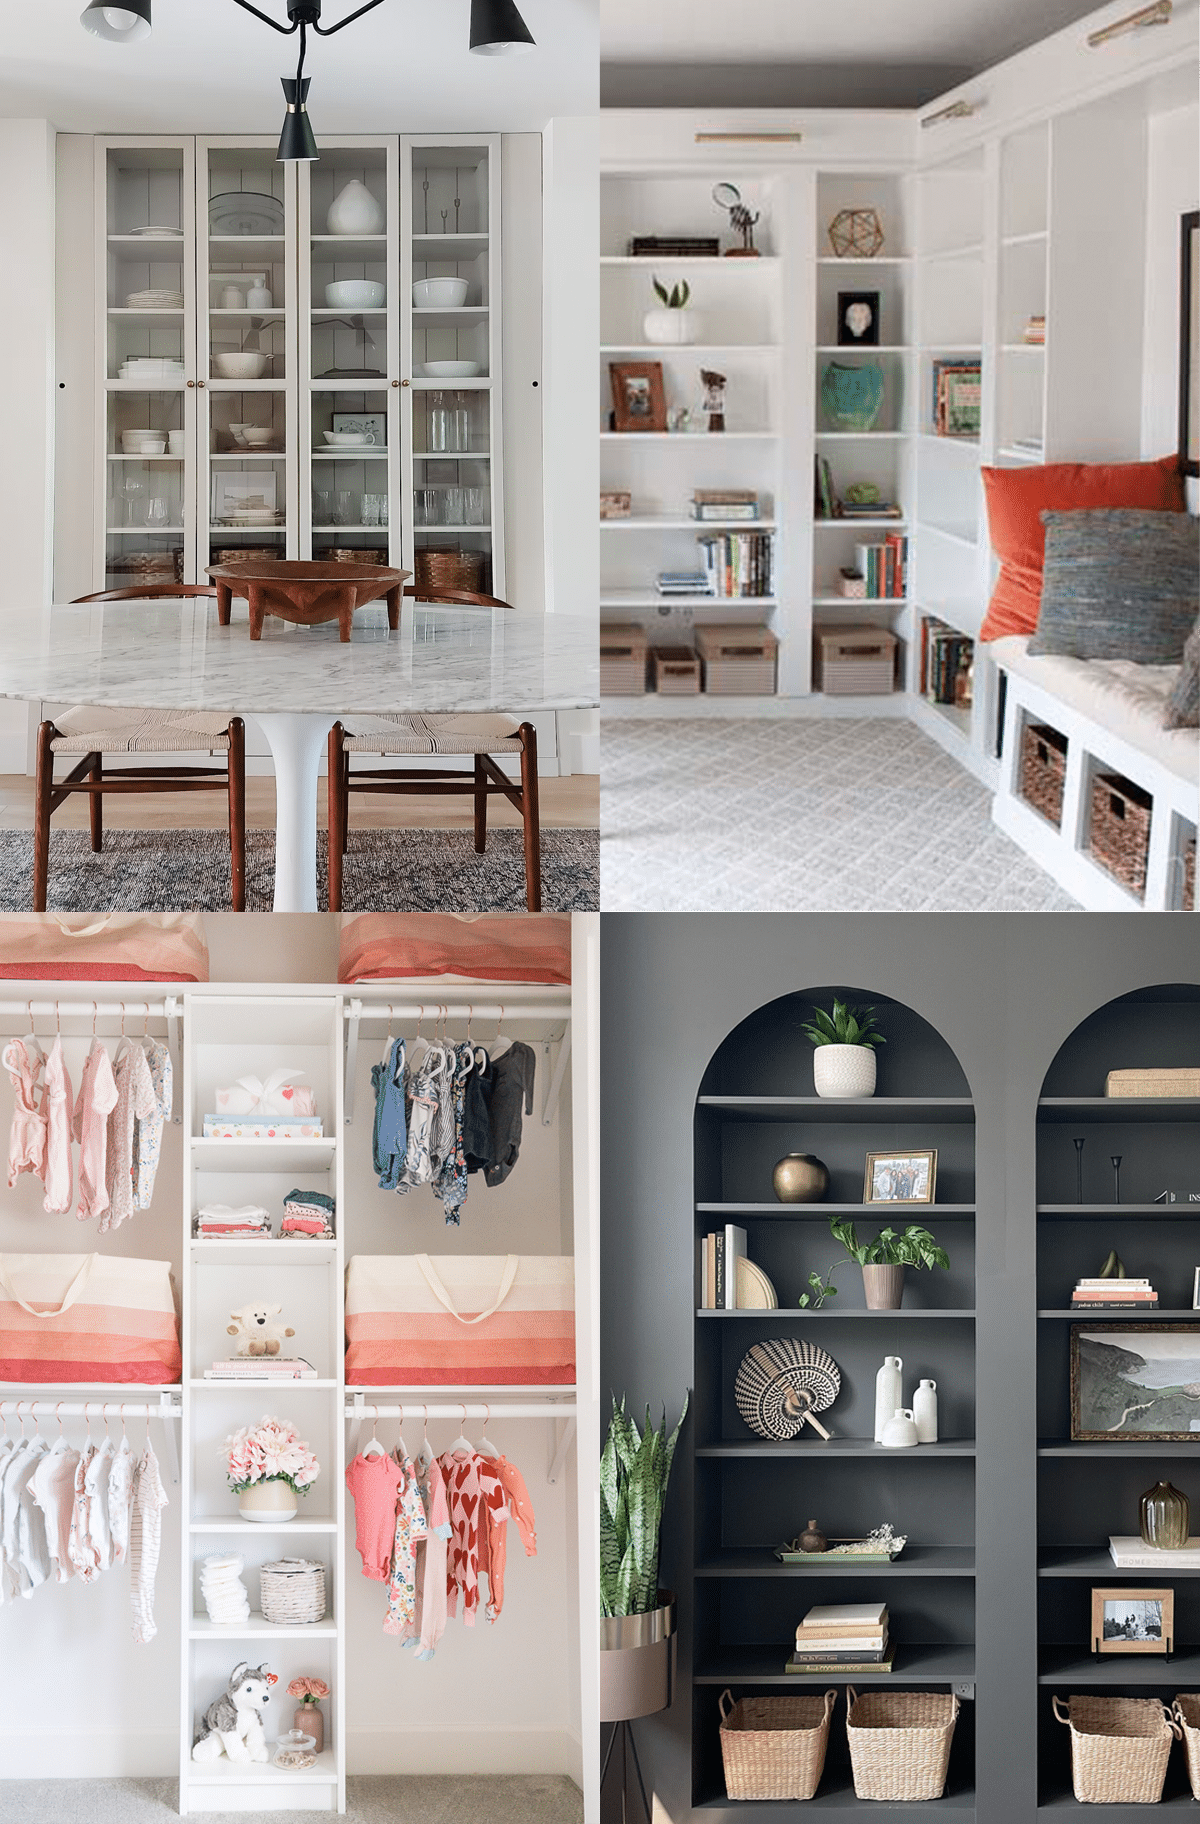
Easy IKEA Billy Hacks Anyone Can DIY at Home
Get inspired by clever IKEA Billy hacks for living rooms,…
Continue Reading Easy IKEA Billy Hacks Anyone Can DIY at Home
Please note that we may earn a commission for some of the above affiliate links. However, products featured are independently selected and personally well-loved by us!
Thank you so MUCH. I found the prettiest christmas plate at a yard sale and it will make a perfect clock for the holidays! Great idea!
Yay! Can’t wait to see yours! xo
What a cute idea!!!
Saw this on insta – LOVE it!!
<3
-Clarissa @ The View From Here
That suite one studio plate looks fantastic as a clock, great idea!
Right?! Love this tutorial as well.
Love this! You used such a pretty plate.
Suite One has the most amazing table top items! SO glad they are now selling in Anthropologie.