DIY Hanging Flower Installation
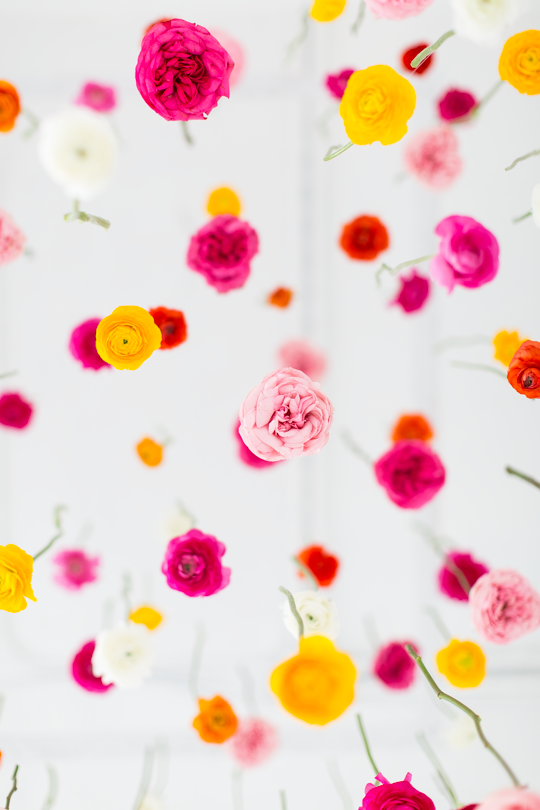
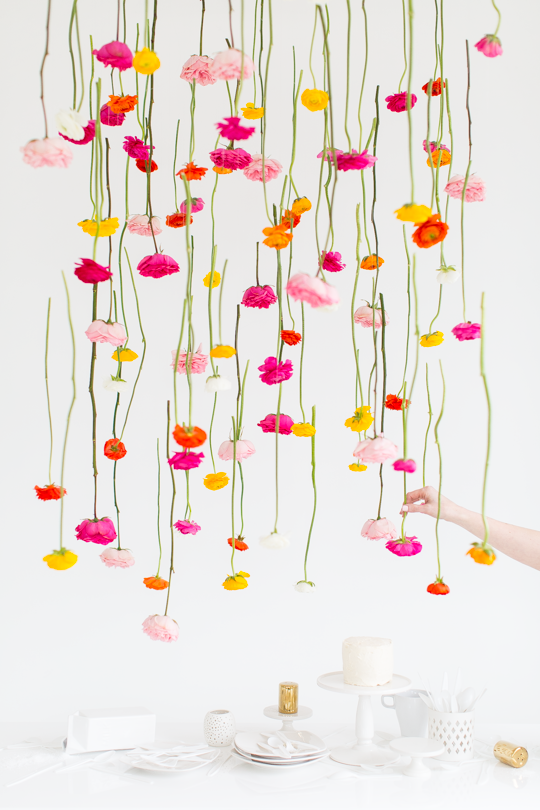
If you’re looking for a statement party, engagement, or wedding decor piece, then this DIY Hanging Flower Installation is for you!
If you follow us along on Instagram, you might recognize this DIY hanging flower installation from a video sneak peek that we shared on Sunday.
Trust us, we’re just as giddy over it as you were! It’s a project that we’ve been wanting to make for a while now. And the new studio was the perfect white backdrop for it.
When you have flowers hanging from the ceiling this is definitely a labor of love project that requires an extra hand but the finishing product is worth it. So this stunning installation is probably best for a huge event like a spring bridal shower or even a wedding reception.
Materials and Tools Needed to Make a DIY Hanging Flower Installation
To be able to suspend and space the flowers easier, we wanted to make something simple to reconstruct that would withstand the weight of the flowers while not being a total eyesore.
- Framed chicken wire baseWooden frame with chicken wire stapled to the back — Instead of creating more work for ourselves, we just repurposed the framed chicken wire from our DIY paper wall art post. Essentially, it’s just a wooden canvas frame (however big you want the artwork/installation to be) with chicken wire stapled to the back. You can find the step-by-step photos for it here.
- Screw eye hooks
- Screw cup hooks
- Drill and corresponding drill bit
- Picture hanging wire
- Wire cutters
- Fishing line
- Scissors
- Pliers
- Wire rope loop clamps — Similar ones here.
- Wholesale flowers — We used garden roses and ranunculus.
How to Make a DIY Hanging Flower Installation
1 — If you haven’t already, create your framed chicken wire base. Decide how far down you want the structure to hang from the ceiling. In our case, we hung the installation 2 feet from the ceiling.
2 — Using your drill and corresponding bit, drill a hole in each corner of your prepared chicken wire wood frame. Screw in the eye hooks, creating anchor points to attach the picture wire.
3 — Thread the picture wire through the eye hook. Tightly knot the picture wire securely around the eye hook. Wrap any excess wire from the knot around the wire.

4 — From the top of the hook, measure 2 feet of picture wire (or your desired hanging length). Leave about another additional 4-6 inches of extra picture wire for looping and tying purposes. Cut the measured length of picture hanging wire.
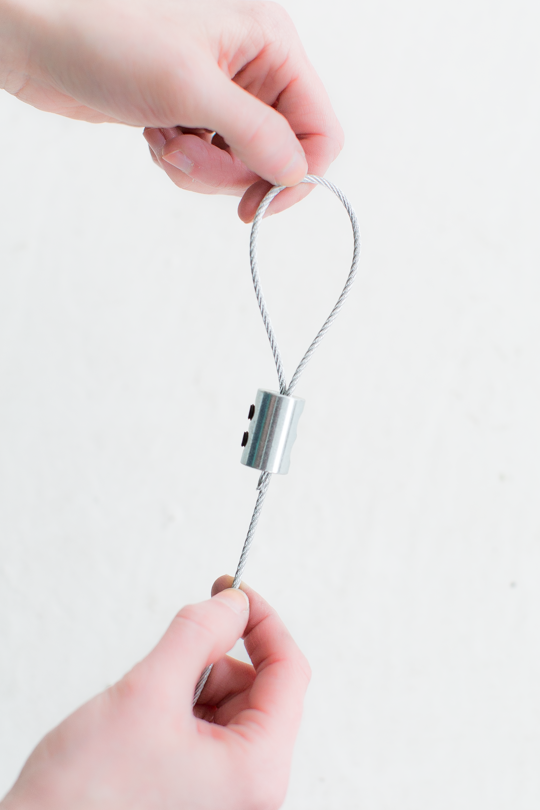
5 — Using the wire rope clamps, create a loop to hang the structure.
6 — Repeat for all 4 corners. Make sure all wire and the loops are the same length so that the structure hangs evenly.
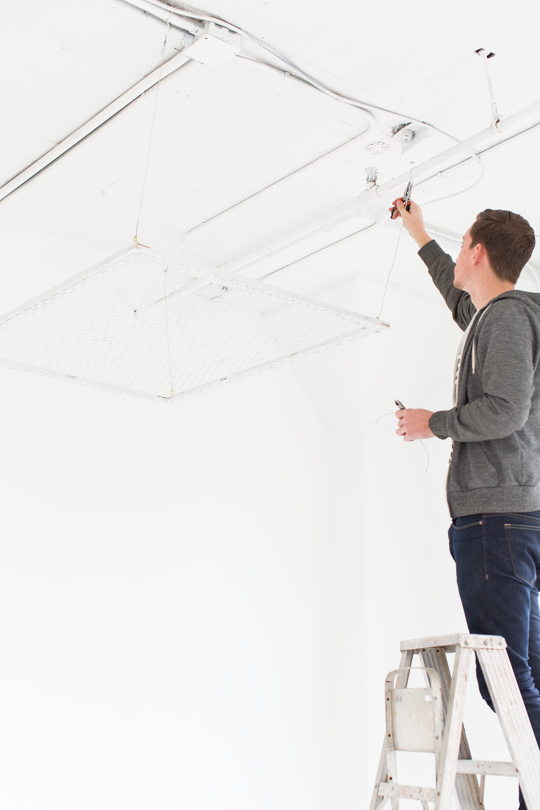
7 — Screw the 4 cup hooks into the ceiling equal distance to where each of your 4 corners of the structure will be placed.
8 — Attach the loop ends of the picture hanging wire to cup hooks in your ceiling, ensuring the installation hangs level.
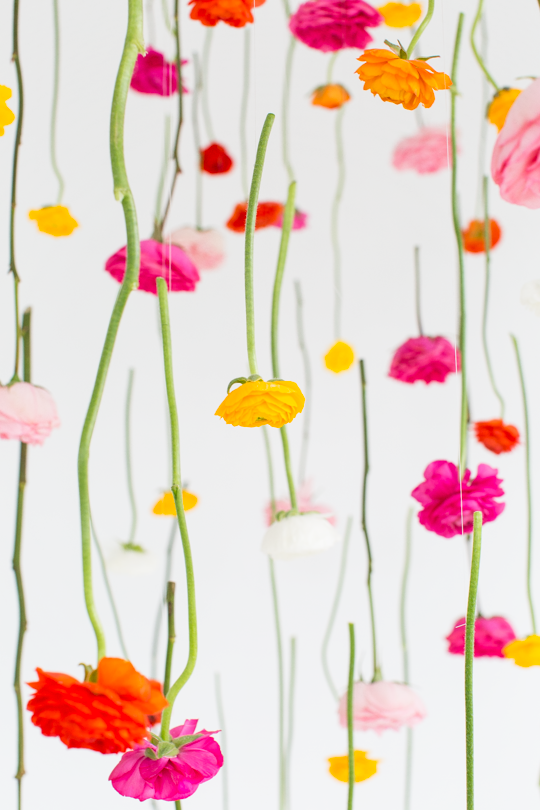
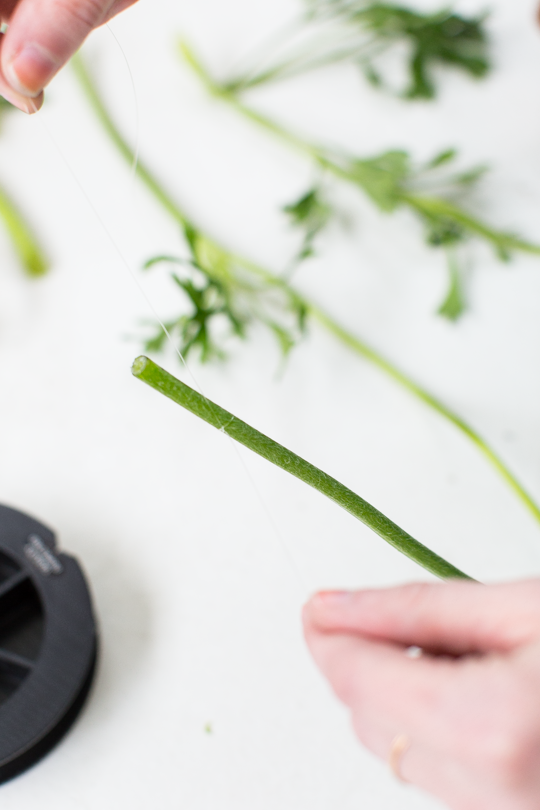
9 — To hang each stem, simply wrap and knot the fishing wire to the end of each flower. Wrap and knot them tightly, but not so tight that it cuts through the stem. Hang each stem from the chicken wire by the other end of the fishing line, placing them sporadically as you go.
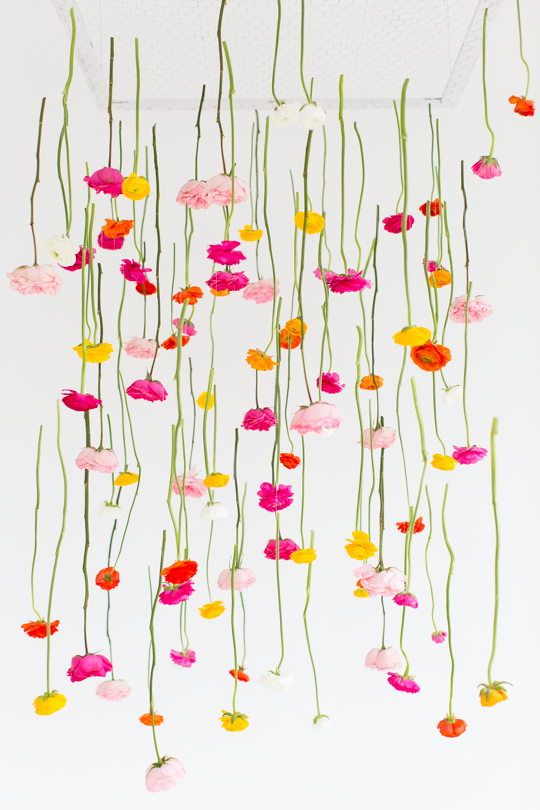
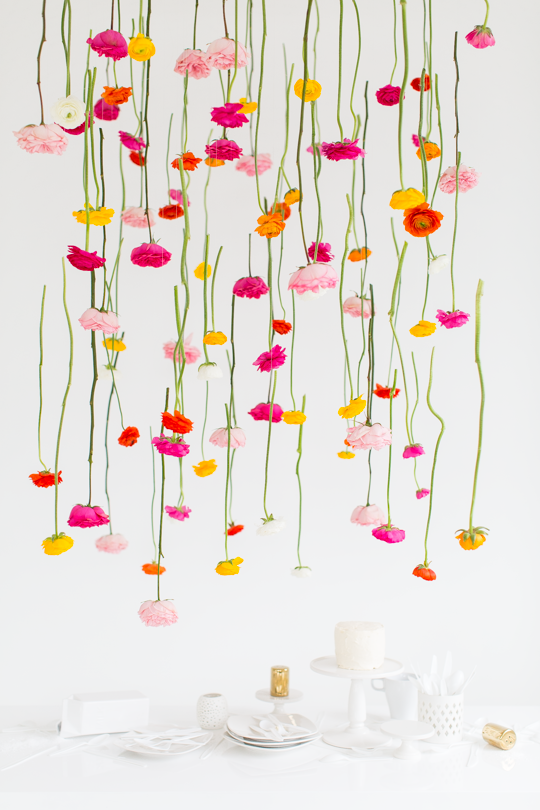
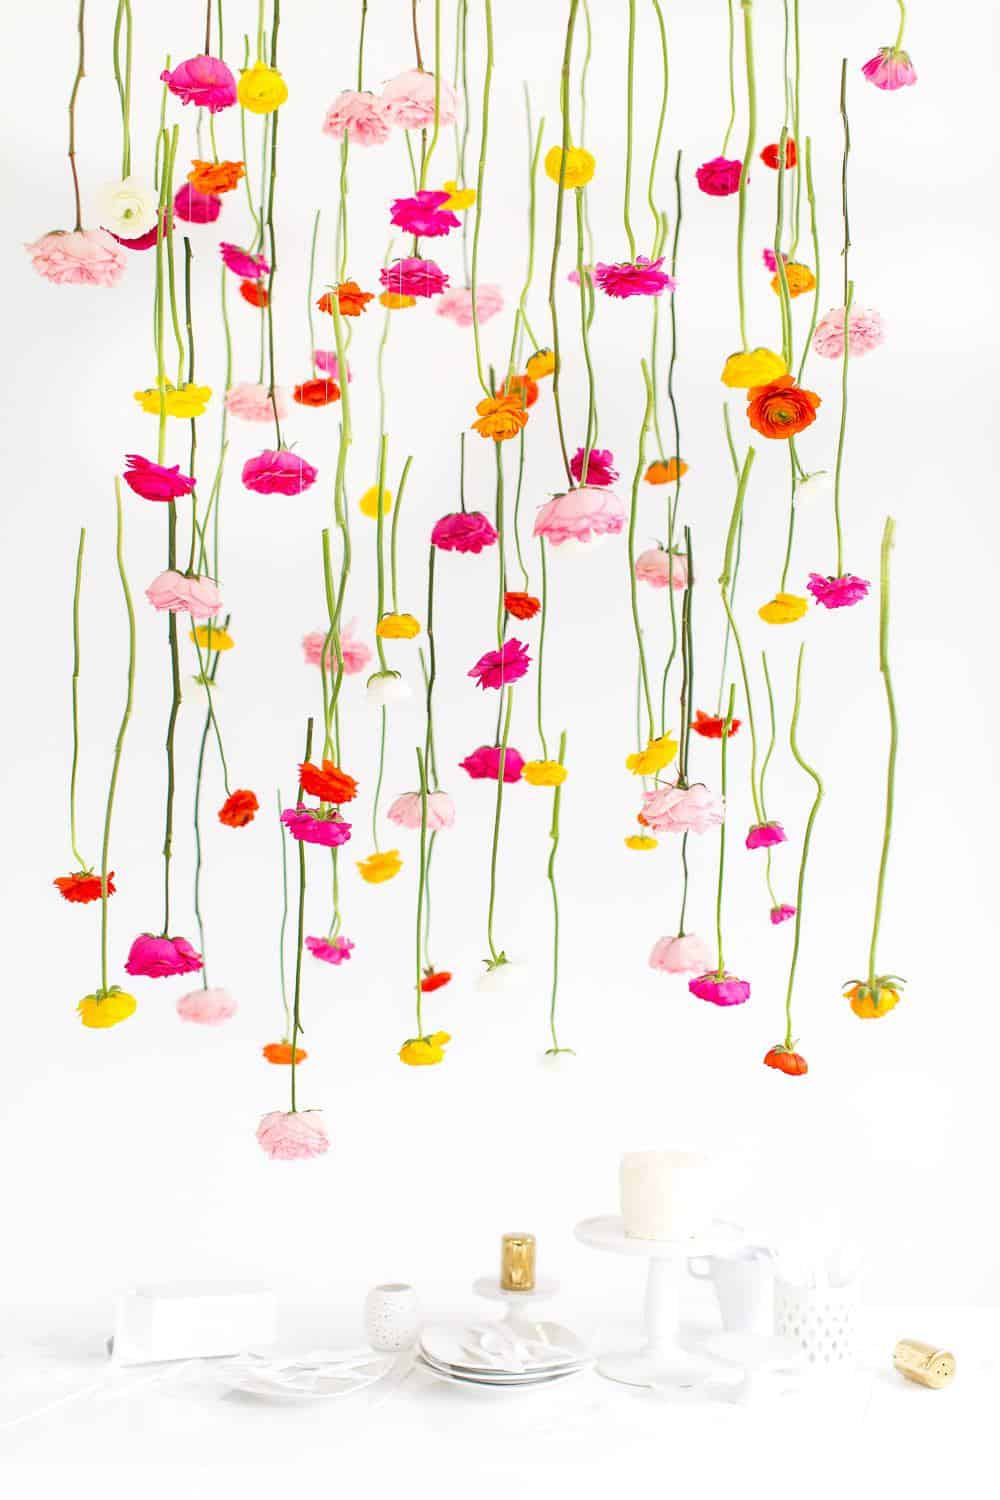
Five hours and a few arguments later, you should have something that looks like this!
Arranging tips: Start with the larger blooms, and then fill in any gaps with smaller flowers.
How Long Will this DIY Hanging Flower Installation Keep?
You’ll definitely want to be sure that you install the flowers the day of (and as close as possible to the time) of the event or party so that the flowers are still fresh and bright.
We left ours up for 3 days to see how long it would last. And by the next day, only two or three stems had fallen but they were definitely sad looking! By day 3, all of the colors were much darker with a few petals lost.
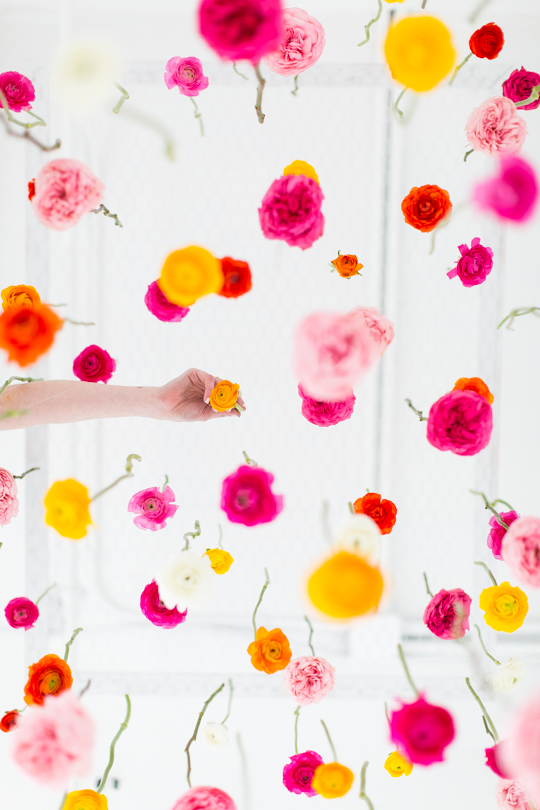
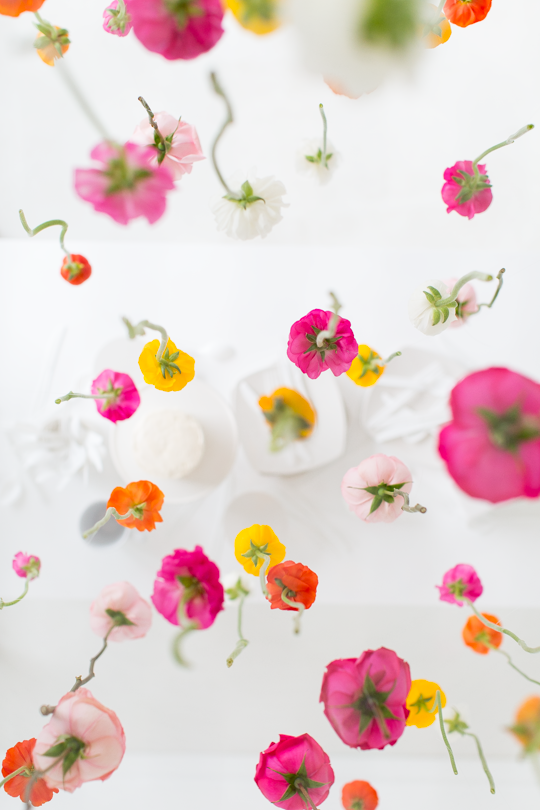
Flowers Used for the Party Decor
The overall look is stunning and we would absolutely make it again for an occasion. However, you definitely need to find a good wholesale flower supply to make it remotely affordable. (Then again, our DIY budget is probably much smaller than most event budgets!)
We use Fifty Flowers because they have an awesome selection year-round, and you don’t have to be licensed to buy from them in bulk. We used the ranunculus and garden rose variety packs for this project.
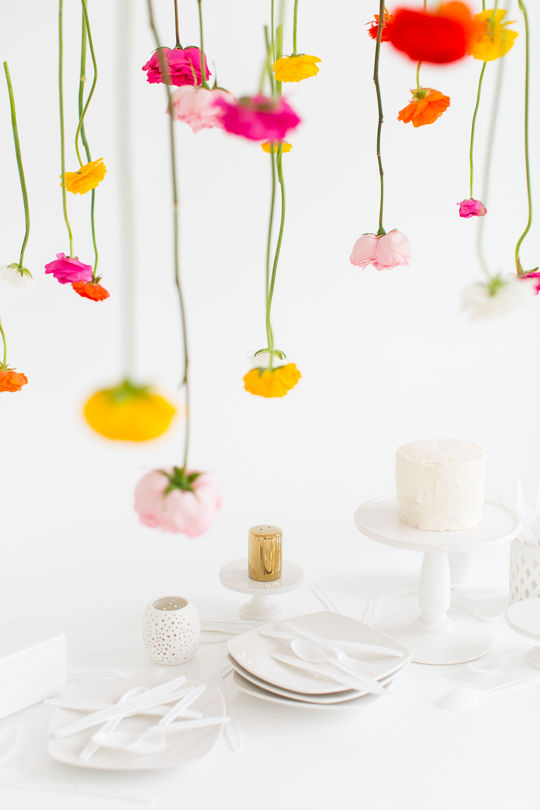
Few Things to Keep in Mind When Hanging Flowers from the Ceiling
- Choose the right type of flower: Heavy flowers like roses may not be suitable for hanging, so choosing something that will stay in place is important. Lighter flowers like daisies or baby’s breath are ideal.
- Make sure the flowers are fresh: Wilted flowers will not look as nice and will be more likely to fall out of the arrangement.
- Use a variety of colors and textures: This will add interest and depth to your arrangement.
- Hang the flowers at different heights: This will give the arrangement a more natural look.
- Use a fishing line or clear tape to secure the flowers in place: This will ensure that they stay put and don’t fall out.
So what are the odds you’re going to be going home to make one of these bad boys?! Yes, it’s not exactly your average family dinner decor. But it would definitely come in handy for a birthday party, engagement, wedding, or photo booth or dessert table backdrop, no?
More DIY Hanging Flowers Idea
- Easy DIY Hanging Flower Wall
- DIY Rainbow Art Wall Hanging
- DIY Hanging Marble Serving Board For Under $5
- Colorful DIY Fabric Wall Hanging
- DIY Hanging Diamond Decor For Your Home
DIY Hanging Flower Installation
Equipment
- Drill and drill bit
- Wire cutter
- Scissors
- Pliers
Materials
- 1 framed chicken wire base
- 4 screw eye hook
- 4 screw cup hook
- Picture hanging wire
- Fishing line
- Wire loop clamps
- Flowers of your choice
Instructions
- If you haven't already, create your framed chicken wire base. Decide how far down you want the structure to hang from the ceiling. In our case, we hung the installation 2 feet from the ceiling.
- Using your drill and corresponding bit, drill a hole in each corner of your prepared chicken wire wood frame. Screw in the eye hooks, creating anchor points to attach the picture wire.
- Thread the picture wire through the eye hook. Tightly knot the picture wire securely around the eye hook. Wrap any excess wire from the knot around the wire.
- From the top of the hook, measure 2 feet of picture wire (or your desired hanging length). Leave about another additional 4-6 inches of extra picture wire for looping and tying purposes. Cut the measured length of picture hanging wire.
- Using the wire rope clamps, create a loop to hang the structure.
- Repeat for all 4 corners. Make sure all wire and the loops are the same length so that the structure hangs evenly.
- Screw the 4 cup hooks into the ceiling equal distance to where each of your 4 corners of the structure will be placed.
- Attach the loop ends of the picture hanging wire to cup hooks in your ceiling, ensuring the installation hangs level.
- To hang each stem, simply wrap and knot the fishing wire to the end of each flower. Wrap and knot them tightly, but not so tight that it cuts through the stem. Hang each stem from the chicken wire by the other end of the fishing line, placing them sporadically as you go.
Notes

Be sure to share your DIY Hanging Flower Installation with us on Instagram using the hashtag #sugarandclothloves, so we can follow along, too! We always love seeing all of your creations
Please note that we may earn a commission for some of the above affiliate links. However, products featured are independently selected and personally well-loved by us!
Nice colorful view and feel like spring seasons. I have order the bulk flower for my event from Flowergist. They are very professionally and delivered the fresh flowers. Thanks Flowergist
If anyone want, can order from there: https://flowergist.com/
Hello,
I’m in the middle of making 18 of the hanging flower garlands using fishing line and artificial flowers for my daughter’s bridal shower. How do you recommend I transport them? I’m worried they will get all tangled up when I have to roll them up and pack them.
Each line is 8 feet long with flowers attached in the middle 6 feet of line.
Hi Laurie! First off, you’re an amazing mother for recreating this for your daughter’s bridal shower! Is there any way for you to lay the lines flat in the back of a truck or mini van? Typically, florist do their flower installations are on site, especially hanging ones. I would definitely be concerned about the fishing wire getting tangled up and the delicate flowers getting messed up. Is it possible to assemble the structure at home, pre cut the wires and just hang the flowers on site?
Hi! I am going to be hanging garden roses and ranunculus upside down from the ceiling of a party tent spread out sporadically. I love the idea of using the wood frame for your structure, but what would you recommend if I am stringing it to the tent directly? Any ideas are greatly appreciated!
Hi Gabrielle! How tall is this party tent? I’m assuming that it is probably very high? If the tents have beams (which most likely they do) you could probably hang them directly from the beams (if it doesn’t mess with the structure). Hope this helps!
To hang each stem, simply wrap and knot fishing wire (tightly, but not so tight it cuts through the stem) to the end of each flower. Hang each stem from the chicken wire by the other end of the fishing line, placing them sporadically as you go.
http://www.enews.pk/pakistan/
You have a great imagination. I love the transformation

Thank you, Marc!
Well, that was a pretty fascinating read, not going to lie. I really hope you continue to write. Probably one of the more informative pieces I’ve read on this subject. Thanks!
Thank, Brian for leaving the lovely comment. Seriously, we’ll look at this when we are exhausted from work. :) We hope to always and forever have fascinating content. XOXO
I would like to share a link to a quality source for online wholesale wedding flowers, JRRoses.com.
They were wonderful both in quality and service, five star reviews on facebook and google.
Its a beautiful flower installation thanks for sharing its a very attractive..
We are glad you love it! XOXO
Nice illustrations!
If some one wishes expert view concerning blogging after that i propose him/her to pay a visit this weblog, Keep up the pleasant job.
Devo Obrigado pelos esforços tem Coloque escrevendo isto blog .
Espero ver o mesmo alto grau posts do blog de você no futuro também.
Na verdade, suas habilidades de escrita criativa tem inspirou eu conseguir meu,
pessoal local agora ;)
What a beautiful installation! I really want to use this for my daughter’s upcoming birthday party. I hope I have enough patience to get it done. Pinning for Reference.
You might want to consider using faux flowers so you can do a lot of the prep work and things ahead of time! :)
nice one keep posting
Wahoo! Really nice idea for decor. Thanks for sharing
No problem, Sam! Glad you enjoyed this post :)
So beautiful!!! How many flowers did you use, more or less?
This is amazing! You have patience, girl!
This is so so gorgeous! I can’t help but stare. This would be great with many different types of flowers + greenery. I can see eucalyptus being so pretty + delicate. Love it!
Un trabajo impresionante, me encanta. Pero hasta cuando se aguantan las flores???
http://goodvinilos.com/es/8-vinilos-decorativos
The installation is just delicious! Is it weird if I say i’ve been wanting to do the same idea for the longest time? Haha, it looks so beautiful! <3
I have been holding my breath ever since I saw this on your Instagram. Honestly, it may not be the typical home decor but I am so in love! It’s absolutely stunning and I want to just keep looking back at the pictures over and over again. Gorgeous.
This is so cute!
WritingMonique
I totally want to make one with with good quality silk flowers I can leave up for all of spring!! Then it would also make the construction time worth it!
gorgeous! and keeping it real with the argument remark. We always have those when i enlist my husband for help! haha.
Without a doubt, one of my favorite projects on your blog…spectacular!!!!!!!!!!!!!!
So pretty! If I can convince my girlfriend to have this at her upcoming shower, I am making it. Thank you for posting this beautiful creative project.
This is so…. gorgeous! Love love love.
This is SO cute!! I have to find where to use this, it’s amazing :)
This is absolutely gorgeous, Ashley! I’m pretty sure I’m gonna use it when the occasion arises :)
This is so beautiful! Such a great idea, and it looks so magical. Thanks for sharing!
Absolutely gorgeous. Love it.
http://www.lee-lee-land.com
We made one of these and turned it into a chandelier for an outside lighting option. And we made paper flowers for ours so it could last forever. Note- the paper flowers also took forever to make! http://www.suburbanbitches.com/shes-crafty-crepe-paper-flowers/
This is stunning, Ash!! So beautiful. And I love all of the bright colors.
Love love love!!! So worth the effort!
ahhhhhhh – this is gorgeous. And that photo…looking up on all of them. perfection! Although I have only found 3 stems of fake magnolia that I have liked enough to keep in my home, this would be stunning if anyone could ever find enough decent looking fake flowers so it could be a permanent fixture. Imagine in a nursery!?
Stunning. That is all. :)
Looks like spring already. A nice change for January! :)
http://www.foundsomepaper.com
So pretty! Love this installation!
This is so smart! I love it – and good to know re: Fifty Flowers. I went to a wholesale place in the Heights the other day and got turned down because I didn’t have a license. I had no idea!
I loved your Instagram video through the flowers! So dreamy!