Mid Century DIY Wall Clock
Learn how to create a stylish Mid Century DIY Wall Clock with this easy-to-follow tutorial. Perfect for adding a retro touch to any room.
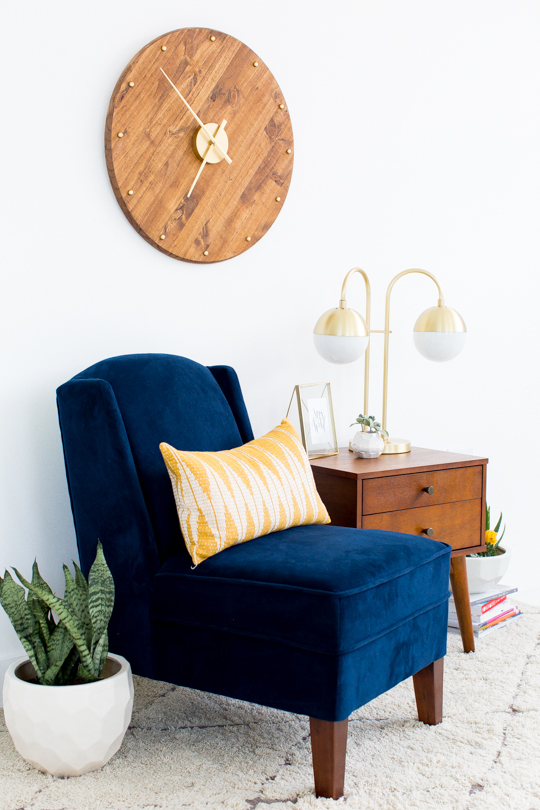
Looking to add a touch of retro elegance to your home? A Mid Century DIY Wall Clock is the perfect project to bring both style and function into any room. Mid Century Modern design, known for its clean lines, geometric shapes, and minimalistic aesthetic, continues to be a popular trend in home decor.
We’ve been on the hunt for the perfect retro clock for our living room. But we wanted something jumbo-sized. Since mid-century furniture can be pricey, we’ve managed to make affordable pieces like a DIY mid century modern side Table, DIY mid century plant stands, and even a mid century DIY day bed that mimics the look.
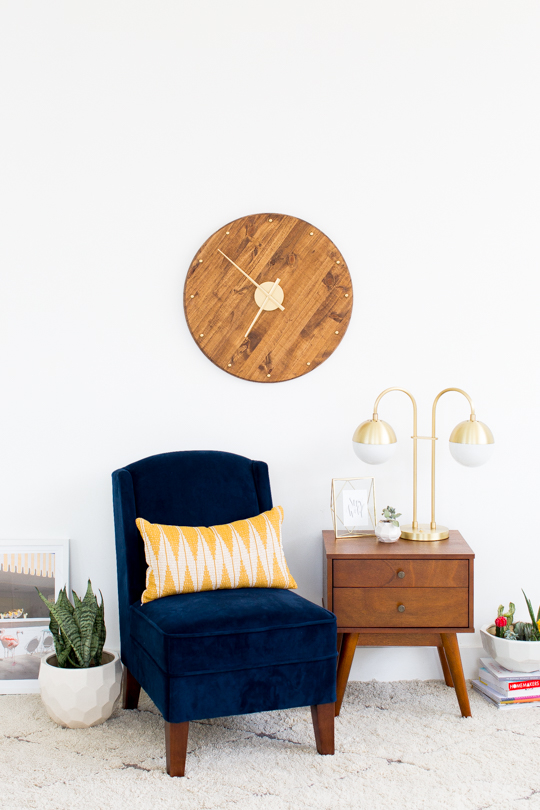
So we decided to make our own Mid Century DIY Wall Clock. Surprisingly, it’s actually pretty simple to make and will cost you a lot less than most home decor stores to create. This tutorial will walk you through the simple steps to create your very own wall clock, inspired by this iconic design movement, allowing you to craft a unique piece that embodies timeless sophistication.
With just a few materials and some basic tools, you’ll create a stunning, functional piece of art that will elevate your space. Whether you’re updating your living room, kitchen, or office, this DIY wall clock will make a bold statement, while giving you the satisfaction of adding a personal touch to your home. So, let’s get started and bring a bit of Mid Century charm to your walls!
Materials and Tools Needed
- Wood round — We used a 1″ x 2′ x 2′ unfinished pine wood round.
3-D clock hands time movement – A similar one is available here.
- Foam brush — For easy and even staining.
- Dowel caps — Used to represent the hours on your clock face.
- Super glue — For securing small elements like the dowel caps.
- D-ring hangers — To properly hang and secure your clock to the wall.
- Picture wire — For added security when mounting your clock.
- Drill, screws, and drill bit — To assemble and mount your clock securely.
- Optional: wood stain — We chose Early American for a classic Mid-Century look
- Optional: clear shellac spray paint — To seal and protect the wood after staining.
- Options: Metallic gold spray paint — Our clock hands were originally silver, but the gold finish adds a distinct Mid-Century flair.
How to Make a Mid Century DIY Wall Clock
1 — Optional: Stain and seal the wood round: Begin by staining the wood round in your color of choice. Let it dry completely. We only stained the front and side, as the back will not be visible. For added protection, apply a coat of clear shellac spray paint to seal the wood stain. Let it dry fully before proceeding.
2 — Optional: Paint the clock hands: While the wood dries, spray paint the clock hands movement and wooden dowel caps with metallic gold paint to add that perfect Mid-Century touch. Allow these to dry as well.
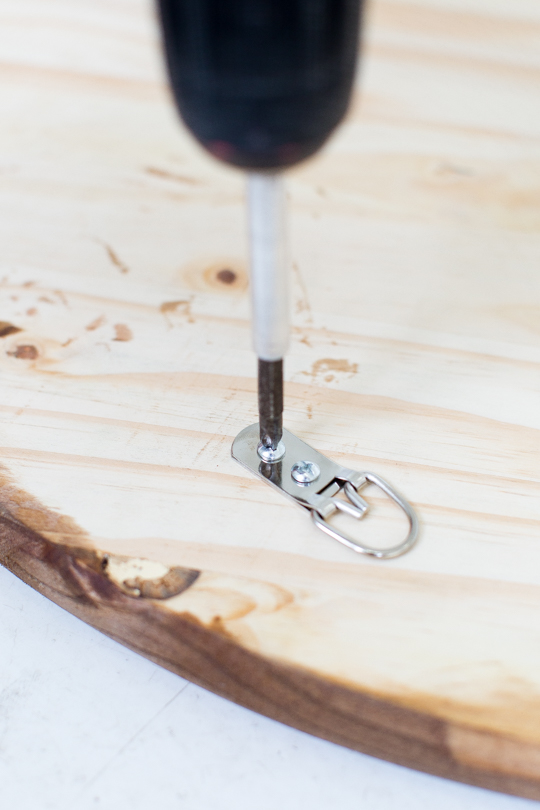
3 — Install the hangers: Flip the wood round over and install the D-ring picture hangers on the back using a drill. The clock hands should be added last to avoid scratching the mechanism during assembly.
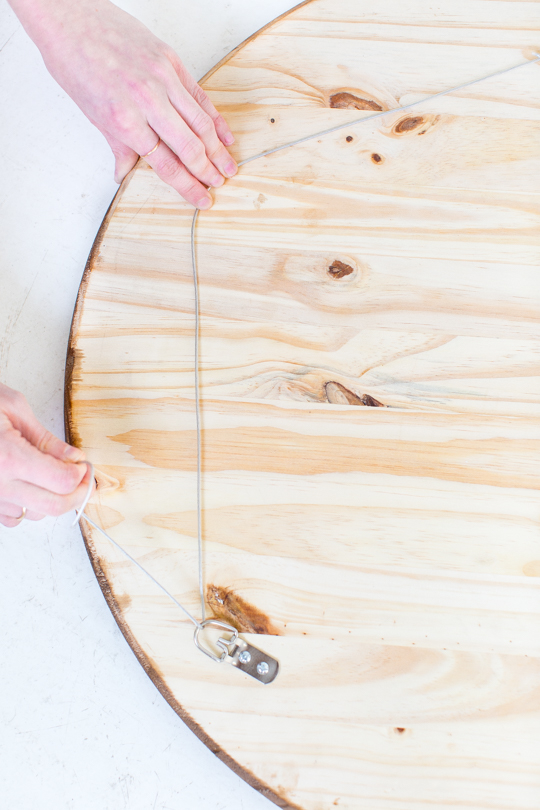
4 — String the picture wire: Thread the picture wire between the D-rings to prepare the clock for hanging once it’s fully assembled.
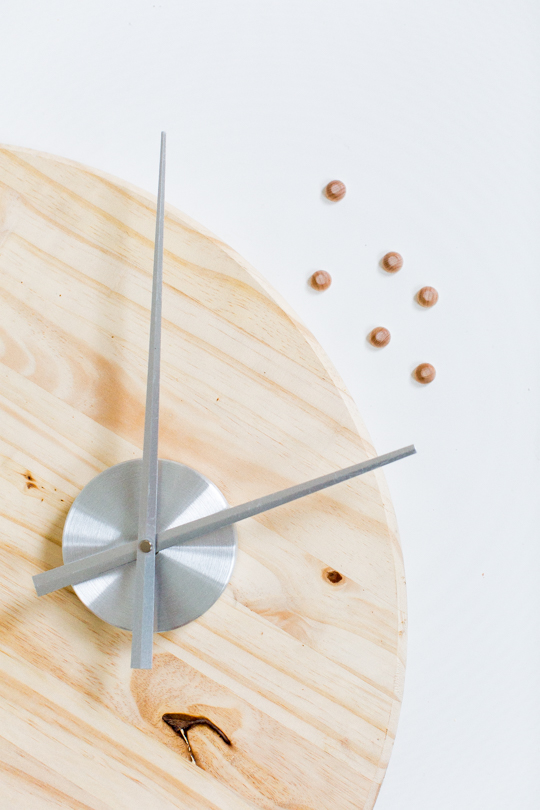
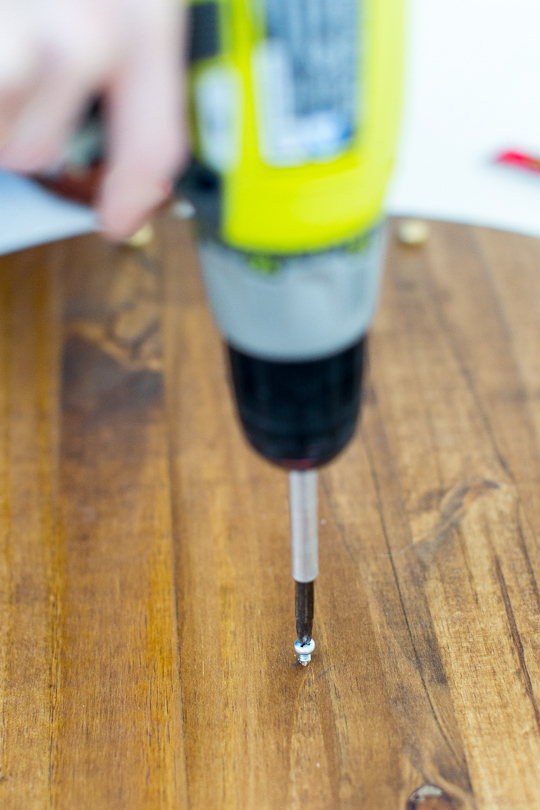
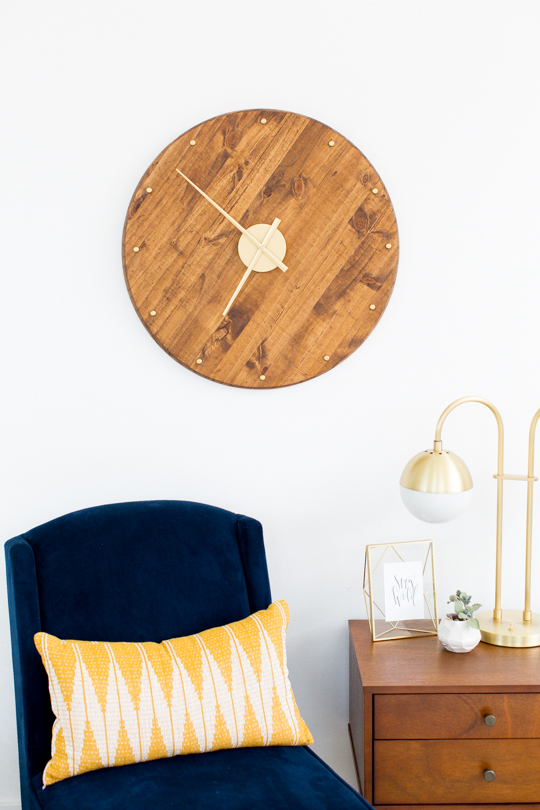
5 — Assemble the clock face: Flip the wood round back over and prepare to assemble the front of your clock. (Our particular 3-D clock hands movement simply rests on the face.) Measure and mark the exact center of the wood round, then drill a screw about 1/2″ below the center. This will allow the clock mechanism to hang properly.
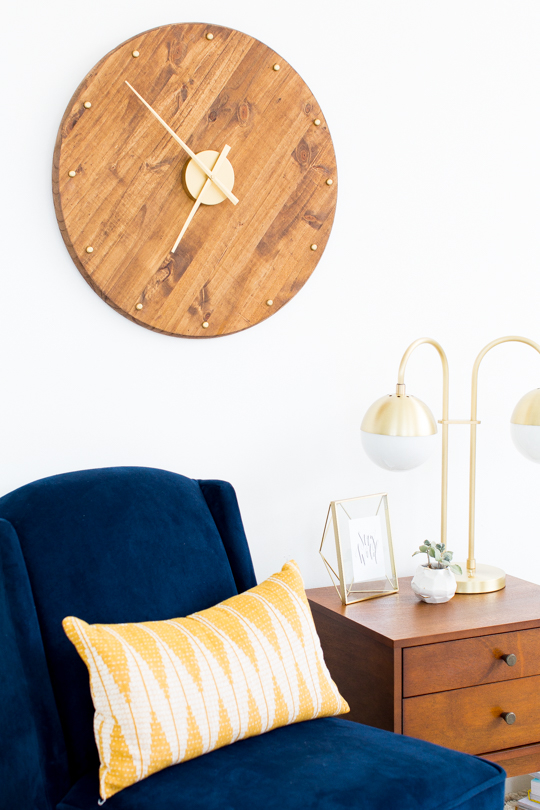
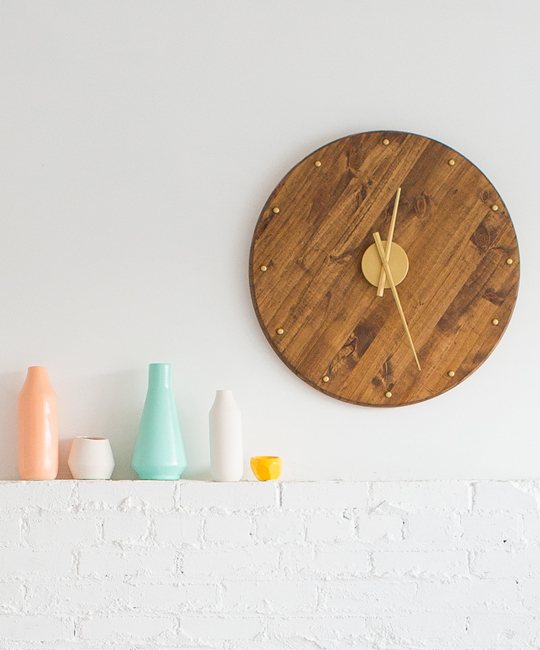
6 — Glue the dowels: Lastly, glue the wooden dowel caps onto the clock face to represent the hours. Allow the glue to set, and your Mid Century DIY Wall Clock is ready to hang!

Tutorial Tips and Tricks
- Avoid over-spraying the shellac: When applying the shellac spray, hold the can about 6-8 inches from the surface and use light, even coats. This helps avoid drips or an overly thick layer that can detract from the smooth, clean finish.
- Test the clock mechanism before final assembly: Before gluing all the elements together, test your clock mechanism to ensure it works properly. This way, you can make any adjustments or troubleshoot before the final assembly.
- To hang your clock: Choose a spot that complements your Mid-Century decor. Use the picture wire you attached earlier to hang the clock on a hook or nail. If you’re unsure about placement, use a tape measure to find the exact center of the wall or use a level to ensure the clock is hung straight. The picture wire allows for some flexibility, so you can make small adjustments after hanging.
Living Room Furniture Sources
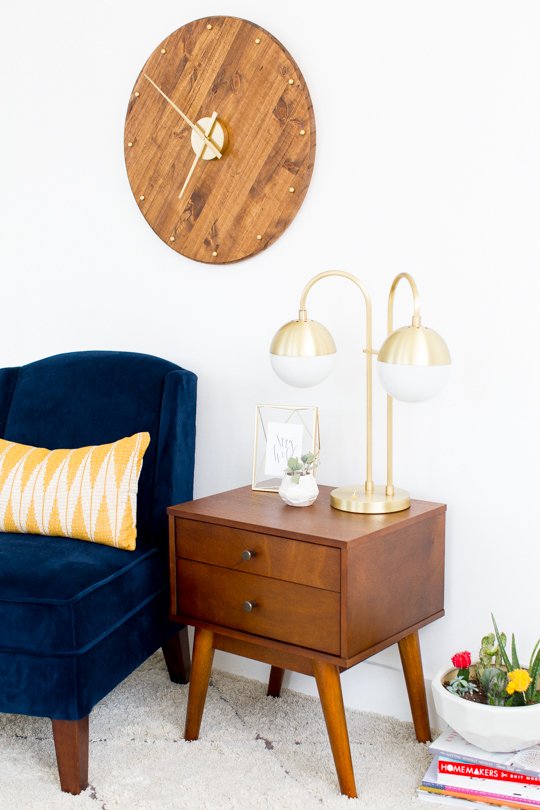
- Navy chair from Target
- End table from Target
- Cedar moss double table lamp from Rejuvenation
- For more DIY clocks, check out our marble DIY tabletop clock and DIY plate clock.
Check out our living room reveal for more sources and decor ideas.
More Easy DIY Wall Hangs
For more easy DIY projects for your walls, check out some of our favorites below —
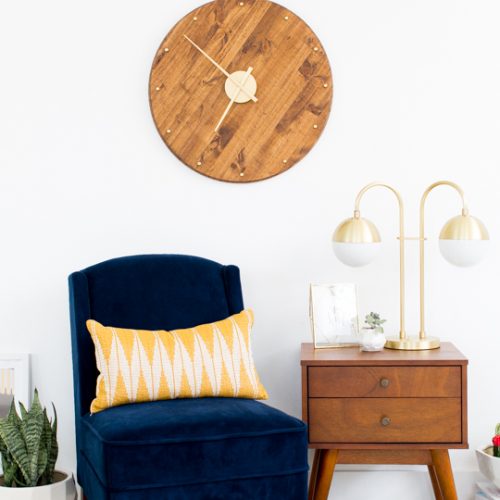
Mid Century DIY Wall Clock
Equipment
- Drill with drill bit and screws
- Foam brush for stain
- Super glue
Materials
- 1 wood round
- 1 wood stain any color of your choice
- 1 clock movement mechanism kit
- 1 metallic gold spray paint optional
- 1 clear shellac spray paint optional
- 12 dowel cap
- 3 D-ring hanger
- 1 picture wire
Instructions
- Optional: Stain and seal the wood round: Let it dry fully before proceeding.
- Optional: paint the clock hands: While the wood dries, spray paint the clock hands movement and wooden dowel caps with metallic gold paint. Allow these to dry as well.
- Install the hangers: Flip the wood round over and install the D-ring picture hangers on the back using a drill.
- String the picture wire: Thread the picture wire between the D-rings to prepare the clock for hanging once it’s fully assembled.
- Assemble the clock face: Flip the wood round back over and prepare to assemble the front of your clock. Measure and mark the exact center of the wood round, then drill a screw about 1/2″ below the center.
- Glue the dowels: Lastly, glue the wooden dowel caps onto the clock face to represent the 12 hours. Allow the glue to set.

Be sure to share your Mid Century DIY Wall Clock with us on Instagram using the hashtag #sugarandclothloves, so we can follow along, too! We always love seeing all of your creations!

43 Top Amazon Wall Decor Ideas for Every Room in Your Home
Find gorgeous Amazon wall decor that makes a big impact…
Continue Reading 43 Top Amazon Wall Decor Ideas for Every Room in Your Home
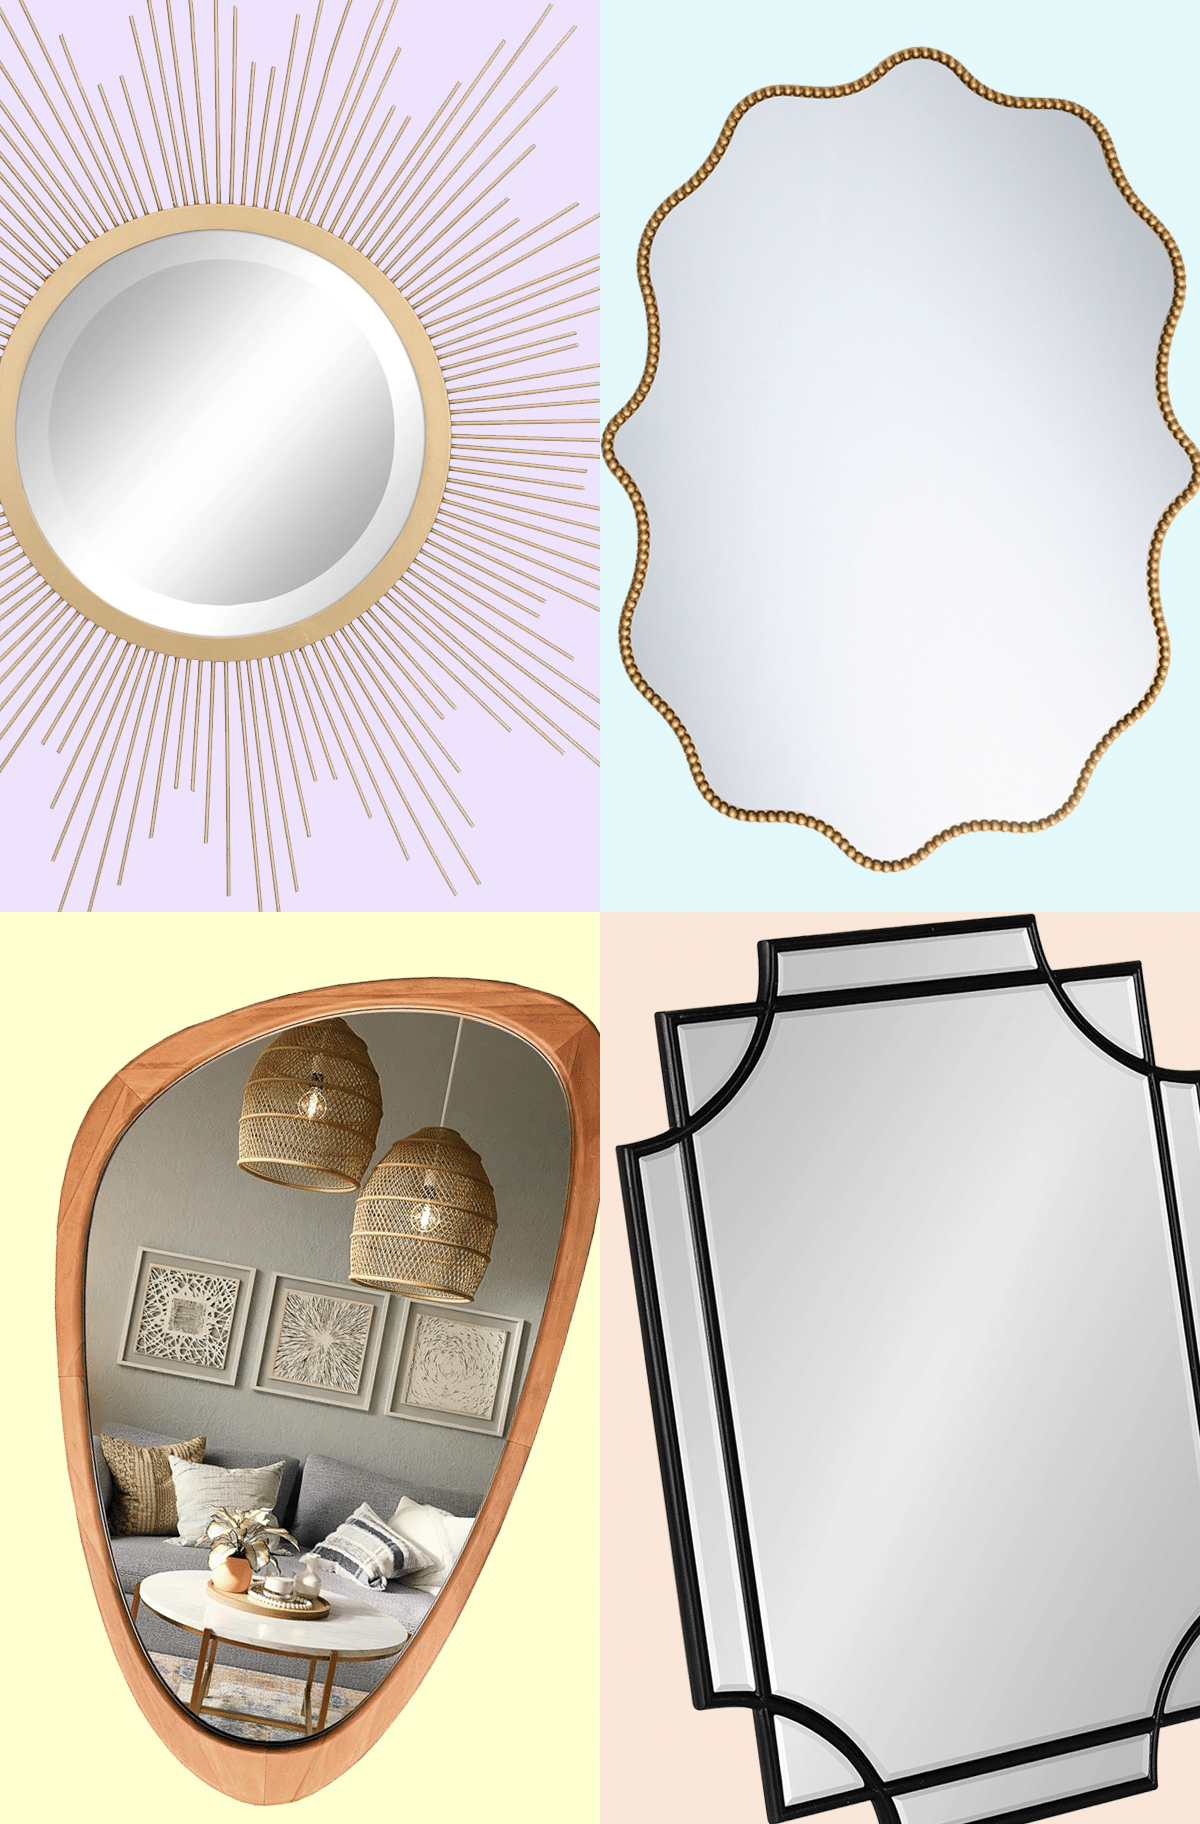
28 Decorative Wall Mirrors You’ll Wish You Bought Sooner
Looking for the perfect wall mirror? Explore our roundup of…
Continue Reading 28 Decorative Wall Mirrors You’ll Wish You Bought Sooner

25 Large Wall Clocks for Your Living Room
Looking for the perfect extra large wall clock? Explore stylish…
19 Unique & Easy Houseplants that We’re Loving
Looking for unique house plants? Dive into our guide to…
Continue Reading 19 Unique & Easy Houseplants that We’re Loving
Please note that we may earn a commission for some of the above affiliate links. However, products featured are independently selected and personally well-loved by us!
Hi! I love this. where is that accent table from?
Where di you get the clock movement?
THIS IS LOVELY! I’M GOING TO TRY MAKING ONE. WHAT IS THE DIAMETER OF THE CLOCK YOU MADE?
Also – where did you find the wood you used? THanks!!!
From our local Lowe’s store, but you can also find them on Amazon :)
24 inches
Hi, I am a new follower of your site, love all your d.i.y. ! I love how you put the whole setting together and especially the cobalt blue chair. May I know where can I get it? Thanks a lot!
This is perfect! I’ve been looking for the perfect mcm clock for my in-progress mcm-inspired bath reno – this is exactly what I need. Okay, time to just make it :)
Love this! Did you end up using the shellac spray?
Hey so I’m making this clock right now and I’m wondering when I spray the shellac on it
Thank you!
It’s seriously perfect, along with the chair, end table and the whole setup. I could just place the whole thing in my living room and be satisfied. The colors will match perfectly.
This wall clock is so pretty! I love the size, and the color of the wood! I want one in our Master Bedroom!
Paige
http://thehappyflammily.com
Such a cute idea, thanks! And may I ask, where is that awesome table lamp from?
Thanks so much Darby! The table lamp is from Rejuvenation
Y’all are just too clever. :)))
Carrie
http://www.wearwherewell.com
Love it Ash. That modern clock movement makes all the difference. Nailed it.