Abstract Modern DIY Low Bench
Follow our step-by-step DIY Low Bench tutorial to build an abstract modern design that’s perfect for small spaces and big style.
You might be asking yourself, “What exactly is a DIY modern low bench… and did we just make that up?” Fair question. When I first shared the idea to the Sugar & Cloth team, I got a few raised eyebrows. But trust me. This simple project is both stylish and practical!
A modern low bench is one of the most versatile pieces of DIY furniture you can make. It works beautifully as extra seating for guests without blocking windows, a cozy reading nook bench, a colorful kids’ bench, or a stylish seat for a low floor table (like this DIY). Best of all, it’s perfect for small spaces. When not in use, you can easily slide it under the bed or tuck it away until you’re next gathering.
This DIY bench tutorial will show you how to customize your design to fit your style, whether you prefer a clean, minimalist stained-wood look or a bold, abstract pattern with modern gold hairpin legs. With just a few materials and basic tools, you can create a functional, space-saving piece that adds a touch of modern flair to your home.
Materials and Tools
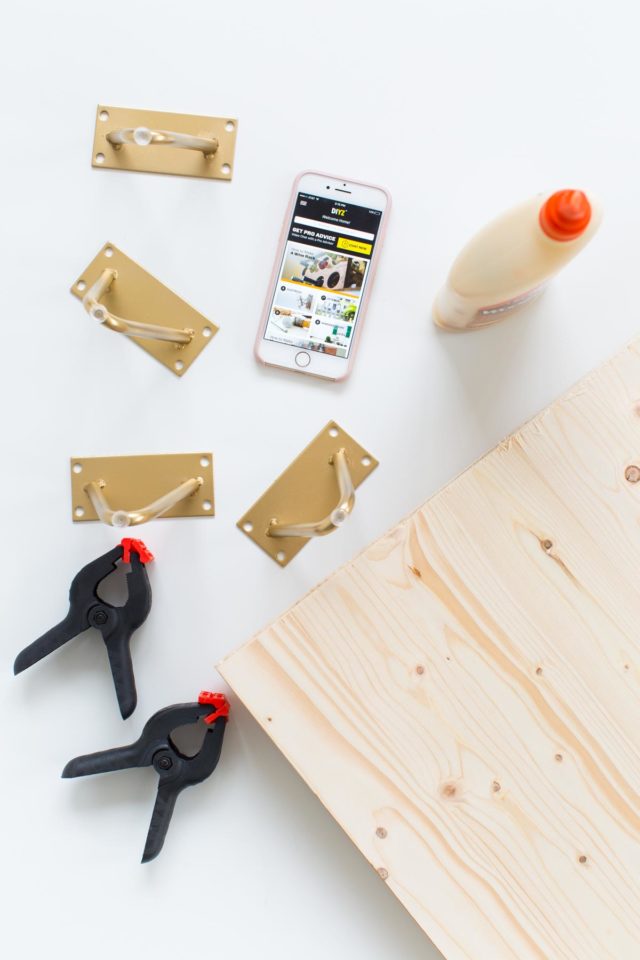
- Pre-finished boards: Already cut to size at the home improvement store for convenience. Since the boards are pre-cut and pre-finished, this project is quick and beginner-friendly.
- Wood stain and paints in the color of your choice
- Hairpin legs: Choose the finish that best matches your style. The original ones purchased for this project or sold out but you can find similar black heavy duty hairpins legs online. We also love this gold trapezoid hairpin legs.
- Permanent metallic gold adhesive paper: Optional for extra decorative flair.
- Gold wood screws: Your hairpin legs may already come with screws.
- Drill and drill bits
- Wood glue
- Clamps
- Painters tape: Optional, but perfect for creating clean painted lines and shapes.
How to Make An Abstract Modern DIY Low Bench
1 — Glue the boards together:
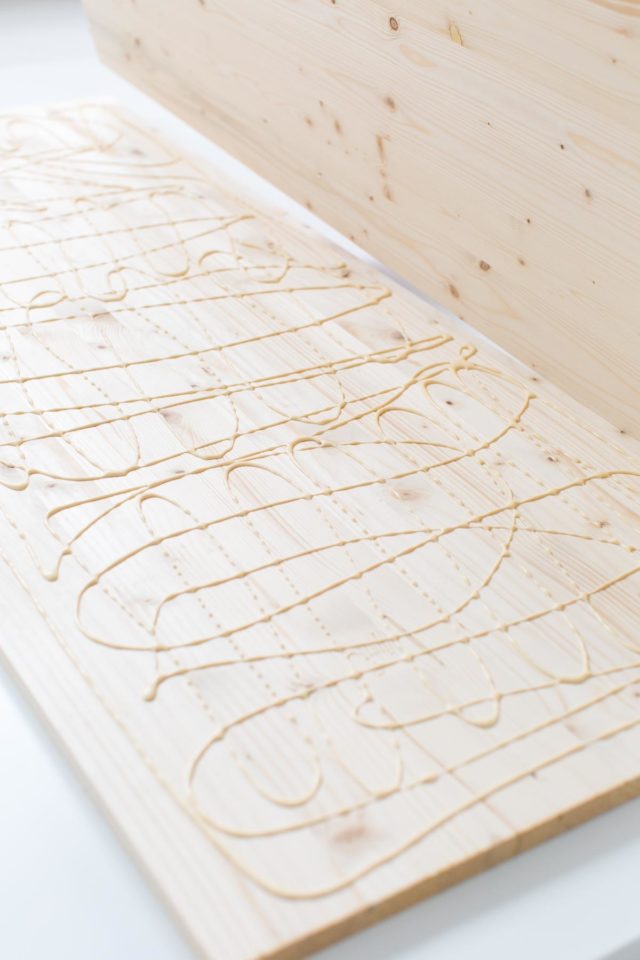
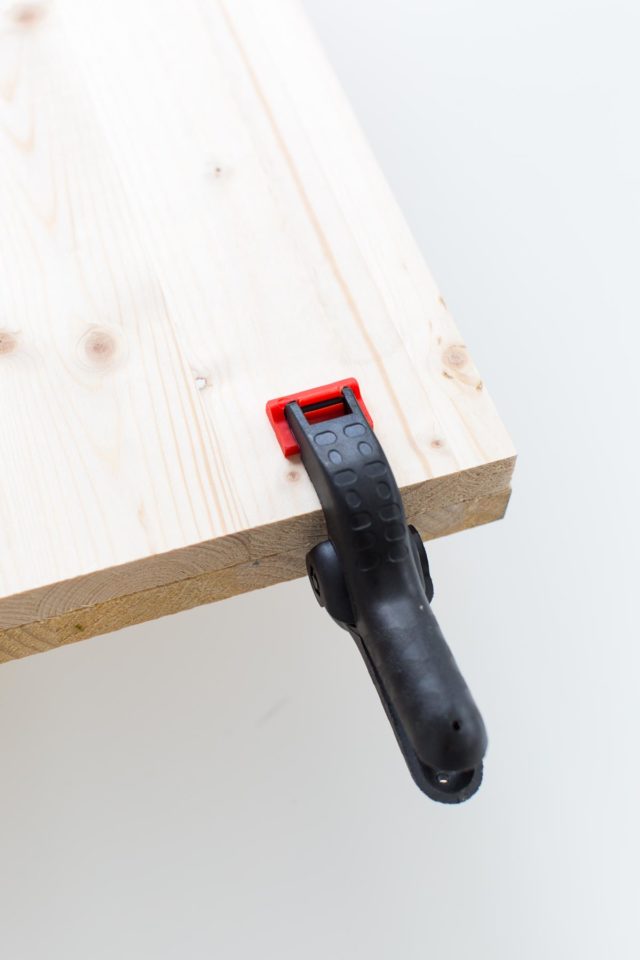
To give the bench a thicker, more substantial look, use wood glue to attach the two pre-finished boards together. Clamp them securely and let dry completely.
2 — Smooth the edges:
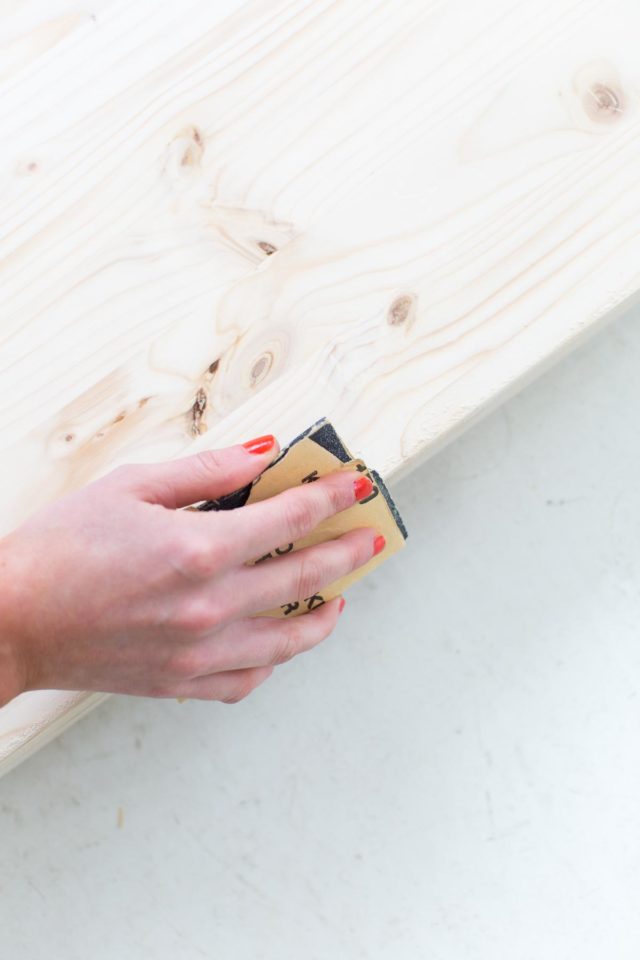
Once dry, sand the edges and any rough spots until you have a smooth, even surface.
3 — Mark and attach the legs:
Measure and mark the placement for each hairpin leg in the four corners. We placed ours 1.5 inches from each edge.
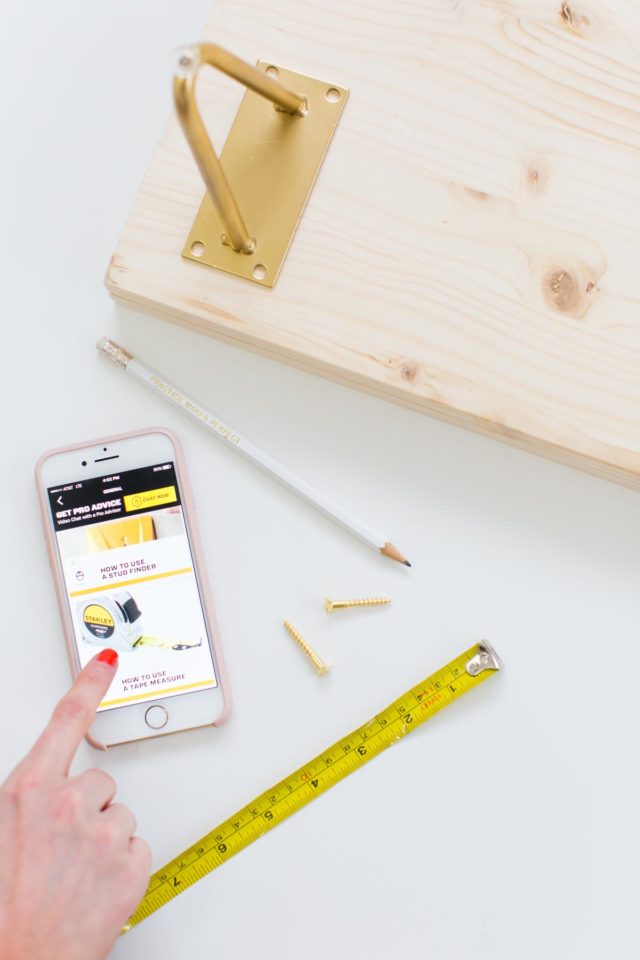
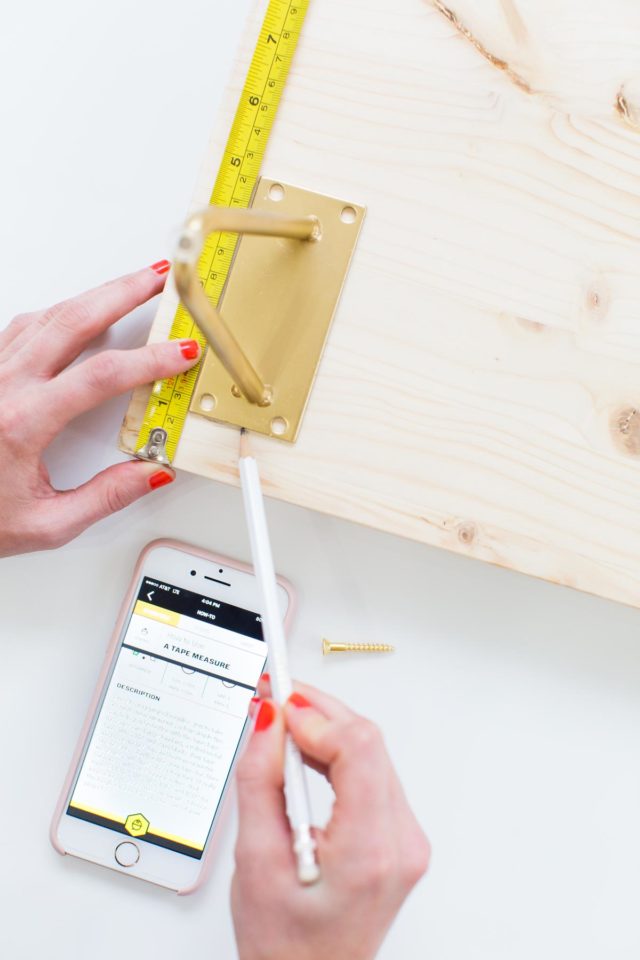
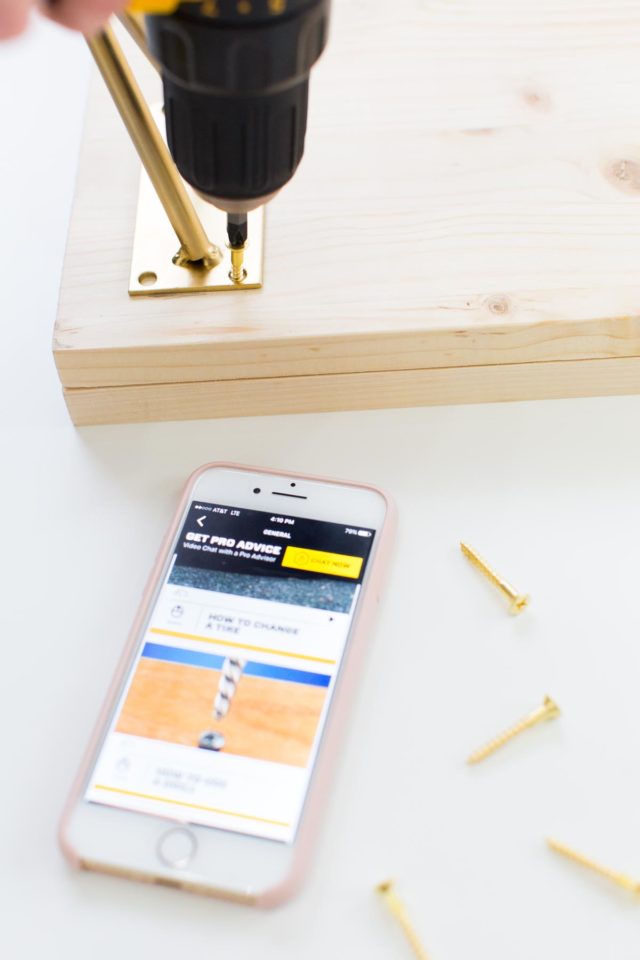
Using a drill and gold wood screws, secure each leg plate in place.
4 — Add your abstract design:
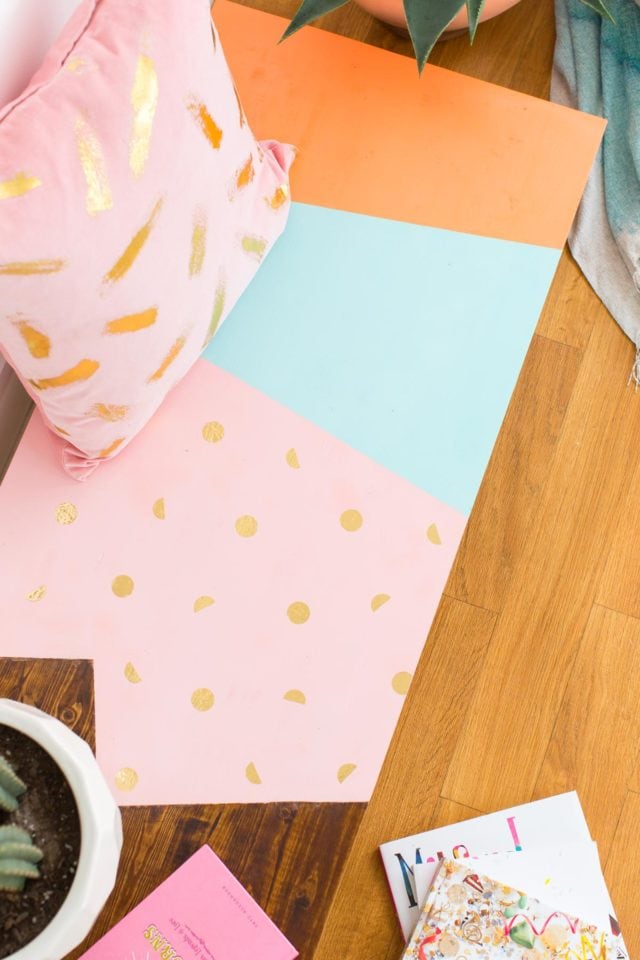
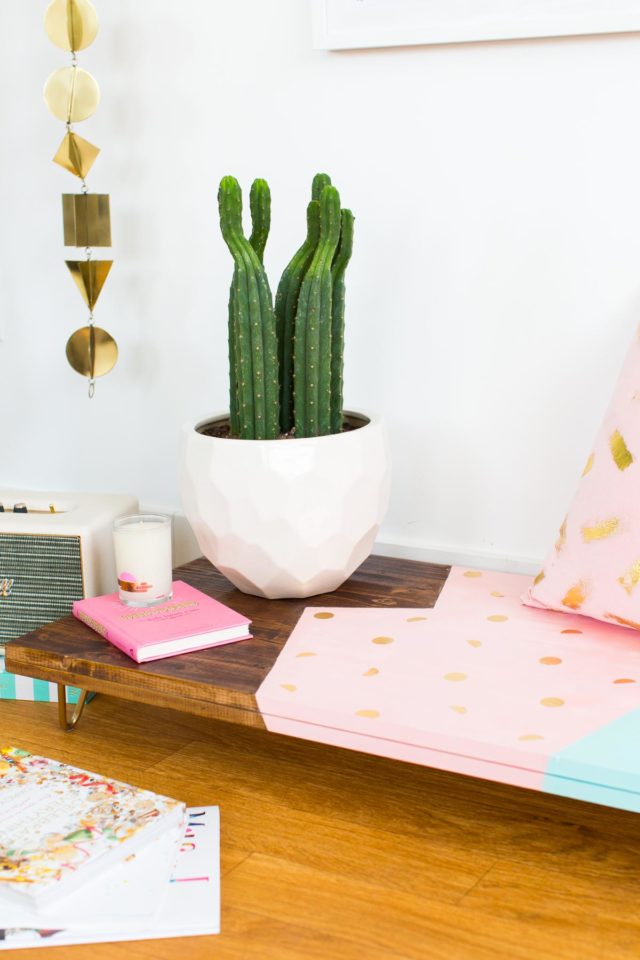
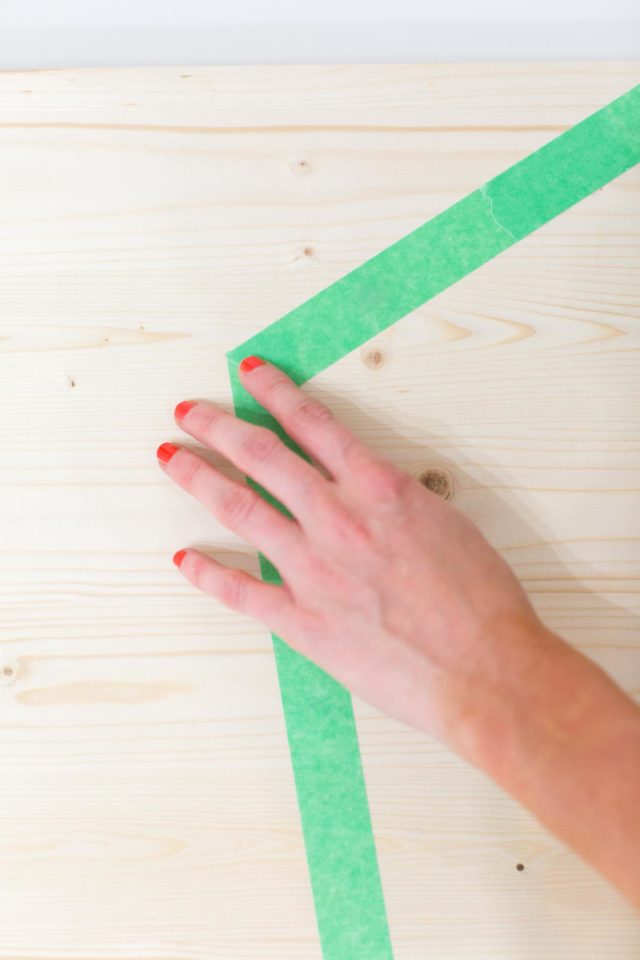
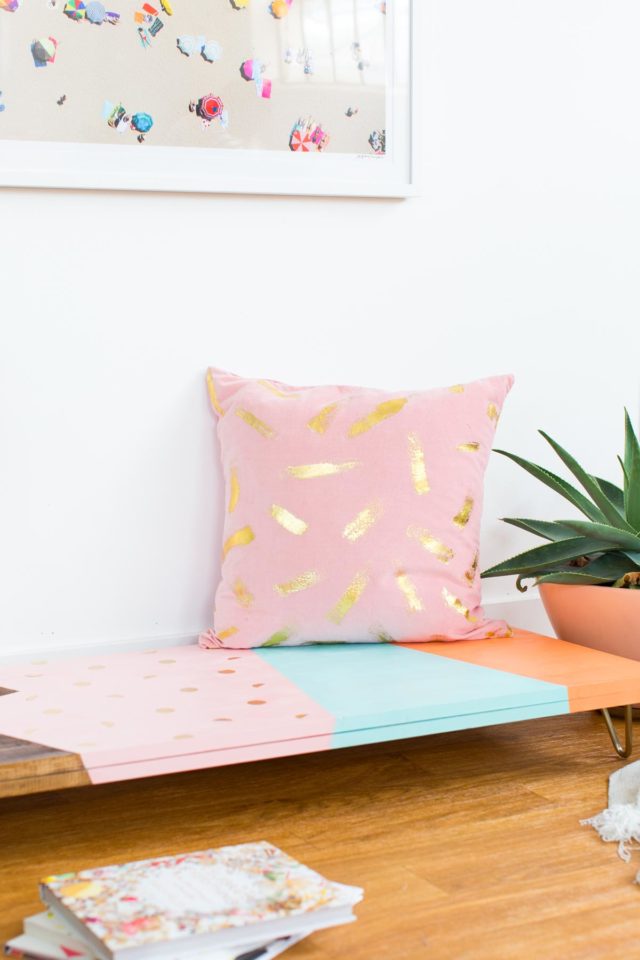
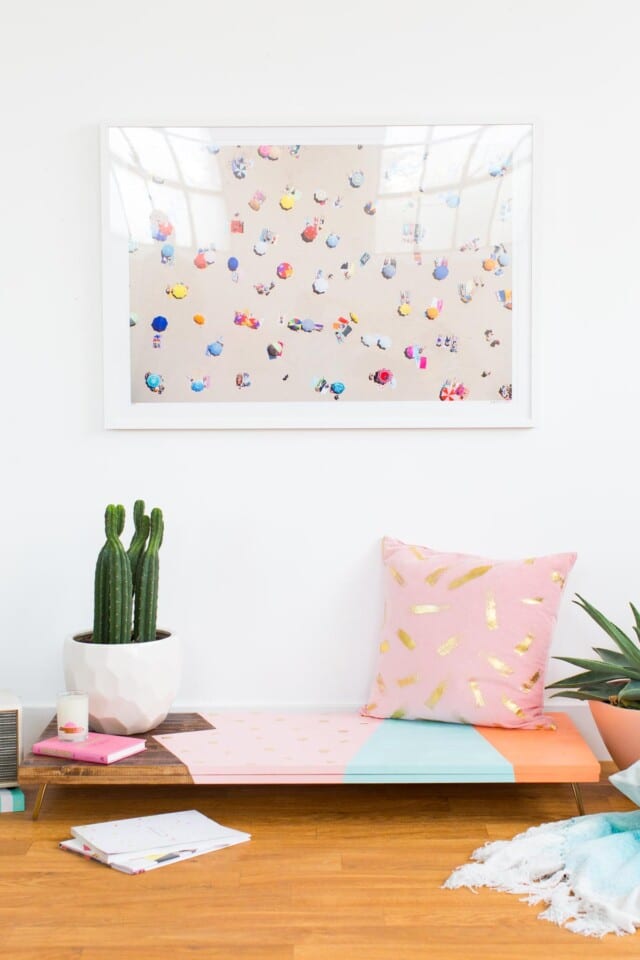
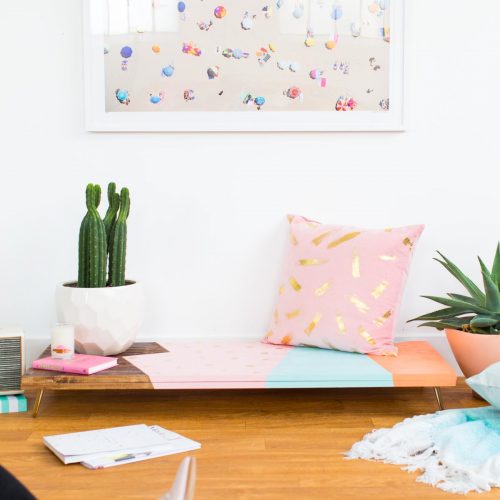
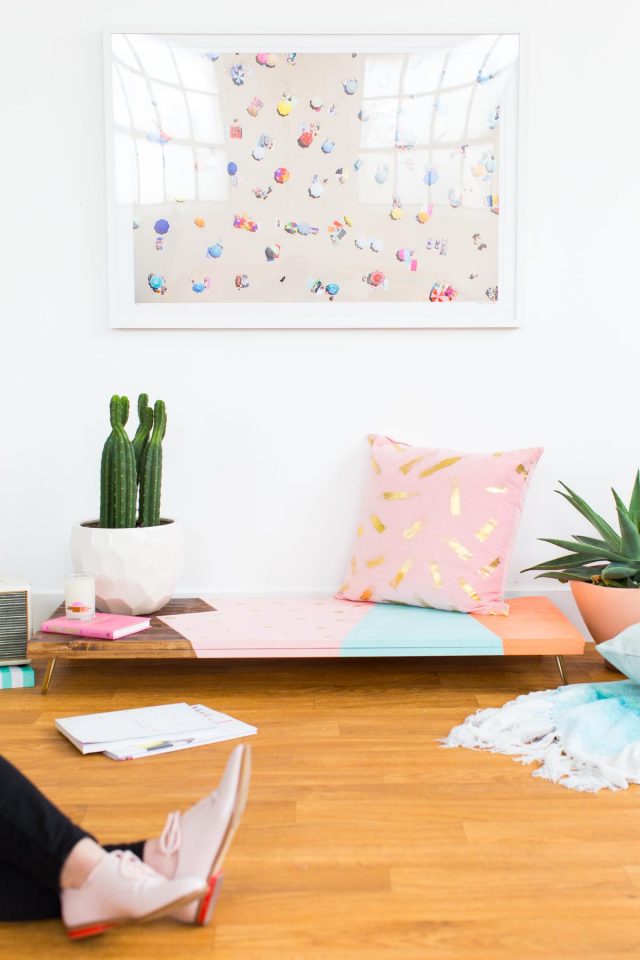
If you want to paint or stain a pattern, use painter’s tape to outline your design. We chose a bold, modern abstract pattern with a mix of painted and stained sections. We wanted one edge stained and pink, blue and orange painted sections.
5 — Add metallic accents:
Once the paint and stain are fully dry, apply shapes cut from metallic gold adhesive paper to the painted sections for a unique, modern touch. For our design, we applied abstract gold shapes the the pink painted portion.
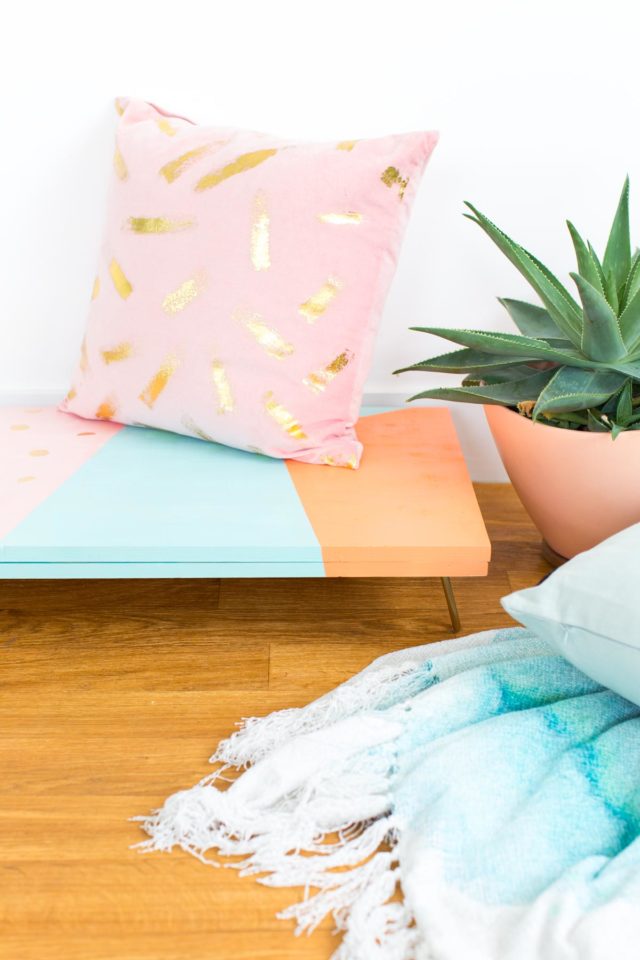
And voilà! Your Abstract Modern DIY Low bench is complete! Style it with potted unique houseplants, colorful throw pillows ( like this DIY pattern throw pillow or DIY watercolor throw pillow), or next to a DIY low table for floor seating.
Tutorial Notes and Tips
- Test your stain and paint first: Wood can absorb color differently, so do a quick test on a scrap piece to make sure you’re happy with the final shade.
- Protect your finish: If your bench will see heavy use, seal it with a clear topcoat to protect against scratches and spills.
- Think about versatility: Keep the design simple if you want your bench to work in multiple spaces over time, or go bold if it’s meant as a statement piece.
More Living Room Decor Ideas
For more unique and budget friendly home decor projects and ideas, check out a few of our favorites below —
- 37 Simple Scrap Wood Projects for Beginners & Experts
- 20 Gorgeous DIY Coffee Table Ideas to Try At Home
- Stacked DIY Painted Vase
- DIY Painted Chair Makeover
DIY Modern Low Bench
Equipment
- Drill and drill bit
- Clamps
- Wood screw
Materials
- 2 wood board pre-cut and pre-finished
- 4 steel hairpin legs
- Paint colors colors of your choice
- Wood stain colors of your choice
Instructions
- Glue the boards together: To give the bench a thicker, more substantial look, use wood glue to attach the two pre-finished boards together. Clamp them securely and let dry completely.
- Smooth the edges: Once dry, sand the edges and any rough spots until you have a smooth, even surface.
- Mark and attach the legs: Measure and mark the placement for each hairpin leg in the four corners. We placed mine 1.5 inches from each edge. Using a drill and gold wood screws, secure each leg plate in place.
- Add your abstract design: If you want to paint a pattern, use painter’s tape to outline your design. We chose a bold, modern abstract pattern with a mix of painted and stained sections.
- Add metallic accents: Once the paint and stain are fully dry, apply shapes cut from metallic gold adhesive paper to the painted sections for a unique, modern touch.

43 Top Amazon Wall Decor Ideas for Every Room in Your Home
Find gorgeous Amazon wall decor that makes a big impact…
Continue Reading 43 Top Amazon Wall Decor Ideas for Every Room in Your Home
28 Decorative Wall Mirrors You’ll Wish You Bought Sooner
Looking for the perfect wall mirror? Explore our roundup of…
Continue Reading 28 Decorative Wall Mirrors You’ll Wish You Bought Sooner
25 Large Wall Clocks for Your Living Room
Looking for the perfect extra large wall clock? Explore stylish…
19 Unique & Easy Houseplants that We’re Loving
Looking for unique house plants? Dive into our guide to…
Continue Reading 19 Unique & Easy Houseplants that We’re Loving
Please note that we may earn a commission for some of the above affiliate links. However, products featured are independently selected and personally well-loved by us!
Can I know the size of the wood base used for this bench. Thanks
Haha right? We love it! :)
Wow cool idea!
So glad you like the bench :)!
May I ask what kind of paint you used?
We used regular wall paint! Hope that helps! xo
Very cute idea!
Thank you for the kind words, Lorita!
So lovely, and love the paint job you added!
– Natalie
http://www.workovereasy.com
Thanks, Natalie! Really glad you like it!
So adorable! Definitely going to try this app!
Seriously a life saver! I loved using it.