Reclaimed Wood DIY Folding Table
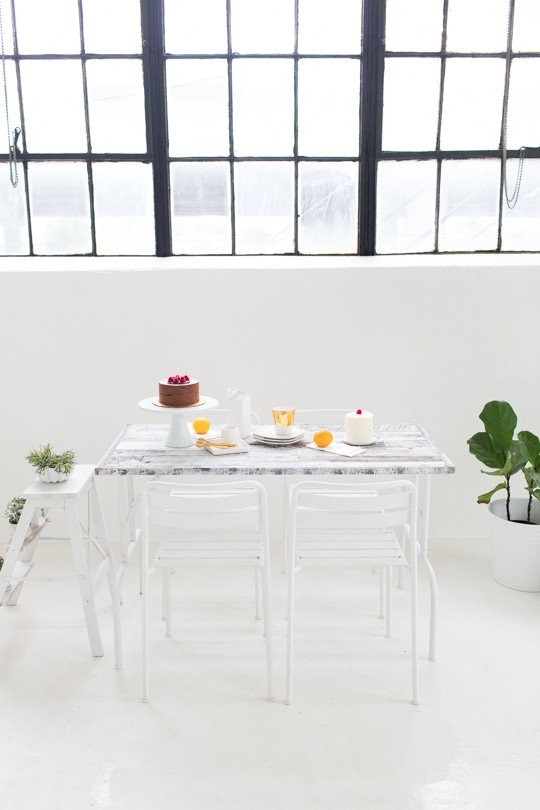
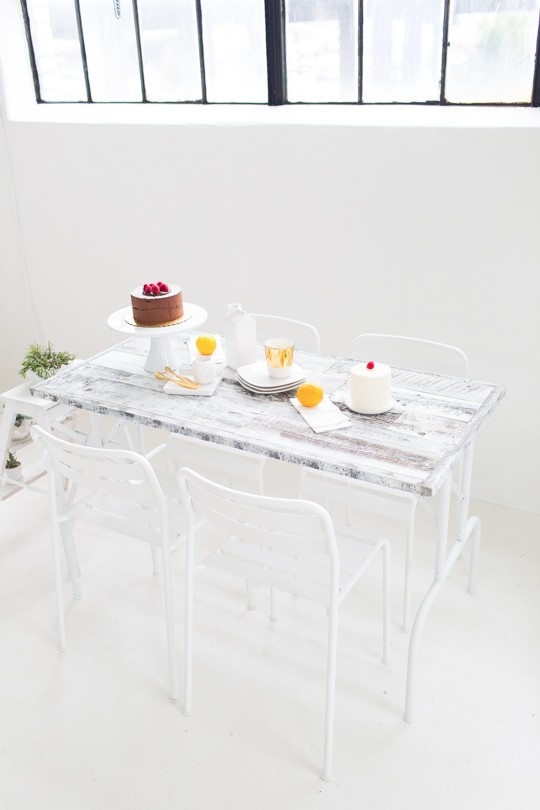
This DIY Reclaimed Wood Folding Table will make any visitor’s heart skip a beat! It’s the perfect addition to your indoor dining space. Here’s how you can build one yourself.
In case you’ve never done an intense four-hour Google search for “cute folding tables,” they practically don’t exist unless you’re spending big bucks.
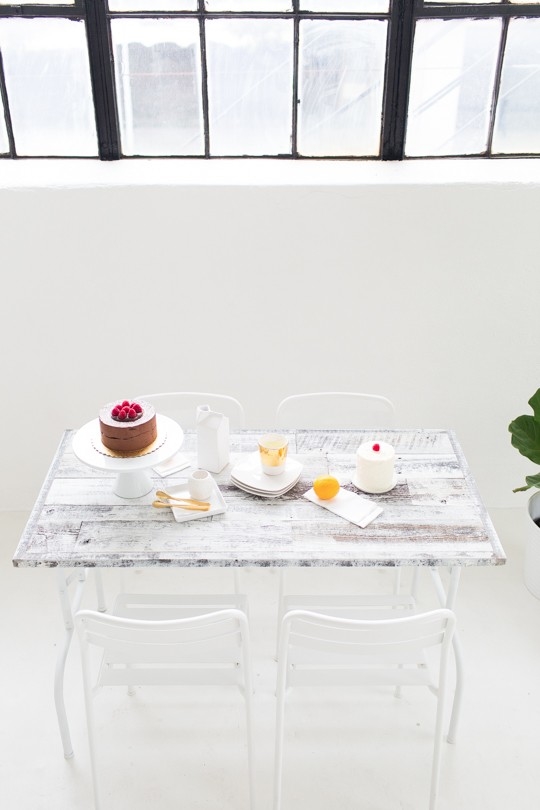
With the holidays, workshops, and all of the photoshoots going on at the studio all of the time, we were in serious need of a cool folding table that we could still tuck away when we didn’t need it.
Since all we do around here is DIY anyway, it only stood to reason that we make our own.
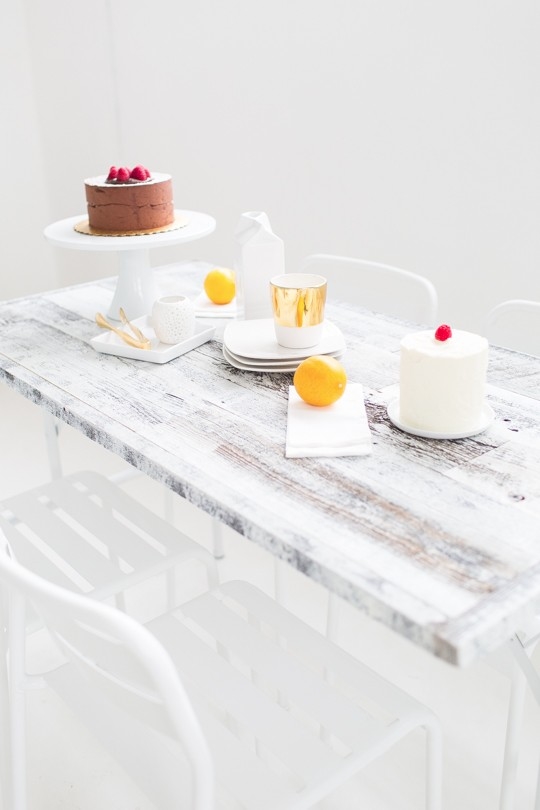
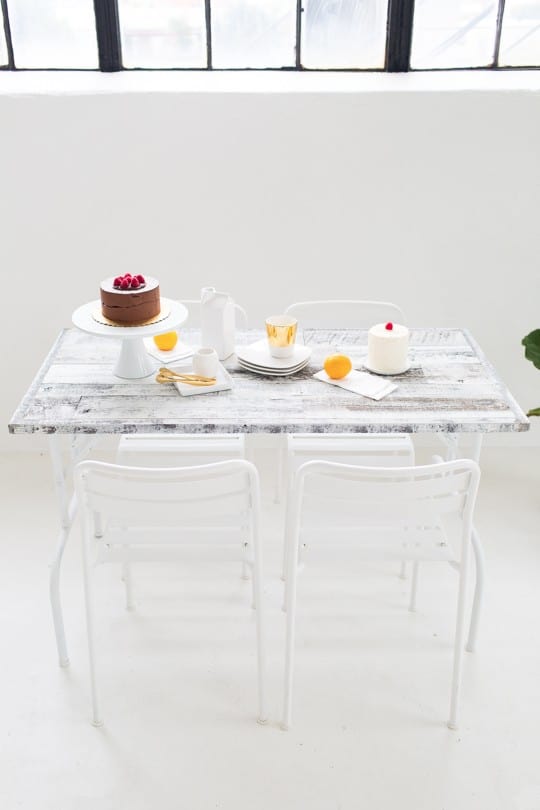
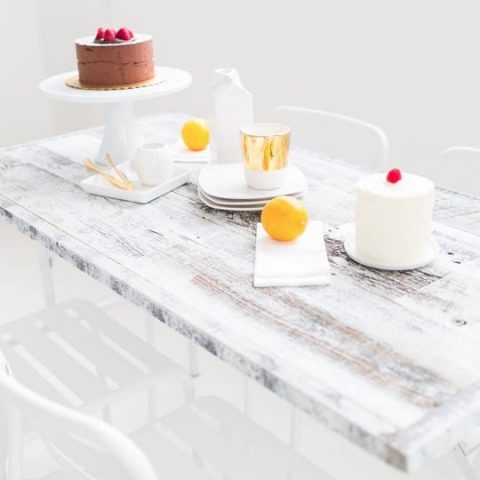
So we devised this DIY Reclaimed Wood Folding Table using distressed white Stikwood.
We’ve done so many projects with Stikwood, like creating a DIY Wooden Headboard or DIY statement wall.
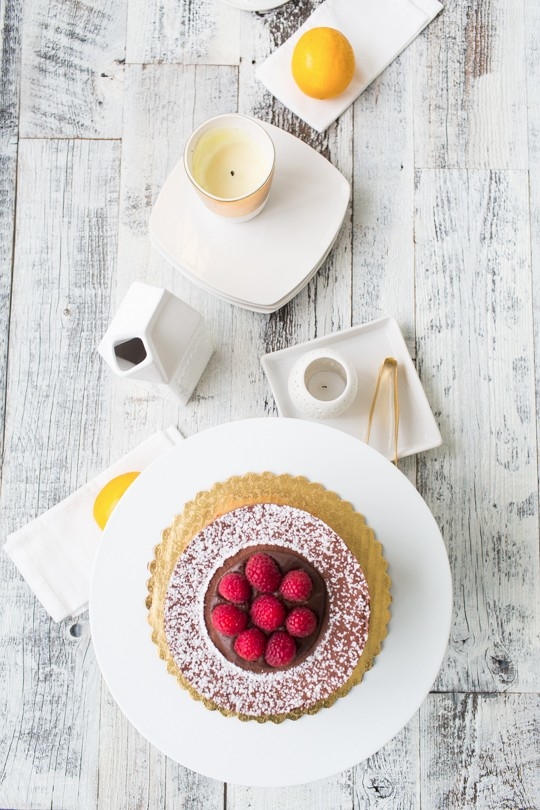
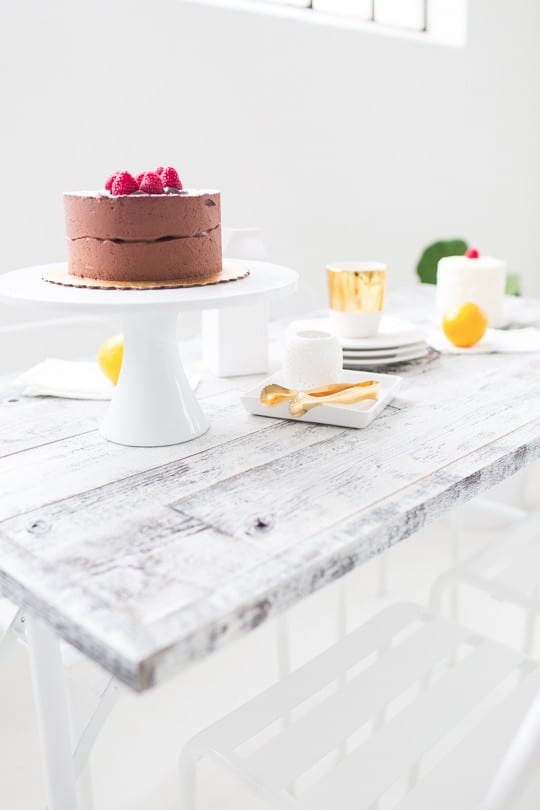
We really love the way it came out and the not-so-coincidental fact that it makes one heck of a sweet background for photos. We mean, has a cake ever looked so good or what?!
What is Stikwood?
Stikwood are real wood planks. They’re great for DIY projects since they are thin and lightweight and feature peel and stick adhesive backings. So they are easy to use and install and can stick to walls and surfaces.
We wanted a reclaimed look for this particular project, but you can choose from over 30 unique finishes and colors. So if you prefer a modern decor, then opt for a different style.
The wood is produced in the U.S.A. from sustainable materials. We love that you can ordered samples. A big box goes a long way so you’ll have plenty leftover for other DIYs.
We love that Stikwood has the same feel and quality (but at a cheaper price tag) than actual wood. It’s important that the Stikwood be coated with matte polyurethane to be resistant to liquids and heavy use over time.
If you didn’t purchase the Stikwood that was already coated with polyurethane before shipping, you could DIY that at home after you’ve assembled the DIY Reclaimed Wood Folding Table. However, you can use opt to use other peel and stick wood adhesives.
Materials and Tools Needed
- Folding table legs
- Plywood in the table size of your choice — Ours was 24″ x 28″ x 3/4″. Your local hardware store can cut the wood to your desired choice.
- Drill
- Reclaimed Stikwood Weathered Wood Peel and Stick — Ours is in Weathered White and pre-treated with polyurethane for a waterproof finish.
- Reclaimed Stikwood Weathered Corner Trim — Ours is in Weathered White and pre-treated with polyurethane for a waterproof finish.
- Dremel, rotary saw, or table saw
- Pencil
- Measuring tape
- Lightweight sandpaper
- Spray paint — Optional for the legs. We used white to match the tabletop.
- Craft paint and paintbrush — Optional to match the weathered wood. We used black and white for a cohesive look.
How to Make a DIY Folding Table
Assemble the table:
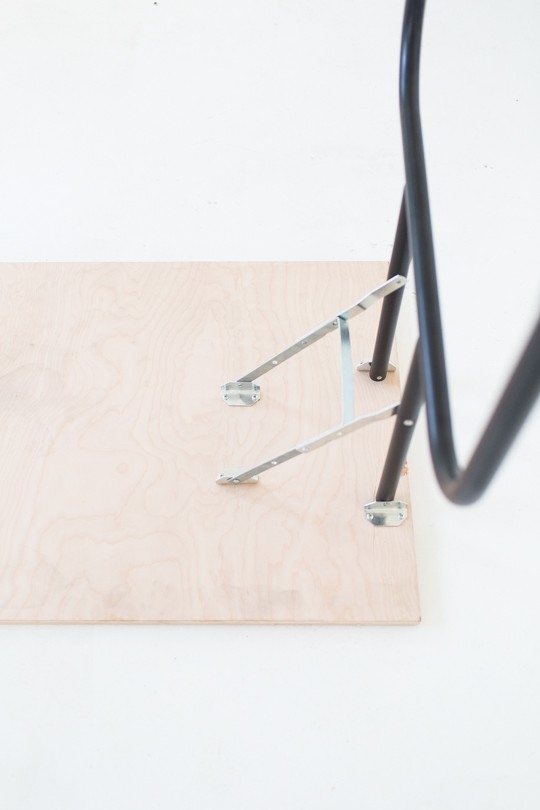
1 — Put together your table. (This is the easiest part!) Screw the folding table legs on both sides of the plywood to the bottom of the table. And then, fold out the legs.
2 — Optional: We wanted the wanted the legs and bottom of the table to blend with the white chairs and white studio scheme. And typically, it’s easier to find black table legs so we had to paint ours. Spray paint the legs and bottom of the table. Allow to dry.
Assemble the corner and border trim:
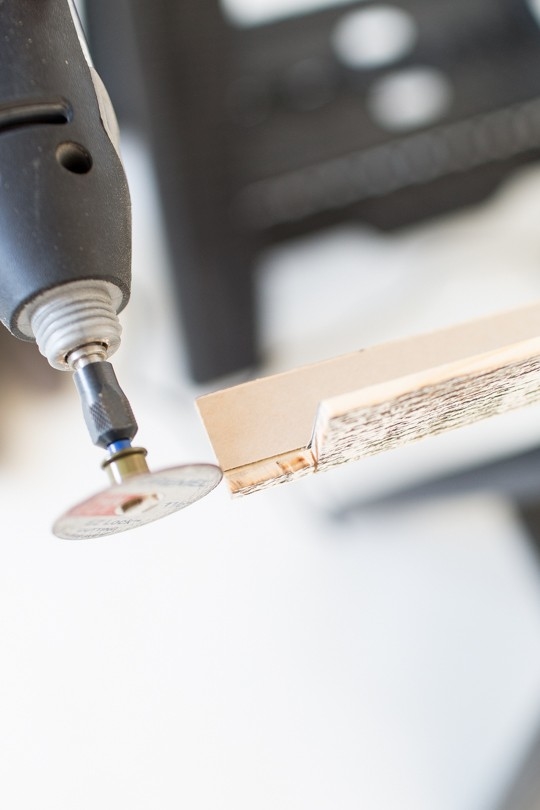
1 — Measure and mark where the trim overlaps in the corners.
2 — Use a Dremel or rotary tool to cut out a small 1″ square for the second trim piece to rest in. Rather than making 45-degree cuts to fit the wood trim around the corners, we decided to do 90-degree cutouts for a more modern look. You’ll do this all the way around the table for every edge.
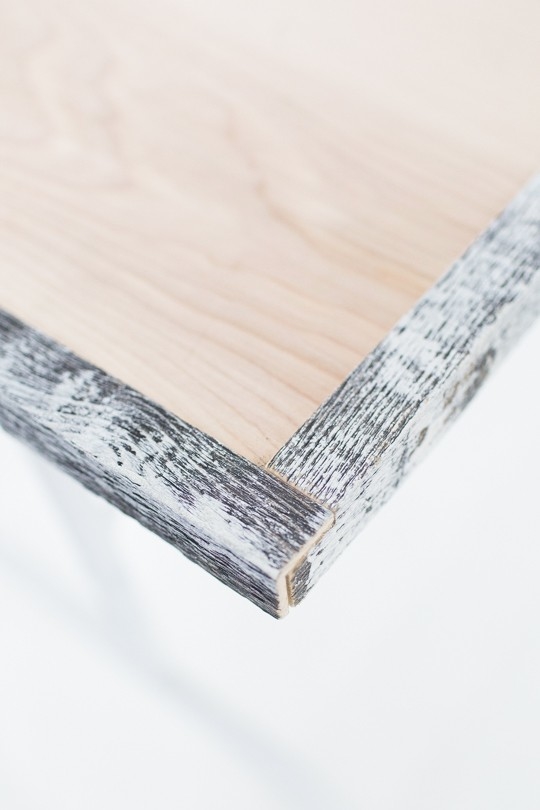
3 — Peel and stick your trim in place.
Prep the wood boards:
1 — Lay the pieces of Stikwood onto the table to see what layout you like best.
For a mismatched look, alternate lengths of your board. Each board has unique characters so make sure to get your desired design.
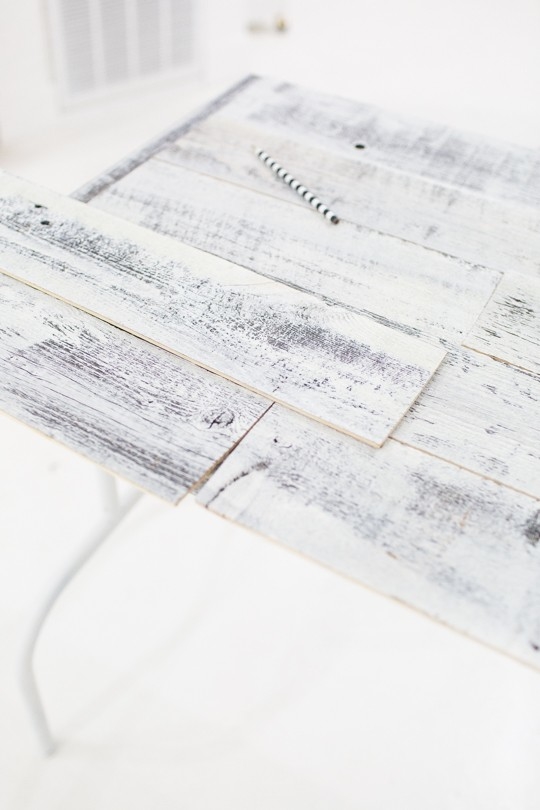
2 — When you’ve achieved your desired placement, measure and mark where to cut each board to fit within the border of the trim all the way around.
Assemble the wood boards:
1 — Peel the adhesive backing off of the wood board and press the board down firmly in place. Starting with one row and work your way across.
2 — Optional: Sand down any rough cut edges or corners for a smooth surface.
3 — Optional: Touch up any exposed raw wood with a bit of black and white paint (or color of your choice) to match the rest of the distressed white color.
More Easy DIY Tables to Make at Home
If you had fun doing the DIY Wooden Folding Table, you might want to try the related posts below –
- Floor Seating Ideas – DIY Floor Seating Table
- DIY Mini Patterned Side Table
- A Perfectly Pastel Easter Table Ideas
- DIY Paper Color Block Table Covering
DIY Reclaimed Wood Folding Table
Equipment
- Dremel, rotary saw, or table saw
- Drill
- Pencil
- Measuring tape
- Lightweight sandpaper
- Brush
Materials
- 2 folding table leg
- 1 piece plywood in the table length, width and thickness size of your choice
- 1 box Stikwood Weathered Wood or any peel and stick wood planks
- 1 box Stikwood Weathered Wood Corner Trim
- Spray paint optional for the table legs
- Craft paint optional
Instructions
To assemble the table:
- Screw the folding table legs on both sides of the plywood to the bottom of the table. And then, fold out the legs.
- Optional: If you want an all-white color scheme, spray paint the legs and bottom of the table. Allow to dry.
Assemble the corner and border trim:
- Measure and mark where the trim overlaps in the corners.
- Use a Dremel or rotary tool to cut out a small 1″ square for the second trim piece to rest in.Rather than making 45-degree cuts to fit the wood trim around the corners, we decided to do 90-degree cutouts for a more modern look.You’ll do this all the way around the table for every edge.
- Peel and stick your trim in place.
Prep the wood boards:
- Lay the pieces of Stikwood onto the table to see what layout you like best. For a mismatched look, alternate lengths of your board. Each board has unique characters so make sure to get your desired design.
- When you've achieved your desired placement, measure and mark where to cut each board to fit within the border of the trim all the way around.
- Assemble the cut boards onto the table by starting with one row and working your way across to the other side of the table.Do not peel the adhesive yet. You want to make sure that all the cut boards fit properly.If not, make any necessary adjustments before adhering.Because once the Stikwood goes down, there’s no peeling it back off in one piece!
Assemble the wood boards:
- Peel the adhesive backing off of the wood board and press the board down firmly in place. Starting with one row and work your way across.
- Optional: Sand down any rough cut edges or corners for a smooth surface.
- Optional: Touch up any exposed raw wood with a bit of black and white paint (or color of your choice) to match the rest of the distressed white color.
Notes

Don’t forget to share your DIY Wooden folding table with us on Instagram using the hashtag #sugarandclothloves. We always love seeing all of your creations! Looking for more interior design inspiration? You can find them all of our home decor tutorials and ideas right here!
Please note that we may earn a commission for some of the above affiliate links. However, products featured are independently selected and personally well-loved by us!
The folding table is lovely but I priced it out and it’s $323! The Stikwood is the spendy part – $260.
Hi Georgie! Totally understandable! You could always go a more budget friendly route with vinyl adhesives that recreate the reclaimed wood look!
You have NO idea how long I’ve been looking for a folding table to use as an extension for my regular dining table on the holidays when I have a CROWD for dinner! I just discovered your blog and am hooked! THANKS for such great ideas!
Yay! We’re glad you found us!
That is absolutely true, I have never seen a cute folding table! Love the makeover you gave this one! It really turned out great!
This is such a neat DIY! You are totally right that it’s hard to find a cute folding table… but THIS, you have hit the jackpot while creating this! Love it, Ashley.
WOW! This is an insanely amazing DIY. Totally want to try it myself sometime. Also your blog looks amazing and I can’t wait to check out more of your content.
XO
I love this table!! I really want it.
Ahh that table is gorg!! So glad to have found your blog! I just did a giveaway with Stikwood and I’m so happy that they led me to you :) Excited to follow along!
That’s so clever, and super cute!
What a fab giveaway and a great table. I totally agree that it makes a perfect background for photos – lovely and neutral with some great texture.
This came out great.
MY GOODNESS!!! This is crazy good.
So wish Stikwood had an agency in Australia. I’d be more than willing to fill that role!
I love Stikwood! We are in the process of planning a wall with this stuff so this giveaway is hands down my favorite one this year!
You guys are just too handy! This looks great.
I’ve always wondered if this was possible without taking apart a premade table! Thank you so much! I want to host next thanksgiving and this will be perfect. I can make a table that fits my place perfectly. I would probably just go with stained plywood, unless I win this.
Love this idea!
Really loving the colour combination. Just beautiful.
Great giveaway. Gorgeous! Thanks! I follow you and I shared. Happy Holidays!