DIY Ikea Headboard Hack Using Stikwood
Learn how to personalize your bed frame with this genius DIY headboard idea, featuring a simple yet stylish solution using IKEA furniture and Stikwood panels.
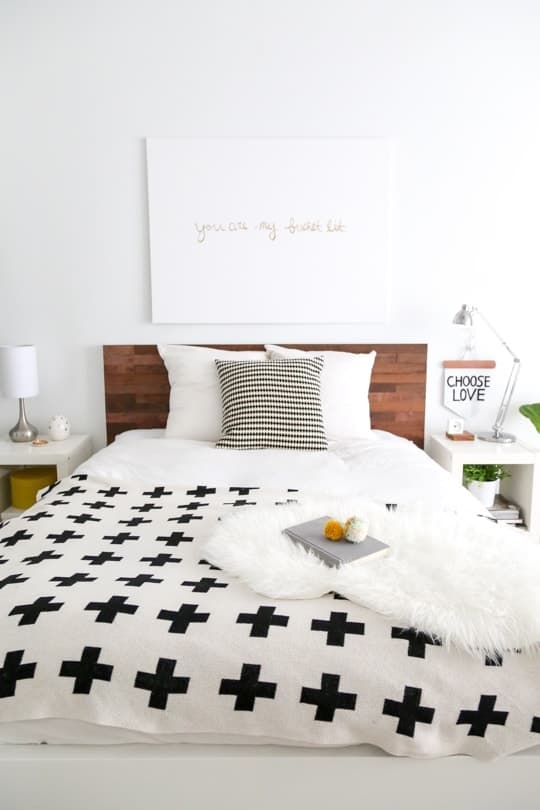
Are you tired of your boring and plain bedroom decor? Looking for a way to add a touch of style and personality to your space without breaking the bank?
When it comes to affordable yet stylish furniture, Ikea is always a great option. And you know we are always down for a good Ikea hack, like this DIY Wooden Headboard that involves adhesive wood and no drywall screws!
With just a few simple materials and some creativity, you can transform your ordinary bed into a rustic polished centerpiece. This is seriously one of our favorite and easiest DIY headboard ideas.
So let’s dive in and discover how you can create a one-of-a-kind headboard that will leave everyone impressed!
What is Stikwood? How Much is Stikwood?
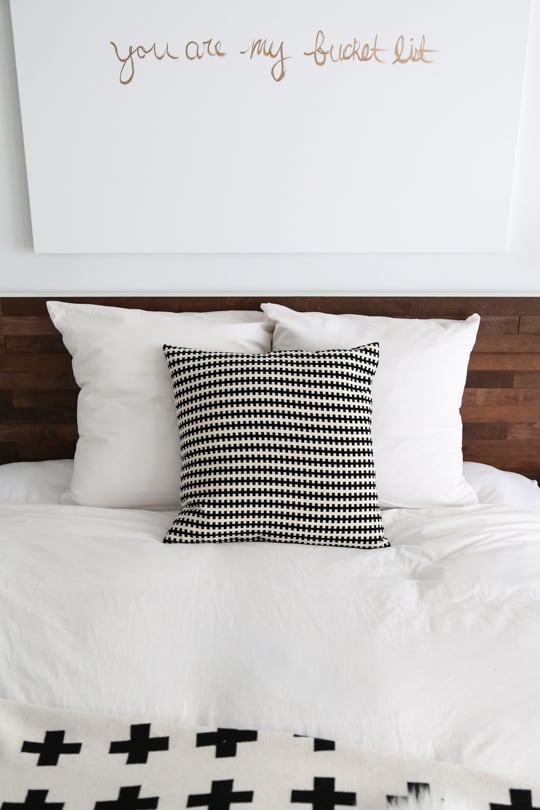
Now let us introduce you to the glory that is Stikwood. It’s real reclaimed wood that’s already finished and features an adhesive backing. Basically, this makes it perfect for those of us that aren’t exactly woodworkers but still want the rustic look.
Keep in mind that the panels are still real reclaimed weathered wood that are sustainably harvested in the US. So it is pricier than MDF boards and will run about $9-$15 per square feet. But you are truly getting wood headboard at a fraction of the cost.
Our mind is pretty much swimming with things to stick this genius invention on. We also used it in a bedroom to create a DIY reclaimed wood accent wall and even for a DIY folding table.
Materials and Tools Needed to Ikea Hack a DIY Wooden Headboard
- Ikea Malm bed frame
- Stikwood Reclaimed Peel & Stick Wood Planks — We purchased just over 10 square feet of the Reclaimed Barrel Oak planks for the DIY Malm bed. There was a lot leftover for other DIY projects for other rooms in the house. If you’re not using the Malm bed, measure the width and height of the current headboard to ensure that you order enough Stikwood to cover the surface.
- Rotary saw — To trim the wood panels.
- Measuring tape
- Clear matte polyurethane finish or spray — Since this is for a bed, an interior sealant works fine.
- Fine sandpaper — Optional
- Black permanent marker — Optional for style
How to Make a Ikea Headboard Hack for a Stikwood Headboard
1 — Measure the individual Stikwood panels to be the same width as the headboard. The width and length of the Stikwood panels vary depending on the finish that you choose.
If you’re using the IKEA Malm queen bed with the Reclaimed Barrel Oak panels like us, then the rows should measure 66 1/8″ across. Mark your measurements with a pen on the back of the wood panels.
We left 2 pieces of Stikwood panel at its original full length for every row, and then cut 1 smaller piece 4 1/4″ across.
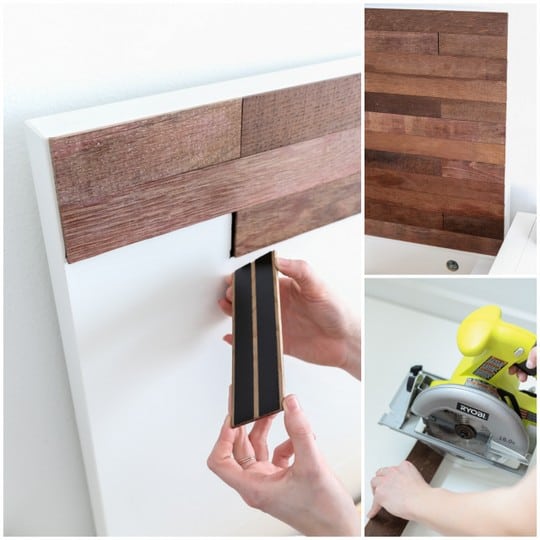
2 — Using a saw, trim the marked panels to match the headboard’s width. Cutting Stikwood planks is very easy since it’s lightweight and thin.
3 — Peel the backing off and carefully and firmly press the wood panels firmly on the face of the headboard.
We alternated the placement of the small piece to vary every row. It’s also easiest to start from one edge and work your way across. Because the Stikwood is made from real reclaimed wood, not all of the pieces fit quite the same. The best way to make sure everything lines up correctly is to test each row before peeling the adhesive backing off of the wood and placing it.
4 — Optional: For a smooth finish, lightly sand any rough parts of the wood. This ensures that your pillows won’t snag the surface.
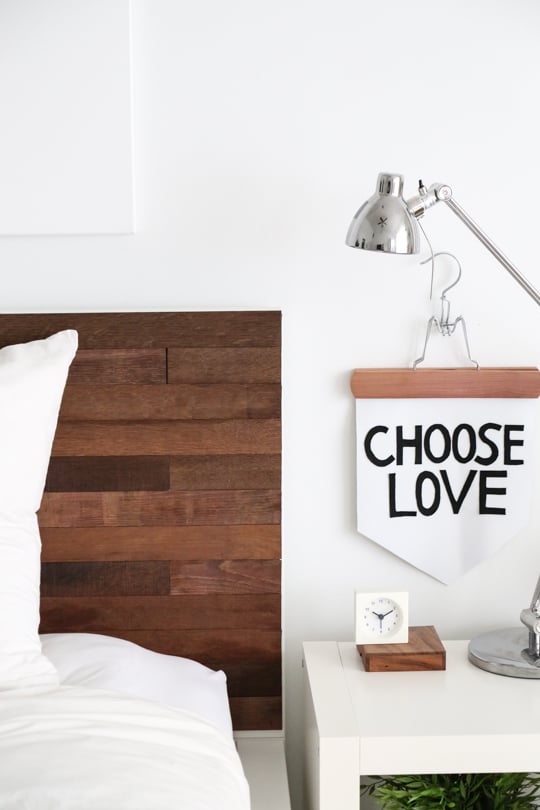
5 — Optional: The permanent marker comes in handy if you’d like to have a more dimensional look by not having every single piece fit flush against each other. Use the marker to color in a little line (as seen in the large tutorial photo). And then, leave a small gap in between the two pieces.
6 — Once the entire headboard is covered, spray or paint the entire surface with the polyurethane wood finish. Allow to dry. This will keep the color of the wood from rubbing off onto pillows.
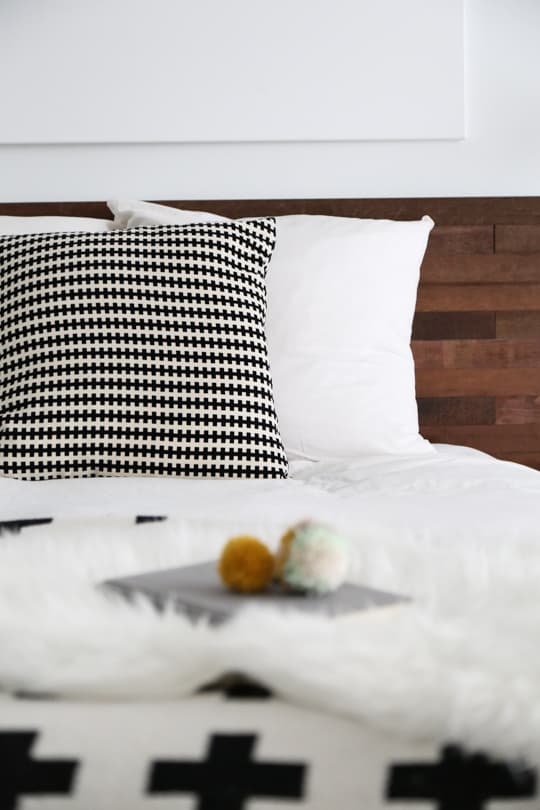
And then, you’ve got a beautifully customized DIY wood headboard!
Will This Tutorial Work for Any Bed?
Even though we used an Ikea bed in this tutorial, this headboard hack can work on any bed that already has a non-fabric cloth headboard. If your bed doesn’t have a headboard, you could create a freestanding wood headboard with the panels. Simply mount them against a wall behind your bed.
Do I Need Additional Nails or Adhesive Glue?
No! The beauty of this Ikea bed hack is that Stikwood adhesive meant over 10 years. There’s also no need to pre-sand the surface.
More Easy Ikea Hacks
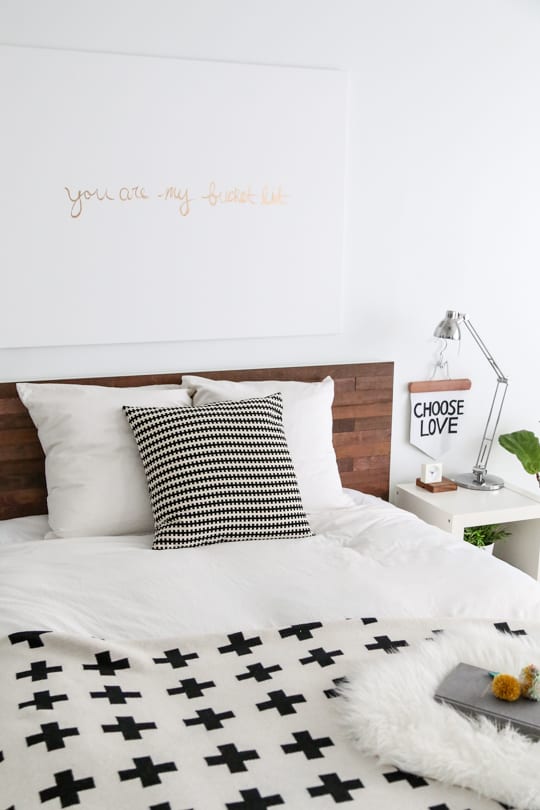
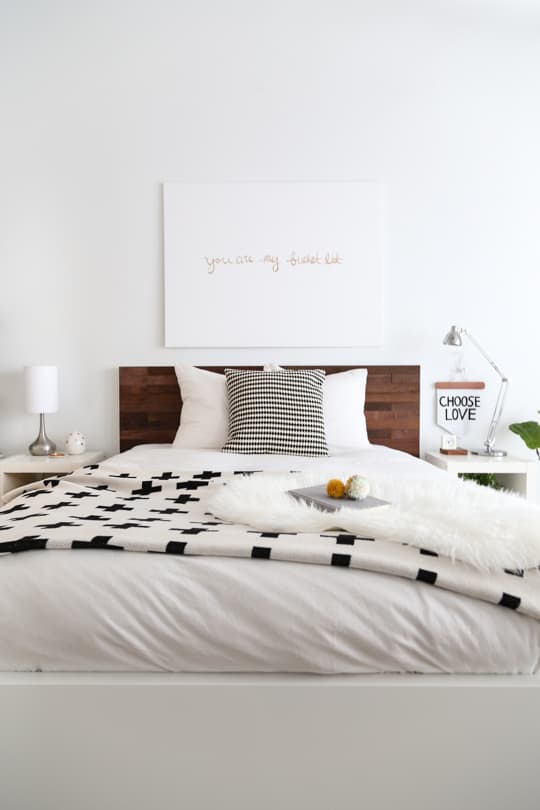
We thought that we might miss the all-white bed frame. But we love how the wood headboard really makes the room feel much cozier, especially when we add in our white shag and favorite blanket. For more Ikea hacks, check out our other home decor DIY projects below —
DIY Wooden Headboard with Stikwood
Equipment
- Rotary saw
- Measuring tape
- Black permanent marker
- Fine sandpaper
Materials
- 1 box Stikwood
- 1 Ikea Malm bed frame or any bed frame of your choice
- 1 clear matte polyurethane
Notes
- Estimated cost is based on an estimated cost of a box of Stikwood. You will not to use the entire box (we used half) for this particular DIY.
Instructions
- Measure the individual Stikwood panels to be the same width as the headboard. The width and length of the Stikwood panels vary depending on the finish that you choose.If you're using the IKEA Malm queen bed with the Reclaimed Barrel Oak panels like us, then the rows should measure 66 1/8" across. Mark your measurements with a pen on the back of the wood panels.We left 2 pieces of Stikwood panel at its original full length for every row, and then cut 1 smaller piece 4 1/4" across.
- Using a saw, trim the marked panels to match the headboard's width. Cutting Stikwood planks is very easy since it's lightweight and thin.
- Peel the backing off and carefully and firmly press the wood panels firmly on the face of the headboard.We alternated the placement of the small piece to vary every row. It's also easiest to start from one edge and work your way across.Because the Stikwood is made from real reclaimed wood, not all of the pieces fit quite the same. The best way to make sure everything lines up correctly is to test each row before peeling the adhesive backing off of the wood and placing it.
- Optional: For a smooth finish, lightly sand any rough parts of the wood. This ensures that your pillows won't snag the surface.
- Optional: The permanent marker comes in handy if you'd like to have a more dimensional look by not having every single piece fit flush against each other. Use the marker to color in a little line (as seen in the large tutorial photo). And then, leave a small gap in between the two pieces.
- Once the entire headboard is covered, spray or paint the entire surface with the polyurethane wood finish. Allow to dry. This will keep the color of the wood from rubbing off onto pillows.

19 Unique & Easy Houseplants that We’re Loving
Looking for unique house plants? Dive into our guide to…
Continue Reading 19 Unique & Easy Houseplants that We’re Loving
60 Amazon Bedroom Decor Picks to Revamp Your Room
Discover the best Amazon bedroom decor items to create a…
Continue Reading 60 Amazon Bedroom Decor Picks to Revamp Your Room
Marbled Clay DIY Incense Holder
Learn how to create a beautiful and functional DIY Incense…
DIY Flip Photo Album
This DIY Flip Photo Album tutorial shows you how to…
Please note that we may earn a commission for some of the above affiliate links. However, products featured are independently selected and personally well-loved by us!
