DIY Floating Credenza Ikea Hack
Elevate your storage solutions with our DIY Floating Credenza IKEA Hack, where form and function seamlessly meld to redefine your space.
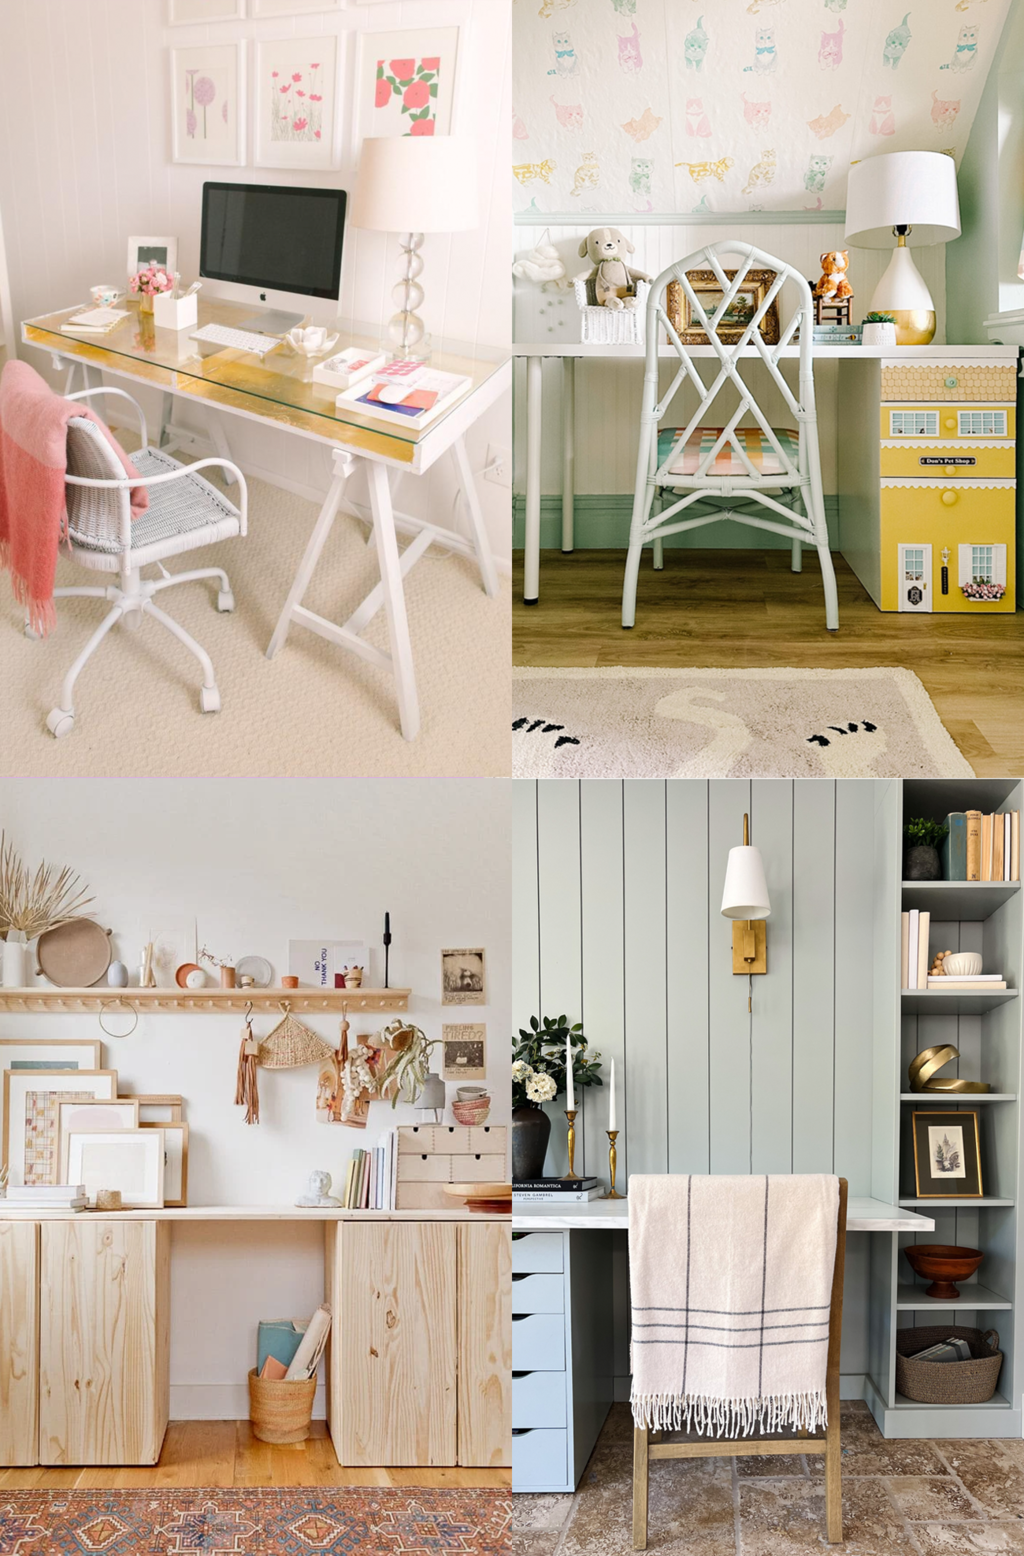
No room makeover is truly completely until it involves a good Ikea hack. And this DIY Floating Credenza Ikea Hack was the perfect fit! We’re excited to share one of the big projects that we worked on for our modern girl’s bedroom makeover.
The space was small but still in need of storage. So we decided on an Ikea Besta hack. After all, what room is really complete until there’s an Ikea hack, ya know?!
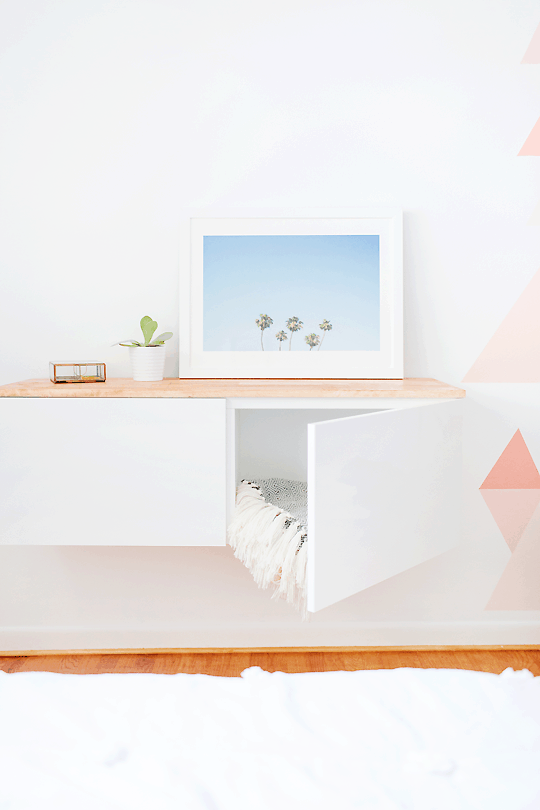
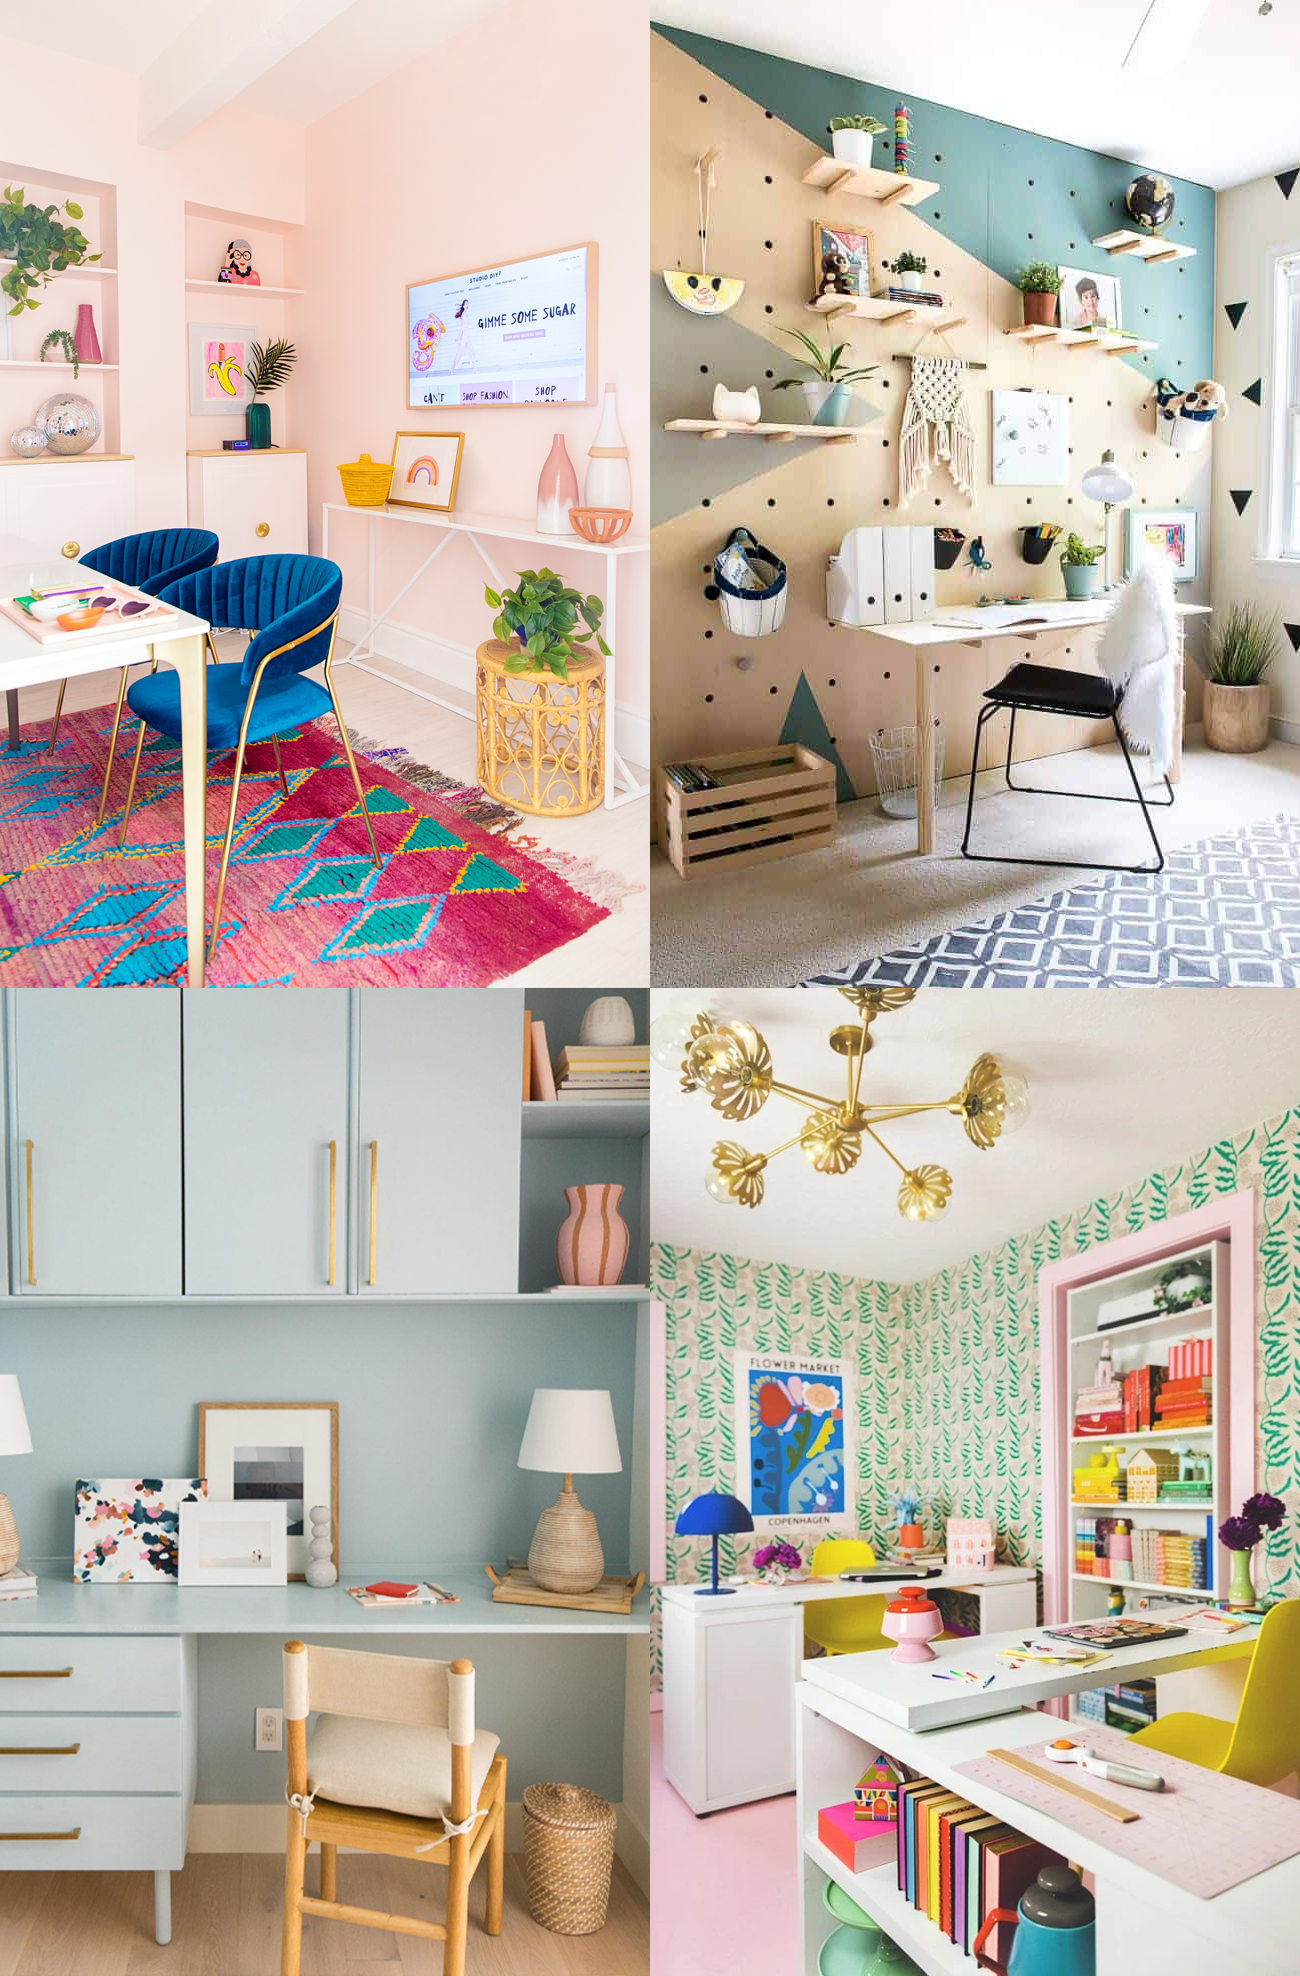
We wanted to make Ainsley’s room a bit more mature while still be functional and bright, with pops of color and fun touches here and there. This credenza was the perfect place for her to be able to easily open and close the doors at her height to put her toys away, and Mom loves it too. So it’s a win-win!
Materials and Tools Needed to Make an IKEA Floating Credenza Or Modern Floating Wall Credenza
- Ikea Besta Shelf Unit with high gloss white doors
- Besta shelf suspension rails
- 3/4″ x 47 3/4″ x 16″ Aspen panel: They’ll cut it down to size for you at Lowe’s or most hardware stores.
- Wood stain in the color of your choice or stain/polyurethane combo: We used Golden Oak stain.
- Clear high gloss polyurethane: Optional for top coat
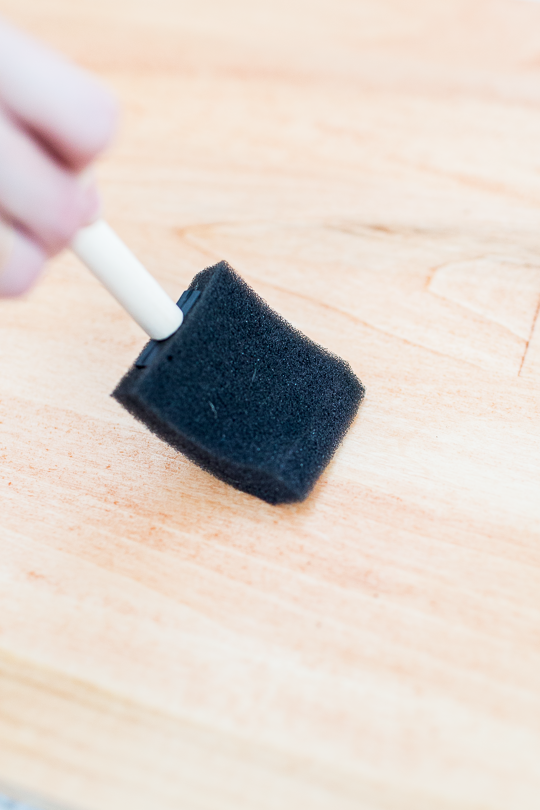
- Dry brush: For applying stain/polyurethane
- Contact cement glue and brush
- Fine sandpaper
Steps To Make A DIY Ikea Hack Floating Credenza
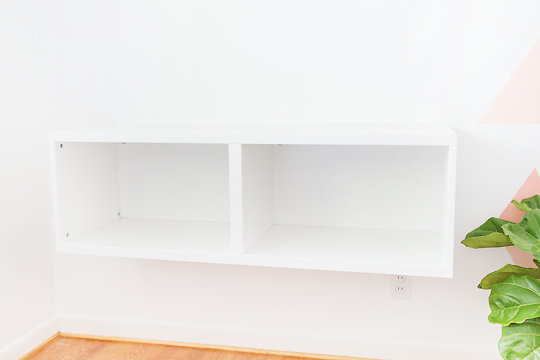
1 — First, build the main IKEA Besta unit exterior, according the Ikea instructions that it comes with. But leave off the doors and the interior shelves.
2 — Measure and mark where you want the shelf to be place on the wall.
3 — Next, install the Besta suspension rails to the wall/unit as per the included instructions.
4 — Once everything else is in place on the wall, attach the unit doors last
5 — When the unit is installed on the wall, make sure the Aspen wood panel fits appropriately on top of the shelf.
Like I mentioned in the supplies list, the Lowe’s lumber department will cut the panel down to the exact size you instruct them.
6 — Now, sand the wood panel surface down to the touch. Make sure to round out any sharp edges so that the little ones don’t hurt themselves if they bump into it.
7 — Then, stain the wood with several coats of the stain and let it dry for 24 hours.
8 — Once dry, apply the polyurethane according to the can instructions and let set it accordingly.
(If you’re using the combination stain, this will be done is one step).
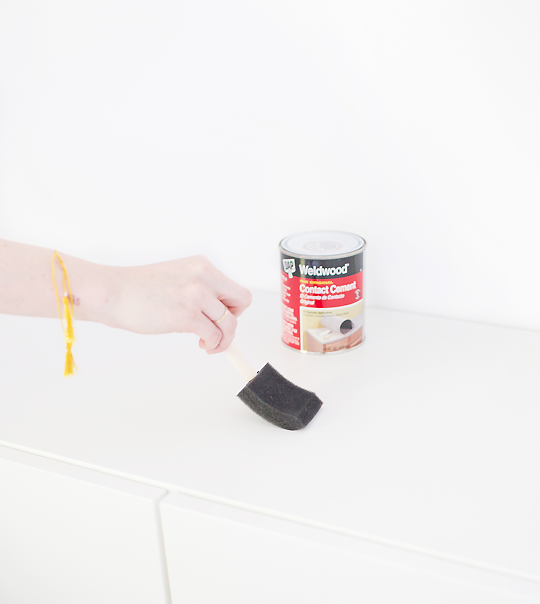
9 — Lastly, brush on the contact cement to the top of the Besta shelf.
And then rest the finished wood panel on top. Let it to set to adhere according to the cement instructions.
You can also use wood glue instead. However, the contact cement doesn’t expand like wood glue, which will save you time from having to clamp it down while it dries.
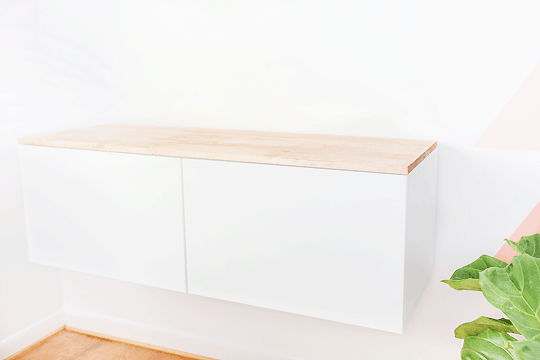
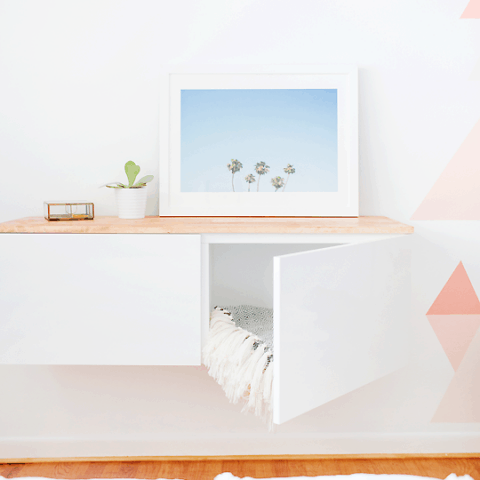
10 — Once the glue is all set, you’re ready to fill your DIY Ikea hack floating credenza with toys, dishes, blankets, and in anything in between!
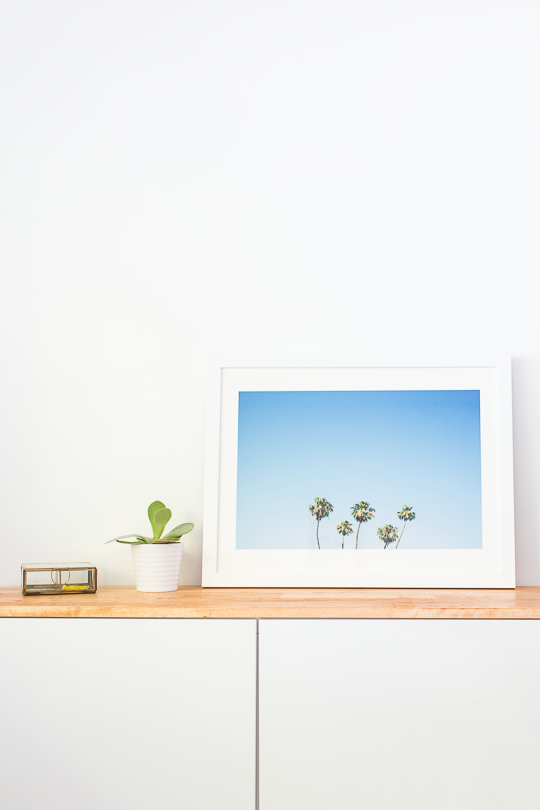
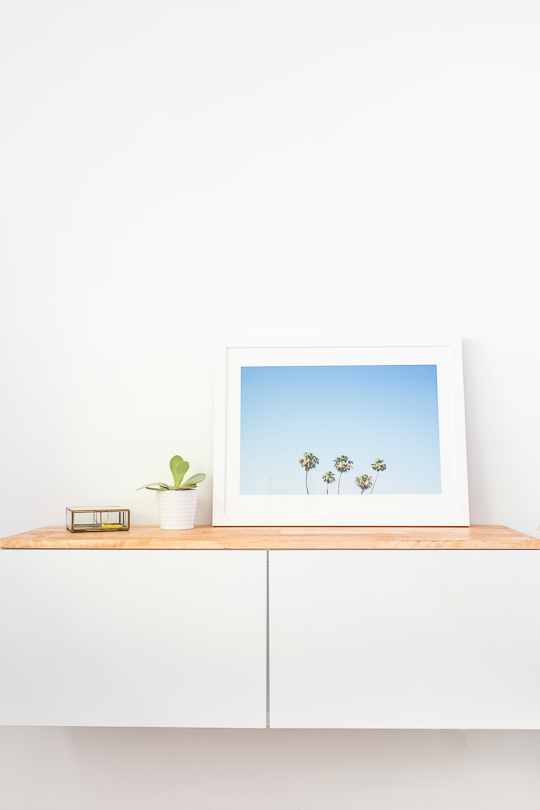
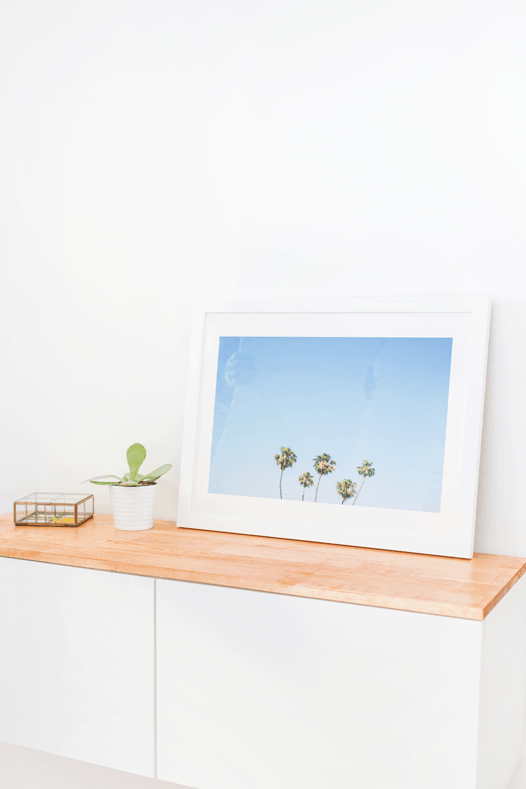
Styling Your Credenza
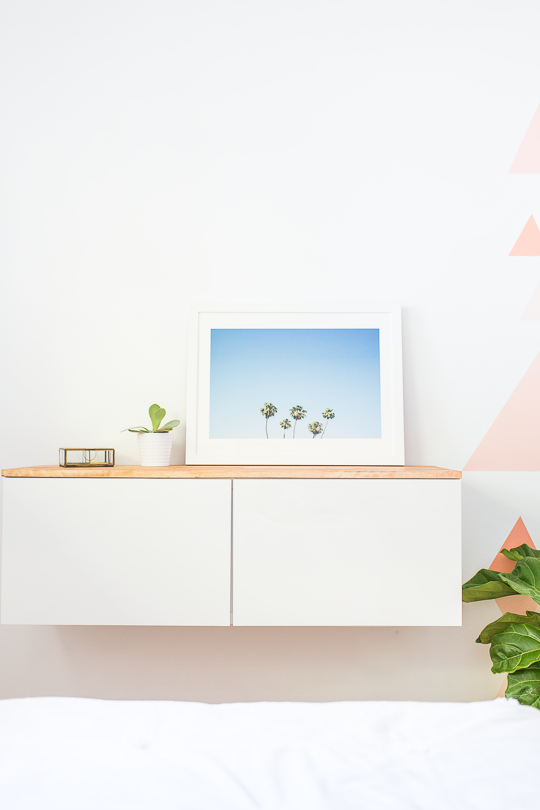
We wanted to keep the styling clean and simple. So we chose this 24×18″ palm tree framed print from Minted to top it off with and a cute succulent and gold knick knack box from Anthropologie.
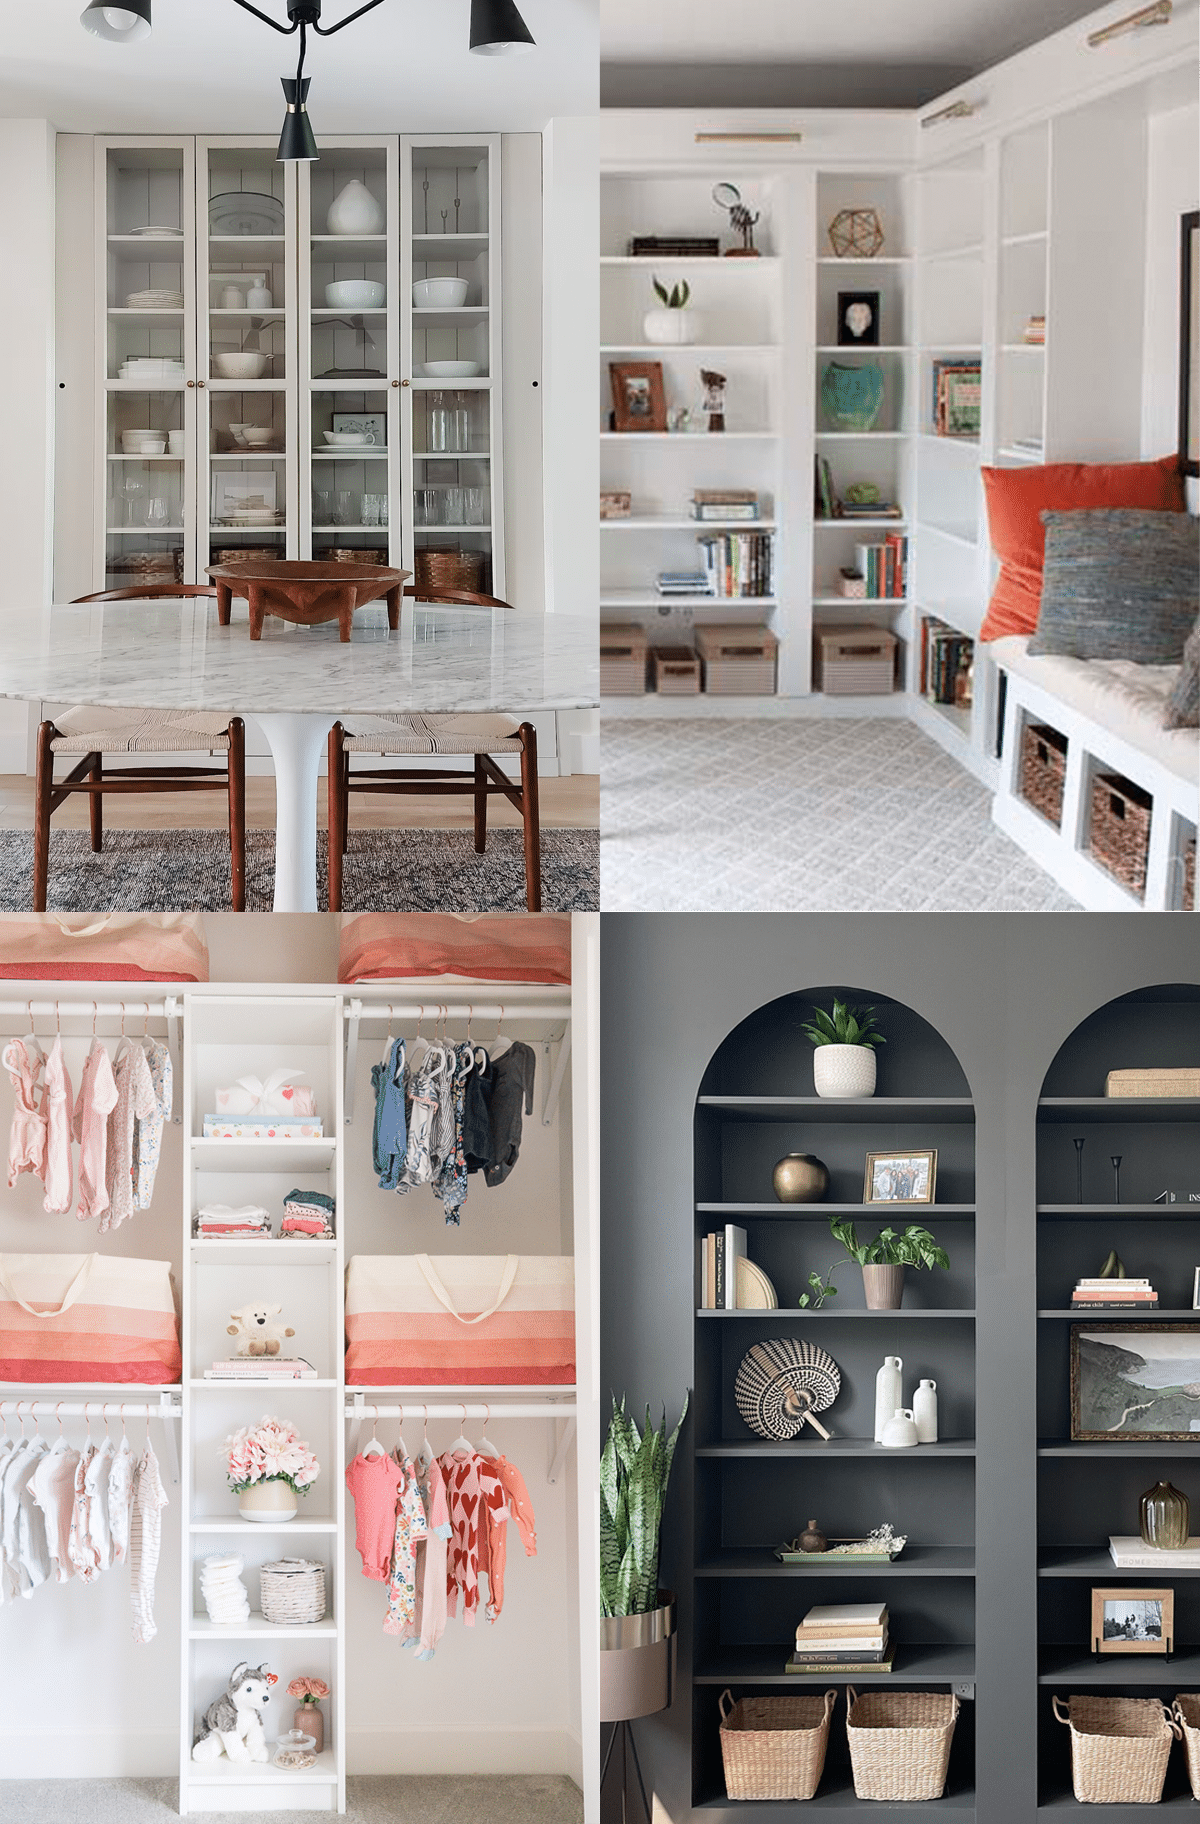
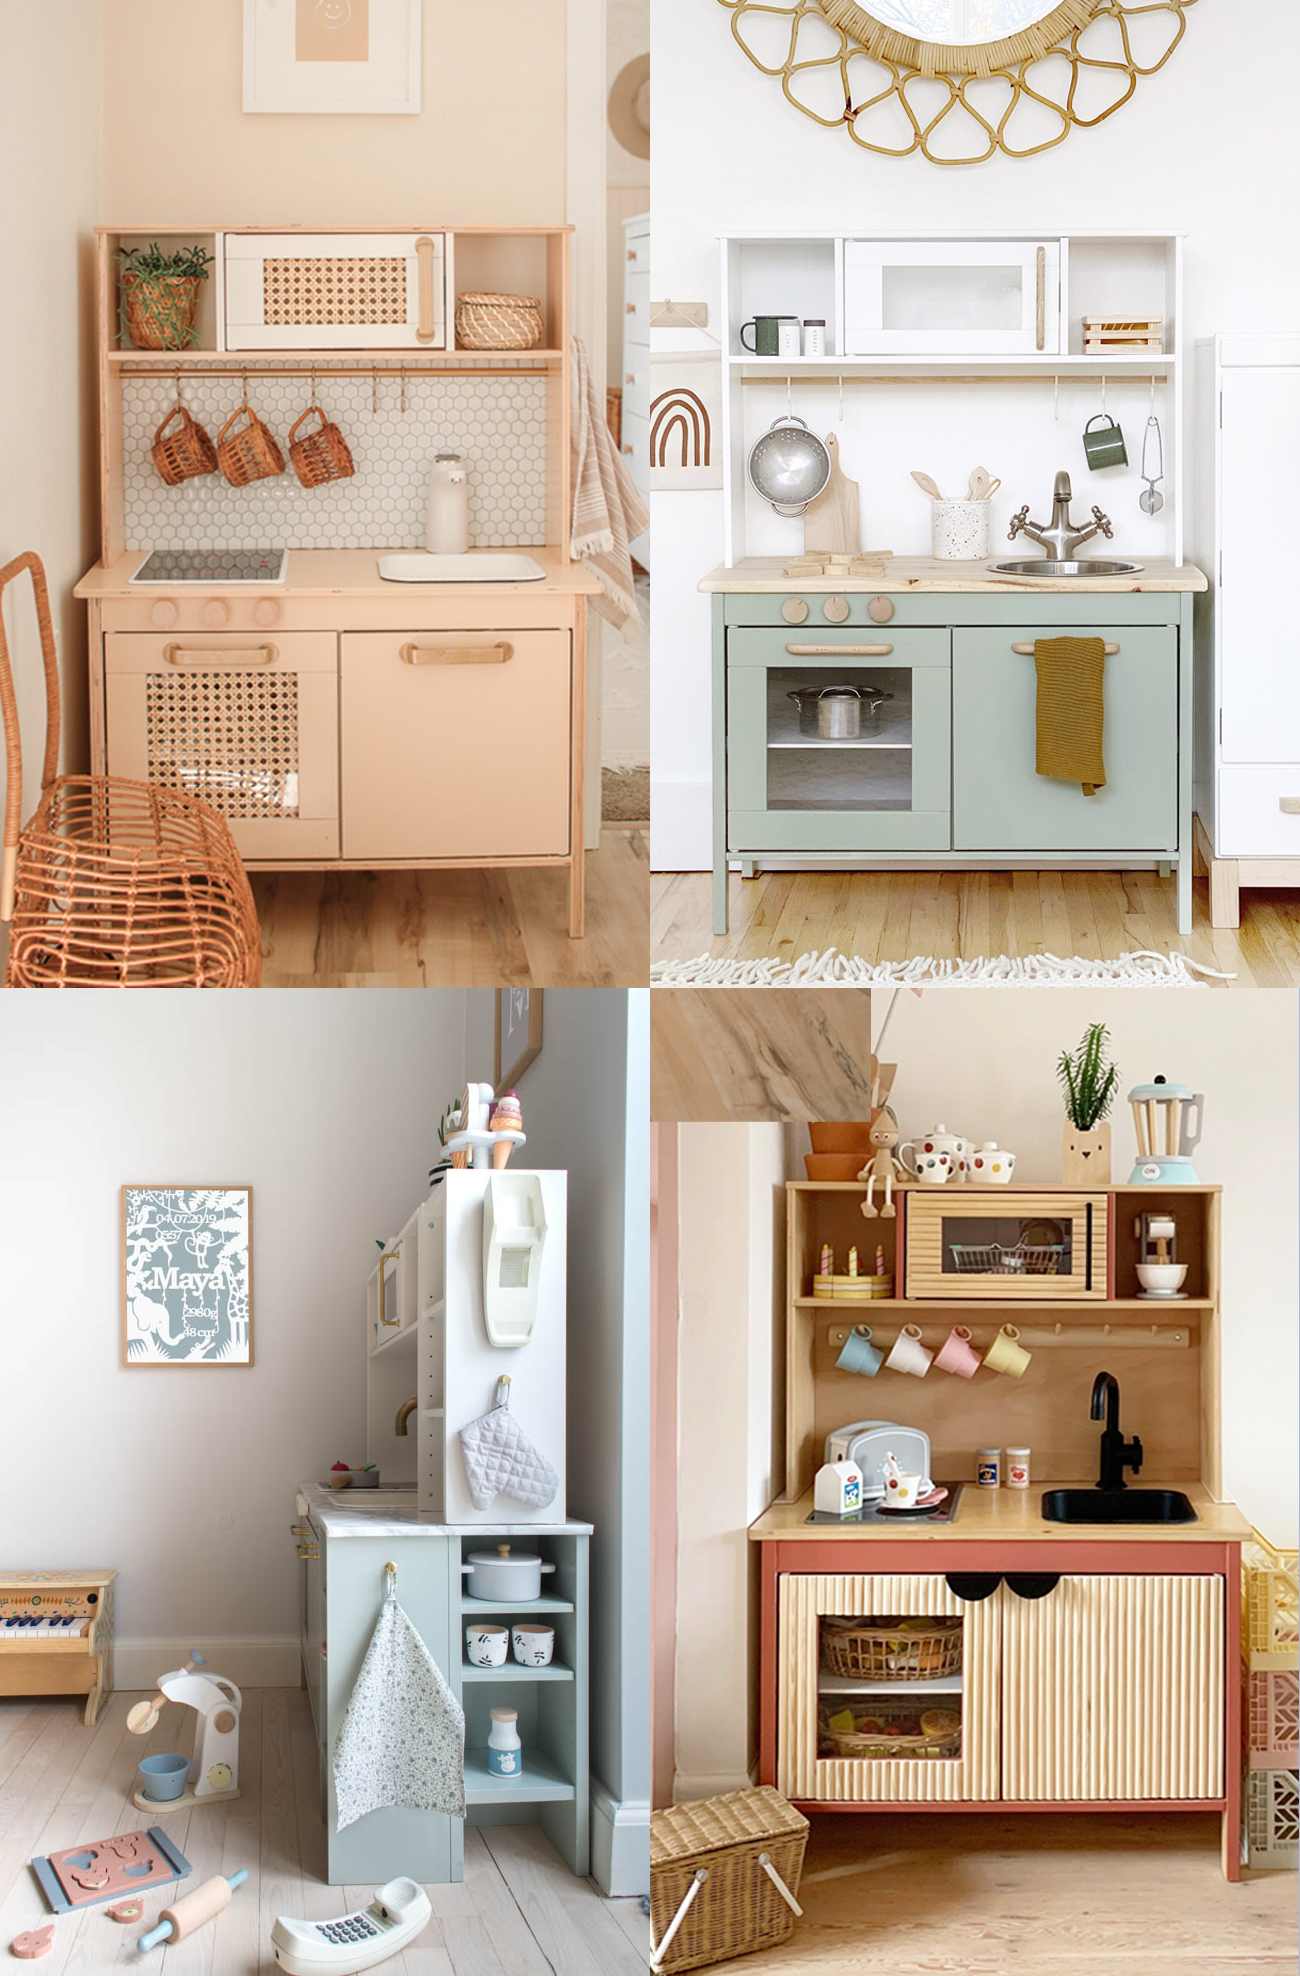
More Easy DIY Projects
And you can see a peek of the geometric accent wall we painted with the new Valspar Reserve paint which I’ll be sharing with you next. I can’t wait! For more DIY projects like the DIY floating credenza, check out a few of our favorite from the archives —
DIY Ikea Hack Floating Credenza
Equipment
- Fine sandpaper
- Dry brush for applying stain/polyurethane
- Contact cement glue
Materials
- 1 Ikea Besta shelf unit with high gloss white doors
- 2 pieces Besta shelf suspension rails
- 1 piece 3/4″ x 47 3/4″ x 16″ Aspen panel
- Wood stain or a stain/polyurethane combo in the color of your choice
- Clear high gloss polyurethane for top coat
Instructions
- First, build the main IKEA Besta unit exterior, according the Ikea instructions that it comes with. But leave off the doors and the interior shelves.
- Measure and mark where you want the shelf to be place on the wall.
- Next, install the Besta suspension rails to the wall/unit as per the included instructions.
- Once everything else is in place on the wall, attach the unit doors last.
- When the unit is installed on the wall, make sure the Aspen wood panel fits appropriately on top of the shelf.
- Now, sand the wood panel surface down to the touch. Make sure to round out any sharp edges so that the little ones don’t hurt themselves if they bump into it.
- Then, stain the wood with several coats of the stain and let it dry for 24 hours.
- Once dry, apply the polyurethane according to the can instructions and let set it accordingly.
- Lastly, brush on the contact cement to the top of the Besta shelf. You can also use wood glue instead. However, the contact cement doesn’t expand like wood glue, which will save you time from having to clamp it down while it dries.
- Once the glue is all set, you’re ready to fill your DIY Ikea hack floating credenza with toys, dishes, blankets, and in anything in between!

This makeover series is made possible in partnership with Valspar. Thank you for supporting the brands that allow us to bring bigger and better content to you!
Please note that we may earn a commission for some of the above affiliate links. However, products featured are independently selected and personally well-loved by us!
Brilliant! I’m going to fashion one for my small entry and get rid of table. Thank you. PS I live shopping Lowe’s. They are truly customer friendly and helpful and great products. ( contracted flooring fir my bedroom and balcony)
Your blog is really pretty. And I loved this DIY hack. Thank you for sharing it.
Thanks for checking us out, Monica!
Thanks for giving this review about this wonderful website. i am going to promote the next few paragraphs on my small fb be the reason for my pals
Just wondering how the cement glue held up over time?
Hi there! The cement glue held up well for us!
I love this! Especially the photograph on top of your credenza. Where did you get it from?
This is an absolutely amazing idea. I love the whole set-up and the touch of the wooden color on top.
I would also like to use this idea, but when I click on the ikea link it says the product is no longer available. When I do type in Besta shelf, I don’t find this unit. Would you mind sharing the link again?
Thank you so much!
Paloma
Hi Paloma!
They might not have this exact same unit anymore, but if you search the Besta section of Ikea you can see all the different shelving options and decide which size works best for you! :)
Hi there,
My wife and I just bought a house and will be using this hack for sure! We are actually curious about the white paint you used for the room what Valspar color is that?
Thanks!
Hello! We are currently installing this and was wondering (arguing) if the wood top covers the doors entirely or if the doors are exposed beyond the wood?
Hey Glen! The wood should be covering the doors entirely in an ideal scenario! It should have been measured to width to accommodate the door width, too :)
Was it just a personal preference to not have the shelves in the credenza? I love this idea but would want the shelves. Just want to make sure it wasn’t something logistically that wouldn’t make the shelves work.
We had them without shelves so she could fit lots of toys inside, but you can definitely include them! xo
Thanks so much!!
I second that last question… Would you mind telling us the height at which you installed the credenza? This looks like a perfect solution for my 3 year old. :)
How far is the bottom from the floor?
Looks great! Source for the framed palm tree art?
Awesome Blog…!!
<a href=”https://www.globalmarketestimates.com/market-report/global-balance-rehabilitation-systems-market-2741″>Balance Rehabilitation Systems Market</a>
Your blog is BEAUTIFUL! I am the artist behind the print you purchased on Minted and wanted to personally thank you for supporting my work! I really appreciate it and absolutely LOVE this Ikea hack.
x,
Alex
This looks fantastic! I already commented on IG but I love it so much that I keep coming back to see it again and again and again :D (!!!) Great idea!
Love it , Love it, Love it…
So fab! I’ve been wanting to do somethign like this for a while. PS, love your styling
Love this floating credenza. So far, this makeover looks awesome!!
lovely, well done;-D
have a nice fun weekend as well;-D