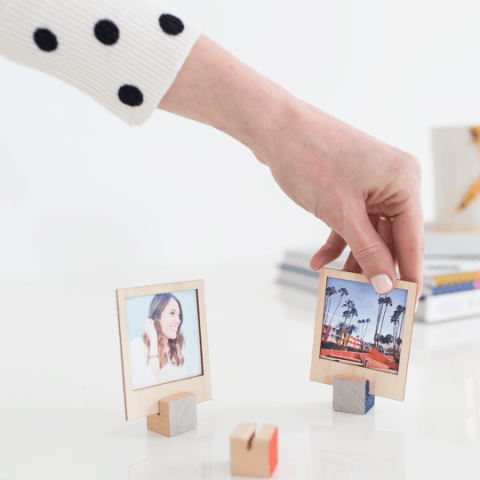
Wood DIY Photo Stand for Polaroids & More
Give your Polaroids the perfect home! This easy wood DIY Photo Stand tutorial creates a stylish display to showcase your instant photos.
Capture the charm of your instant photos with a handcrafted display! We love that you all went crazy over our DIY wooden polaroid gift set tutorial. But there was just one little thing missing for them… a stand!
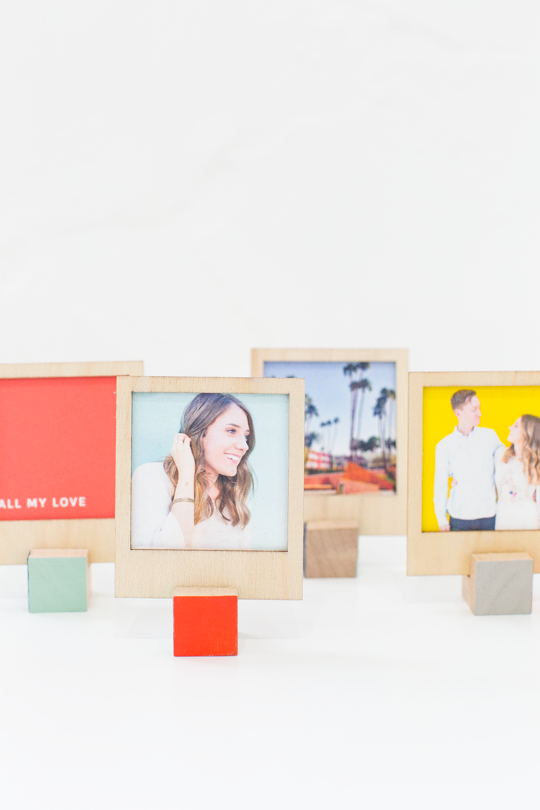
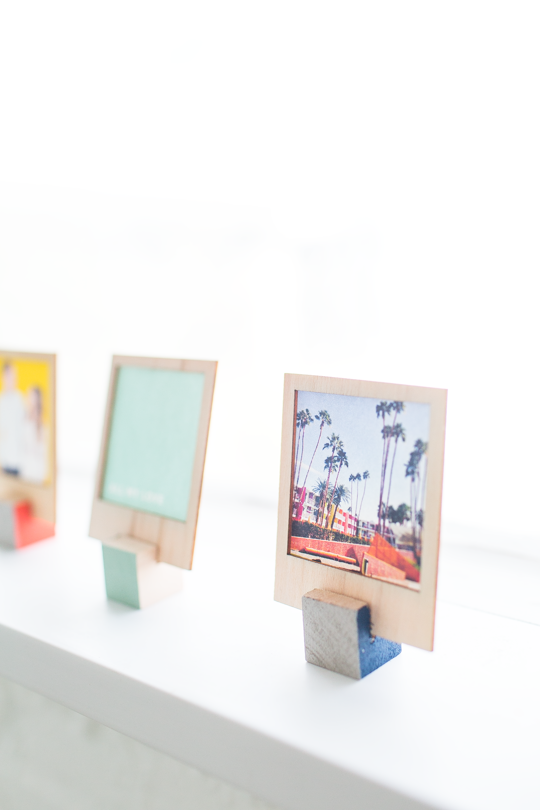
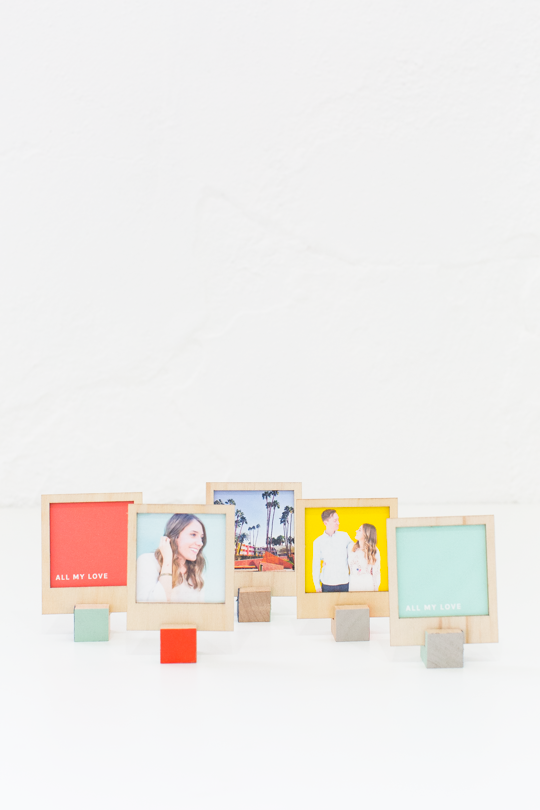
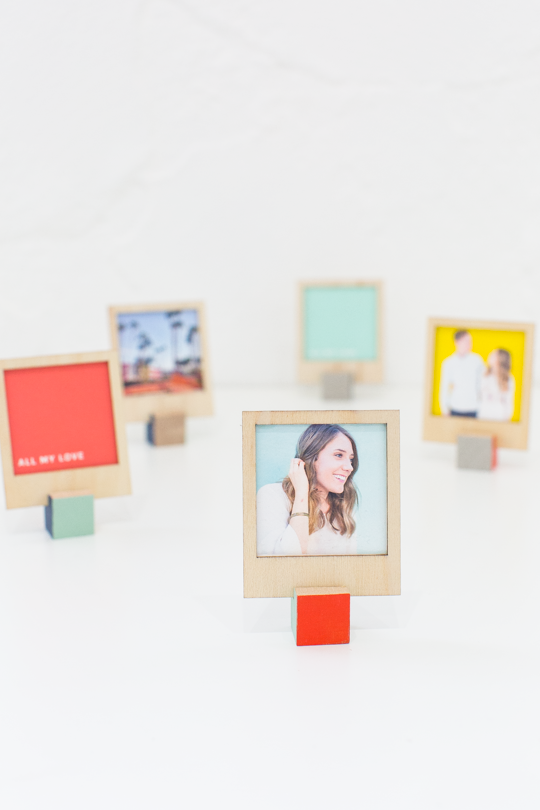
Gone are the days of bulky frames hiding the unique square format of Polaroids. This stand allows your instant photos to take center stage, their vintage vibes accentuated by the natural beauty of wood. Plus, it’s completely customizable! You can paint the stand to match your aesthetic or leave it natural for a classic look.
They’re perfect for showcasing your favorite Polaroids, photos or cards. Not only is it a breeze to make, but it also makes for the perfect desk additions, home decor trinkets or photo gift idea.
And the best part is this makes for an easy scrap wood project if you have any leftover wood to cleverly reuse.
Our Video Tutorial of a Quick DIY Photo Gift Idea from Wooden Polaroids
The polaroid frame portion is the same easy steps from which you can find right here. Once you have your wooden frames ready to go, you’re all set for making the displays.
And of course, you don’t have to use the wood frame. But we think it makes a nice pairing with the DIY photo stand.
Here’s a video tutorial for the DIY polaroid frame and the DIY photo stand.
Materials and Tools Needed
- Your wooden polaroid frames from this tutorial — Optional.
- Wood blocks — We opted for natural wooden cubes. Scrap wood, pre-cut board, or a small block of wood also works.
- Hand saw — Miter saw for precise cuts. Handsaw for a more rustic look.
- Woodworking vice or clamps — To secure the wood. Since the pieces are small, you technically do not need one. However, the vice allows for a safer and cleaner cut.
- Craft paint — Optional
- Foam brush — Optional
Steps to Make a Wood DIY Photo Stand
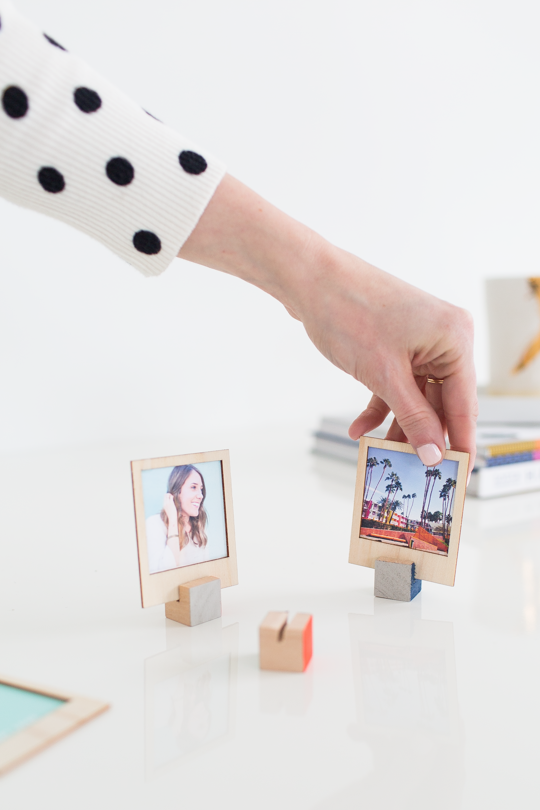
1 — Secure your wood block using clamps or a vice. This allows for your hands to a safe distance away from where you’ll be sawing.
2 — With your handsaw, create a thin groove on the base of the stand. Your photo will sit in this slot. The groove should be about a quarter of an inch deep and wide enough to hold your photo.
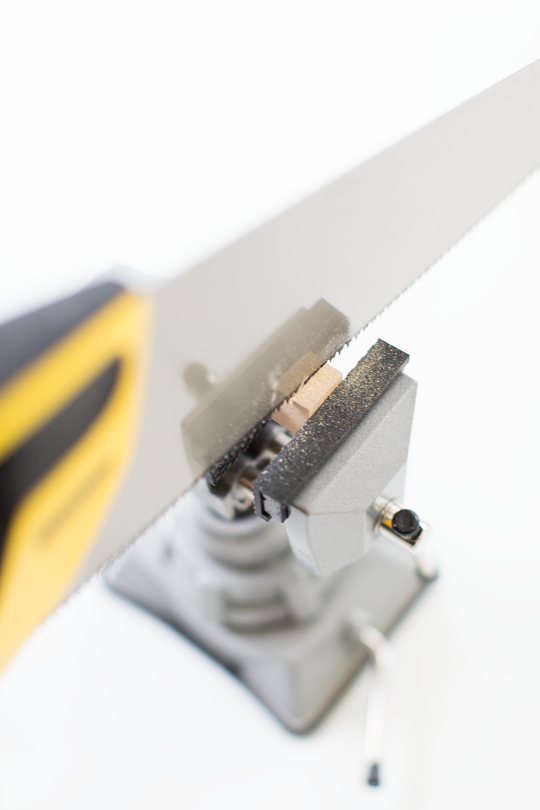
3 — Optional: Paint the sides of the the cube with different colors of your choice. Let everything dry completely.
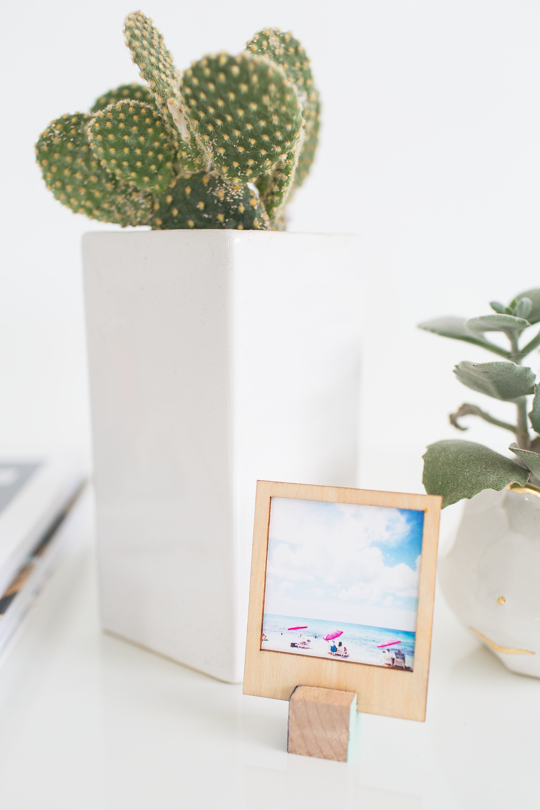
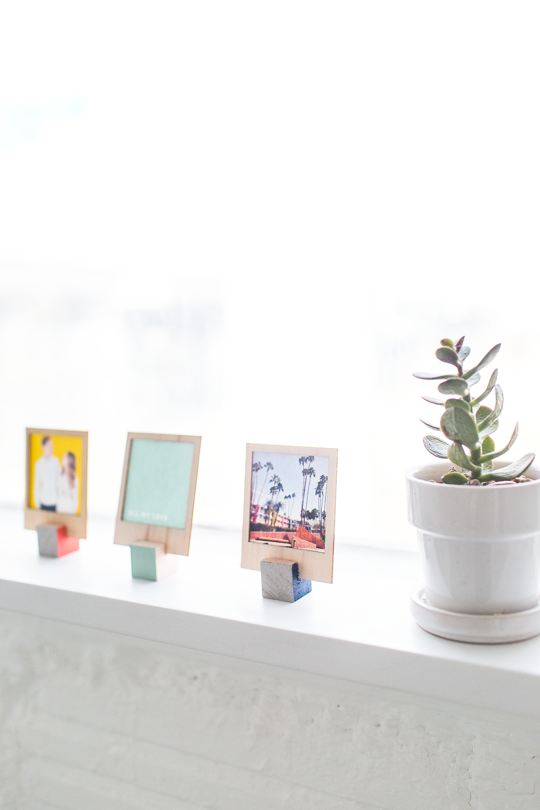
Simply slide your Polaroids into the stand (or slot, if created) and enjoy your personalized photo display! You can arrange multiple stands together for a gallery effect or use them to decorate shelves, desks, or side tables. You can also display them on mantles, window sills, desks, counters, and dressers!
Tutorial Notes and Tips
- This project is easily adaptable. Use a larger piece of wood to create a stand for multiple photos or other types of instant prints.
- If you want your photos to tilt back for better viewing, create slight angled grove.
- Sand down any rough edges for a smooth finish if needed.
More Easy DIYs
For more DIY ideas like this, consider the following related posts below –
- DIY Watercolor Printable Wall Art
- DIY Floating Flower Table Display
- How To Make A DIY Watercolor Wall Art
- DIY Footed Display Bowls
DIY Wooden Polaroid Displays
Equipment
- Hand saw
- Woodwork vice
- Foam brush optional
Materials
- Wooden cube
- Craft paint optional in color of choice
Video
Instructions
- Secure your wood block using clamps or a vice. This allows for your hands to a safe distance away from where you’ll be sawing.
- With your handsaw, create a thin groove on the base of the stand. Your photo will sit in this slot. The groove should be about a quarter of an inch deep and wide enough to hold your photo.
- Optional: Paint the sides of the the cube with different colors of your choice. Let everything dry completely.

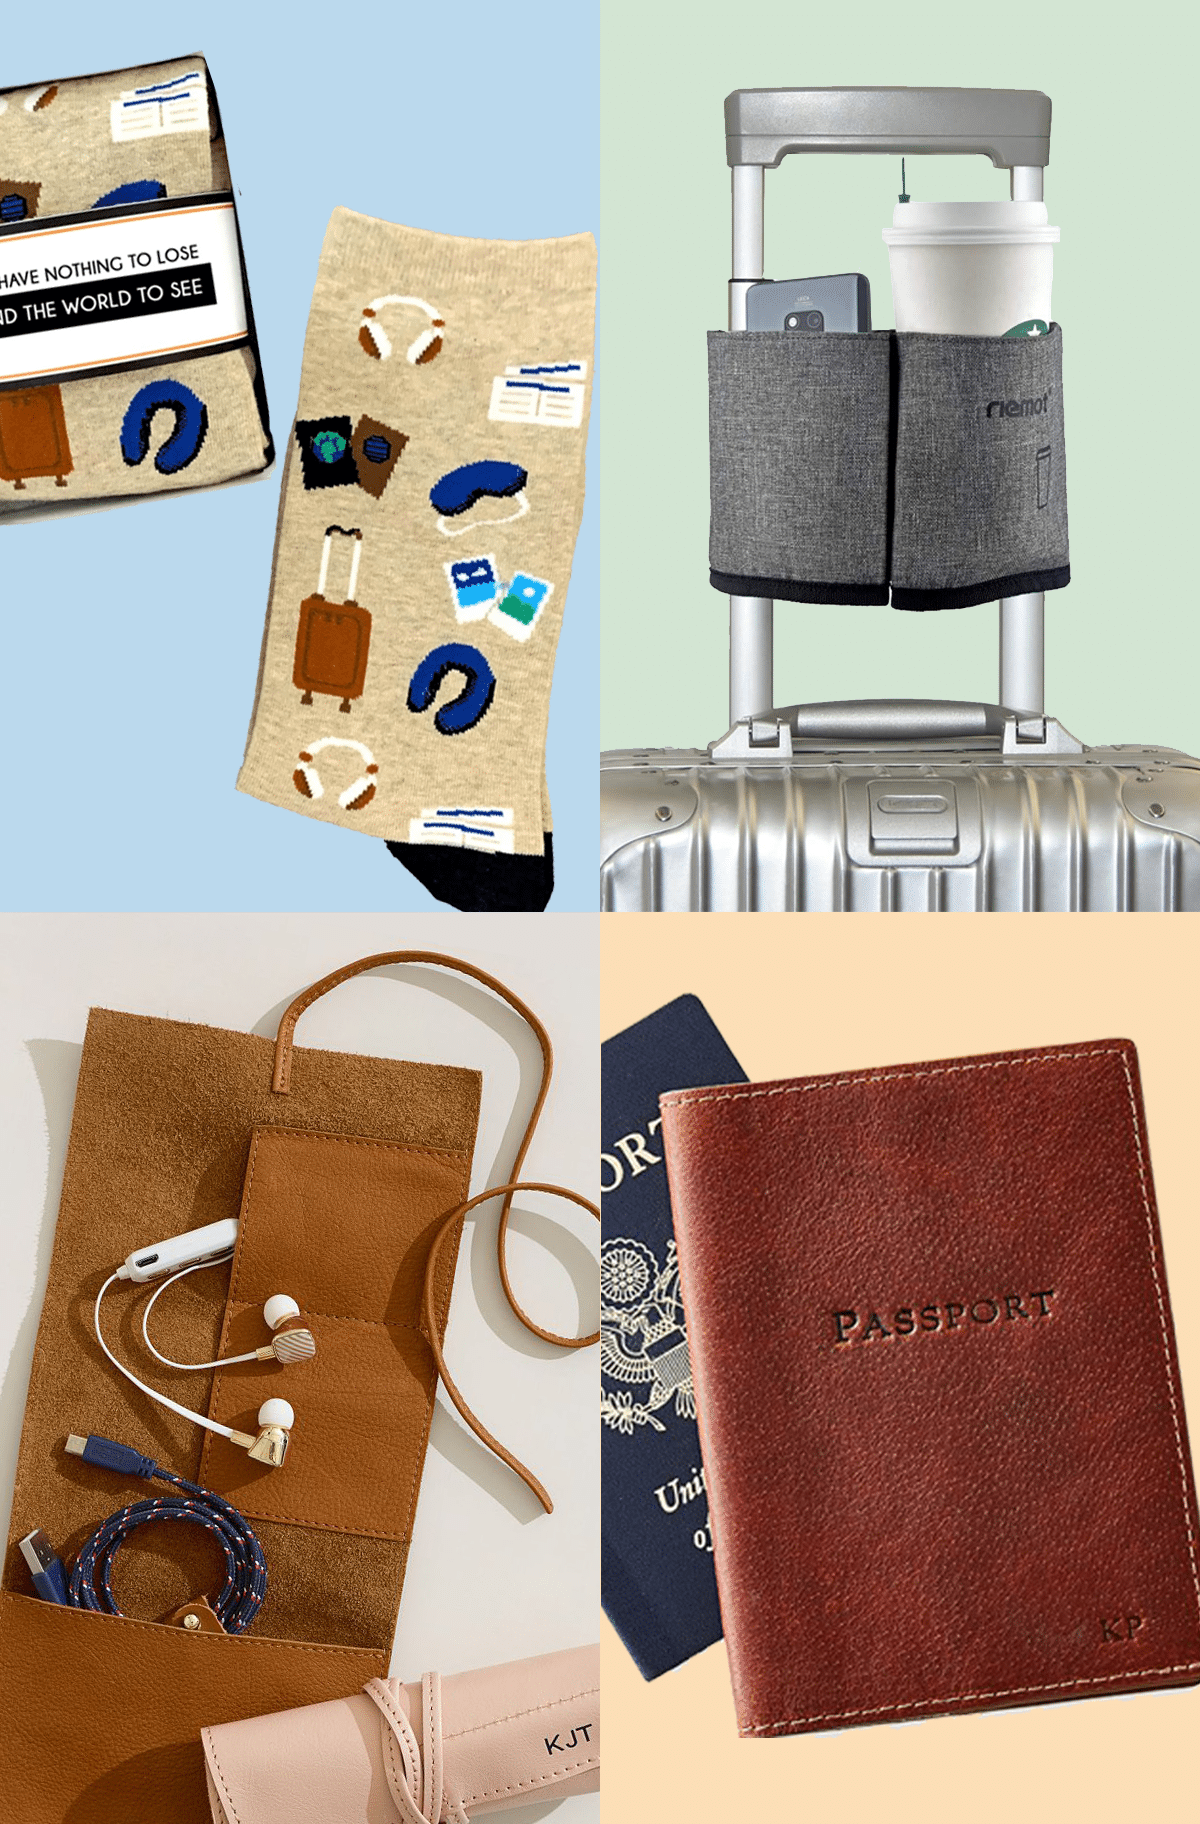
Jet-Set with These 46 Top Travel Gifts for Men
Whether he’s a frequent flyer or an occasional explorer, these…
Continue Reading Jet-Set with These 46 Top Travel Gifts for Men
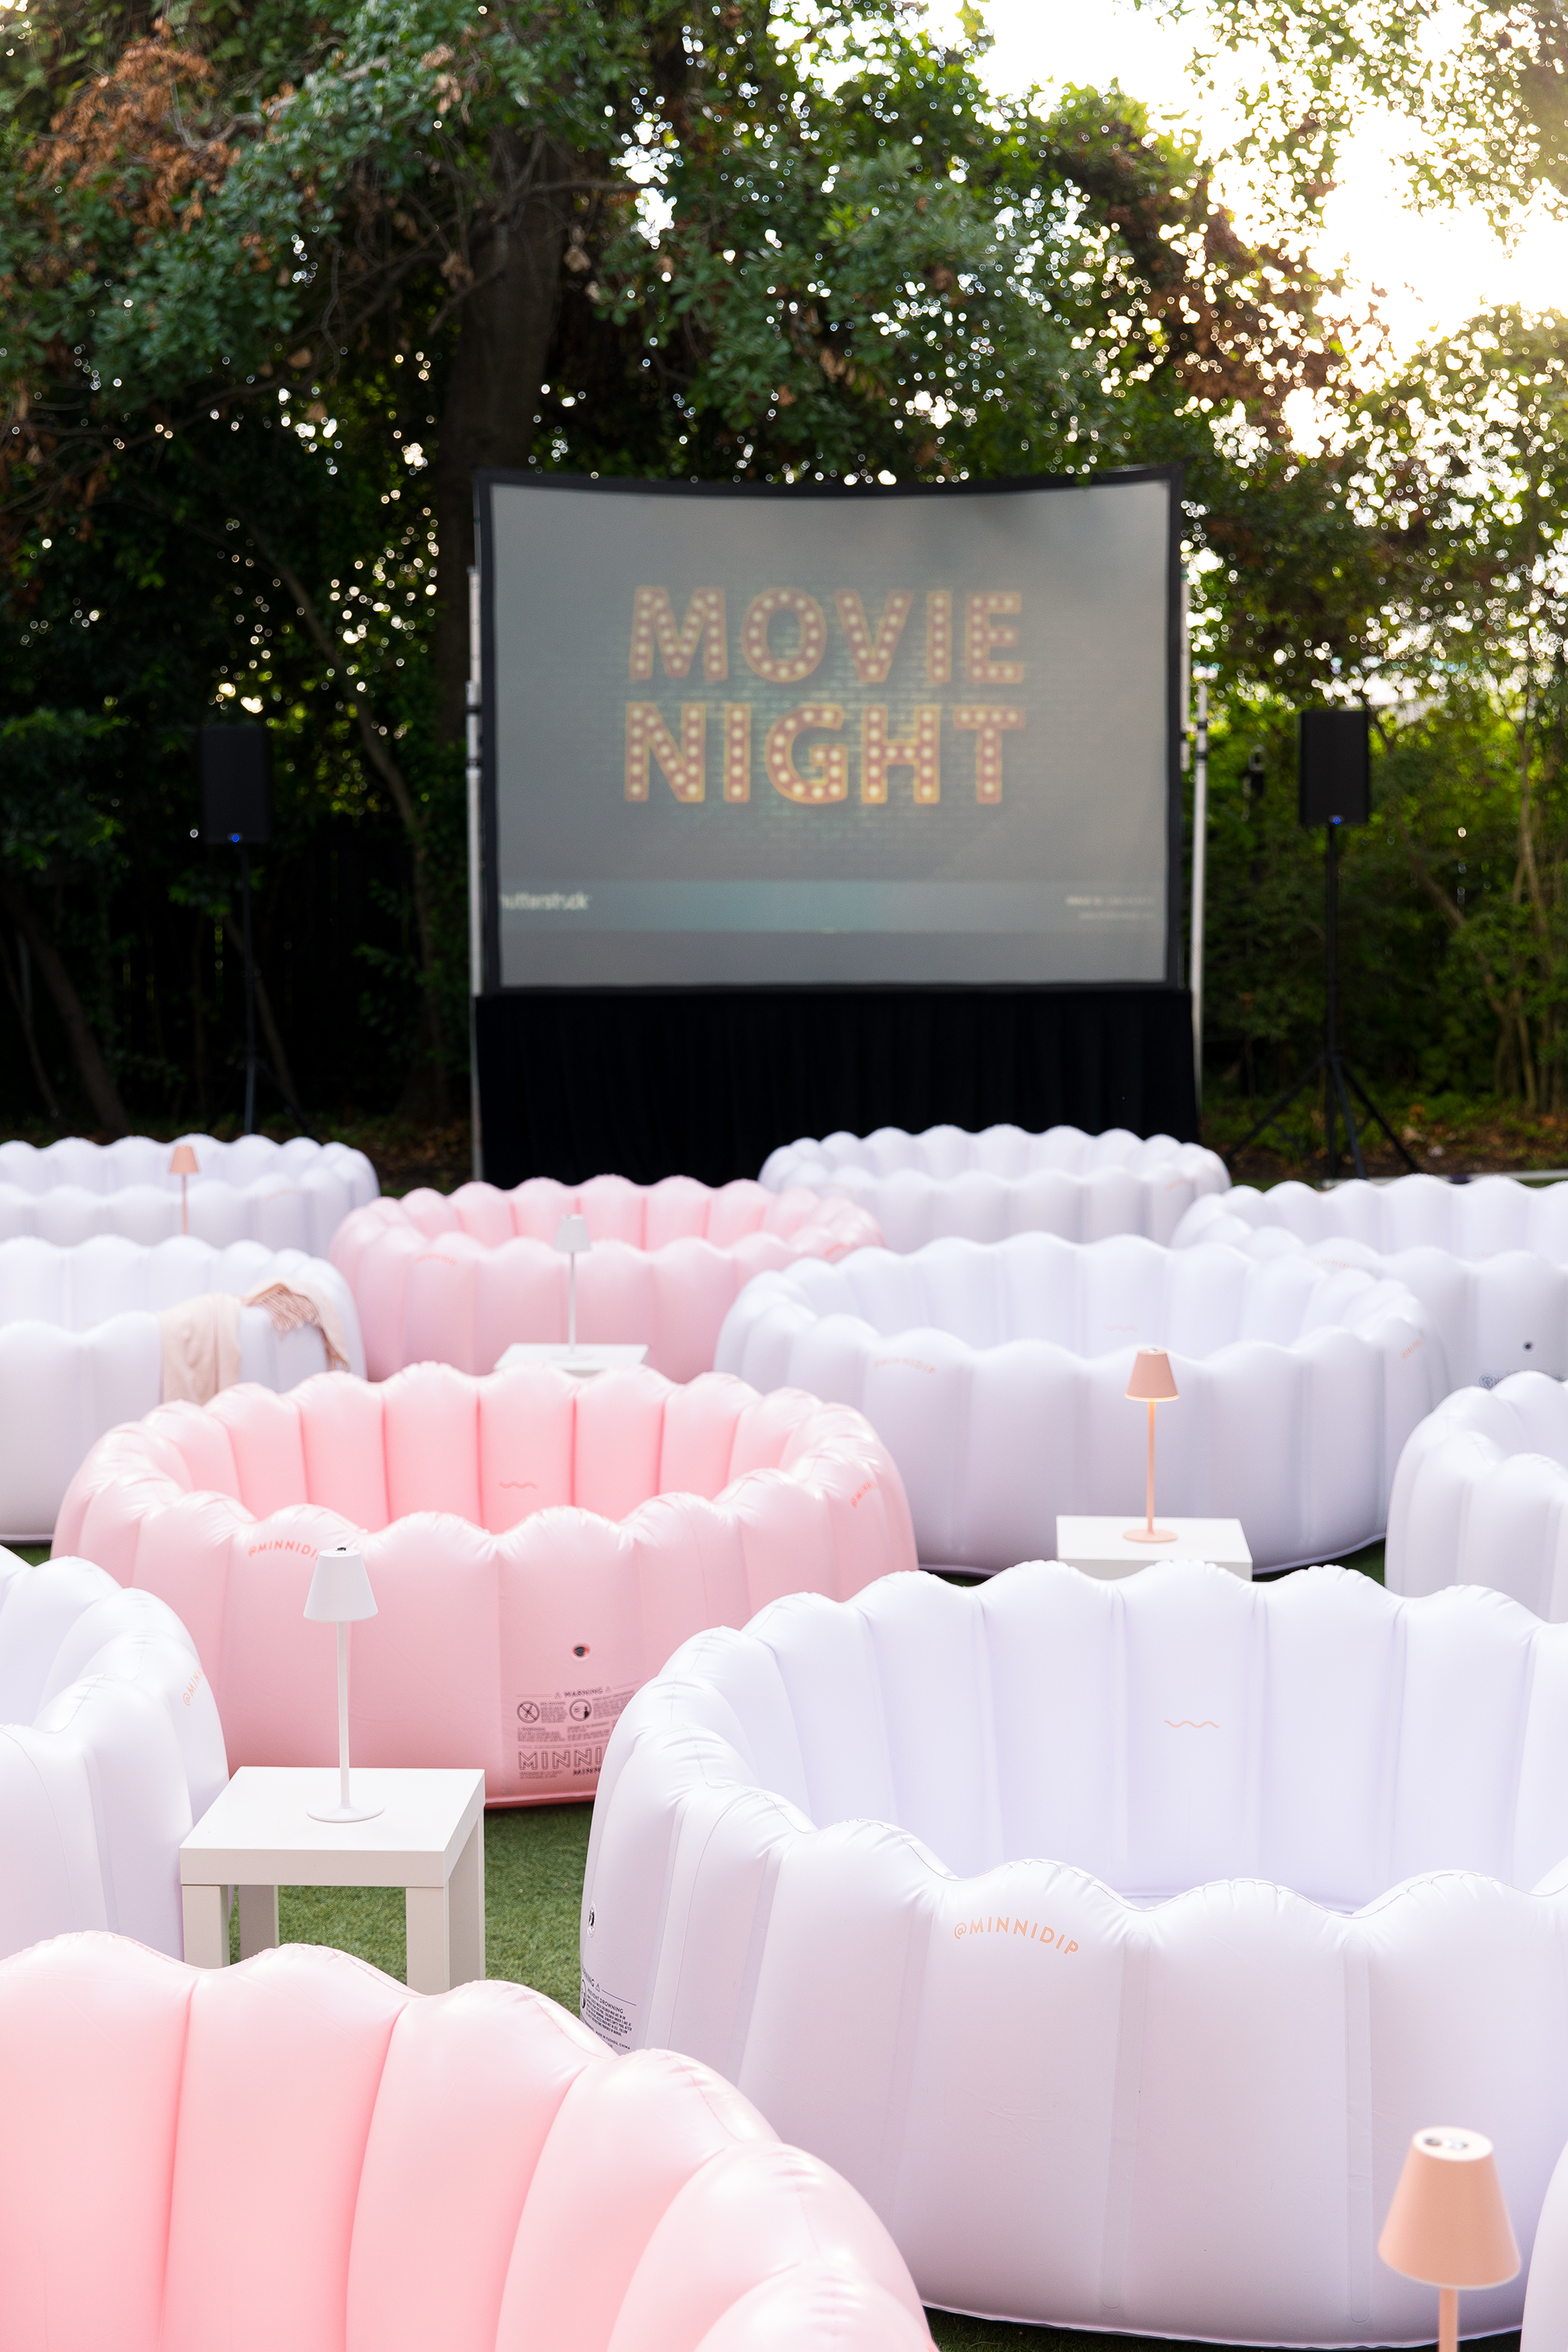
Your Guide to Hosting the Perfect Outdoor Movie Night
From DIY projectors to cozy seating arrangements, explore the best…
Continue Reading Your Guide to Hosting the Perfect Outdoor Movie Night
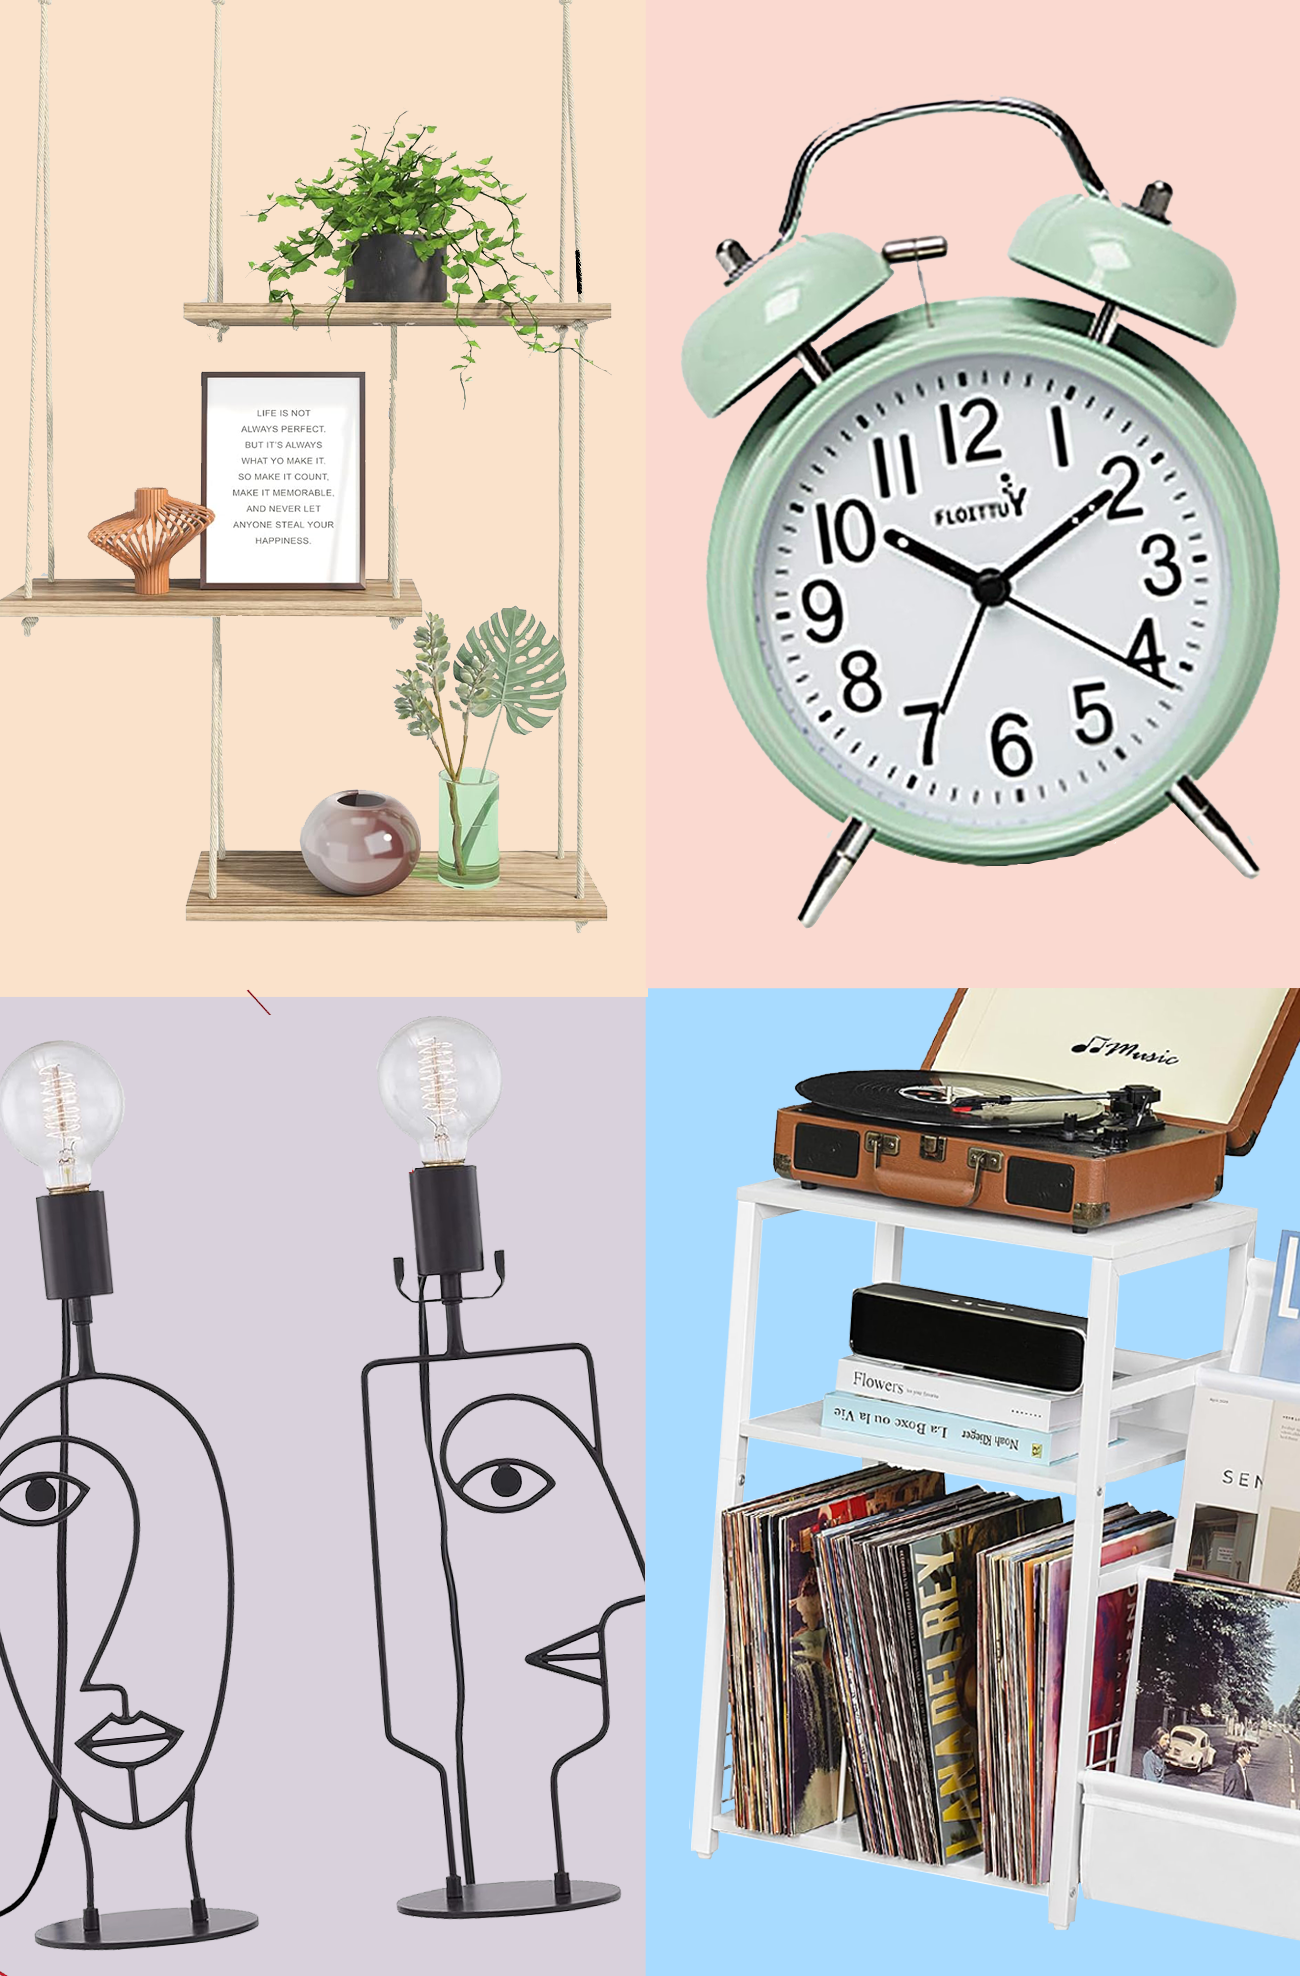
60 Amazon Bedroom Decor Picks to Revamp Your Room
Discover the best Amazon bedroom decor items to create a…
Continue Reading 60 Amazon Bedroom Decor Picks to Revamp Your Room
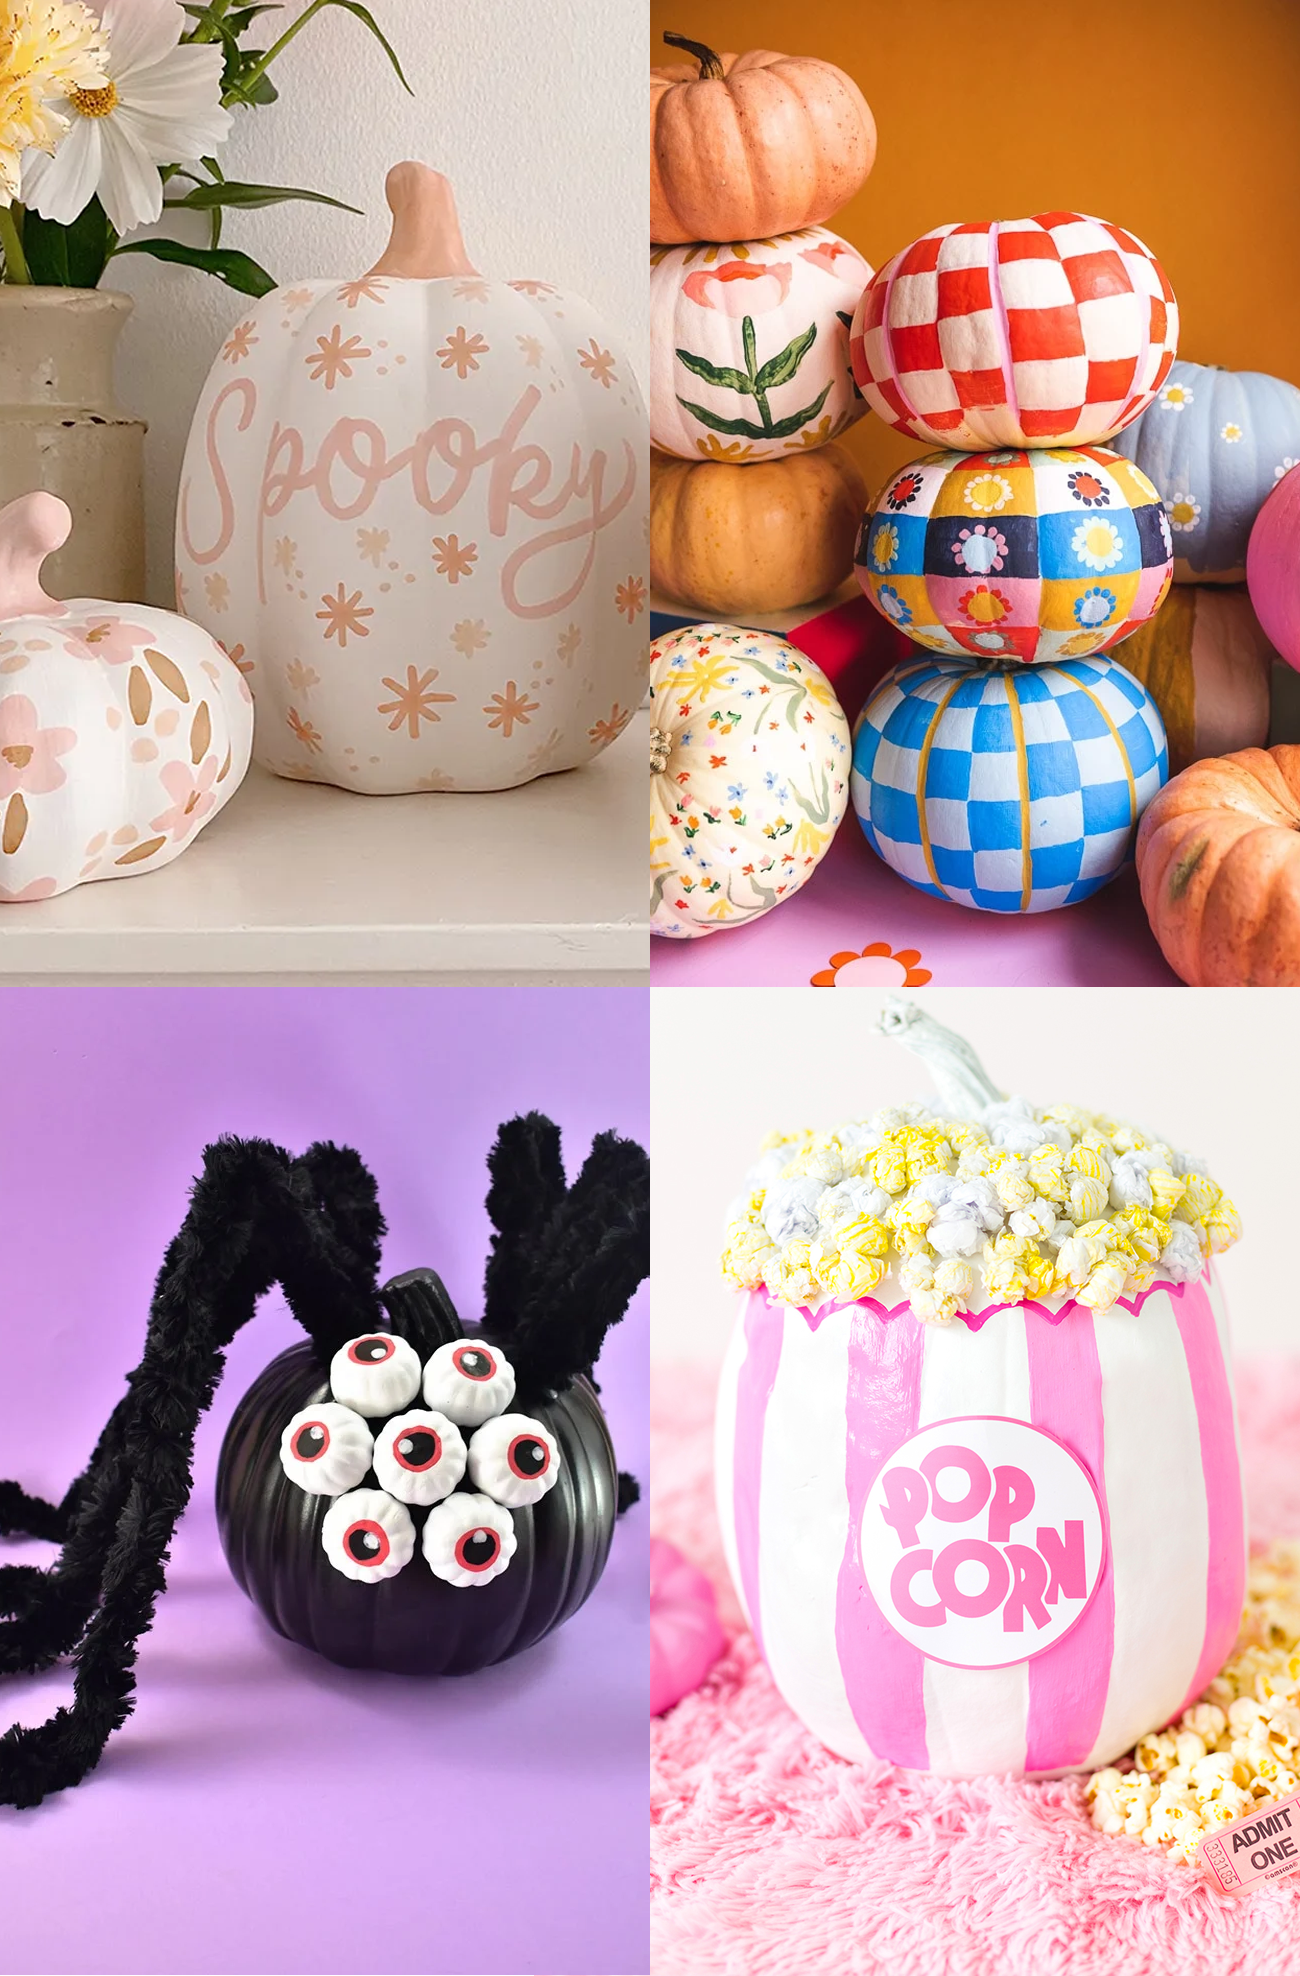
32 Easy DIY Pumpkin Painting Ideas
Create festive and unique decorations with these pumpkin painting ideas…
Please note that we may earn a commission for some of the above affiliate links. However, products featured are independently selected and personally well-loved by us!