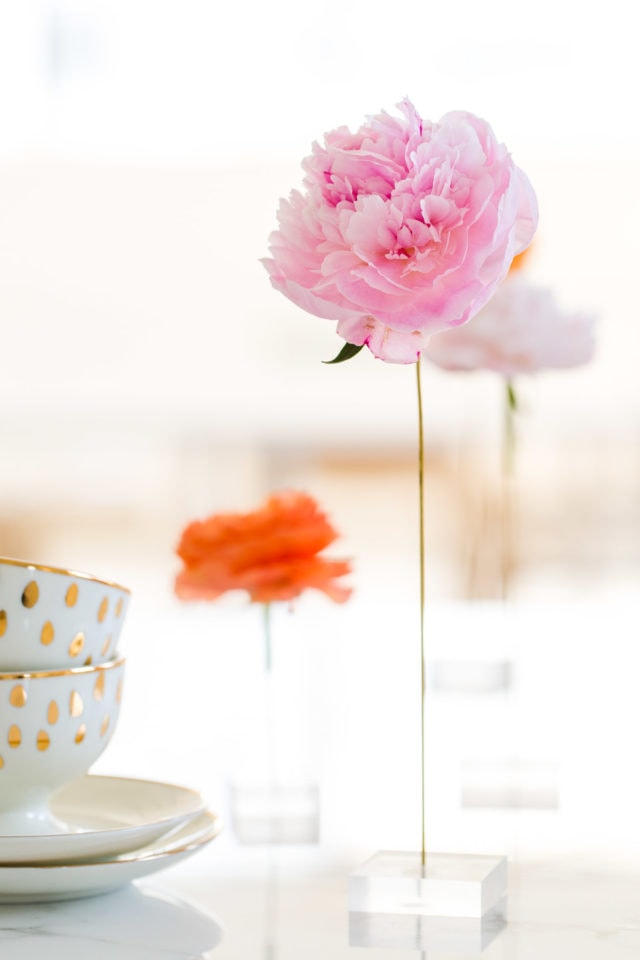
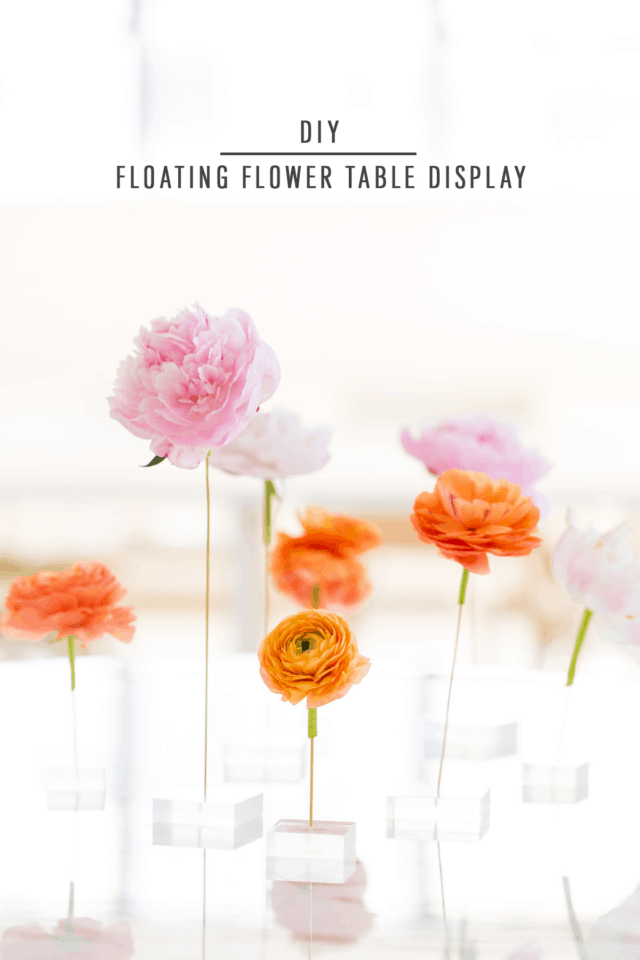
DIY Floating Flower Table Display
This easy-to-follow tutorial will show you how to make a beautiful eye-catching DIY Floating Flower Table Display for your next party or special event!
There are very few things I love more than flowers. And one of them just so happens to be repurposing old DIYs. Ah, the sweet smell of recycling your own labor!
I made a DIY Floating Flower Table Display out of the exact same tutorial for these DIY Macaron Displays from last year. But this time, you’ll need a little extra suction because of the weight of the flowers.
I only had to make one very small improvement for it to work. So I’d say that’s a win!
I actually made these for Jared’s sister’s flower bridal shower. And they were a hit.
You can make a ton of them for pretty cheap in all five minutes, PLUS, reuse them for macarons.
Basically, you have no reason not to DIY these babies and sprinkle them everywhere like confetti. Okay, so that’s a bit much, but you get my drift…
Also, try these simple DIY jumbo confetti poppers for New Year’s Eve and beyond.
Materials and Tools Needed to Make a DIY Flower Table Display
Drill with 1/16″ drill bit
Flowers
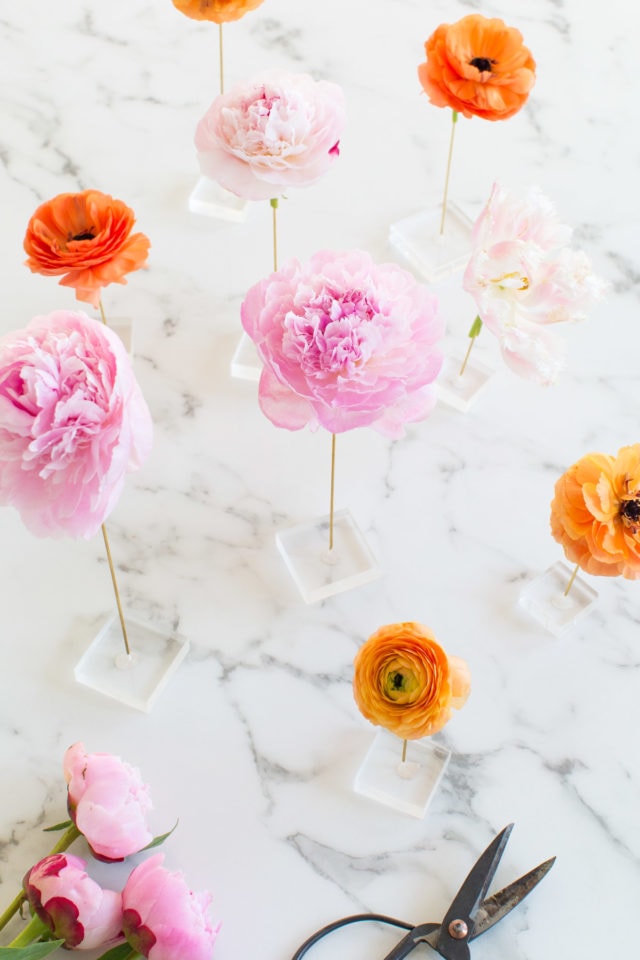
How To Make DIY Floating Flower Table Display
Step 1 — Drill a hole into each of the blocks.
Step 2 — Once the holes are drilled, cut the brass rods with bolt cutters. You can cut varying heights to add interest to the final setup.
Step 3 — Add a small pinch of sticky putty to the bottom of the blocks where you drilled a hole.
Then, flatten out the putty by pushing the blocks down onto the surface. The putty will hold the brass rods and flower in place.

Tips in Making Flower Display Table
Decide what type of table you would like to create:
There are many different options available, so take some time to browse through pictures online or in magazines to get an idea of what you like.
Once you have a general idea, start collecting supplies. You will need a sturdy table, some sort of base or stand, and a variety of different-sized vases or containers.
Choose a color scheme for your flowers, and then start gathering the blooms you need.
Create a mock-up of your table by arranging the vases and containers on the surface:
This will help you determine how much space you have to work with and what type of arrangement will look best.
Once you have a general idea of the layout, start filling the vases with water and adding your flowers.
More DIY Party Ideas
I told you they were easy peasy! I also love the idea of doing one long piece of acrylic to stick down into a statement centerpiece.
For a more DIY project like this one, you may consider the following related posts below –
- DIY Christmas Centerpiece Idea – Faux Flower Bottle Brush Tree
- DIY Floral Pineapple Centerpiece
- Halloween Decor: DIY Floral Halloween Centerpiece
- DIY Hanging Flower Installation
DIY Floating Flower Table Display
Equipment
- Wire cutters
- Drill with 1/16″ drill bit
- Bolt cutters
Instructions
- Drill a hole into each of the blocks.
- Once the holes are drilled, cut the brass rods with bolt cutters. You can cut varying heights to add interest to the final setup.
- Add a small pinch of sticky putty to the bottom of the blocks where you drilled a hole. Then, flatten out the putty by pushing the blocks down onto the surface. The putty will hold the brass rods and flower in place.
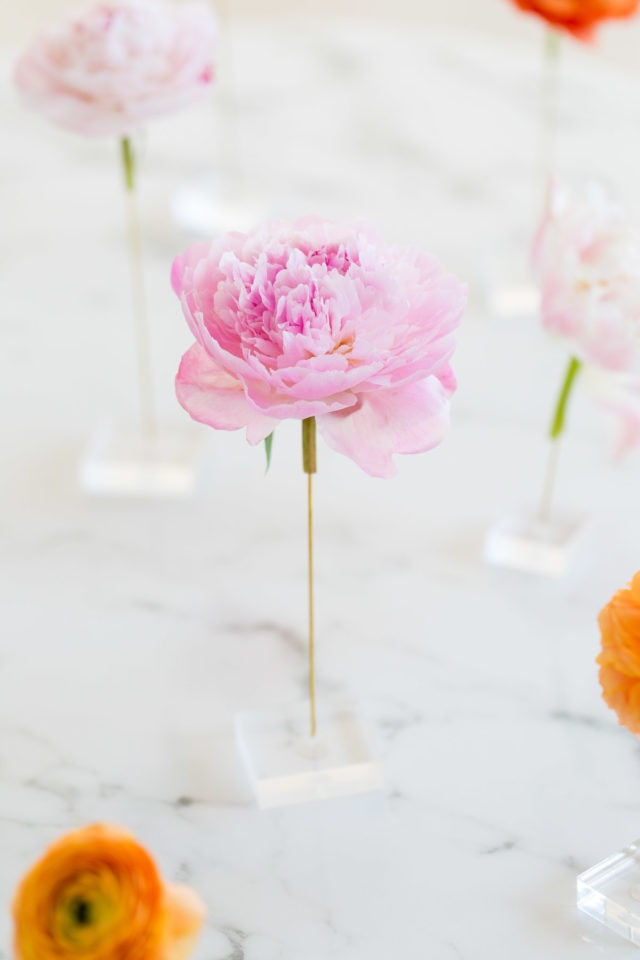
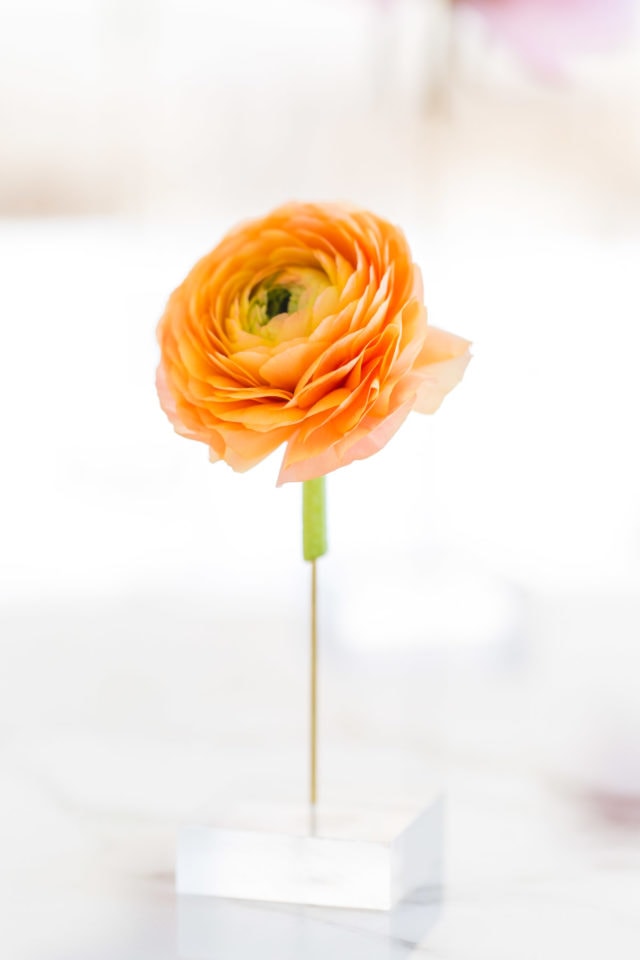
- Stick each brass rod into each acrylic blocks.
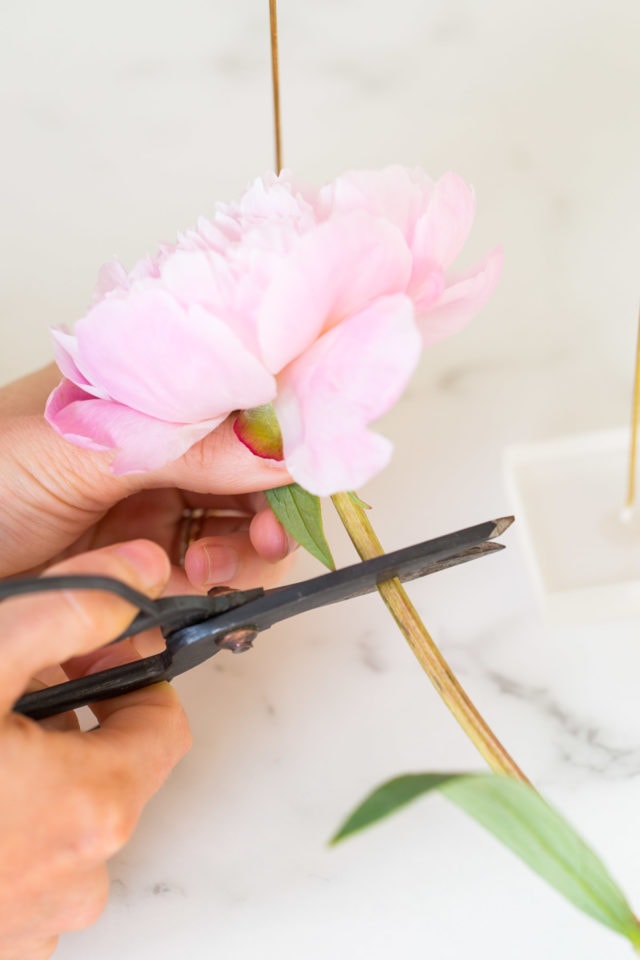
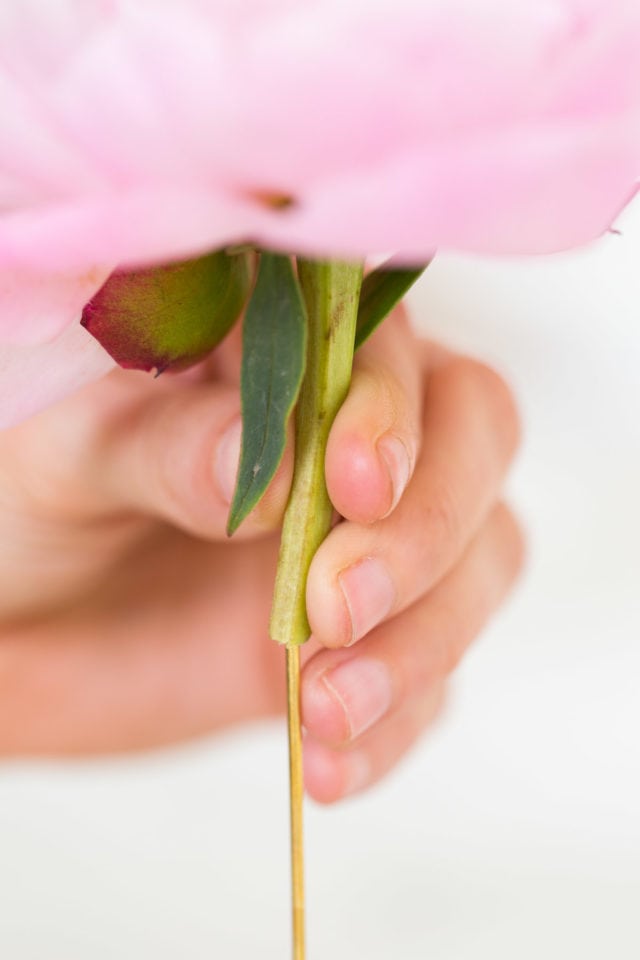
- Snip a flower bloom and slide the stem down over the end of the rod.

Be sure to share your Floating Flower Table Display with us on Instagram using the hashtag #sugarandclothloves, so we can follow along, too! We always love seeing all of your creations!


Please note that we may earn a commission for some of the above affiliate links. However, products featured are independently selected and personally well-loved by us!
These look great. My question is how long do they last once made as I’m worried about cutting them the day before the event.
Hi Leslie! Most cut flowers that aren’t watered will start wilting after a few hours. You can cut them before an event and keep them in the fridge (away from fruits and vegetables about 4-6 hours) before your event. Or you could assemble them and spritz them with water. Hope this helps!
how many acrylic blocks (comes in package of 3) to buy? Looks like I need many to have the same colorful effects in your picture! Really love idea! I will try it but trying to find all the supplies.
Hi Suz! The ones that we purchased on Amazon come in a package of 3. And we did 9 total. You can find acrylic blocks at the craft stores but we’ve had better luck online. You may be able to find them cheaper on ebay. Hope this helps!
Where did you get the acrylic blocks?
Hi Ann! These are the ones that we used: https://shopstyle.it/l/1b1X.
This is an amazing project. I am definitely considering these for my wedding!
How long do the flowers typically last once they are placed on the rod (also planning on using similar flowers as above)?
What a super idea!! Will definitely include it in my wedding DIY round up post!
So glad you like it! xo
These are so lovely!
So glad you like them :)!
Are you using real flowers?
Yes! But fake flowers would also work beautifully!
These literally could not be more beautiful!!!! I just keep pinning every single picture.
ahhh! thank you, that makes my day!
Gorgeous. I love it.
Thanks, b! xo