How to Make a DIY Watercolor Wall Art – Watercolor Prints
DIY Watercolor Wall Art — Using watercolor paint for a really simple piece of colorful art is so easy to do. Plus, you can make your artwork as big or as small as you’d like in whatever color you love most…
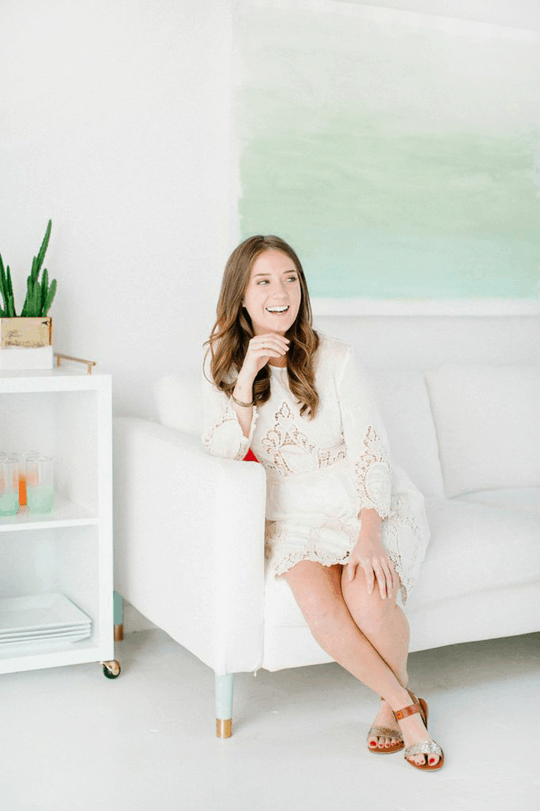
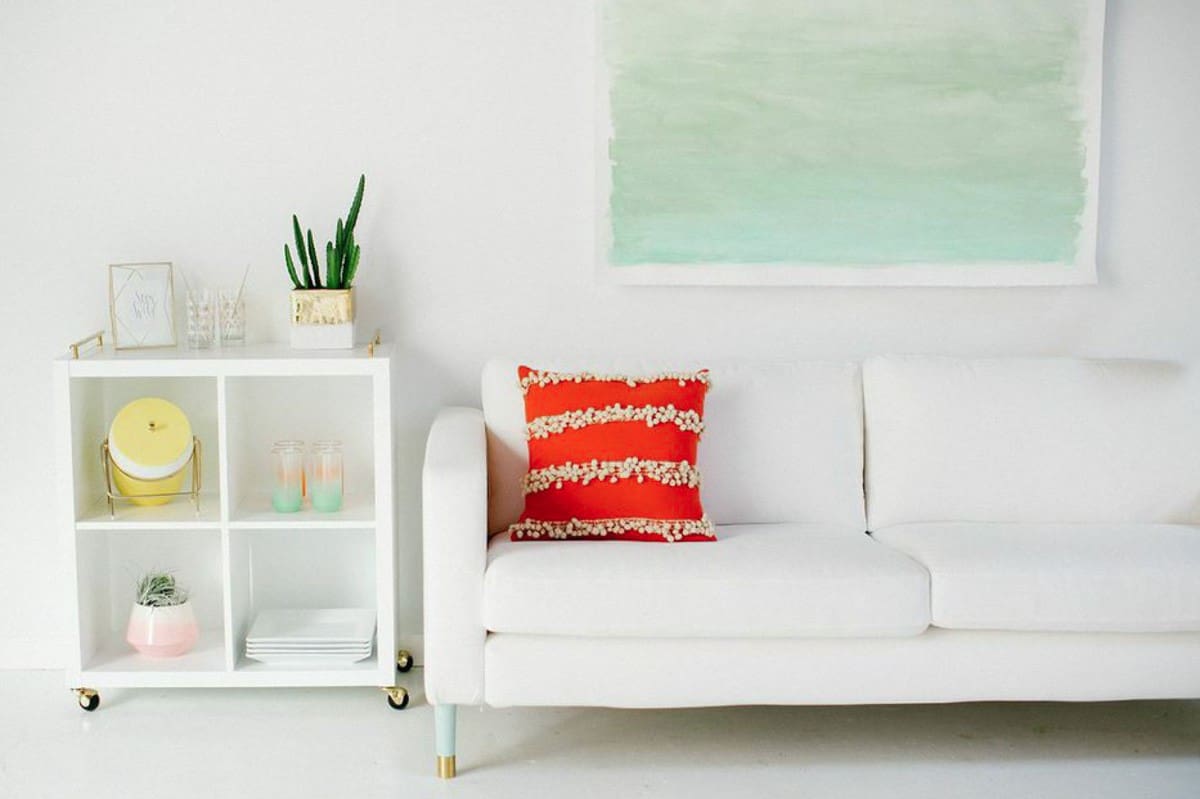
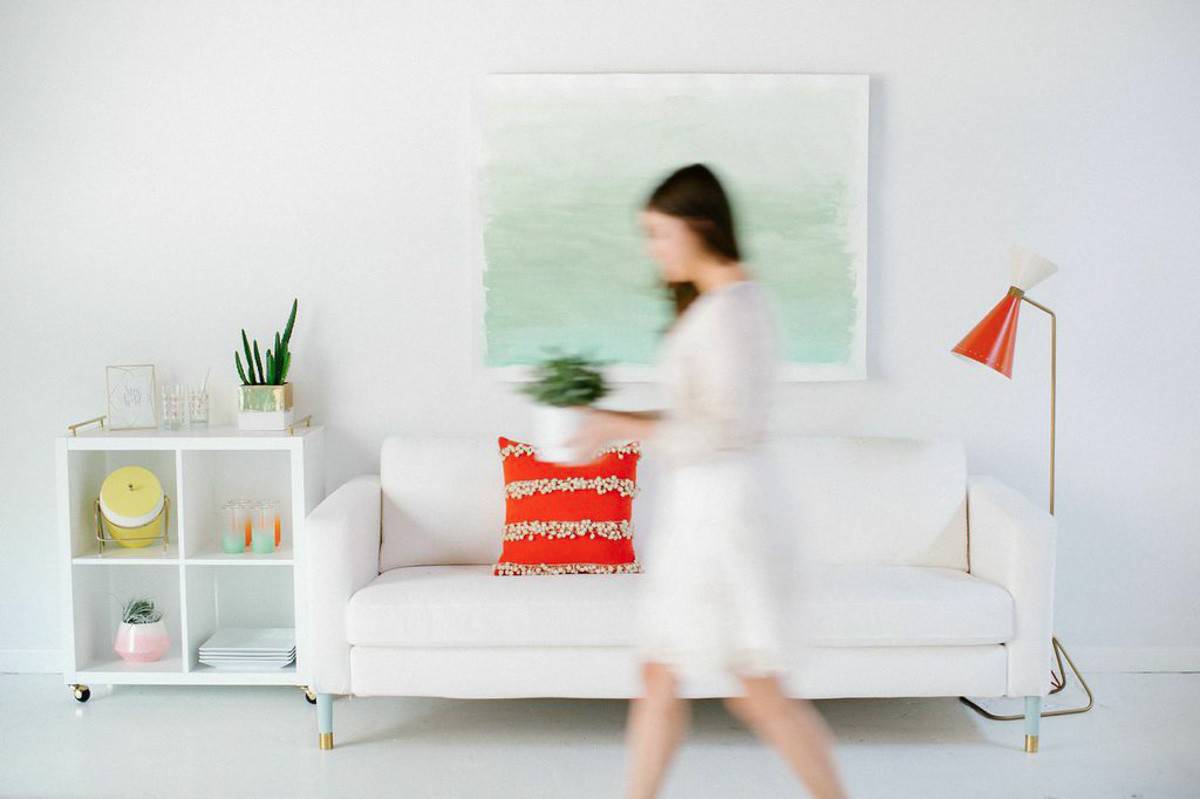
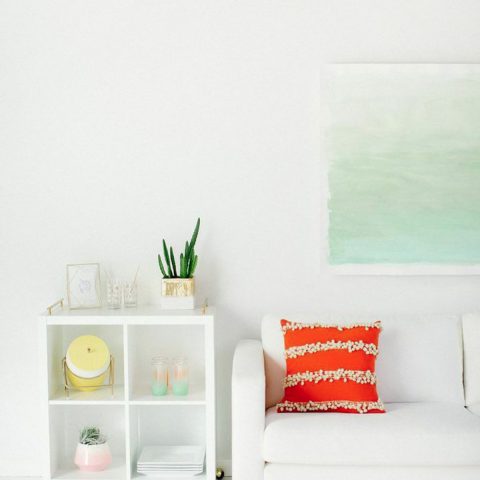
When the Sugar & Cloth studio tour came out, I received TONS of reader questions about where the watercolor wall art above the couch was from.
I definitely did not see those inquiries coming. I seriously made that thing in 10 minutes flat as Kimberly was walking in to take photos of the space.
Originally, we had this DIY Paper Wall Art hanging up there instead. But I decided it was too punchy. And I wanted a more muted focal point so I switched it out at the last second.
I’ve finally gotten around to fulfilling your requests for a how-to with this DIY watercolor wall art tutorial. And you might actually laugh at how easy this is to make, not even joking!
Materials For How To Make DIY Watercolor Wall Art
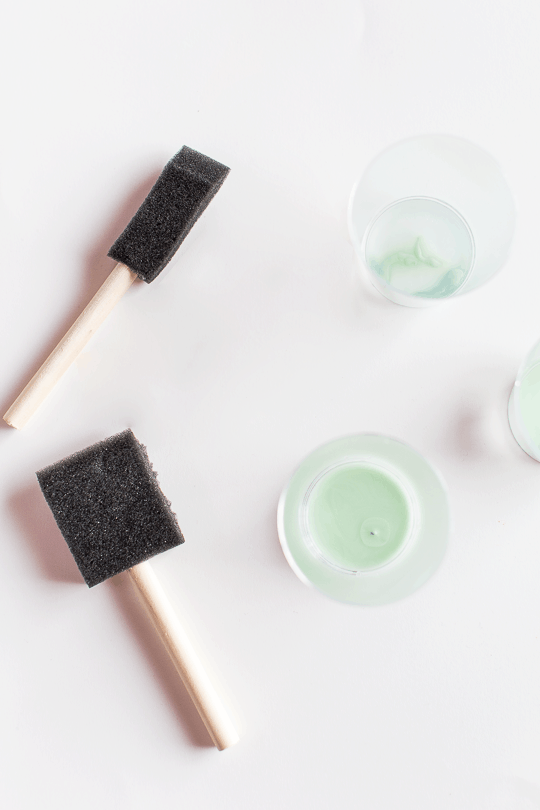
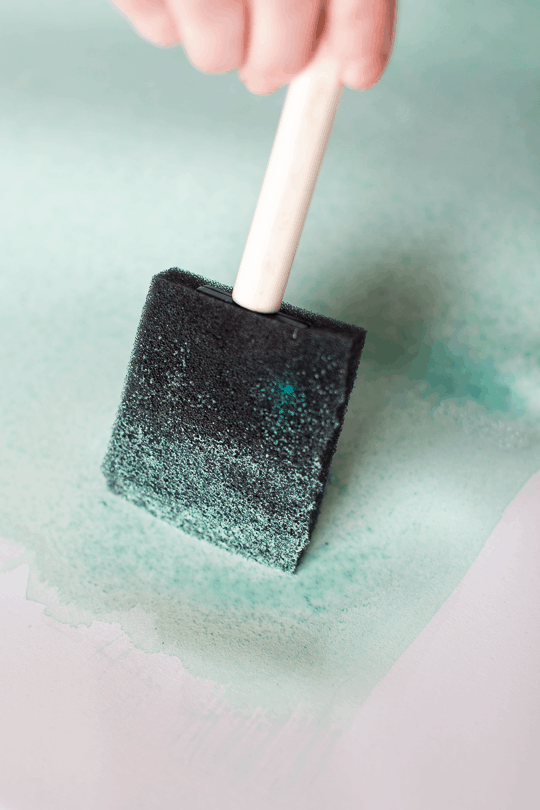
Foam brushes
3 plastic cups
3 colors of craft paint in a similar color family (I used mints and greens)
Large piece of printmaking or linen paper from the art store (size is up to you!)
How To Make Your Own Watercolor And A DIY Watercolor Wall Art
Step 1 – Fill each plastic cup with about an inch of water. Now all you need to do is add paint. That’s literally all that it takes to make your own watercolor!
Step 2 – Squeeze a dime-size amount of the lightest three paint colors in one cup.
Step 3 – Squeeze a bit of each of the darker two paint colors in the second cup.
Step 4 – And then, a dime size of the darkest paint color in the last cup.
Step 5 – Stir the paint and water together, and then, your colors should line up to be an ombre scheme. If not, adjust the paint as needed.
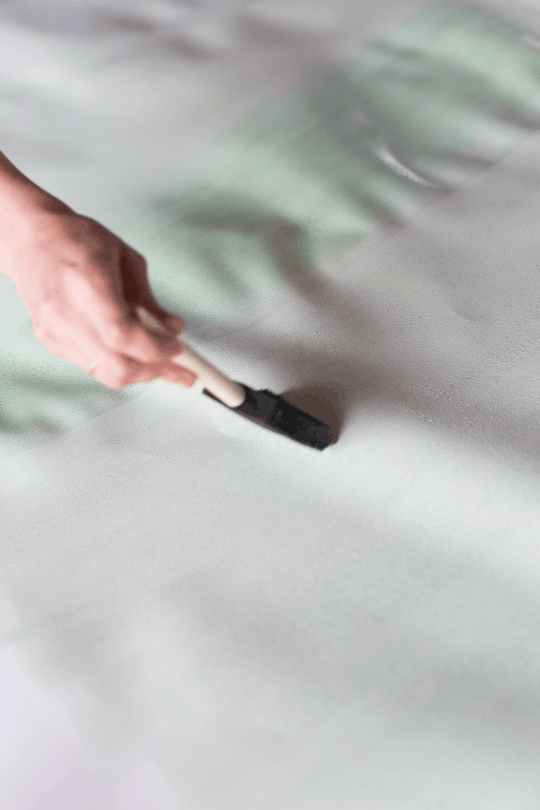
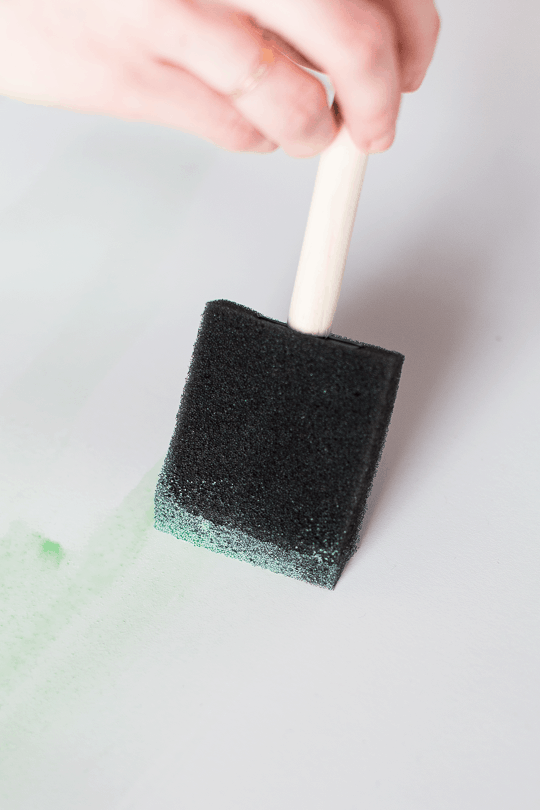
Step 6 – Using the lightest color, quickly brush the color across the entire paper leaving a clean white border of at least two inches all around.
Step 7 – Next, use the medium color starting from one end of the painting and brush it all the way up, just past the center of the paper being sure to blend the watercolor excess so you don’t have puddles building up.
Step 8 – Lastly, use the darker starting from the same end that you started brushing the second color from, and only paint up to just below the middle.
If you can, let the paper hang to dry once there are no puddles on the page. This is so that the weight of the paper doesn’t pull any puckers and wrinkles out!
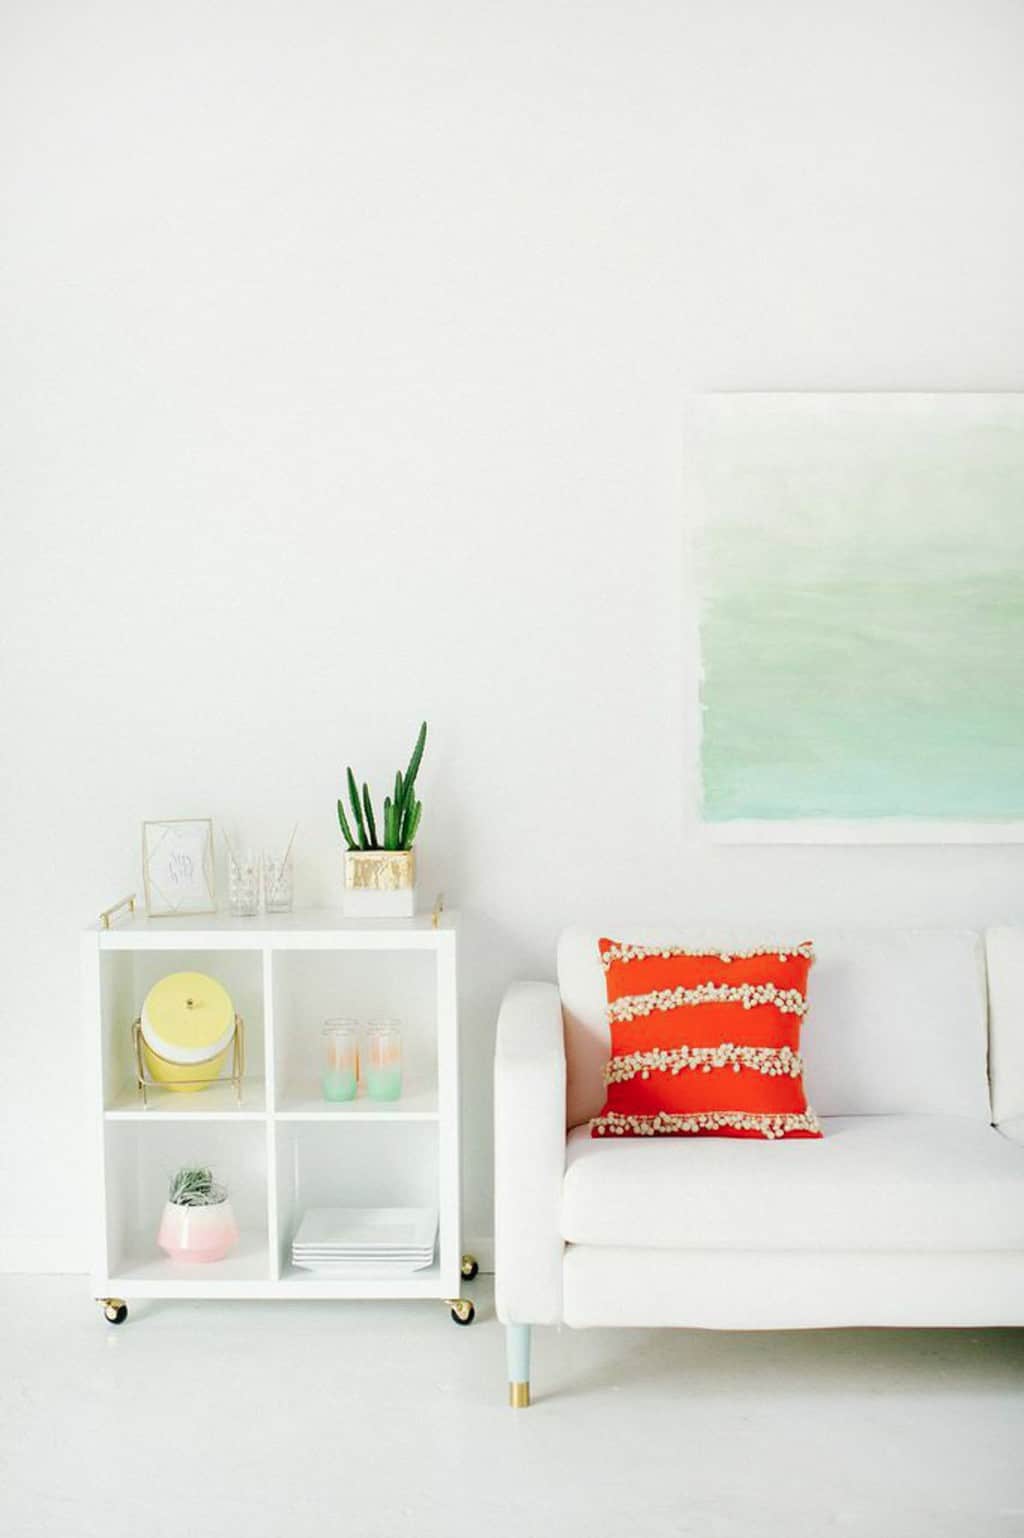
Once it’s completely dry, frame or mount it as you see fit for your space.
You didn’t hear it from me, but we actually just taped ours up over the old paper wall art ! Shhh…
Other Home Decor DIY Ideas
If you loved this DIY watercolor wall art project, be sure to check out our other favorite home decor DIY ideas! Or more of our favorite watercolor projects from the archives —
- A picnic perfect DIY Watercolor Throw Blanket
- Free downloadable DIY Watercolor Printable Wall Art
- Watercolor Candy Cane Ribbon Place Card Holders
- Abstract Watercolor Painted Cake
I really love the way the colors look with the pops of burnt orange of the couch pillows. It was just the right amount of interest without overdoing it in the all-white space.
What do you all think? Is this a project you would try for your home?!

DIY Watercolor Wall Art
DIY Watercolor Wall Art
Equipment
- Foam brush
- Plastic cups
- Frame or mount
Materials
- 3 craft paint colors in a similar color family I used mints and greens.
- 1 large piece of printmaking or linen paper size depends on you
Instructions
- Fill 3 plastic cups with about an inch of water.
- Squeeze a dime size amount of paint of the lightest three colors in one cup.
- Squeeze a bit of each paint of the darker two colors in the second cup.
- Squeeze dime size of paint of the darkest color in the last cup.
- Stir the paint and water together so that your colors lineup to be an ombre scheme. If not, adjust the paint as needed.
- Using the lightest color, quickly brush the color across the entire paper leaving a clean white border of at least two inches all around.
- Next, use the medium color starting from one end of the painting and brush it all the way up, just past the center of the paper. Be sure to blend the watercolor excess so you don’t have puddles building up.
- Use the darker paint starting from the same end that you started brushing the second color from, and only paint up to just below the middle.
- Hang to dry until there are no puddles on the page. By hang drying, the weight of the paper won't pull any puckers and won't wrinkle out!
- Once completely dry, frame or mount it as you see fit for your space.

photos by Kimberly Chau
Please note that we may earn a commission for some of the above affiliate links. However, products featured are independently selected and personally well-loved by us!
This is lovely! I’m going to give it a try. Did you use acrylic paint?
Hi Becky! We just used craft paint. It’s cheaper but you can definitely use acrylic paint also.
I want to paint a big watercolor rainbow directly on the wall in my daughter’s room. Would the same technique work on walls instead of linen?
Hi Tricia! Yes, unfortunately the texture of linen and paper are very different from a wall. If you are painting on a wall, we would definitely recommend paint meant for interior walls. Hope this helps!
Love, Love, LOVE!!!!
Can you share what colors you used? I have a similar color scheme and would love to replicate this! Thanks
Where did you get the gold and white planter? So cute!
I did this on a huge canvas and cannot believe how many people comment on it when they come over. Sometimes the simplest things turn out the best! And yes the orange pillow is killing it!
Aw, yay! I hope you send them to sugarandcloth.com, haha! ;) xo
Looks even more pristine in combination with everything else!
What a simple and beautiful piece!
Ripped Jeans
It would certainly not take me 10 minutes! I love it. Compliments the other colors in the studio very well.
And by that, I mean ‘complements’ ;-)
thank you for finally doing this DIY! youre right! it was easy!!!
I am for sure trying this!!!!!!!!
do you have a list of the 3 colors you used?
Thank you for posting! I’m soo excited to try this!
I love that piece of art from your studio tour, Ash. I might have to commission you to make one for me!