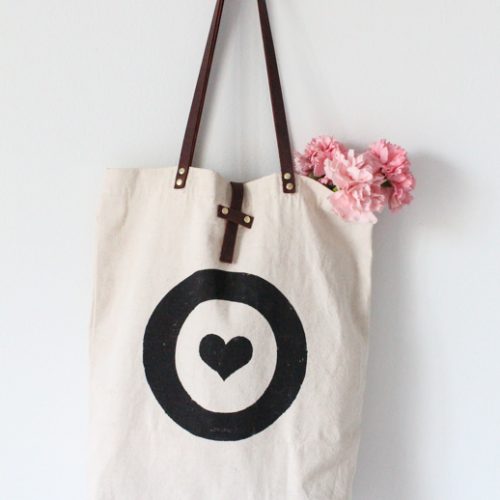
DIY Bag Hack – How to Revamp Any Bag with Leather Straps
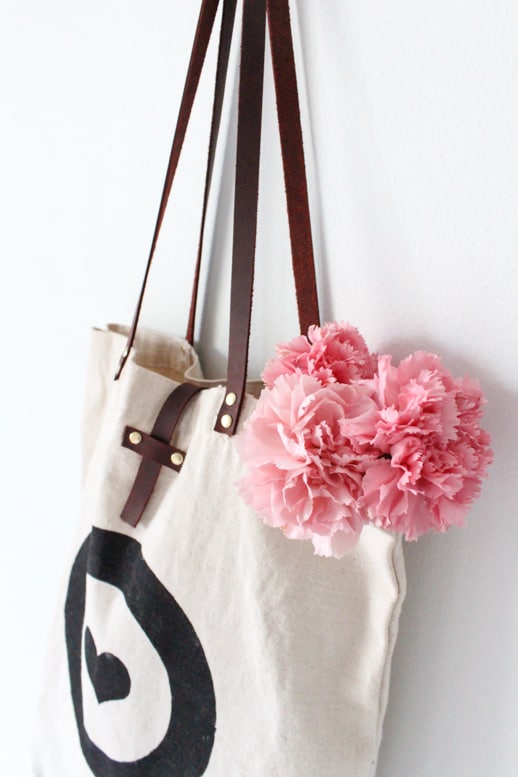
Want to take your canvas bag to a new level? Sharing how to revamp any bag with leather straps tutorial that will take any bag up a notch.
I’m always on the lookout for simple and inexpensive ways to revamp items I already own once I wear out their traditional look.
Like this DIY Pattern Paper Leather Tote, you can have the luxurious look of leather!
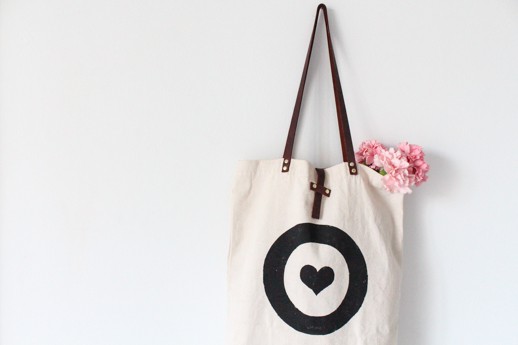
It’s just an added bonus when the finished outcome of a revamp makes it look even more expensive than it really is, like a DIY leather strapped tote bag which only cost me $15 in materials!
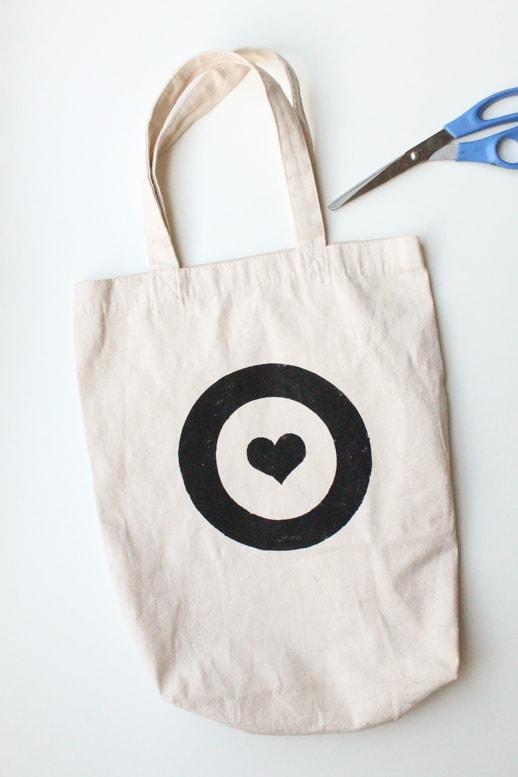
Chelsea from Lovely Indeed sent me this darling tote a few months ago, and I’ve been using it for everything.
It was just a matter of time before it earned its leather straps, here’s how..
Materials and Tools Needed to Modify an Old Bag
Scissors
Leather straps — I purchased mine pre-cut from Tandy Leather. This is a similar strap.
How to Revamp Any Bag
Step 1 — First, cut the existing straps off your bag as close to the trim as you can.
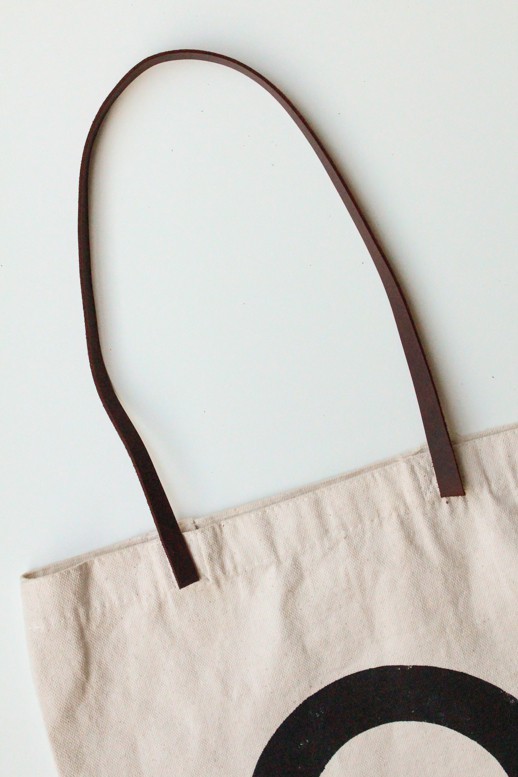
Step 2 — Then, measure and cut two 22inch leather pieces to use as straps.
The width is up to you as far as comfort, mine are cut a 1/2 inch thick.
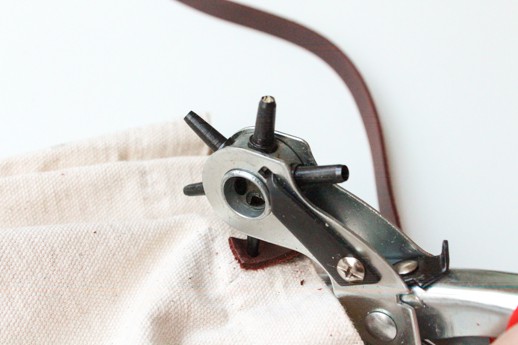
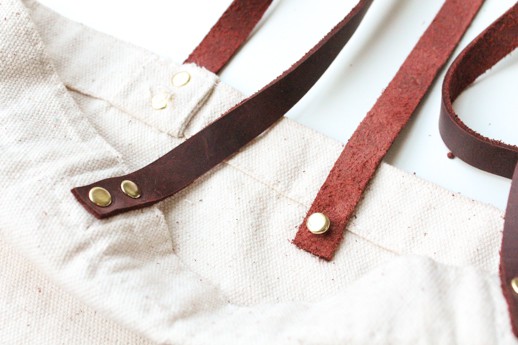
Step 3 — Once you have the desired placement of your straps, use the leather punch to punch through the straps and tote bag.
I made two holes for two rivets on each side for added support, but it’s up to you.
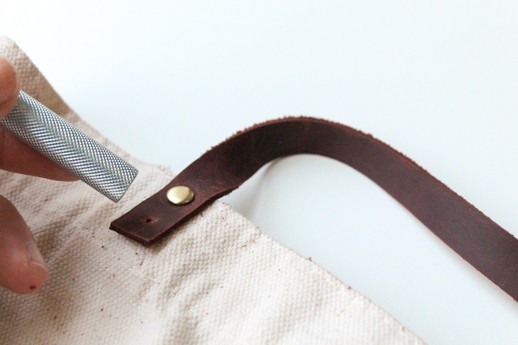
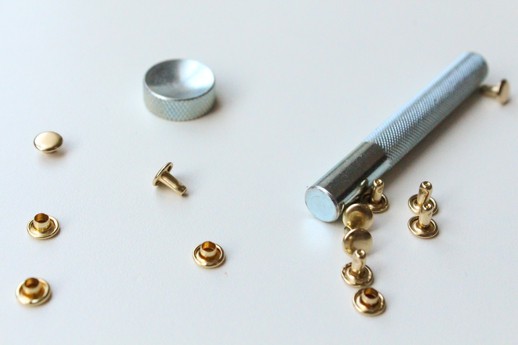
Next, insert rivets in the holes you previously made according to the instructions on your kit.
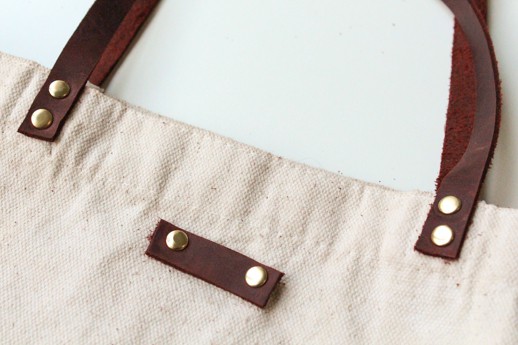
Step 4 — If you want to make a closure strap, measure and cut a piece of leather that is 1inch wider than the desired width of your closure strap, and insert a rivet on each side.
This way it’s snug enough to keep the strap closed.
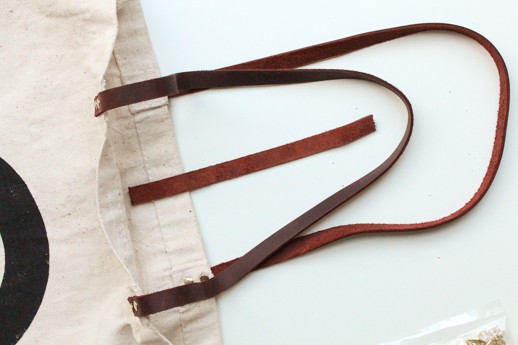
Step 5 — Cut a piece of leather that’s about 6 or 7 inches long to use as a strap (making sure it’s long enough to safely rest where you placed the enclosure piece).
Step 6 — Make sure the leather is facing the wrong side up, and use a rivet to attach the leather strap.
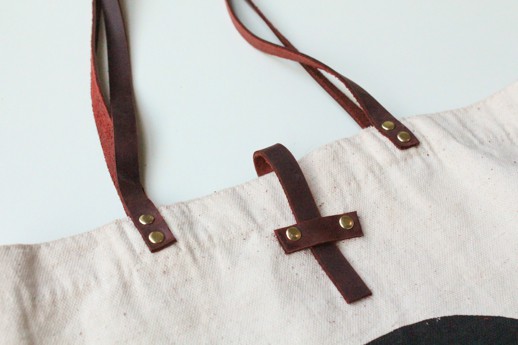
Step 7 — Fold the strap over and under the enclosure, and you’re finished!
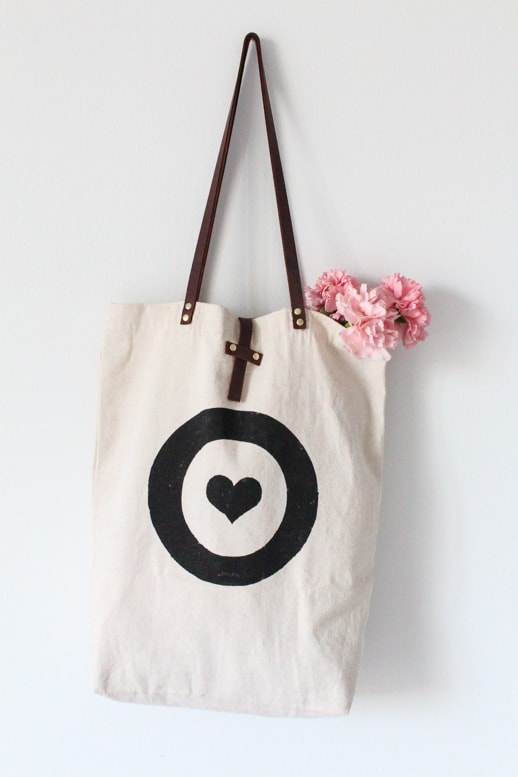
Swapping out the straps with leather straps really adds a luxe look! We love working with this textile.
There is no end to what you can do with leather, from placemats to leather stools and more!
For more of our easy projects with leather, check out a few of our favorites from the archives —
More DIY’s with Leather
- Pom Pom Leather Luggage Tag
- Leather Hexagon Vanity Tray
- DIY Leather Bar and Drink Tags
- Pattern Paper Leather Tote
DIY Leather Straps Bag
Equipment
- Scissors
- Leather hole punch
Materials
- 1 tote bag
- 1 leather strap
- 1 small rivet starter kit
Instructions
- Cut the existing straps off your bag as close to the trim as you can.
- Measure and cut two 22" leather pieces to use as straps.The width is up to you as far as comfort, ours are cut a 1/2" thick.
- Once you have the desired placement of your straps, use the leather hole puncher to punch through the straps and tote bag.You can make holes for two rivets on each side for added support, but it’s up to you.
- Insert the rivets in the holes you previously made according to the instructions on your kit.
- Optional: If you want to make a closure strap, measure and cut a piece of leather that is 1" wider than the desired width of your closure strap, and insert a rivet on each side.This way it’s snug enough to keep the strap closed.
- Cut a piece of leather that’s about 6- 7" long to use as a strap (making sure it’s long enough to safely rest where you placed the enclosure piece).
- Make sure the leather is facing the wrong side up, and use a rivet to attach the leather strap.
- Fold the strap over and under the enclosure, and you’re finished!

Don’t forget to share your DIY bag hack with us on Instagram using the hashtag #sugarandclothloves. We always love seeing all of your creations! Looking for more interior design inspiration? You can find all of our home decor tutorials and ideas right here!


Please note that we may earn a commission for some of the above affiliate links. However, products featured are independently selected and personally well-loved by us!
Thank you very much, very interesting and informative, I can advise tools for the skin on the site http://leatherwork.esy.es . I buy on this site all tools for leather. Wery good tools, i reccomend.
You’re welcome, Charles! XOXO
Awesome ideas your on this blog. I like your idea. Your tutorial is nice. I am trying your idea. Thanks!
Thanks, Grady! Let us know how it turns out!
Wow, I would have never thought if this. Thanks for the inspiration!
Thanks so much, Alisha! xo
Great Looking bag. The straps might benefit from leather that is a little thicker. If you are interested is a variety of leather styles, please visit our website (www.rainmakerleather.com).
nice looking bag! any idea on how thick (3, 3.5, or 4 oz. – 3/64″, 1/16″ or 5/64″) your leather was?
I’m actually not sure! I’m going to guess 1/16″? It’s a pretty have duty leather, but still feminine :)
Oh bless you for sharing this!
Too cute! love me some leather straps. The suede side does such a good job of gripping.
I couldn’t help but notice that the rivet set your using looks a whole lot like mine and I feel I must warn you… be careful about putting a load on them! I’ve had a few pop apart. Not all of them, but enough to make me suspicious of further use. Of course, I’m not Rosie the Riveter so it could have been user error ;)
There are screw-in rivets and they also don’t need a tool. You just screw the backs into the front rivet piece. They’re much more secure because they won’t pop out!
this is briliant, well done, it rocks!!!
I have many of those old totes, We received them in the seventies insteade off plastic bags.
but it wasn’t smart to use by our raining and moistered climate here in the Netherlands.LOL
But i have still some in my bags to use when my mainbag is filled up with my shoppings.
Perhaps i must make them water resistable as well.
thank you for the great tute and the sharing.;-D
Wow, what an amazing difference!
Oh My! that looks so chic, I have tones of these bags at home, they are totally getting a makeover this weekend. Thanks for sharing <3
Sammy xxx
http://liveitloveitmakeit@blogspot.com
Aw! It looks AWESOME with the straps! And I love those little flowers peeking out. This is rad!
What a great idea! This look gorgeous. I’ve been wanting to whip up a painted tote bag this summer (you can never have enough totes at the farmers market!) and will have to try out giving it leather straps.
-Becca
Ladyface Blog