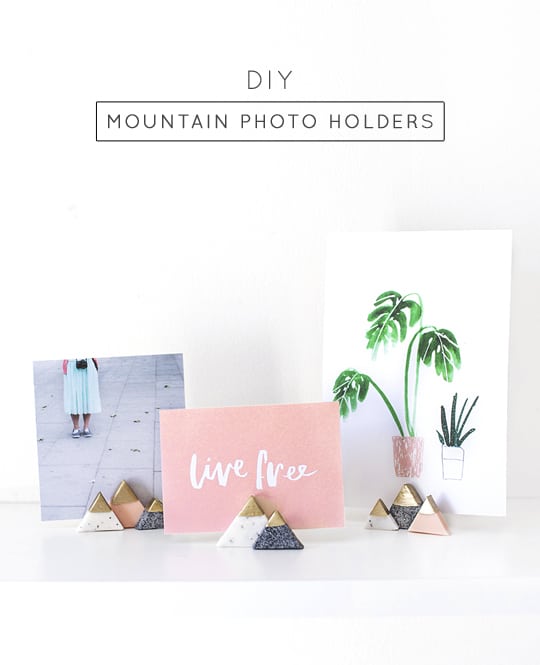
Clay DIY Photo Holder
Transform your favorite photos into a stylish and functional piece of decor with this easy DIY photo holder tutorial.
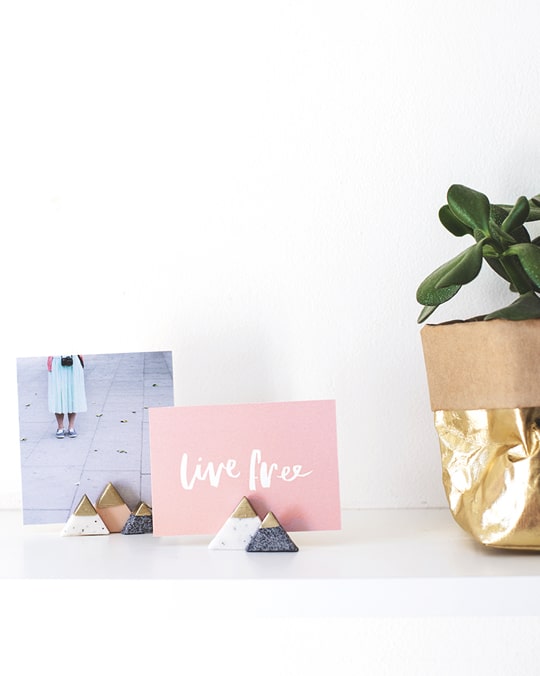
This clay project makes for the perfect DIY photo holder, card display or desktop decor. And they’re super easy to recreate!
I could honestly dream up polymer clay DIY ideas every week for the rest of my life. This Mini Mountain DIY Photo Holders project is no exception!
I, Teri love polymer clay and can’t get enough of just how versatile it is as a material. Even better is that this tutorial doesn’t involve rolling or moulding.
So it literally couldn’t be simpler unless a very kind person did it for you instead!
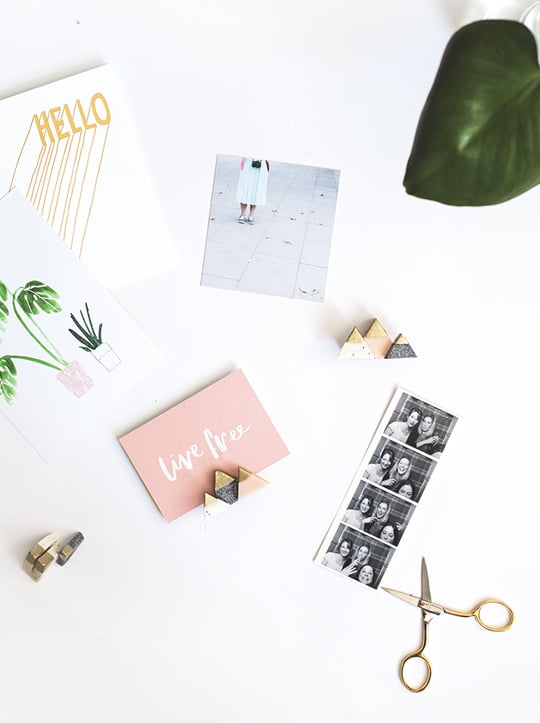
These DIY Photo Holders are a super cute way to display your own snaps, creations, or the sweet mementos you pick up on your merry way.
Not to mention that they’re perfect for the upcoming holidays!
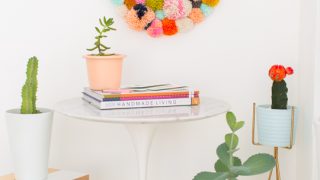
Have a few dotted along a shelf or one by your bed to create an interesting way of showing off your paper goods, especially those that aren’t quite big enough for your walls but love regardless…

Materials Needed To Make Easy DIY Photo Holders From Polymer Clay
You only need a few simple materials to recreate these simple picture holders. They’re perfect for the upcoming holiday season or a long weekend craft project:
3 blocks of polymer clay — Like this, this, and this
Cutting knife
Cutting mat or board
How To Make DIY Photo Holders
1 –- Preheat your oven to the temperature suggested on the clay packet.
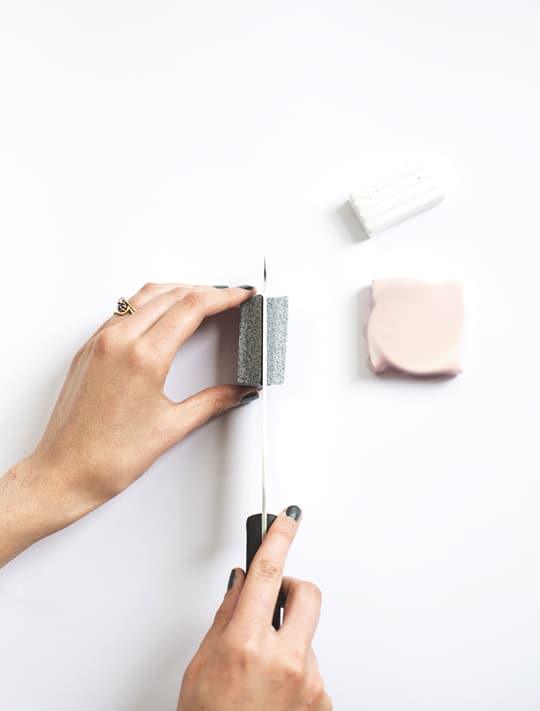
2 — Start by cutting your clay block in half with your knife to make the whole thing thinner.
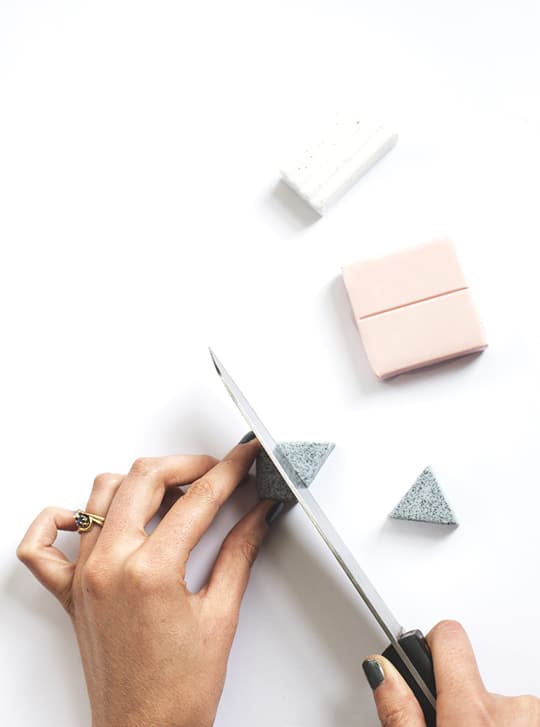
3 — Then, cut triangles from this thickness, about an inch tall. These will be your actual holders.
4 — Use your knife to cut down the middle from the top of each, just stopping short of the bottom. This will provide the slit for you photos/postcards to sit in.
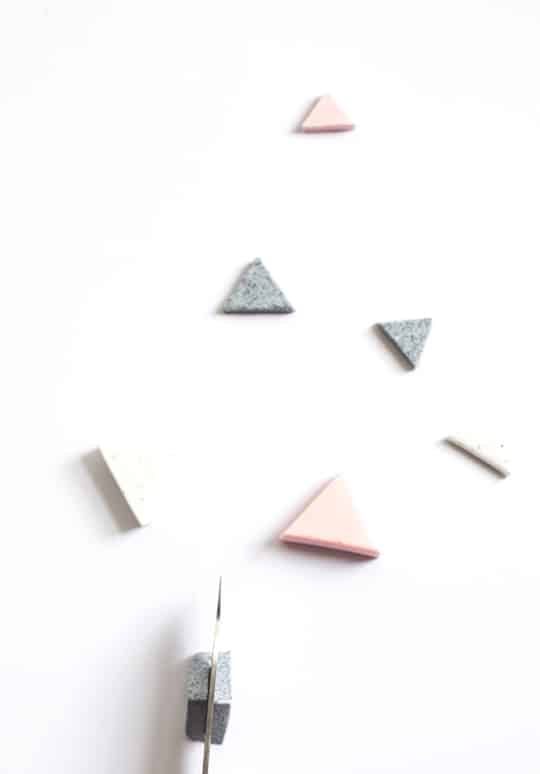
5 — Then, cut the remaining clay in half again so it’s left even thinner than before but not so thin that it becomes really flimsy.
6 — Cut out medium and small triangles from this new thickness, to be used along with the larger ones later.
7 — Place all of these on a tray lined with foil or baking paper and oven bake for the length of time suggested on the clay packet.
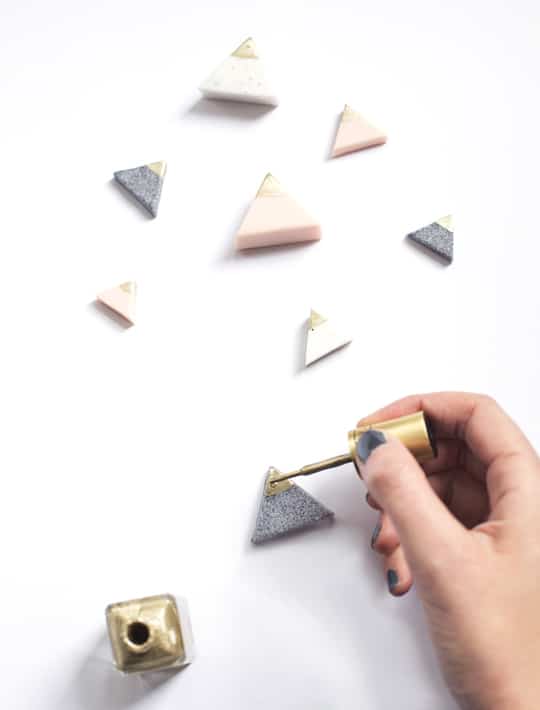
8 — Once baked, leave to cool so all the shapes have hardened and then paint the tips with the metallic gold nail polish and leave to dry.
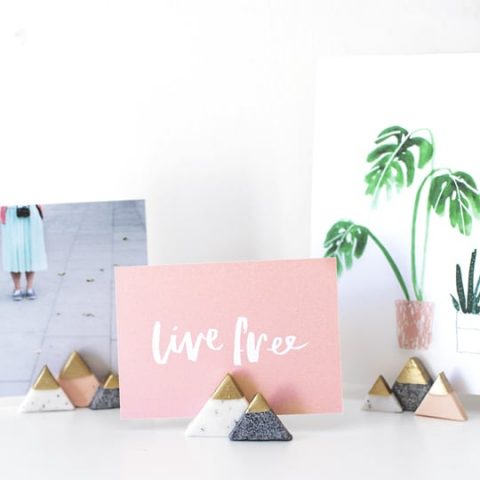
9 — Now you can assemble the mountain holders. Squeeze a little all purpose glue on either corner of a large triangle and sit a medium and small triangle against it to create the look of a mini mountain range.
10 — Make sure they sit flat against the ground and leave to dry. Repeat with the remaining shapes and voila!
Other Ideas For A DIY Photo Holder
— You can also use toys as photo holders. For example, wrap wire around a toy car for the boy’s room or put plastic dolls in girls’ sections of their own space!
— You can also use a small planter as an instant photo holder by wrapping wire around it.
— Seashells are the perfect alternative to clay for creating photo holders in a nautical or beach-themed setting.

Ways To Customize These Mini Mountain DIY Photo Holders
I told you there wasn’t even a hand workout required with this clay project. Who needs to exercise their hands after all?
You can easily experiment with different colors and perhaps even use paint to create patterned mountains too.
Why not upscale the project to create a bigger DIY mountain range to hold bigger prints?! Plus, these are perfect for the upcoming holiday cards!
If you loved this DIY watercolor wall art project, be sure to check out our other favorite home decor DIY ideas!
If you find this DIY photo holder easy to make, check out a few of our other DIYs in our archives below —-
- 20 Creative DIY Candle Holder Ideas To Give Your Home A Burst Of Color & Scent
- DIY Minimal Beaded Blanket Holder
- Dual Copper Candle Holder
- Clay Rose Marbled DIY Incense Holder
- DIY Faceted Easter Egg Place Card Holders
Mini Mountain DIY Photo Holder
Equipment
- Cutting knife
- Cutting mat or board
Instructions
- Preheat your oven to the temperature suggested on the clay packet.
- Cut your clay block in half with your knife to make the whole thing thinner.
- Cut triangles from this thickness, about an inch tall. These will be your actual holders.
- Use your knife to cut down the middle from the top of each, just stopping short of the bottom. This will provide the slit for you photos/postcards to sit in.
- Cut the remaining clay in half again so it’s left even thinner than before but not so thin that it becomes really flimsy.
- Cut out medium and small triangles from this new thickness, to be used along with the larger ones later.
- Place all of these on a tray lined with foil or baking paper and oven bake for the length of time suggested on the clay packet.
- Once baked, leave to cool so all the shapes have hardened. And then, paint the tips with the metallic gold nail polish and leave to dry.
- Now you can assemble the mountain holders. Squeeze a little all purpose glue on either corner of a large triangle and sit a medium and small triangle against it to create the look of a mini mountain range.
- Make sure they sit flat against the ground and leave to dry. Repeat with the remaining shapes.


Please note that we may earn a commission for some of the above affiliate links. However, products featured are independently selected and personally well-loved by us!
These are SO cute! What a great idea, and something that would be an excellent gift ! I’m going to make me some, and some for my aunt’s for Christmas, thank you for sharing 😊
I’m sure they’ll love them Cindy !
I love these! I clicked a shared image before realizing this was from Sugar & Cloth! Knowing that they come from the Sugar & Cloth blog made this DIY extra fun to read.
Looking forward to seeing more!
Thanks Brittany! :)
Huh? Something is missing from the instructions. So after gluing the small and medium mountains on top of the large mountain, what do you do to make it stand up with a photo inserted?
I was wondering the same thing! Is there a piece that gets attached to the back somehow?
You glue them to the bottom…not the top. The larger mountain is thicker than the other ones, so it provides the base to holding the pictures..
Im obsessed!! Do you have a prinTable of the watercolor plant image? Love that, i want it on my mountain :)
Hi Lindsay! Unfortunately, we don’t have downloads available for those prints. However, we do have a few other printable options on Sugar & Cloth that would work well with the same project! Just search “printable” :)
This is AMAZING! I’m DEFINITELY going to be making this to display my prints :)
Must have desk accessory!
Rebecca // http://blog.partypieces.co.uk
Amazing idea!! And super easy!
http://realizatumesmo.blogspot.pt
Wow!These are so cute.Love the granite one the most
Thanks for sharing the tutorial:)
Why oh why did these have to be so darn cute?! <3
I LOVE these! I’m going to make a couple of them for my husband to put on his desk. Mountains have a special significance to us, so I’m excited for this project. Thanks for sharing.
These are so cute!! I love the colours and I love how simple it is to make them.
Love this DIY! Totally going to use this for my next art market. Will be perfect to display my cards & prints!
Love that idea!
These are SO cute! Lovely!
So cute!! Are the three links to the polymer clay the exact colors used? Twinkle Twinkle, Gray Granite, and Translucent? The one color looks more peachy-pink. Was there pigment added?
Yeah that’s what I’m thinking too- they just don’t look the same :/
No pigment was added, but Teri is based in the UK and they offer different colors there that are not easily accessible in the U.S. and other countries, so I linked to the closest that was readily available :)
So cute! I love these, even my lazy self can probably manage to make a couple, so sweet and so effective. As Nancy said, would make a great photo holder gift.
That`s a sweet idea :) And I love the colors. Would be a great gift too.
https://www.etsy.com/de/shop/SunnyandMellow
These are unbearably cute! *runs to the shop to buy clay* Liv x
I love these! I am thinking about making them as wedding favors. It seems like it might be a lot of work to make that many, but they are so cute! I wonder how much I’d need for 200…
I love this! I’m trying to revamp my room so I will definitely be trying this out.
Wow, I love this!! So pretty!!! Thanks for posting :)
I love this project..a set of three would be a perfect little Christmas gift…just add your fave photos of the recipient.
This is the cutest idea ever! Totally doing this for my desk, they look gorgeous!
Alex | PinkElephantBlog
These are the cutest! Love the color combo.