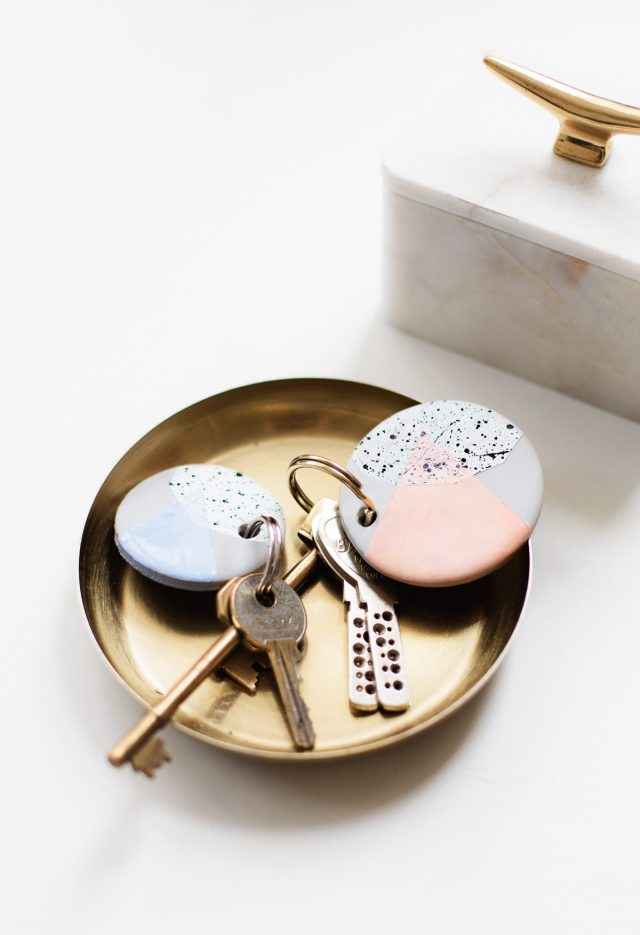
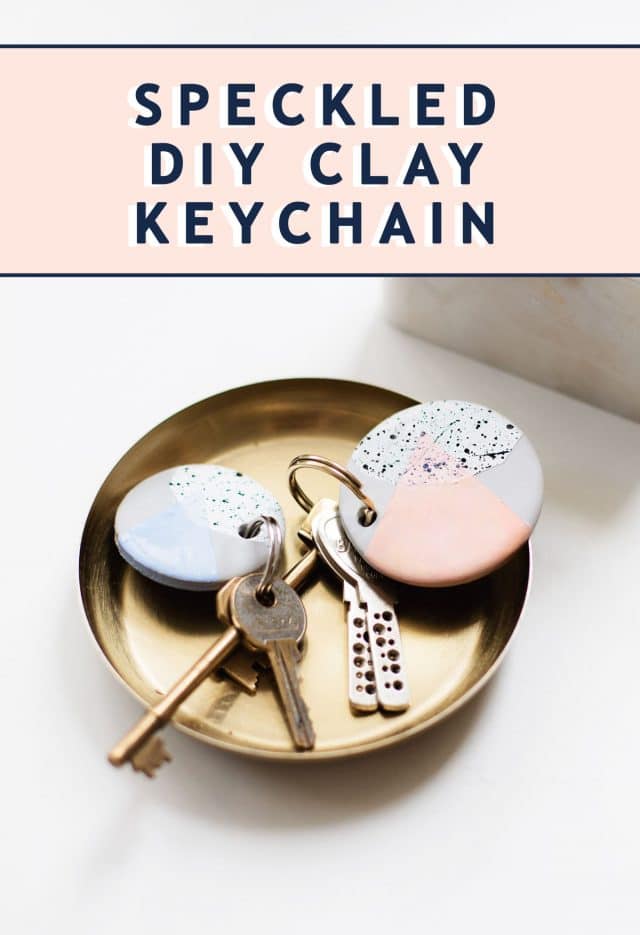
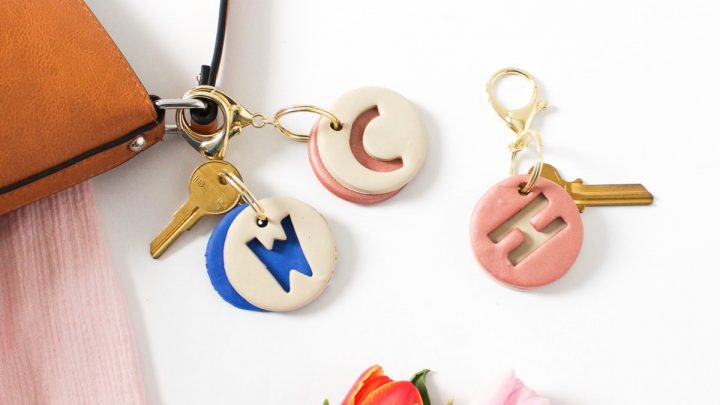
Speckled DIY Clay Keychain Accessory
A proven way to give your keys (and your friends key’s) a cute upgrade is with this Speckled DIY Clay Keychain! An easy DIY that’s perfect for gifting!
I don’t know about you, but I’m a big fan of oversized bags.
I love how cute a compact shoulder bag or clutch looks, but when it comes down to it I want to be able to cart my whole world around with me/prepared for anyyyy occasion.
This makes finding my keys somewhat of a challenge.
Rooting around in my bottomless pit of a bag is often followed by emptying the entirety of the contents on the floor just to find my keys to open the door.
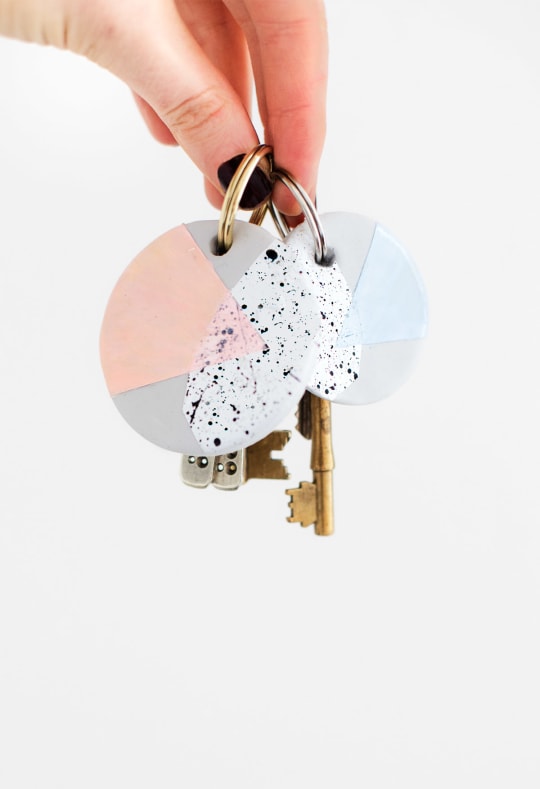
My solution? Size-able Speckled DIY Clay Keychains.
They’re easy to spot and easy to get your hands on, but of course, it has to look pretty too. So I, Teri of the Lovely Drawer made this cute DIY for you!
My age-old love affair with polymer clay comes back into play here, but what can I say?! I love it!…
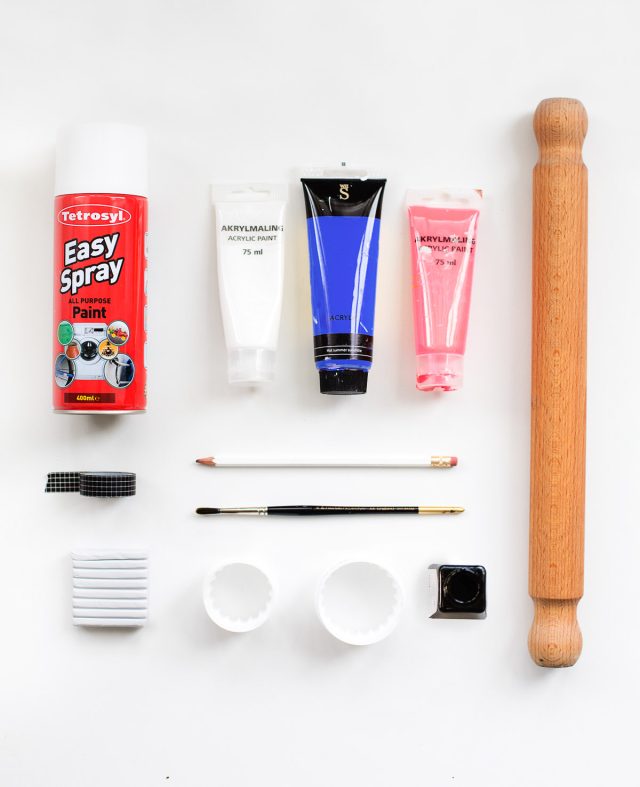
Materials and Tools Needed to Make a Speckled DIY Clay Keychain
Greaseproof paper
Masking or washi tape
White spray paint
Colored acrylic paint of your choice
Paint brush
Pencil
How To Make A Speckled DIY Clay Keychain
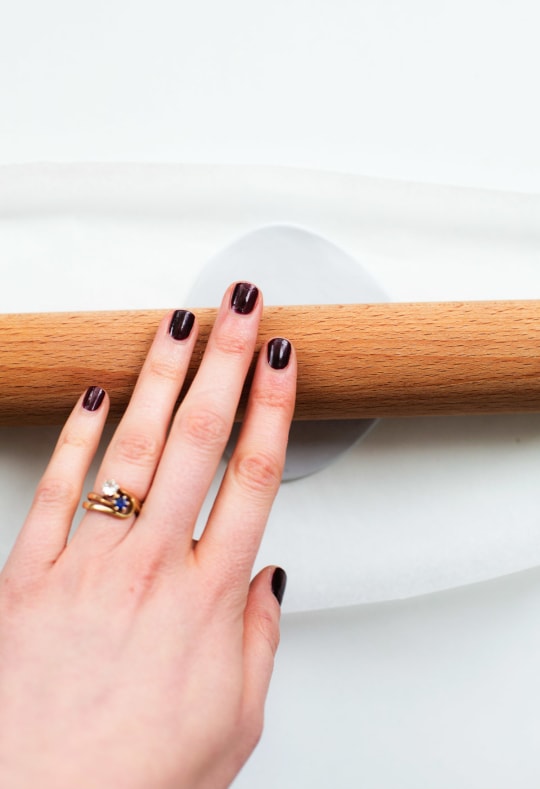
Step 1 – Follow the clay packet instructions for preheating the oven and start by rolling some of the polymer clay into a ball.
On a sheet of greaseproof paper roll this out with the rolling pin until it’s roughly
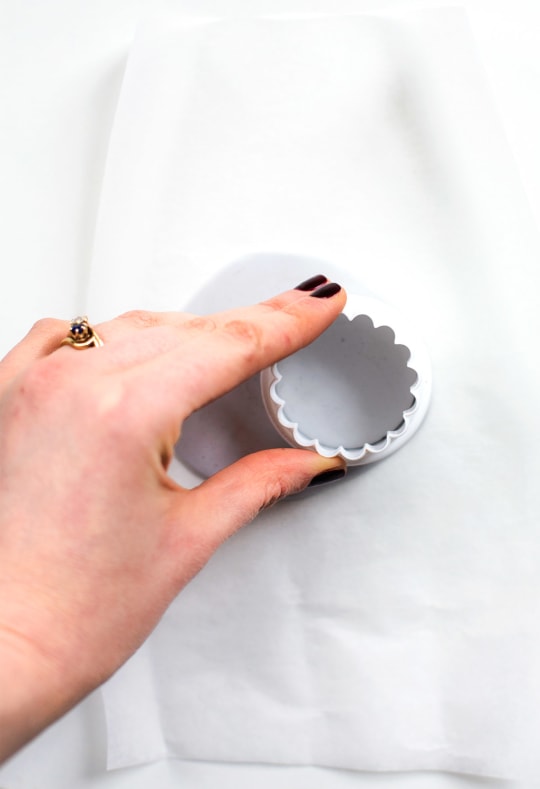
Step 2 – Use the cutter to make the circular shape and remove any excess.
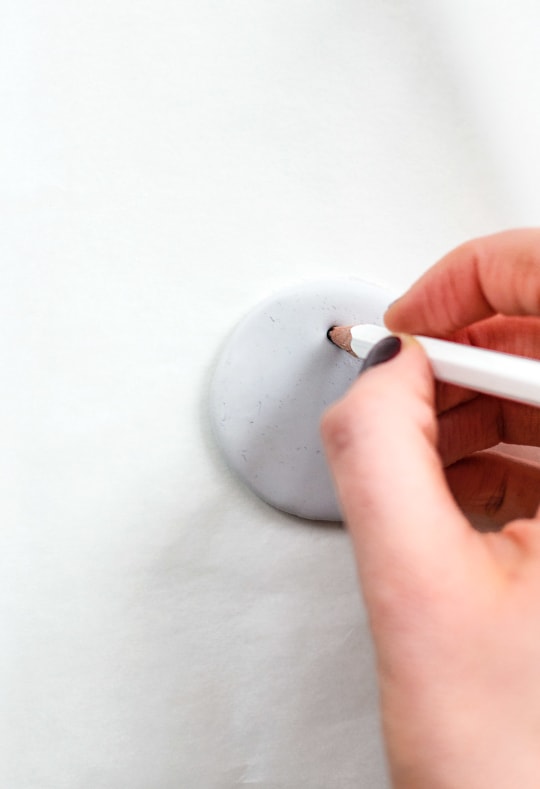
Step 3 – Make a hole near the top using a pencil, pushing it right through.
Step 4 – Transfer the greaseproof paper onto a baking tray. This way you don’t have to lift the clay itself up and risk misshaping it.
Bake for the recommended time and then leave to cool fully afterward.
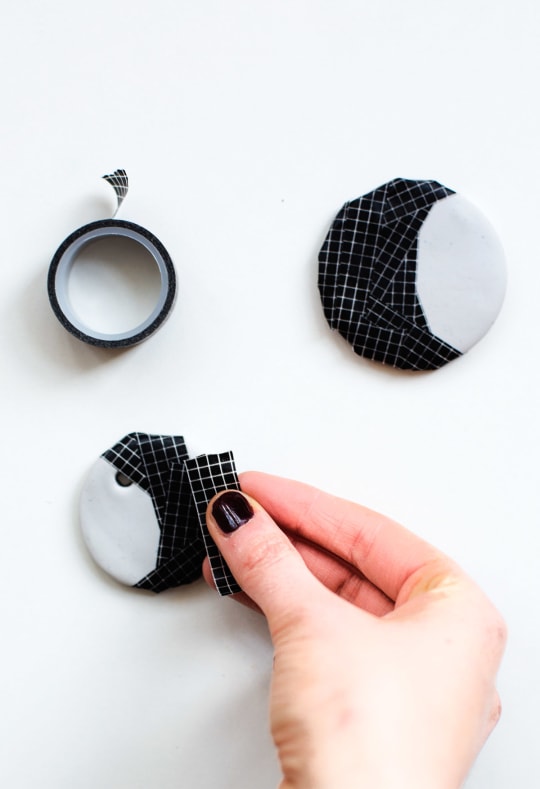
Step 5 – Make a geometric shape in the corner of the clay, blanking out anything you don’t want colored by covering it with tape.
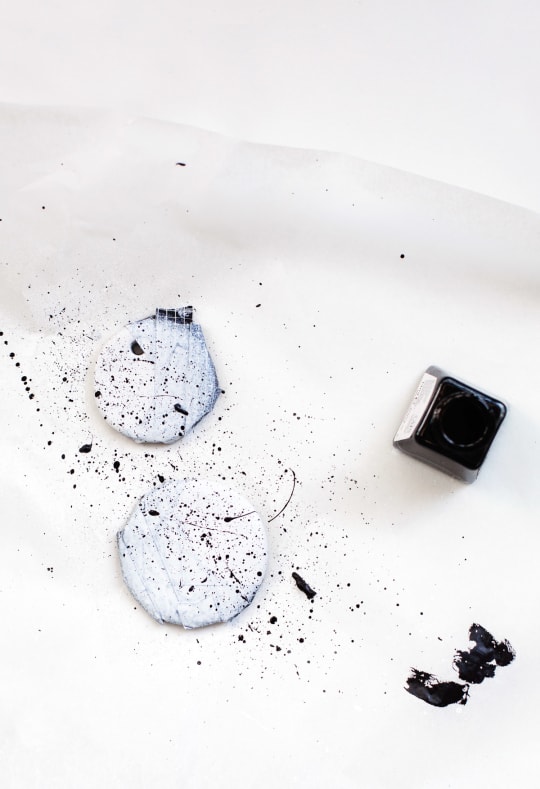
Step 6 – Now apply a few thin layers of white spray paint, allowing it to dry in between.
Once totally dry, use a paintbrush and ink to splatter black all over the white.
Leave this to dry completely.
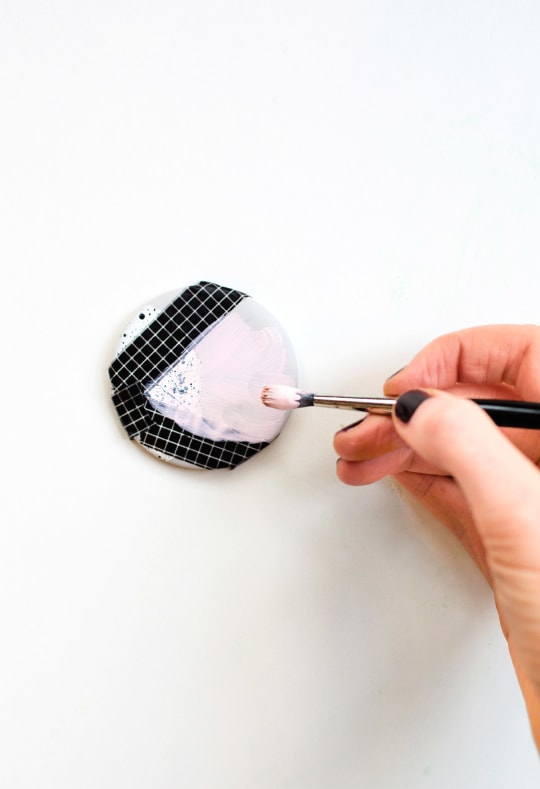
Step 7 – Remove the tape to reveal the speckled white shape and then repeat with more tape to create a triangular shape overlapping the white speckled area.
Use this as a guide to paint on the color you want in acrylic paint.
Step 8 – Do a few lights coats and leave to dry fully. When it’s dry glaze the area to seal and give a luxurious shine.
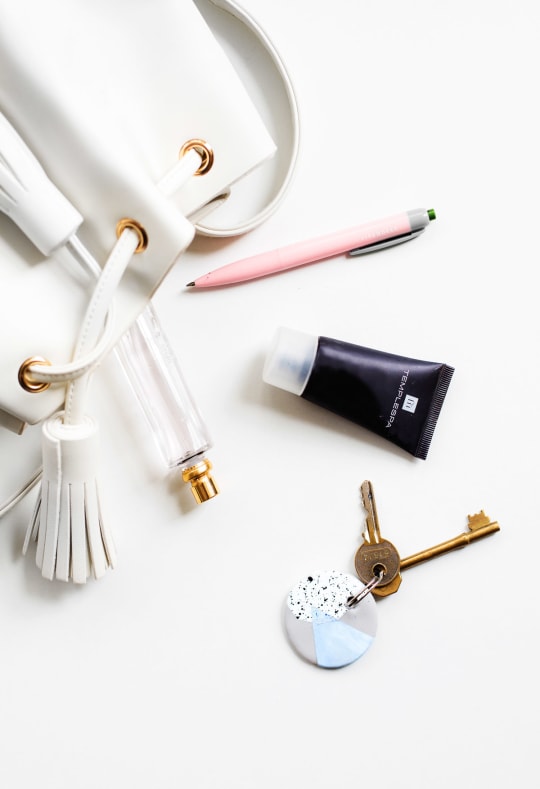
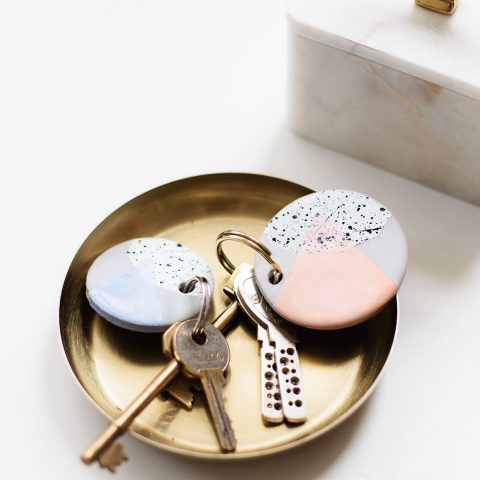
When it’s all dry remove the tape and attach the chain/ring and your keyring is ready for action!
Easy DIY Keychain from Polymer Clay | Key Ring Gift Idea
Combine it with your keys and hopefully, it’ll be a lot easier to retrieve from the dark recesses of your bag, ha!
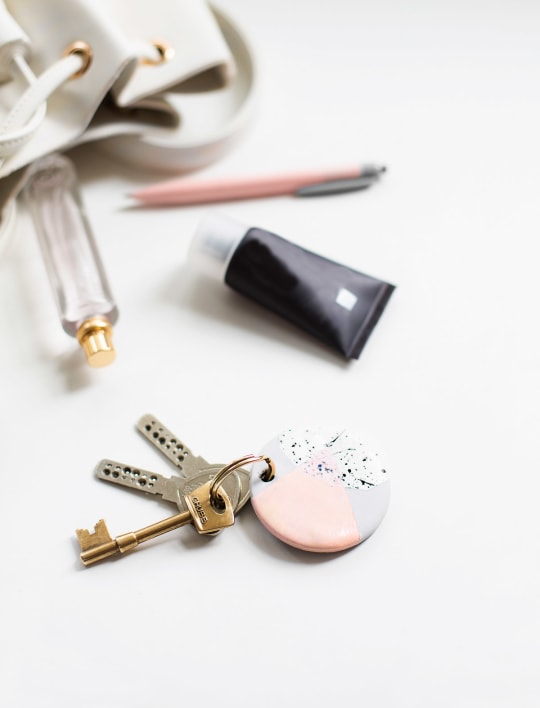
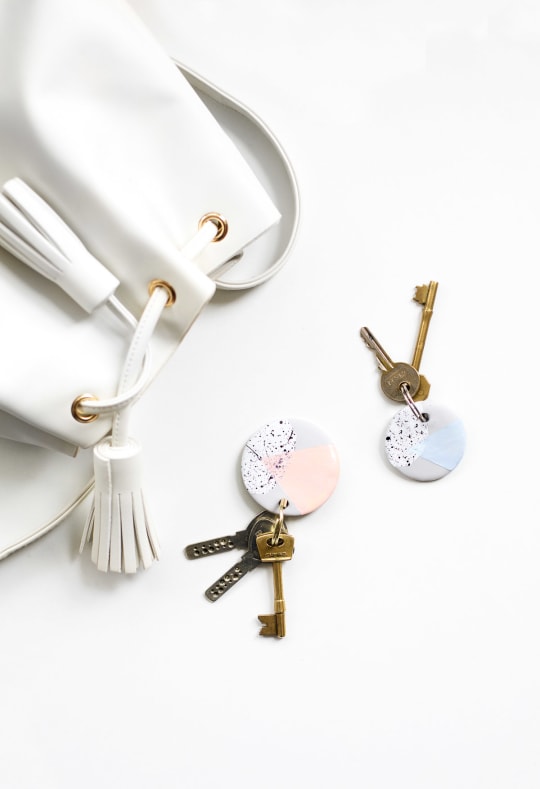
You can even glaze the whole keyring to make it extra durable. Why not make a whole batch and give some away as gifts? Get busy adding some pizzazz to numerous sets of your keys!
If you love this project, be sure to pair it with our DIY clay letter keychain that makes for a perfect DIY gift idea!
Speckled DIY Clay Keychain
Speckled DIY Clay Keychain
Equipment
- Rolling pin
- Round cutter
- Paintbrush
- Pencil
- Masking or washi tape
- Greaseproof paper
Materials
Instructions
- Follow the clay packet instructions for preheating the oven.
- On a sheet of greaseproof paper, roll some of the polymer clay into a ball. Then, roll the ball out flat with the rolling pin. It's best to work on top of the paper so this way you don’t have to lift the clay itself up and risk misshaping it.
- Use the cutter to make the circular shape and remove any excess clay.
- Make a hole near the top using a pencil, pushing it right through. This is where your keyring or chain will go.
- Transfer the greaseproof paper onto a baking tray. This way you don’t have to lift the clay itself up and risk misshaping it.Bake for the recommended time and then leave to cool fully afterward.
- Make a geometric shape in the corner of the clay, blanking out anything you don’t want colored by covering it with tape.
- Bake for the recommended time. Then, leave to cool fully afterward.
- Now apply a few thin layers of white spray paint, allowing it to dry in between.
- Once totally dry, use a paintbrush and ink to splatter black all over the white. Leave this to dry completely.
- Remove the tape to reveal the speckled white shape and then repeat with more tape to create a triangular shape overlapping the white speckled area.
- Do a few lights coats and leave to dry fully. When it’s dry glaze the area to seal and give a luxurious shine.

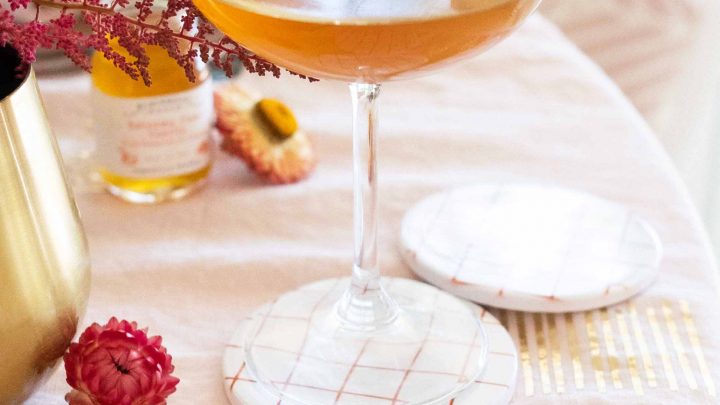
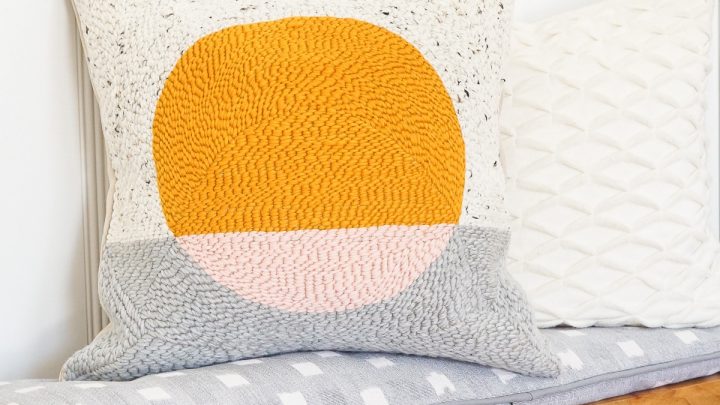
More Easy DIY's To Try
Please note that we may earn a commission for some of the above affiliate links. However, products featured are independently selected and personally well-loved by us!
I’m so glad I found these!!!They are so precious & I can’t wait to try it out 🧡 thanks for sharing!
Bre
handmadenestco.com
You’re welcome, Bre! XOXO
Can I use air dry clays?
Hi Shalom! We would recommend sticking with the polymer because it is more durable after you bake it. It is easier working with air dry clays but they do shrink a bit in the drying process. It also doesn’t dry as hard as polymer. If you do decide to try the air dry clay, we do recommend applying a glaze because it’s not as heat resistant or waterproof as polymer. Hope this helps! XOXO
I love love this idea! How practical are these/how well do they hold up? I’m interested in making them as gifts but wouldn’t want them to last only briefly!
Hey. Someone is using your images to sell their version of this on their website. https://www.emberandivory.com/products/leighton-keychain As a heads up.
Love these! Can’t wait to try this out myself.
Love the idea! I think I’ll give this a go at some point!
So awesome to hear, Saara! Let us know how they turn out when you do! xoxo
Would you be looking to sell these? Im intrested in buying one from you. Let me know. I love them!! X
Would you be looking to sell these? Im intrested in buying one from you. Let me know. I love them. X
Love these!!!! I have been playing around for ages with tassles and pom poms to try and make a diy keychain to give as xmas gifts. Nothing has wowed me yet. But now i think i’ve found the style that will work and be loved the most. Thank you teri! Can’t wait to start making + gifting them!!
Glad you like Teri’s DIY, Mel!
is it easily broken since it is made by Clay?
Hi there! ThEse key chains are wOnderful and i was wondEring if you’d be okay with mE selling The ones i made at my House on etsy or Just to friends to make pocket money. The ones i would make and sell Will have a different Design theN the ones you made. I just wanted to see if i Could gEt your permission and if i am noT allowed to sell them, that is totaly UnDerstanDable. Thank for your time!
can i use nail polish instead of acrylic paint?
sure!
I love that key chain! It’s so pretty!
Paige
http://thehappyflammily.com
glad you love them Paige!
I LOVE this! I am so going to do it this weekend!
may I ask where the box in the first image is from?
it’s from West Elm!
Such a cool idea :D I love THE PRINT !!
glad you love it, lea!