No-Sew Envelope Pillows Made from Napkins
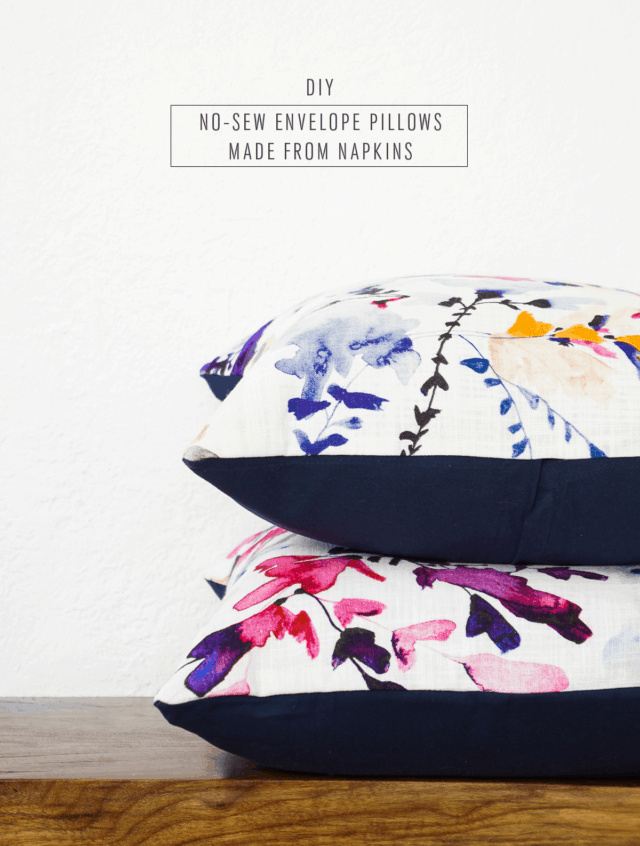
Using napkins, you can make these no-sew envelope pillows in just a few simple steps! The perfect way to add some color and pattern to any room.
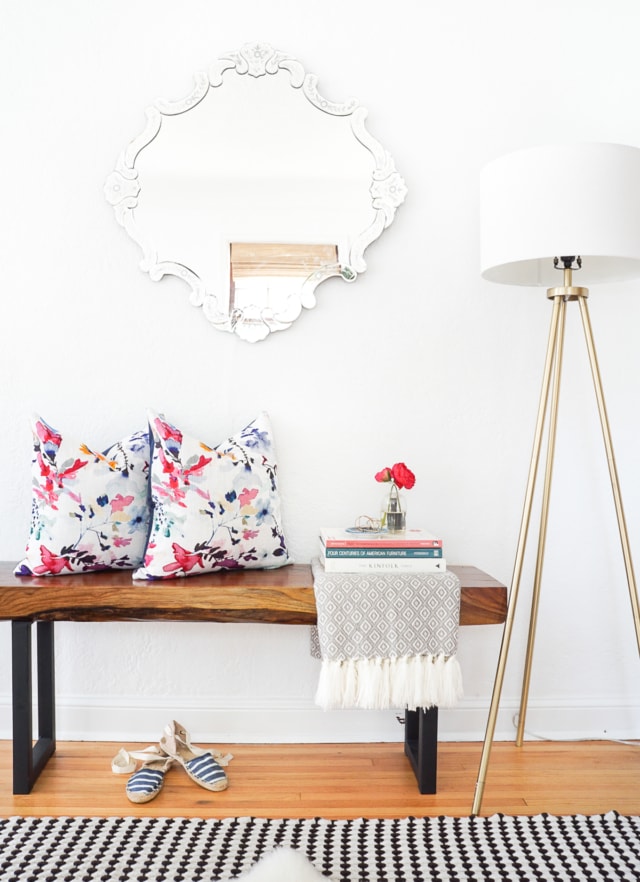
Can you believe we’re already talking back to school?
My favorite part about moving back to college was always designing and planning my new apartment with roommates.
Which I guess was only fitting for an interior design student!
If you’re heading back to school this fall and want to ensure your place is well-accessorized, why not whip up some pillows?
Now I, Erin of Francoise et Moi, know DIY bloggers often overuse the phrase “whip up,” but this truly is a “whip-up” kind of project.
You see, these no-sew envelope pillows require not a stitch of sewing nor much cutting, for that matter.
They’re made from pretty fabric napkins and constructed with iron-on tape, a great technique alternative if you’re a non-sewer!
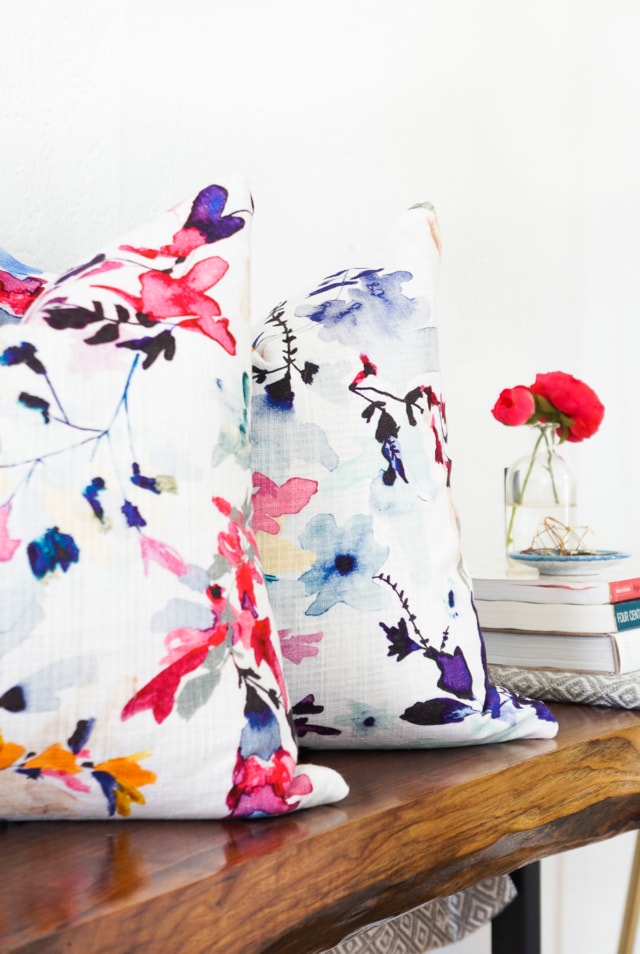
Napkins can be used for more than just dressing up your tables, they can also be used as throw pillows!
Materials and Tools Needed to Make No-Sew Envelope Pillows
Pretty 20″ patterned napkin — Mine are from Anthropologie.
Heat n Bond Ultra Hold No-Sew Iron-on Adhesive
Iron
Scissors
18″ pillow form
How To Make No-Sew Envelope Pillows
Step 1 – Preheat the iron to medium-high heat.
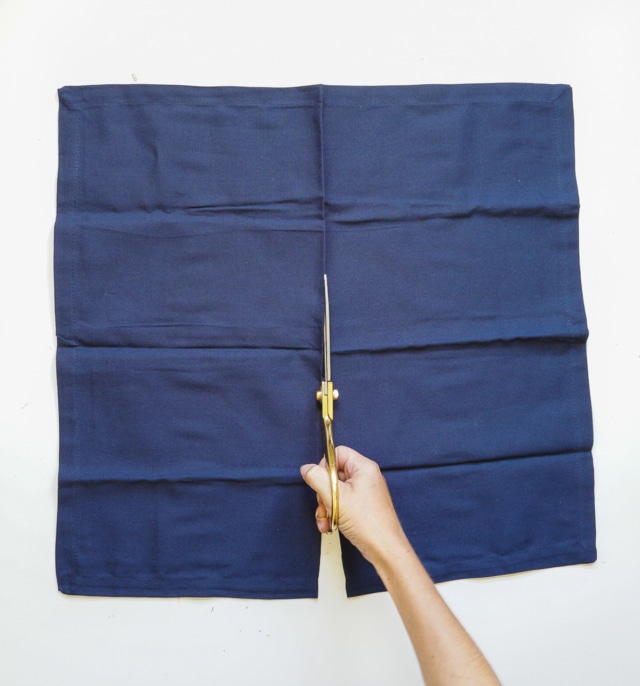
Step 2 – Cut the solid napkin down the center using the pre-packaged fold line as your cutting guide.
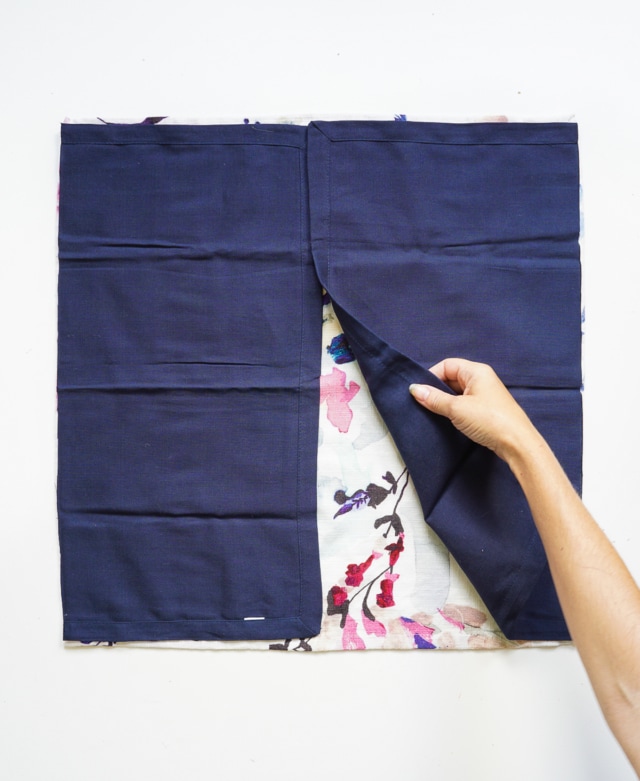
Step 3 – Lay the patterned napkin right-side up on your work surface.
Step 4 – Place the solid napkin halves right-side-down over top of the patterned napkin so they line up and the two halves overlap slightly at the center.
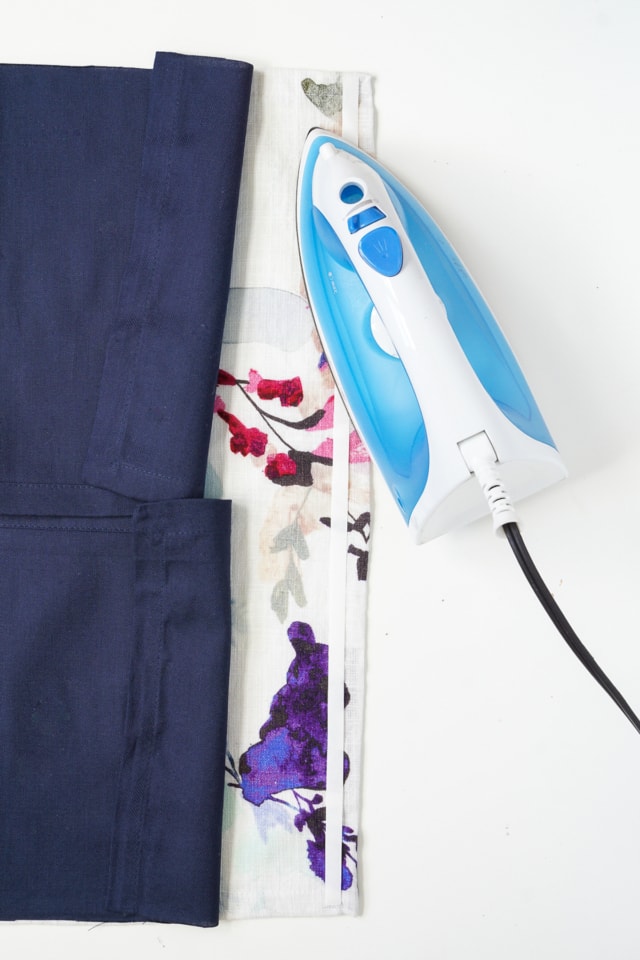
Step 5 – Peel back the solid napkin(s) on one edge.
Step 6 – Lay the iron-on tape along the edge of the patterned napkin, fold the solid napkin back down to check to make sure the tape is concealed, and then fold it back up.
Use the hot iron to fuse the tape to the patterned napkin according to the package directions.
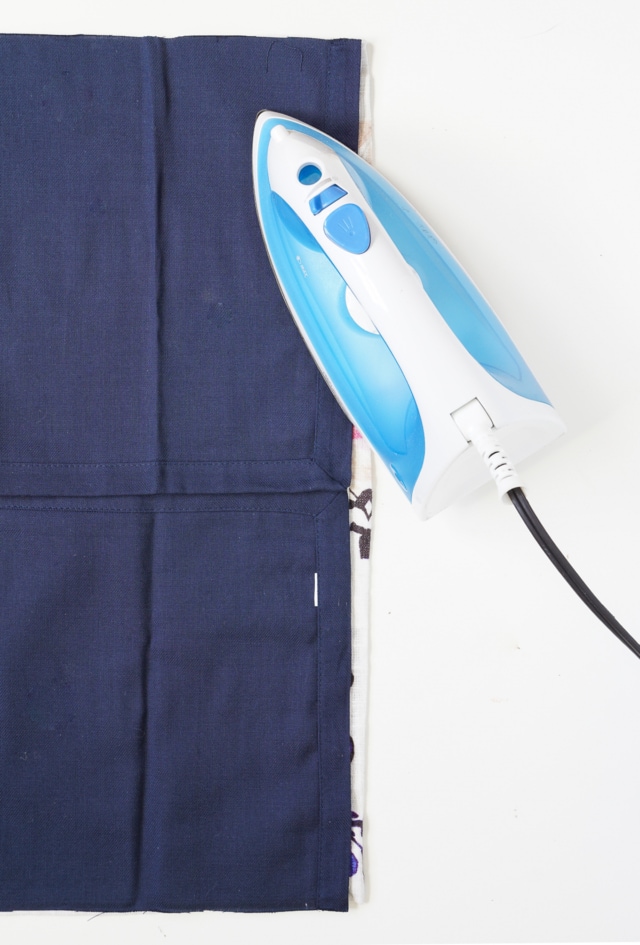
Step 7 – Allow the fabric to cool, and peel off the paper liner.
Step 8 – Then, fold the solid napkin back onto the patterned napkin and fuse the two layers with the iron, again according to manufacturer instructions.
Step 9 – Repeat steps 3 & 4 with the remaining 3 sides.
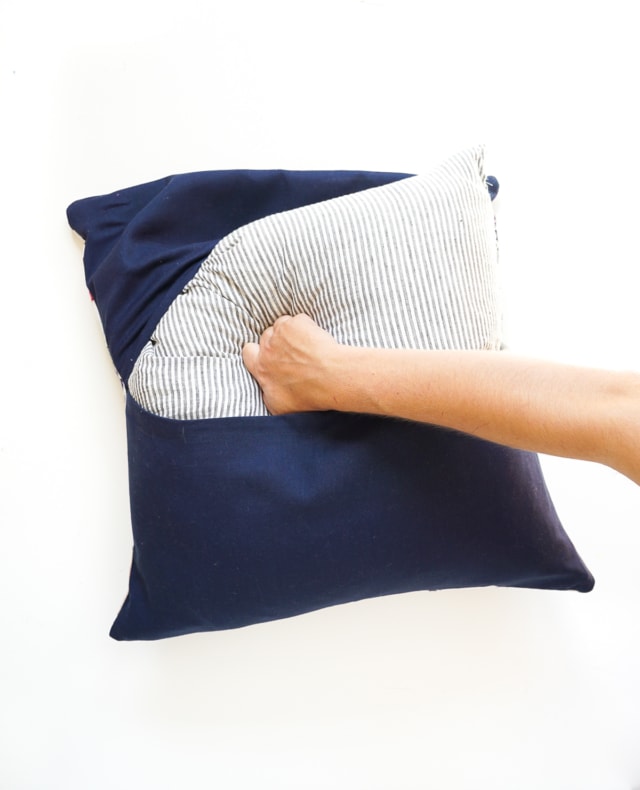
Step 10 – Turn the pillow right-side out and use a mildly pointy object (like a knitting needle) to form square corners.
Stuff with a pillow form and style them up in your digs!
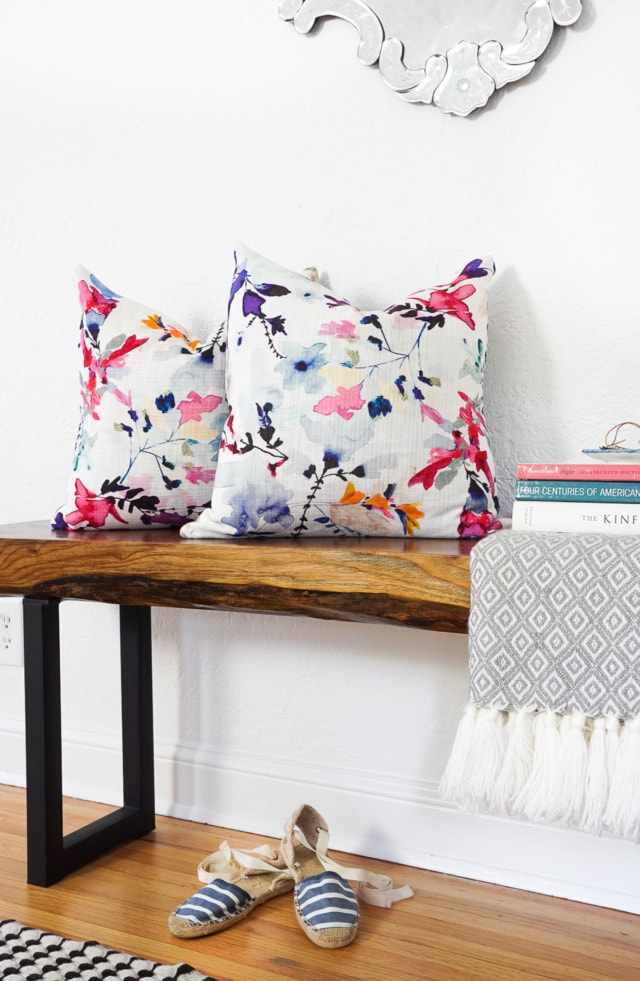
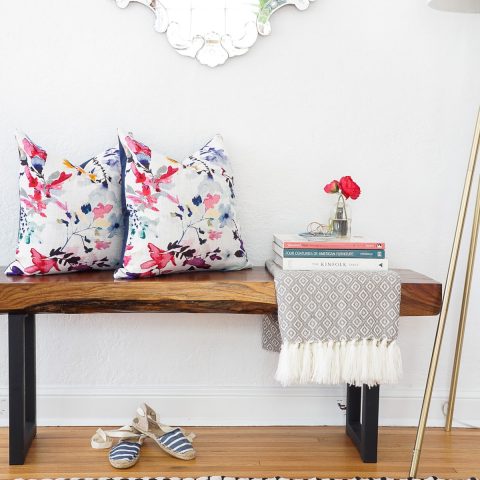
I chose this jewel-toned floral to help ease into fall, but if you’re looking for another pillow that fits your mood, check out our favorites.
What patterns are you guys swooning over for back-to-school?
More DIY Pillow Ideas
For more no sew envelope pillow ideas like this, you might want to check out our related posts below –
- DIY Tasseled Throw Pillows For A Cozy Fall
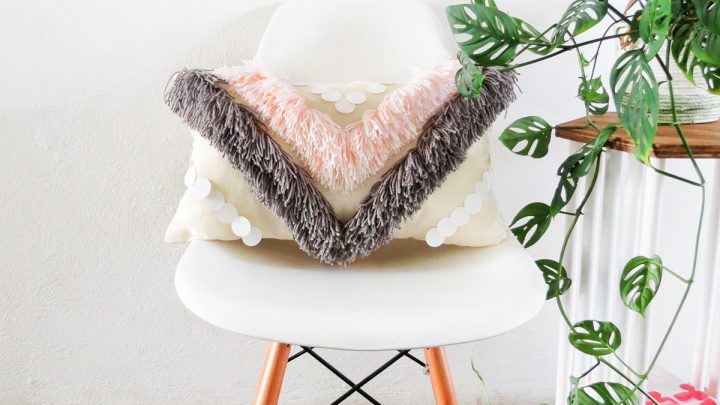
- How to Make a Pillow by Rug Hooking
- How To Make A DIY Knot Pillow Instructions
- Colorful DIY Tufted Pillows You’ll Love This Year
No-Sew Napkin Envelope Pillows
Equipment
- Iron
- Scissors
Materials
- 1 piece Pretty 20″ patterned napkin — Mine are from Anthropologie.
- 1 piece Solid 20″ napkin
- Heat n Bond Ultra Hold No-Sew Iron-on Adhesive
- 1 piece 18" pillow form
Instructions
- Preheat the iron to medium-high heat.
- Cut the solid napkin down the center using the pre-packaged fold line as your cutting guide.
- Lay the patterned napkin right-side up on your work surface.
- Place the solid napkin halves right-side-down over top of the patterned napkin so they line up and the two halves overlap slightly at the center.
- Peel back the solid napkin(s) on one edge.
- Lay the iron-on tape along the edge of the patterned napkin, fold the solid napkin back down to check to make sure the tape is concealed, and then fold it back up.Use the hot iron to fuse the tape to the patterned napkin according to the package directions.
- Allow the fabric to cool, and peel off the paper liner.
- Then, fold the solid napkin back onto the patterned napkin and fuse the two layers with the iron, again according to manufacturer instructions.
- Repeat steps 3 & 4 with the remaining 3 sides.
- Turn the pillow right-side out and use a mildly pointy object (like a knitting needle) to form square corners.Stuff with a pillow form and style them up in your digs!

Don’t forget to share your No-sew envelope pillow with us on Instagram using the hashtag #sugarandclothloves. We always love seeing all of your creations! Looking for more interior design inspiration? You can find all of our home decor tutorials and ideas right here!
Please note that we may earn a commission for some of the above affiliate links. However, products featured are independently selected and personally well-loved by us!

Thanks for sharing the no sew pillows. May I ask where the mirror came from?
simply and creative, nice share
Glad you liked the DIY!
Beautiful !
Thank you, Melle!
This tutorial is what I am Looking for. especially because it’s no-sew. thanks : )
So glad :)
this is soooo coool<3
xo,
http://www.saharacouture.com
Thanks, Sahara!
Love this DIY so much!!! I can’t wait to try it. It really does look like I can just whip up some pretty pillows. Yay!
You got this, Kim!
Love these! Can I ask where the bench is from?
Love these, thanks for the post! Where did you find these beautiful napkins?
Hi Leslie! They’re from aNthropologie!
Thanks so much!