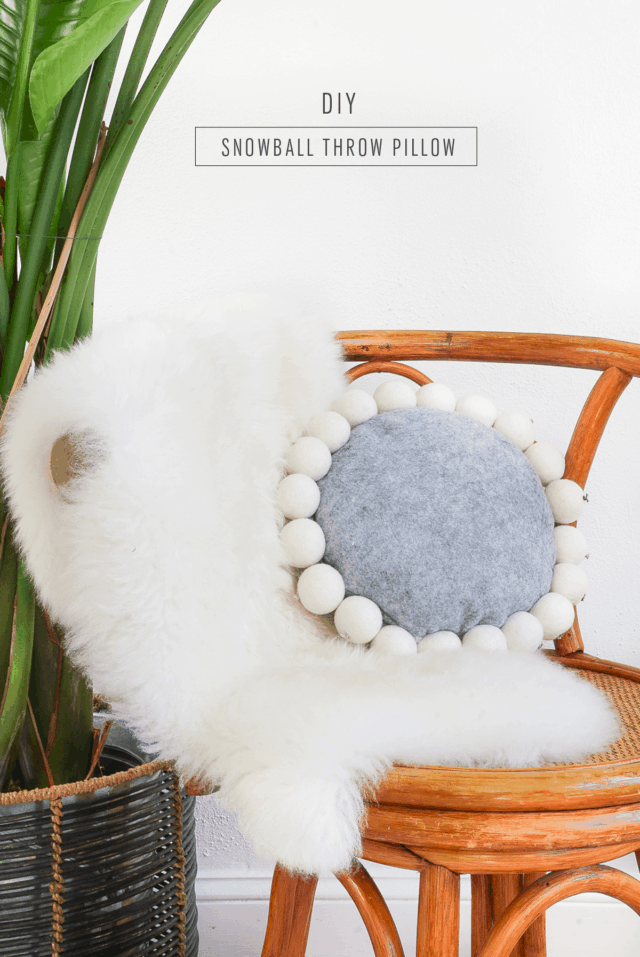
DIY Snowball Pillow
Add some extra cozy textures and shapes to your living room decor with an easy and fun wool DIY Snowball Pillow!
I always enjoy the restful lull that inevitably follows the holiday season.
Needless to say, after Halloween, Thanksgiving, Christmas, and New Year all in a row, I’m usually ready for a little break from the action.
One element of the holiday hullabaloo that I always miss is finding small fun ways to modify my home decor to fit the celebration or season.
To get a head start on keeping the house cozy after the holiday decor is packed away, I , Erin decided my living room needed a little extra texture.
And his playful DIY Snowball Pillow was the best way to celebrate the current state of things here in Minneapolis. SNOW!
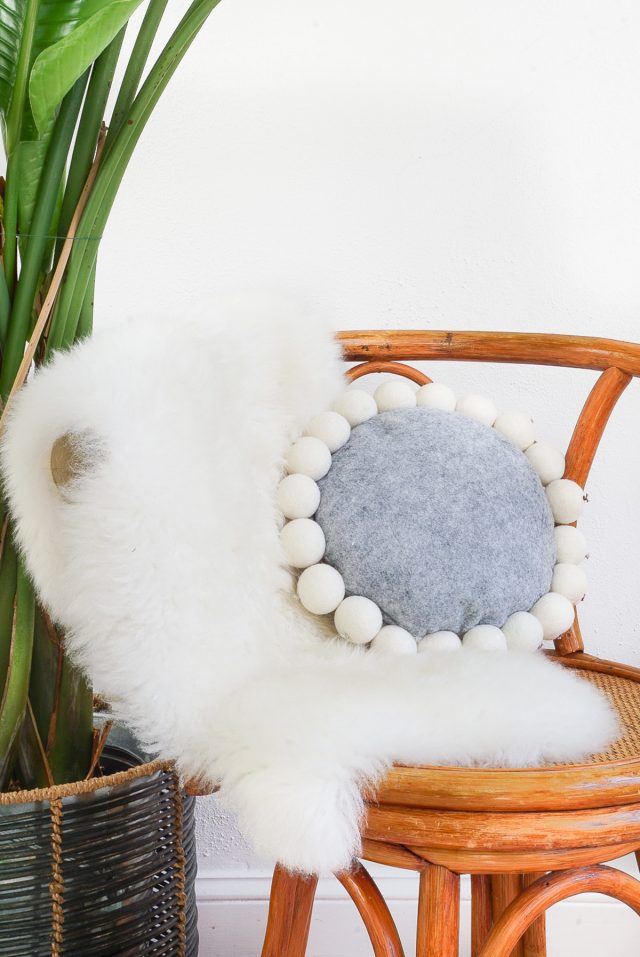
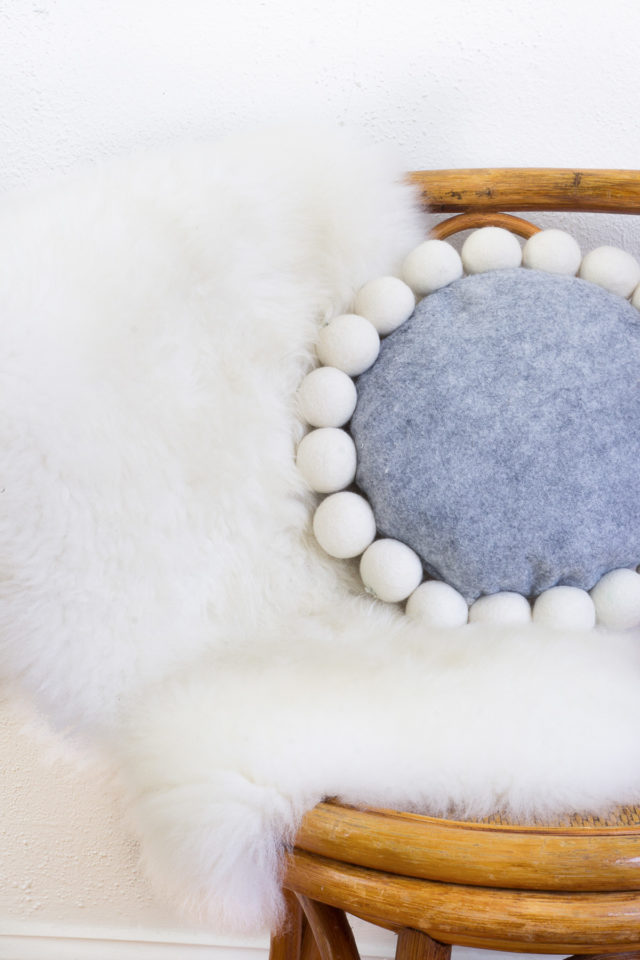
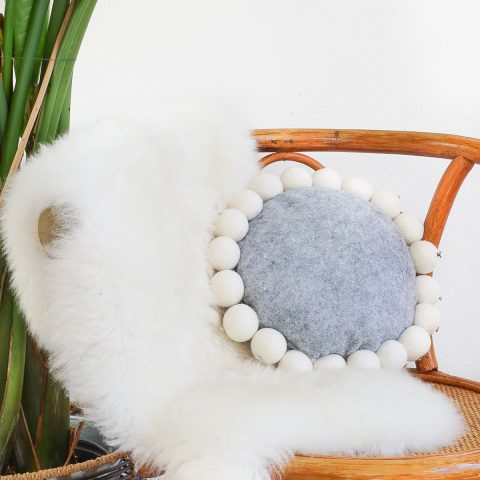
It’s a simple round wool pillow trimmed with oversized wool balls that adds visual interest to the otherwise square pillow line-up on your sofa.
It’s definitely one of our top creative pillow ideas.
Materials and Tools Needed to Make a DIY Snowball Pillow
Wool felt beads or balls — Our’s are 4cm in Dusty White. They can be found at local craft stores and online.
Coordinating grey thread — Or any other coordinating color if you opt for a different fabric color
A small hand sewing needle for the thread
Coordinating flossing string
A large hand sewing needle for flossing string
How to Make a DIY Snowball Pillow
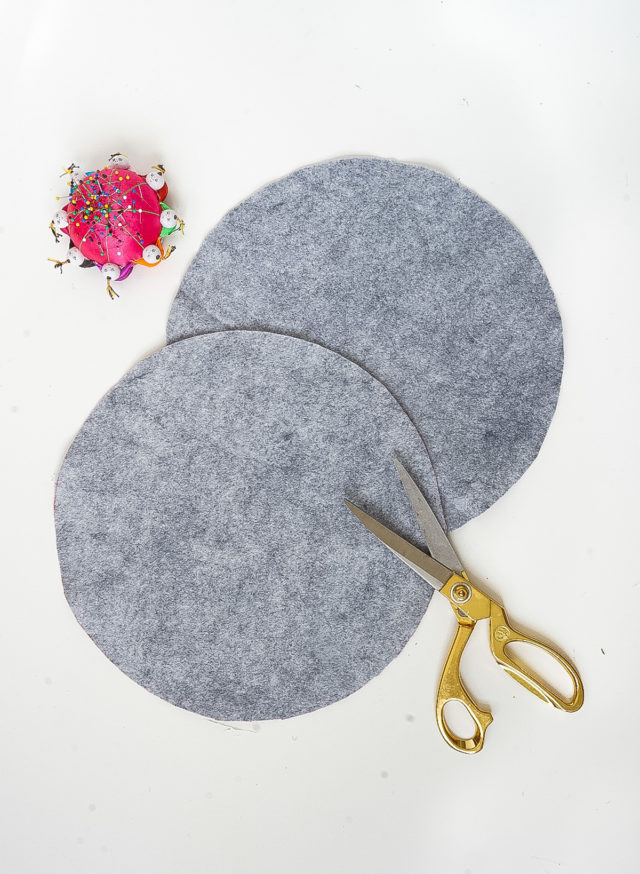
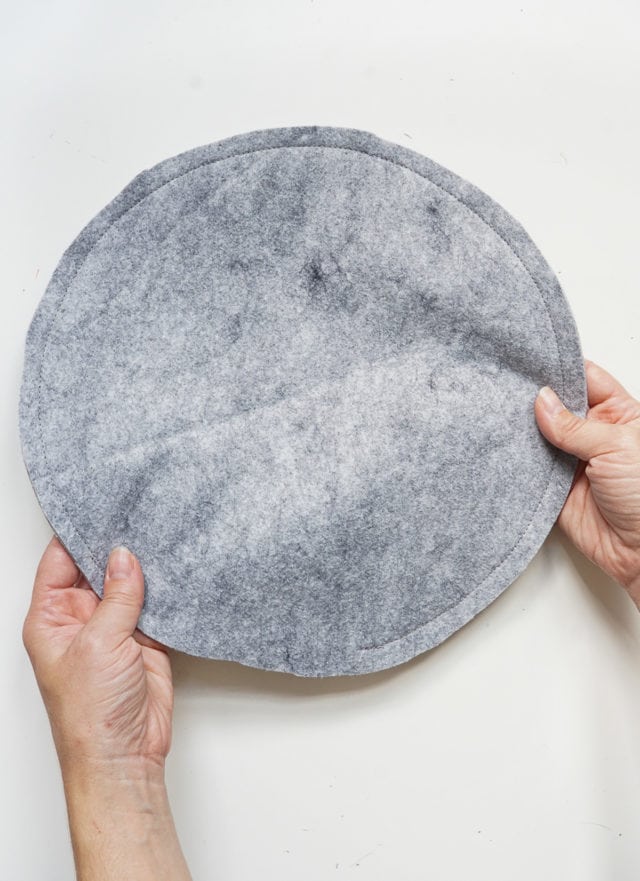
Step 1 — Cut two identical 11″ circles from the grey felt.
Step 2 — Pin them together with their right sides facing inward toward each other.
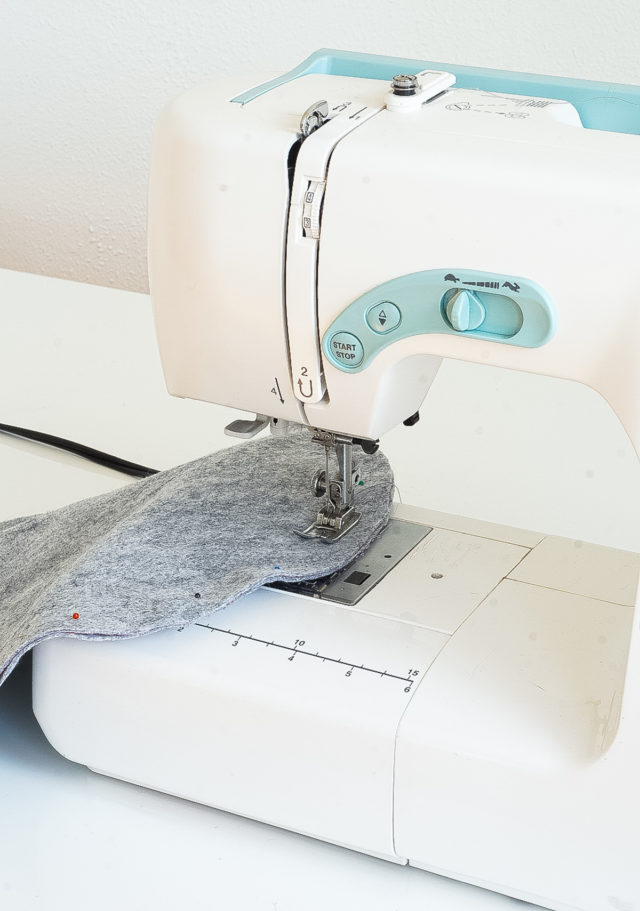
Step 3 — Thread your sewing machine with the coordinating thread and sew around the circle’s edge with a 1/2″ seam allowance.
Leave about 5″ of the circle un-sewn. You’ll need this opening to be able to stuff your pillow.
Step 4 — Turn the pillow right side out, and stuff your pillow with either feathers or synthetic stuffing.
Step 5 — Then, turn the edges of the 5″ opening inward 1/2″ and pin them together.
Step 6— Use a whip stitch to close up the pillow.
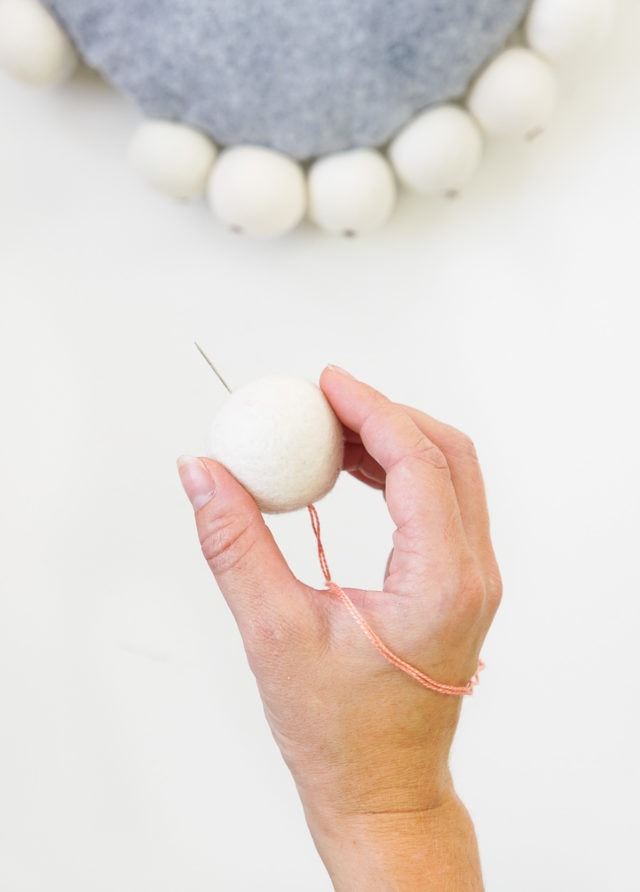
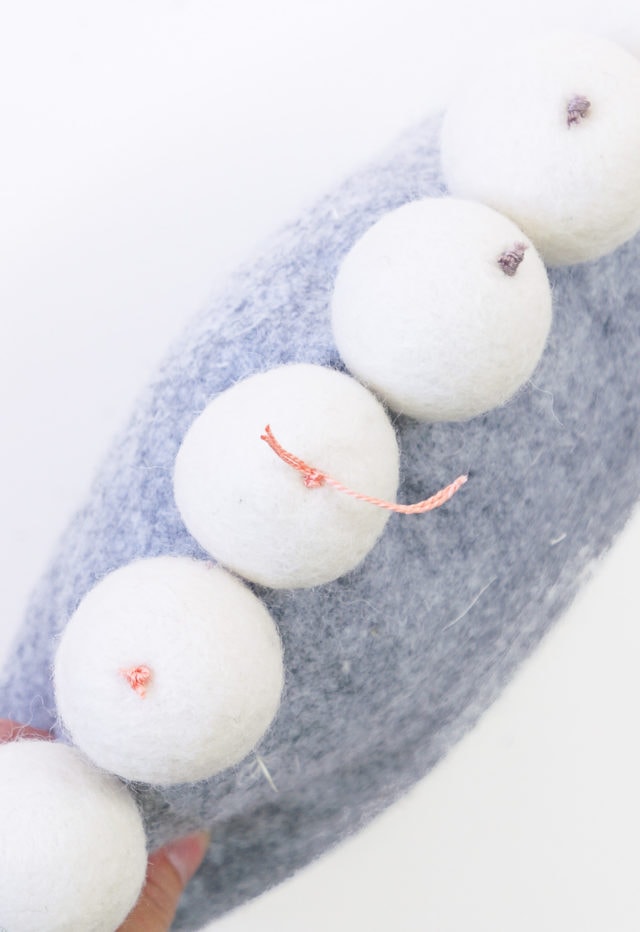
Step 7 — Thread your larger needle with a flossing string, double knot the end, and thread it straight through one of the wool beads.
Depending on how large your needle is, you may need a tweezer or pliers to help you pull the need through the other side of the wool bead.
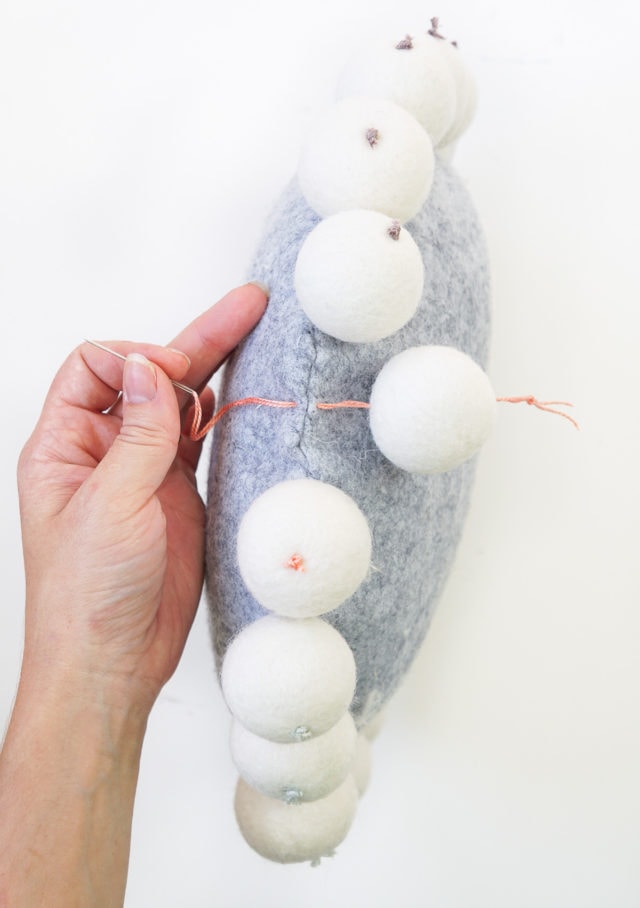
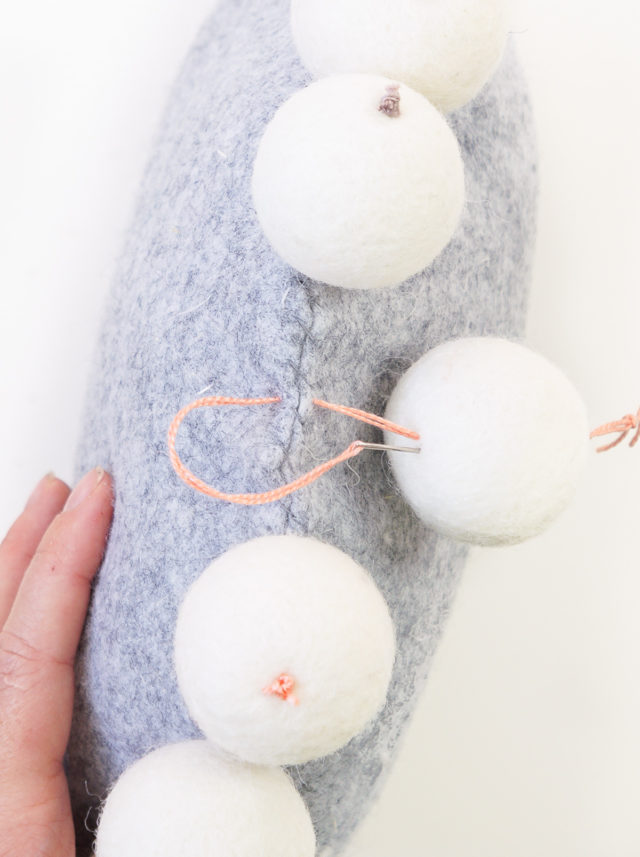
Step 8 — Thread the flossing string through both layers of fabric at the pillow seam.
Step 9 — Then, thread it back through the wool bead, and pull the wool bead as tight as you can to the pillow.
This will keep the beads structured and prevent them from flopping all around.
Step 10 — Lastly, double knot the two “tails” together and trim.
Repeat steps 4 and 5 with the remaining wool beads.
Helpful Hints for Making Your Pillow
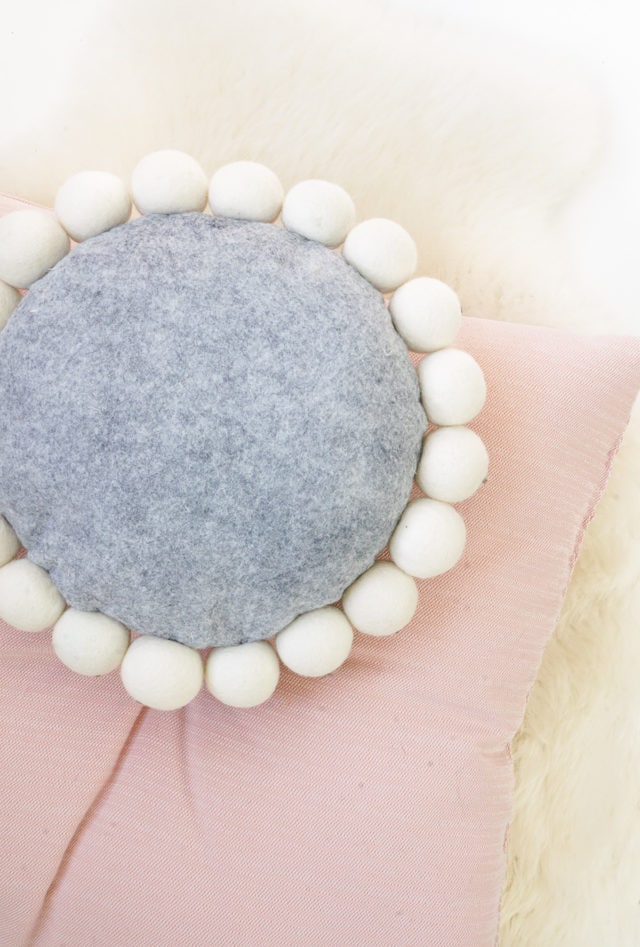
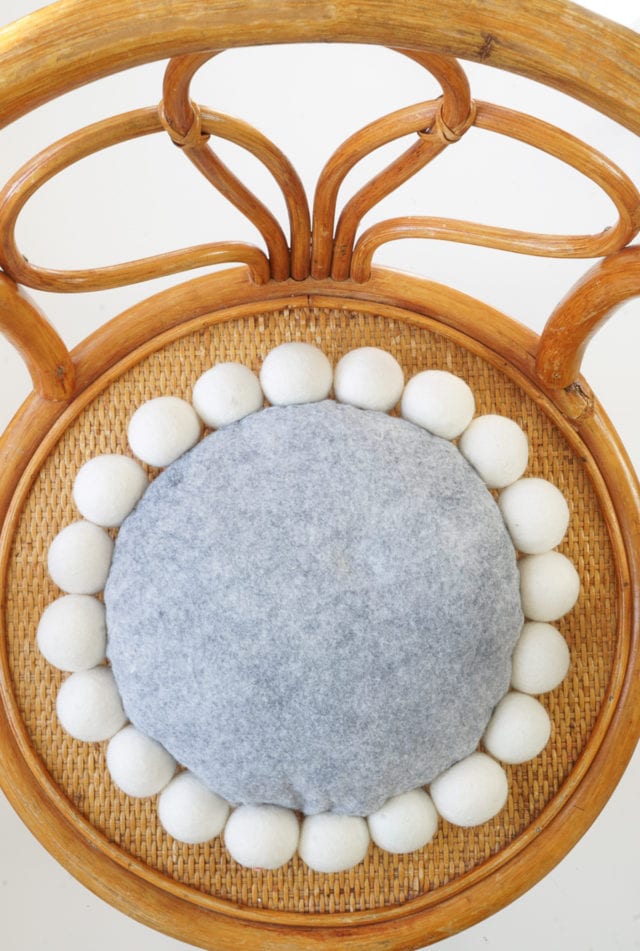
Don’t forget to plan out the spacing of the wool beads to make sure they evenly cover the entire circumference of the pillow.
I found a spacing of 1/16″-1/8″ was a good spacing between beads for the DIY Snowball Pillow.
I chose a neutral combination of colors for my DIY Snowball Pillow.
But there are TONS of wool bead colors out there to fit every home decor color scheme. It looks great with all this rattan furniture we love these days.
What colors would you love to see?
More Easy Throw Pillows to Make
If you love this DIY Snowball Pillow, you might also want our related posts below —
- DIY Pattern Throw Pillows
- Rug Hooking: How to Make a Pillow with Rug Hook
- Fringe Pillows – How To Make Your Own Yarn Fringe Pillows
- How To Make A DIY No-Sew Flamingo Lumbar Pillow
DIY Snowball Pillow
Equipment
- Sewing needle
- Larger sewing needle
- Sewing machine
- Sewing pins
- Scissors
Materials
- 20 pieces wool felt beads or balls Our are 4cm in Dusty White. They can be found at local craft stores and online.
- ⅓ yard grey felt fabric
- Coordinating grey thread
- Coordinating flossing string
- Feathers or synthetic stuffing
Instructions
- Cut two identical 11″ circles from the grey felt.
- Pin them together with right sides facing inward toward each other.
- Thread your sewing machine with the coordinating thread and sew around the edge of the circle with a 1/2″ seam allowance.Leave about 5″ of the circle un-sewn. You’ll need this opening to be able to stuff your pillow.
- Turn the pillow right side out, and stuff your pillow with either feathers or synthetic stuffing.
- Then, turn the edges of the 5″ opening inward 1/2″ and pin them together.
- Use a whip stitch to close up the pillow.
- Thread your larger needle with flossing string, double knot the end, and thread it straight through one of the wool beads.Depending on how large your needle is, you may need a tweezer or pliers to help you pull the need through the other side of the wool bead.
- Thread the flossing string through both layers of fabric at the pillow seam.
- Then, thread it back through the wool bead, and pull the wool bead as tight as you can to the pillow.This will keep the beads structured and prevent them flopping all around.
- Lastly, double knot the two “tails” together and trim.Repeat steps 4 and 5 with the remaining wool beads.

Don’t forget to share your DIY Snowball Pillow with us on Instagram using the hashtag #sugarandclothloves. We always love seeing all of your creations! Looking for more interior design inspiration? You can find them all of our home decor tutorials and ideas right here!


Please note that we may earn a commission for some of the above affiliate links. However, products featured are independently selected and personally well-loved by us!
This is so cute! Sweet!
Thank you, Miriam!
This is just so adorable! Perfect for a kids room too!
Such a cute idea!
A beautiful mess posted something super similar recently and seeing yours has just added to my desire to actually make one
– Natalie
http://www.workovereasy.com
Great minds think alike, right! Loved theirs as well :)
This is so adorable!!!
Kristina does the Internets
Glad you like it, Kristina!
this look really cute!
So glad you like the DIY, Johanna! This is one of our favorite projects from Erin :)