DIY Geometric Metal Wall Hang
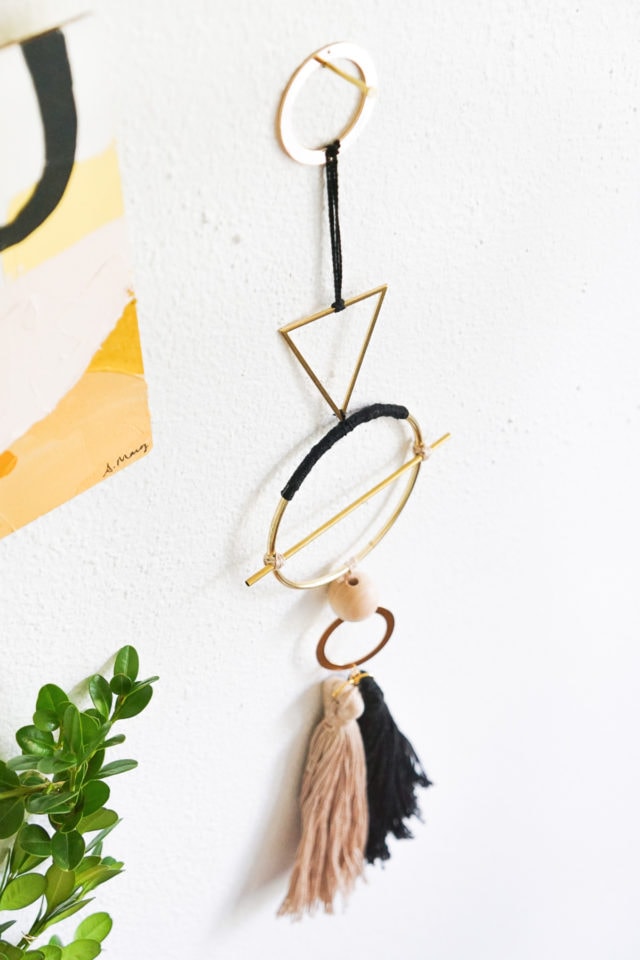
The geometric metal wall hang is a quick, simple DIY project that makes an impact whether you’re looking to add some durability or style to your walls.
The geometric wall hang trend is all the rage at the moment! From weavings to macramé, I’m constantly seeing lots of free-form ways to add interest to the wall.
I, Erin love wall hangs that mix & match all sorts of materials like brass, textiles, fibers, and even wood.
This DIY Geometric Metal Wall Hang is as easy as stringing together different shapes and acts as a bit of jewelry for the room.
We used brass rings before with our DIY Brass Ring Wall Hang and DIY Flower Wall Hang so loved the idea of utilizing rings again.
Read on for the full (and easy) tutorial. I’m super excited to share this one!
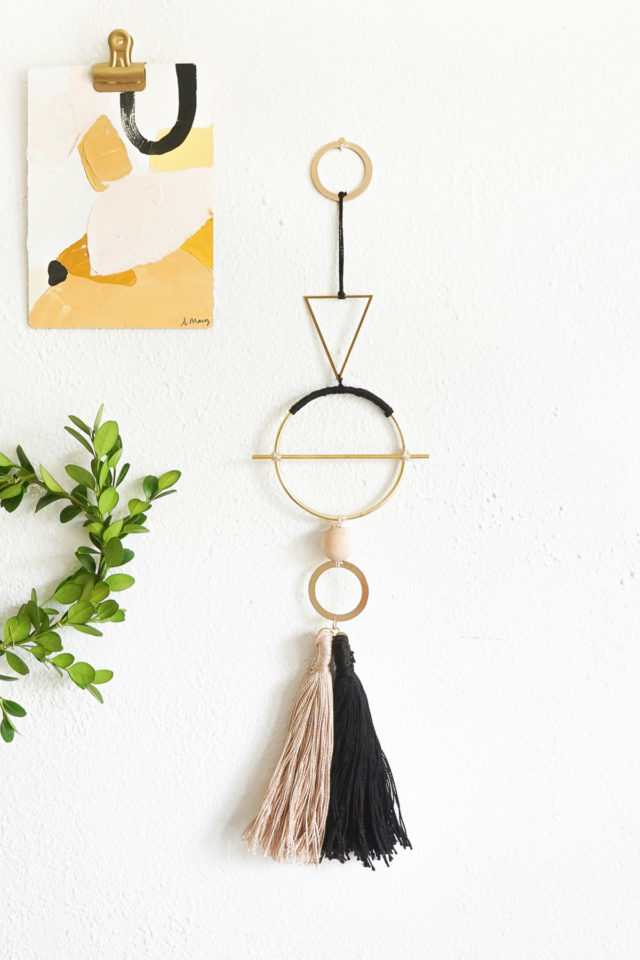
Materials and Tools Needed to Make a DIY Geometric Metal Wall Hang
Gold brass hoop — Ours has a 3″ diameter and will be the centerpiece hoop.
2 Gold brass circles, 1-3/8” diameter — Available at JoAnn Fabrics
4 Jump rings — 1/2” diameter
Natural wood bead
Cotton flossing in two colors
2 Tassels
Pliers
Scissors
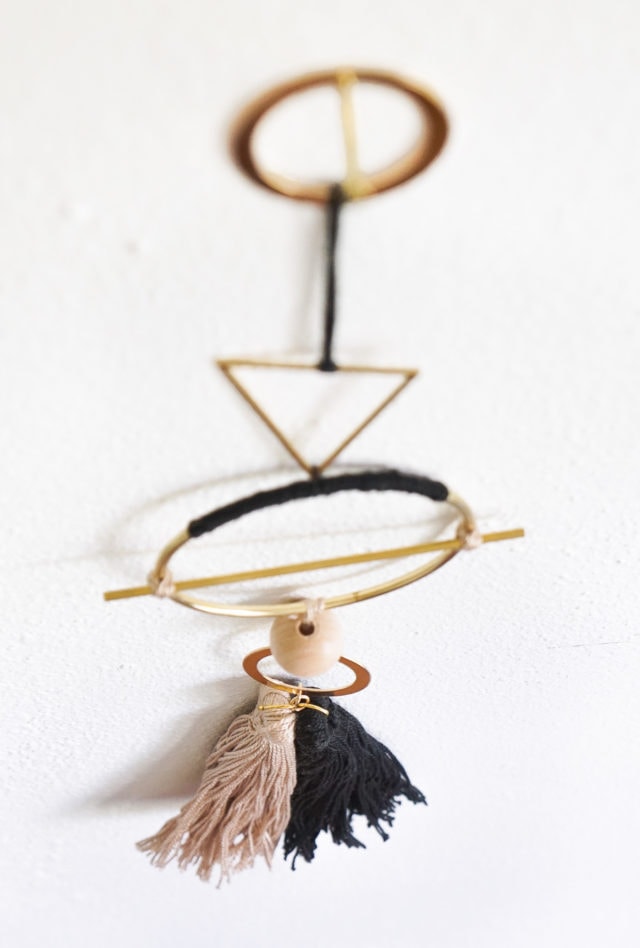
How to Make a DIY Geometric Metal Wall Hang
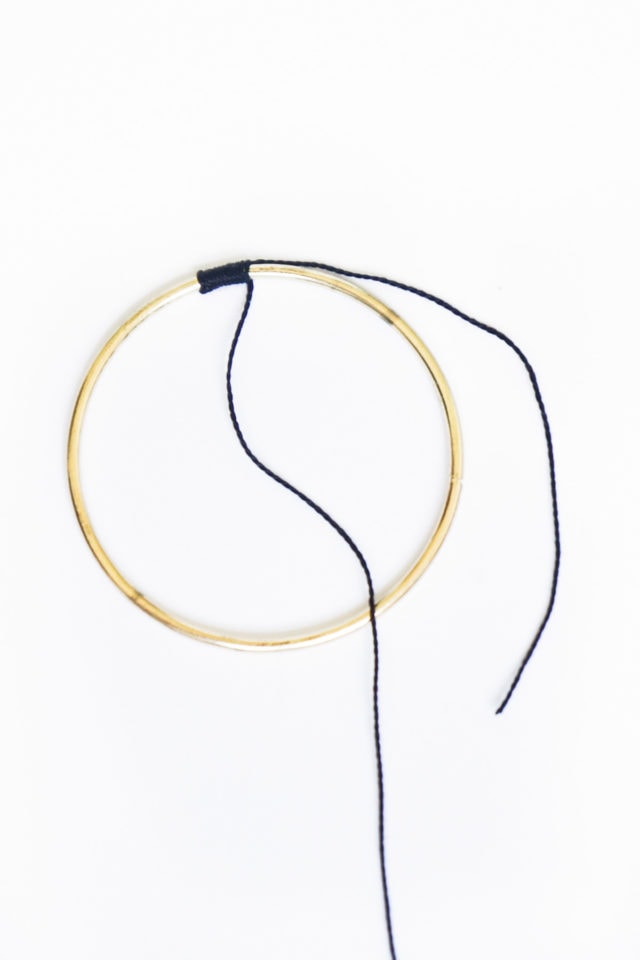
Step 1 – Begin by wrapping a portion of the 3” gold hoop with cotton flossing.
Leave a 5” tail of flossing and tie a knot onto the hoop.
Continue wrapping the flossing around both the hoop and the tail until you’ve completed a 3” run of wrap.
Finish off the wrap by double knotting the loose end to the tail and trimming off the excess.
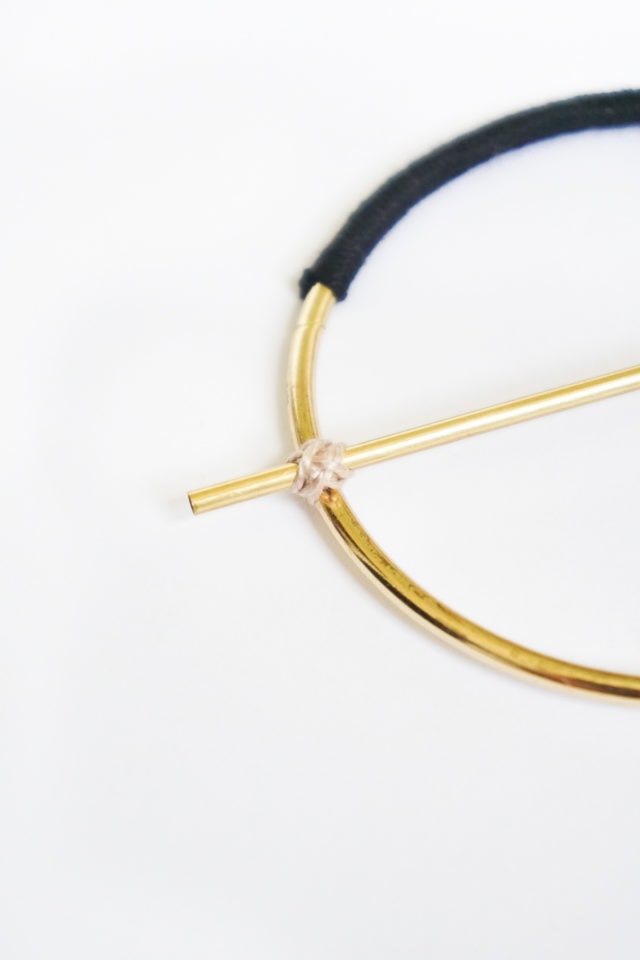
Step 2 – Lay the gold bar across the diameter of the hoop and attach with flossing.
Begin with a knot around both the hoop and the bar at one end.
Leave a tail as you did with the wrap in the previous step.
Then continue wrapping in an X pattern around both sides of the bar.
Step 3 – Tie off the flossing with a double knot and repeat with the other end of the bar. Set the hoop aside.
Step 4 – Now that the hoop details are done, begin assembling the wall hanging beginning at the bottom.
Use pliers to attach a jump ring to each of the tassels and join them together with a third jump ring.
Attach to a fourth jump ring and attach onto one 1-3/8” circle.
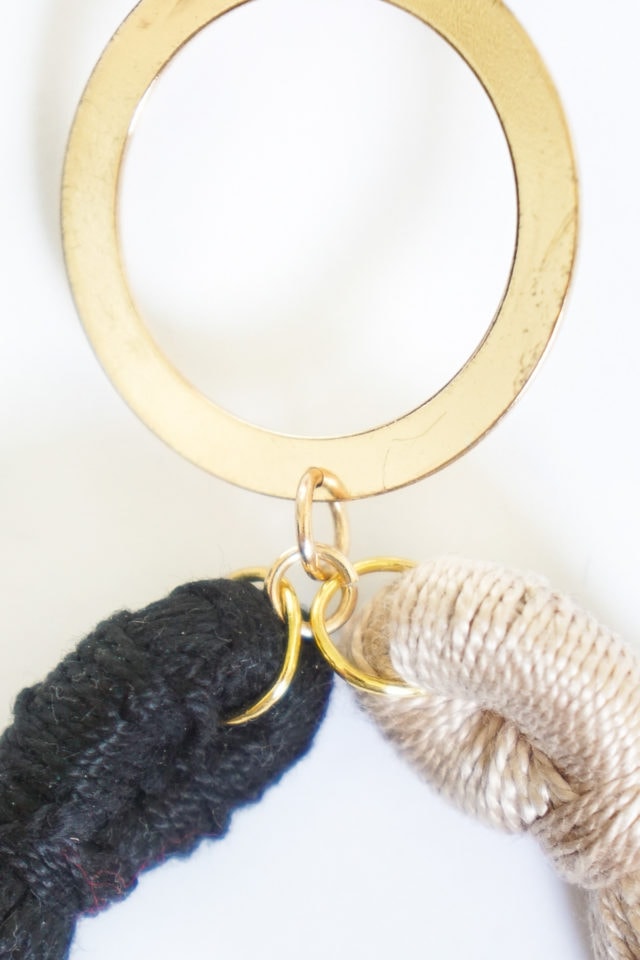
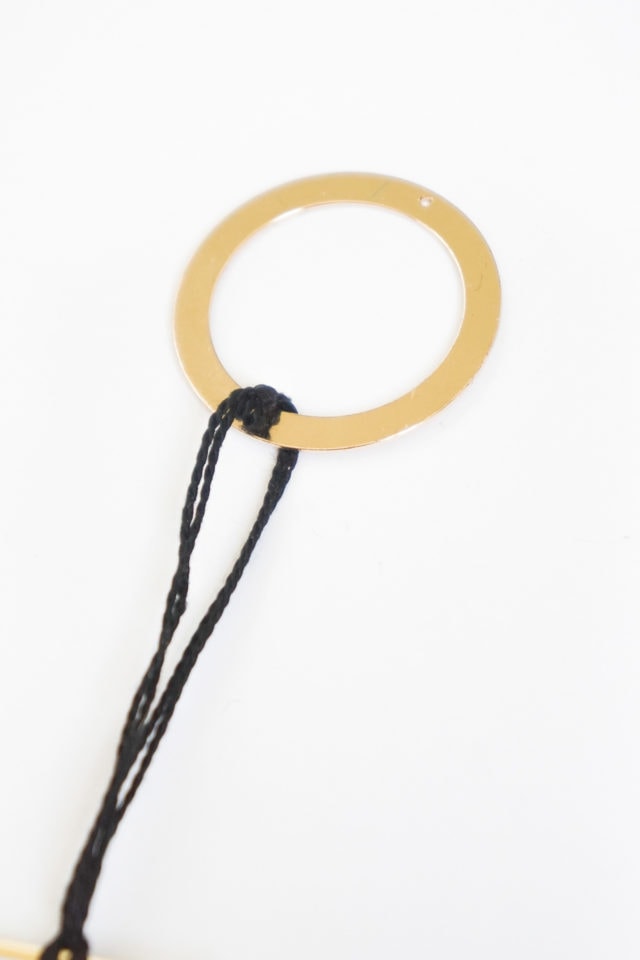
Step 5 – Cut a 6” long piece of flossing, fold it in half, wrap it around the top of the 1-3/8” circle, pull the ends through the loop, and pull tight.
Step 6 – Thread the flossing through the wood bead and double knot it to the bottom of the prepared 3” circle.
Trim excess flossing.
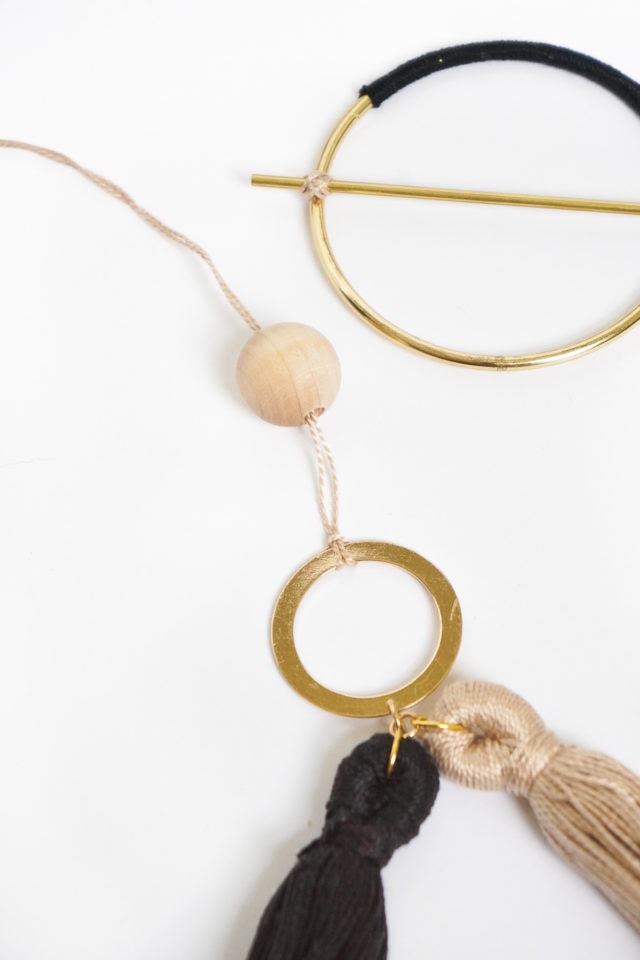
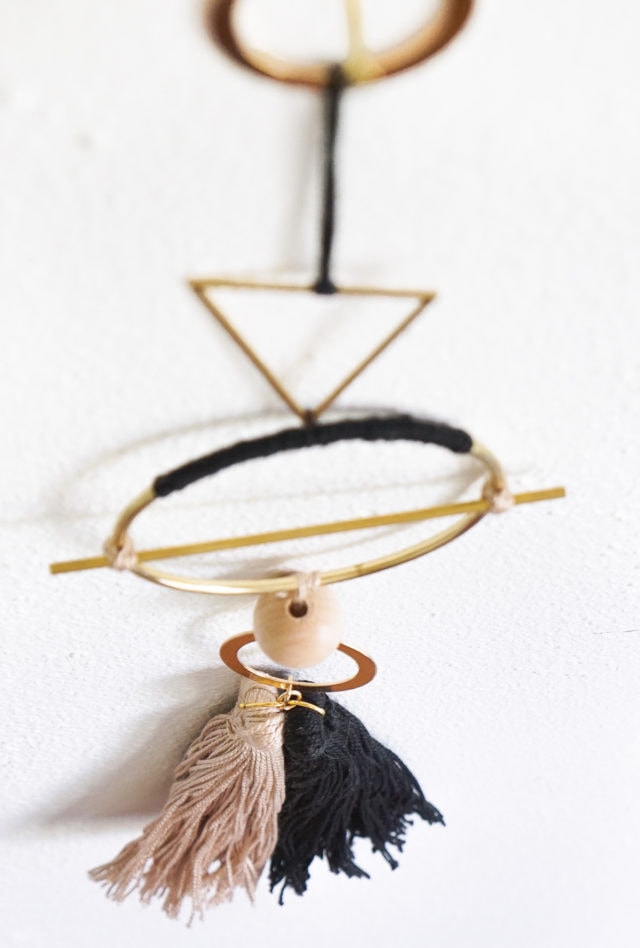
Step 7 – Next, attach the inverted triangle to the top of the 3” circle in the sample loop tie as in the previous step. (Fold a piece of flossing in half. Wrap it around the top of the 3” circle and pull the ends through the loop and pull tight.)
Double knot the ends around the triangle point, and trim the excess tails.
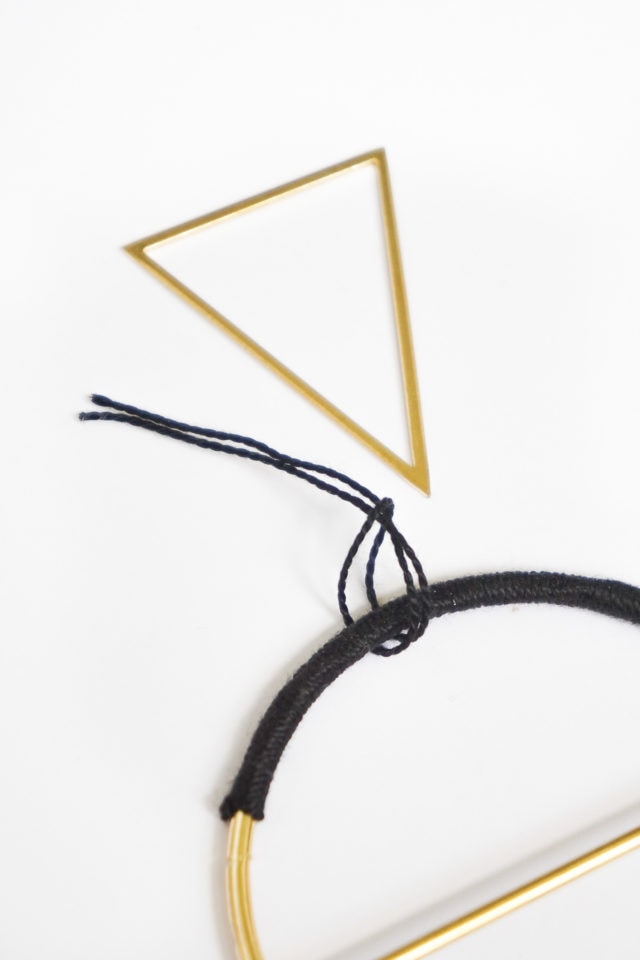
Step 8 – Lastly, cut another piece of flossing roughly 10” long.
Fold the flossing in half and wrap it around the middle of the horizontal triangle edge.
Pull the ends through the loop and pull tight.
Leave about 3” of flossing before double knotting it onto the 2nd 1-3/8” circle.
Once that is complete, then trim the flossing tails.
Now you are ready to display your wall hang and show off your favorite metals & textiles!
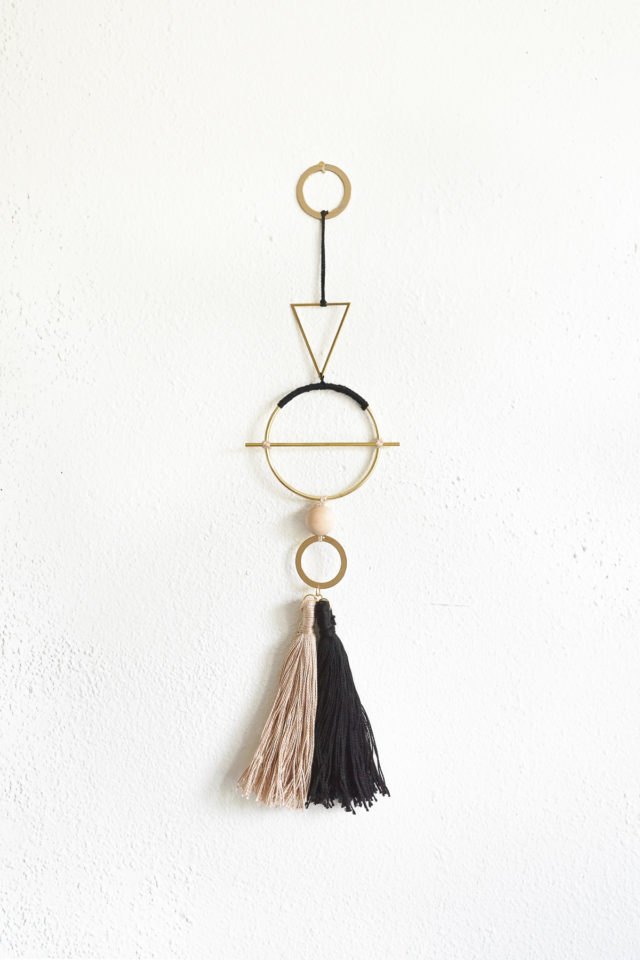

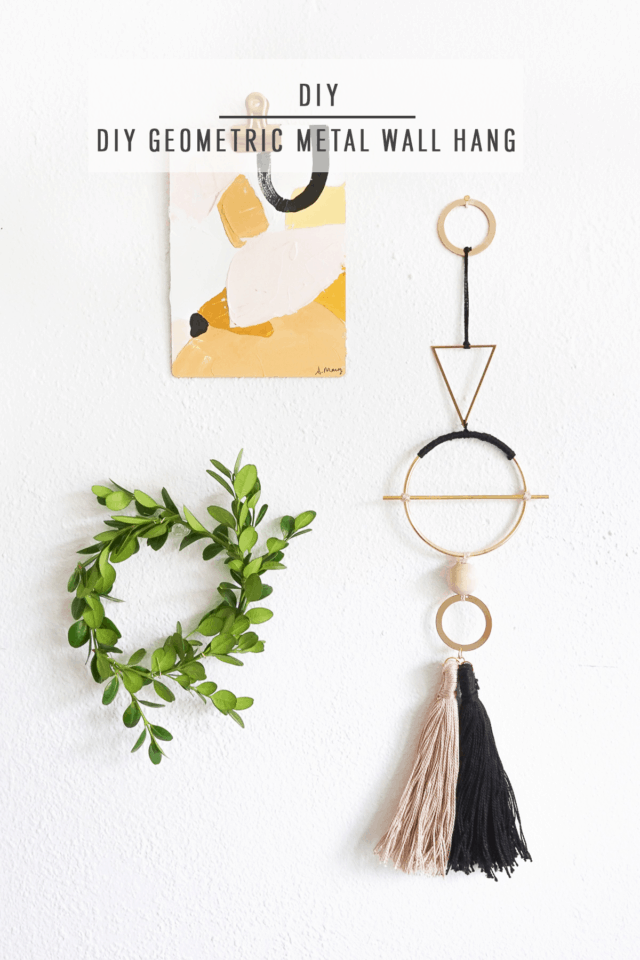
I love the instant modern aesthetic this wall hang brings to the room. And I especially love how easy it is to achieve it.
This is definitely a home decor trend that I can get behind!
Also you can check out this super cute DIY Fringed Mirror Wall Hanging that’s so perfect for fall, and if you want to incorporate a touch of metallic gold and a good dose of fringe texture for visual interest.
What do you guys think? What would be your favorite materials to use?
If you are looking for more modern decor to add to your walls, I also whipped up this DIY Minimalist Floral Wall Hang!
For more DIY projects like these, check out our related posts from our archive –
- Office Accessories: Hexagonal DIY Desktop Organizer
- Easy DIY Gold Wreath And Garland
- DIY Gold Leaf Photo Backdrop
- DIY Striking Matchstick Holder For Your Candle Collection
DIY Geometric Metal Wall Hang
Equipment
- Pliers
- Scissors
Materials
- 1 gold brass hoop 3″ diameter, for the centerpiece
- 2 gold brass circle 1-3/8” diameter
- 4 jump ring 1/2” diameter
- 1 gold triangle
- 1 gold 4” gold bar
- 1 natural wood bead
- 2 tassels
- Cotton flossing in two colors
Instructions
- Begin by wrapping a portion of the 3” gold hoop with cotton flossing.Leave a 5” tail of flossing and tie a knot onto the hoop.Continue wrapping the flossing around both the hoop and the tail until you’ve completed a 3” run of wrap.Finish off the wrap by double knotting the loose end to the tail and trimming off the excess.
- Lay the gold bar across the diameter of the hoop and attach with flossing.Begin with a knot around both the hoop and the bar at one end.Leave a tail as you did with the wrap in the previous step.Then continue wrapping in an X pattern around both sides of the bar.
- Tie off the flossing with a double knot and repeat with the other end of the bar. Set the hoop aside.
- Now that the hoop details are done, begin assembling the wall hanging beginning at the bottom.Use pliers to attach a jump ring to each of the tassels and join them together with a third jump ring.Attach to a fourth jump ring and attach onto one 1-3/8” circle.
- Cut a 6” long piece of flossing, fold it in half, wrap it around the top of the 1-3/8” circle, pull the ends through the loop and pull tight.
- Thread the flossing through the wood bead and double knot it to the bottom of the prepared 3” circle.Trim excess flossing.
- Attach the inverted triangle to the top of the 3” circle in the sample loop tie as in the previous step. (Fold a piece of flossing in half. Wrap it around the top of the 3” circle and pull the ends through the loop and pull tight.)Double knot the ends around the triangle point, and trim the excess tails.
- Cut another piece of flossing roughly 10” long. Fold the flossing in half and wrap it around the middle of the horizontal triangle edge.Pull the ends through the loop and pull tight.Leave about 3” of flossing before double knotting it onto the 2nd 1-3/8” circle.Once that is complete, then trim the flossing tails.

Don’t forget to share your DIY Geometric Wall Hang with us on Instagram using the hashtag #sugarandclothloves. We always love seeing all of your creations! Looking for more interior design inspiration? You can find all of our home decor tutorials and ideas right here!
More DIY Recommendations For You!
Please note that we may earn a commission for some of the above affiliate links. However, products featured are independently selected and personally well-loved by us!



You’re so awesome! I ddo not believe I’ve read through
anything like this before. So wonderful to find another person with unnique thoughts on this topic.
Seriously.. thanks for starting this up. This web site is something
that is rrequired on the web, someone with some originality!
That is really interesting, You are an excessxively skilled blogger.
I’ve joined your rsss feed and stay up for seeking extra
of your great post. Additionally, I have shaared yolur web site in my social networks
It looks amazing!
Thank you so much! xo
Love this! The link to Jo Ann’s is not valid, can you fix it?
Thanks Eli! Erin did such an amazing job! Unfortunately it looks like Jo Ann’s only carries this item in-stores. Here is one online that is similar!
Looking so nice! I am so inspired by this DIY. Looking for several pieces to build a personalized one.
So happy you like it, Mike! It’s always so much fun to get to personalize home decor. Hope you love it as much as we do!
This looks so professional Erin! Love the material mixture
It really does! Erin always does such an amazing job! :)