DIY Polka Dot Floppy Hat
A DIY Polka Dot Floppy Hat to keep you shaded. It’s also perfect for disguising bedhead… and the beach, of course!
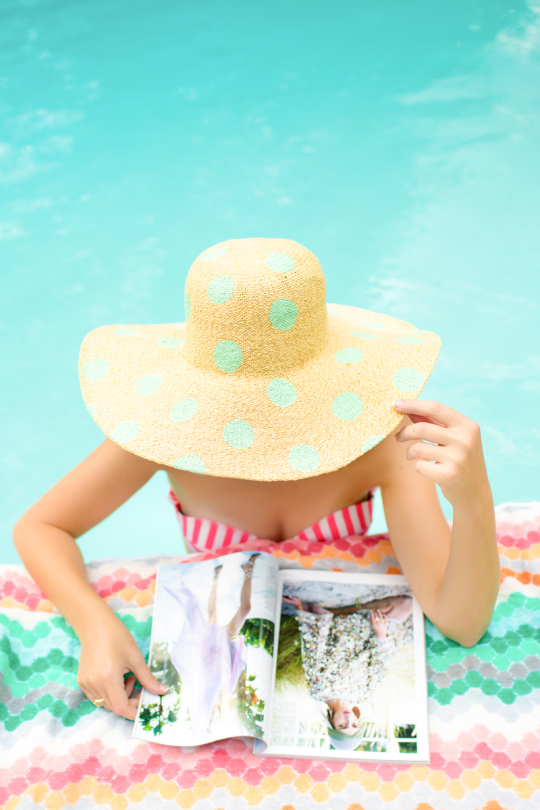
Floppy hats are kind of like my summer disguise. I have what I like to call “wings” and not as in an angel but as in hair frizzies. Houston humidity shows me no mercy.
Alas, hats of all kinds are welcomed with open arms during the summer months. And I decided I’d add my token aesthetic to a plain floppy happy with these DIY polka dots.
You can pair this with our Polka Dot DIY No Sew Infinity Scarf to add that Texas standards scarf spirit along with your summer statement piece DIY Pom Pom Tassel Circle Pool Bag
Ironically, my lovely friend Kelly and I happened to both make painted floppy hats around the same time.
Hers is her true donut fashion so I held off a bit before sharing mine.
It’s hard to compete with donuts, but then you add a little bit of pink and I melt, ya know?
All of this to say: don’t judge me the next time you happen upon me at brunch wearing an oversized polka dot floppy hat indoors…
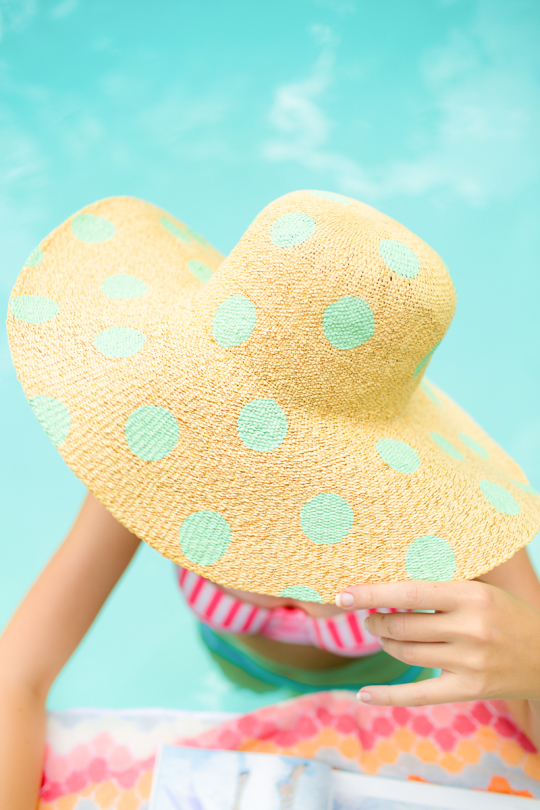
Materials and Tools Needed to Make a DIY Polka Dot Floppy Hat
Foam pouncer — I used a 1-inch pouncer for dramatic polka dots but you can use any size.
Plain floppy hat — I used this one and removed the band. It’s currently sold out but this is a great alternative.
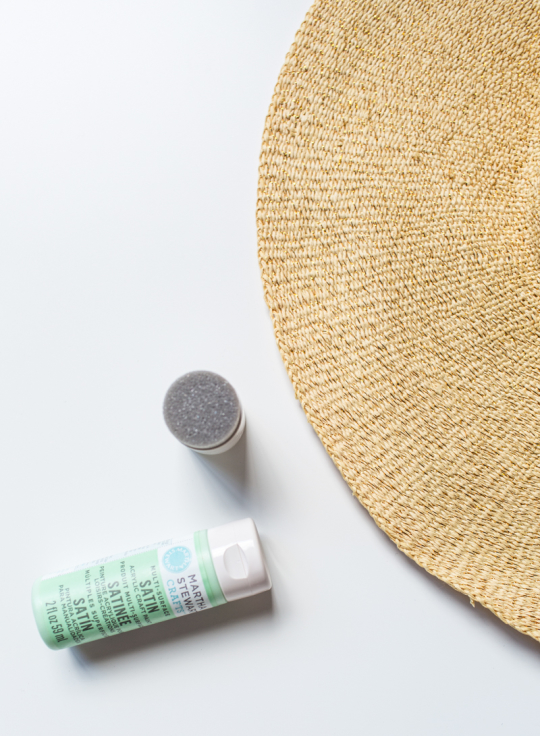
How to Make a DIY Polka Dot Floppy Hat
Step 1 – Dip the foam pouncer into the all-purpose craft paint and then make your first dot starting on the top of the hat. Be sure to hold the inside flap tight with your hand.
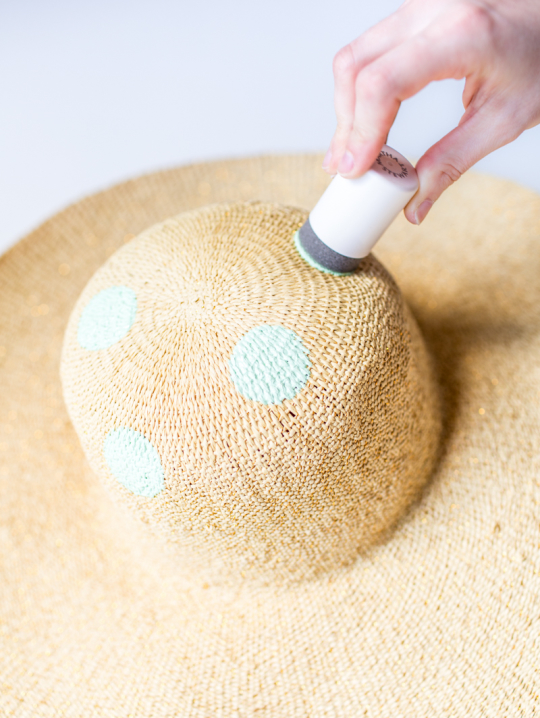 Step 2 – Then, slowly make your way down the side of the hat to the brim spacing your dots sporadically.
The more paint you have on the brush the better. But you can also make touch-ups with the brush after you make the initial dots.
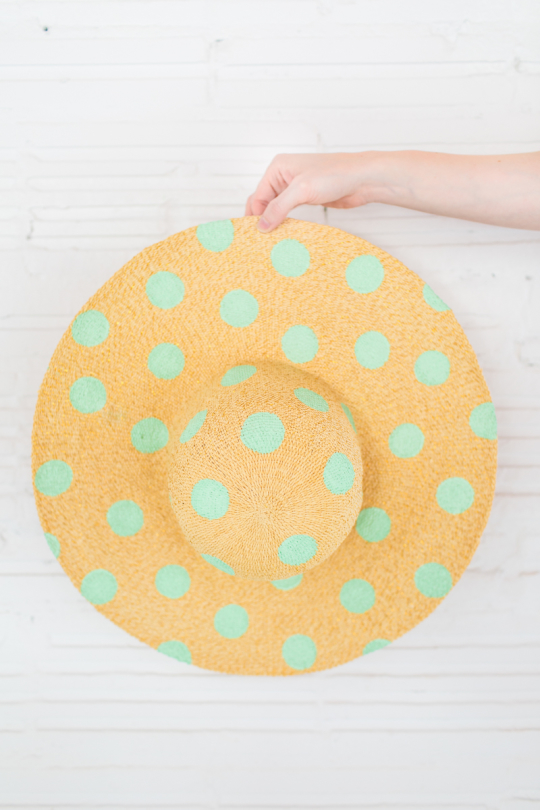
Step 3 – Let it dry completely, and you’re all set!
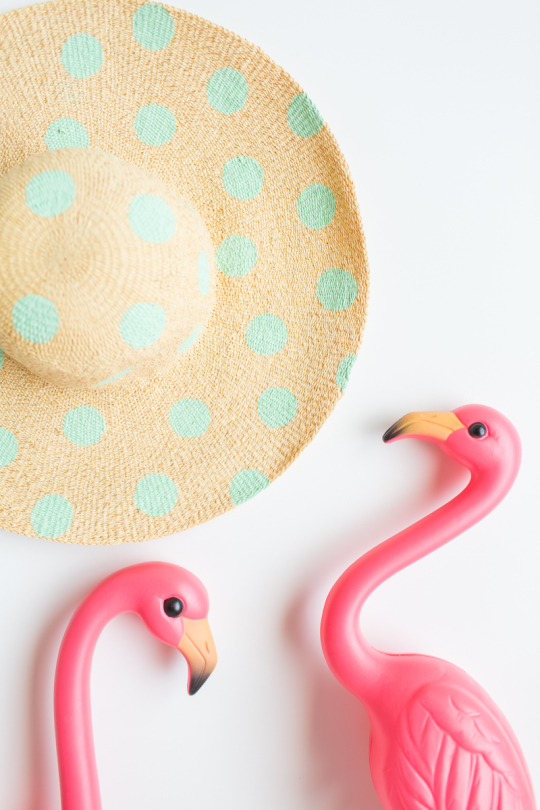
The Martha Stewart craft paints are all-purpose and hold up well against water once they’ve dried.
Even with a little accidental dip in the pool, the painted dots stayed crisp and vibrant.
This summer hat is perfect for your summer pool party!
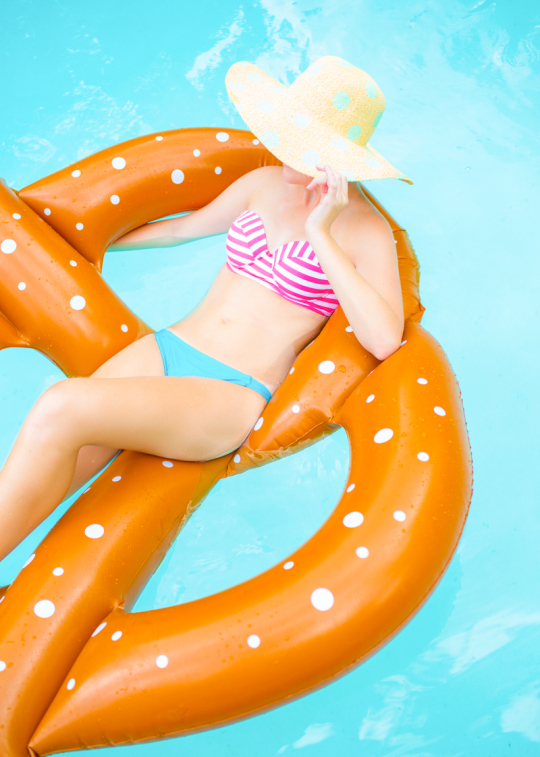
Now, how cute is my friend Caitlin? You know you found a good friend when they let you borrow their model body at a moment’s notice to post all over the internet. And she happens to also make killer desserts, go figure!
More DIY Projects and Ideas
- Poolside DIY Pattern Kimonos
- Abstract DIY Umbrella
- How To Make DIY Floral Headpieces
- How To Make A DIY Ric Rac Summer Hat
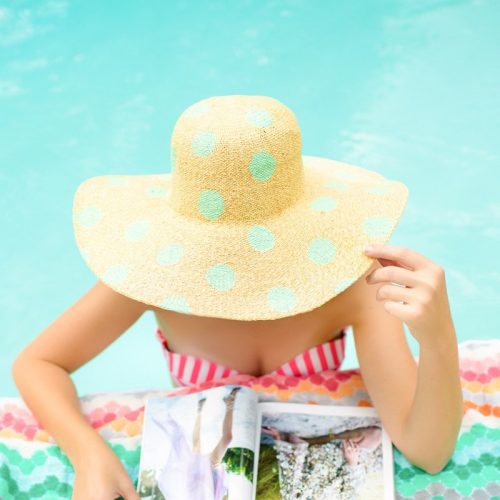
DIY Polka Dot Floppy Hat
Equipment
- Foam pouncer I used a 1-inch pouncer for dramatic polka dots but you can use any size.
Materials
- All purpose craft paint
- Plain floppy hat I used this one and removed the band. It’s currently sold out but this is a great alternative.
Instructions
- Dip the foam pouncer into the all-purpose craft paint and then make your first dot starting on the top of the hat. Be sure to hold the inside flap tight with your hand.
- Then, slowly make your way down the side of the hat to the brim spacing your dots sporadically. The more paint you have on the brush the better. But you can also make touch-ups with the brush after you make the initial dots.
- Let it dry completely, and you’re all set!

Don’t forget to share your DIY polka dot floppy hat with us on Instagram using the hashtag #sugarandclothloves. We always love seeing all of your creations! Looking for more interior design inspiration? You can find all of our home decor tutorials and ideas right here!
Please note that we may earn a commission for some of the above affiliate links. However, products featured are independently selected and personally well-loved by us!

So fun! Can you share the sources for your friend’s gorgeous swimsuit and the beach towel/blanket in the first photo by any chance?
Yes, they’re actually both from Target! The towel is in the regular home section though, not the beach towels :)
I am only 10 and I made this. I added pink polka dots, a pink ribbon separated the top and bottom and added hawaiian flowers to the ribbon! I love this hat. What a great idea! :)
Hi Laney! So glad you liked the project, I bet yours is beautiful! :)
Love the idea, and the photos are to die for. So stylish!
I know, Jared takes awesome photos!
This DIY is so cute and photos are so fun and colorful! I really love the beach towel from the first photo, where is it from?
Thanks Sheri! It’s from the Target home section :)
Totally doing this. Love the bathing suit too. Do you know where it’s from?
For real: genius. Love how simple this is and your friend killed it with the modeling. I mean, come on! She even got the fingers just right! Bravo =)
This is such a great DIY and so cute.
Thanks Shelissa!
OMG, I totally can relate to wearing hats to disguise my bad hair days and there are too many of them due to frizzies and cutting my own bangs. I cant get over how good these pictures are… love the different angles that you chose to showcase your adorable floppy hat(should be in a magazine spread)
haha, amen to that!
This is brilliant! I love it! You are a genius on my books!
That might be the best comment ever, haha! ;) xoxo
Such a cute DIY. I love the photos…and that floating pretzel!
I know, the donut was sold out ;)