DIY Cheese Knives
Learn how to make stylish DIY cheese knives with this easy tutorial! Perfect for entertaining or gifting, these custom knives add a personal touch to your charcuterie boards.
When it comes to entertaining or gifting, it’s the little details that make all the difference. That’s why these DIY Cheese Knives are the perfect project to add a personal, handcrafted touch to your charcuterie boards or holiday presents.
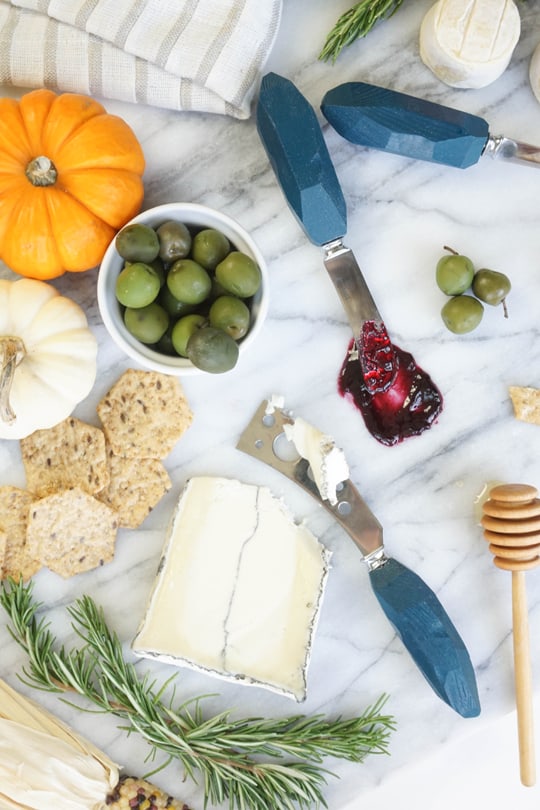
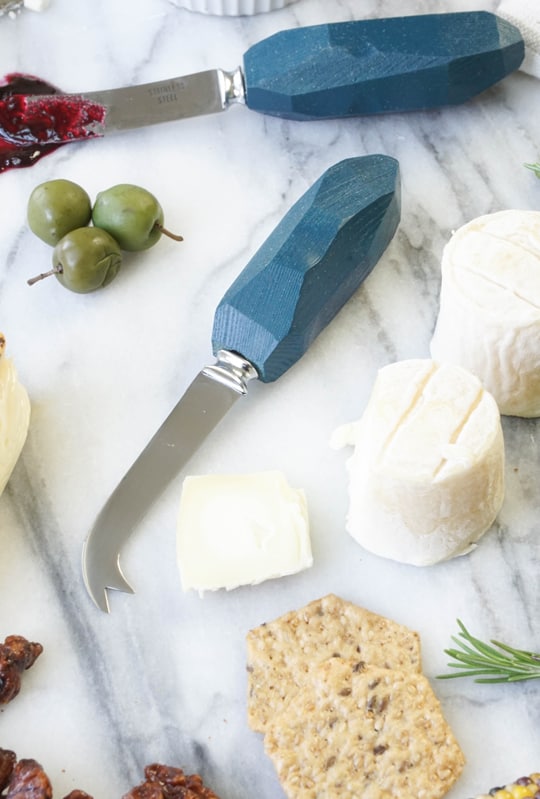
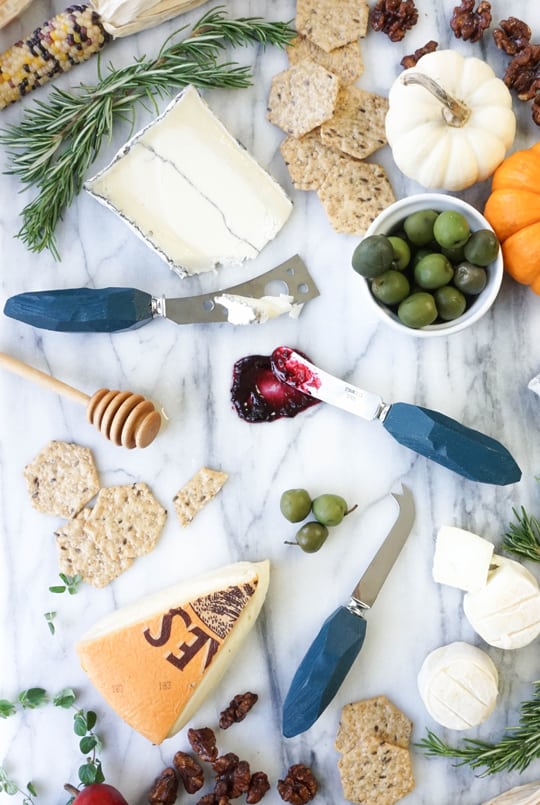
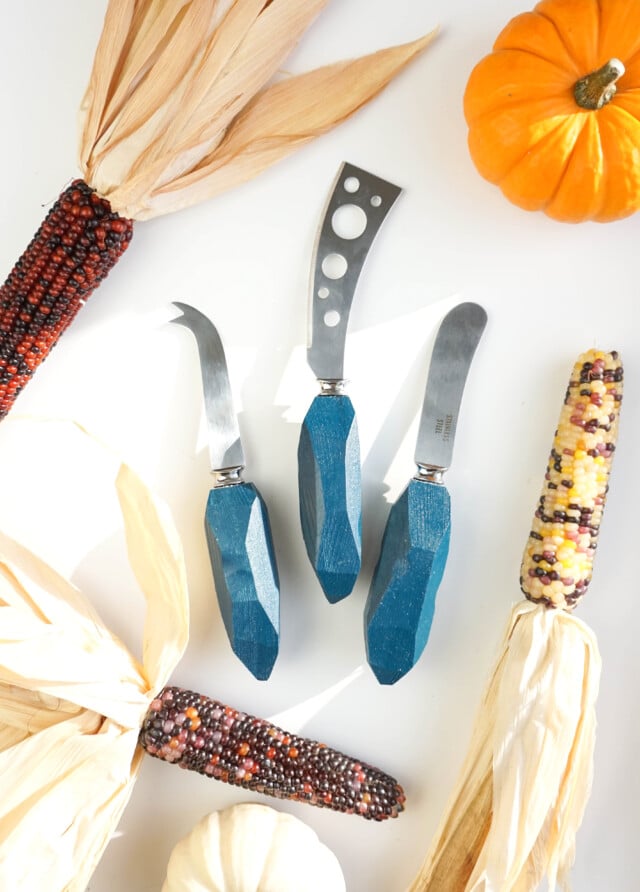
With the holidays on their way, you can bet I’ll gladly be assembling a cheese plate or two. So I, Erin made myself a new set of DIY Cheese Knives to accompany the spread. (Pun intended!) The gem-like handles are inspired by faceted crystals. So they’ll work beautifully for both Thanksgiving and Christmas, as well as all the other gatherings along the way.
Ready to get started? In this tutorial, we’ll guide you through the simple steps to create your own set of DIY cheese knives. From cutting and shaping the wooden handles to painting and assembling, you’ll be crafting something both beautiful and practical in no time. Here’s how to make a set for yourself.
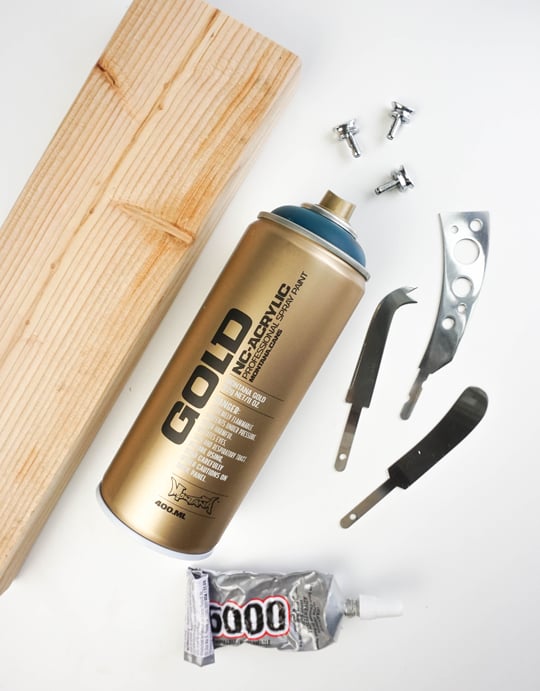
Materials and Tools Needed
- Cheese knife blanks with bolsters — You can find tool sets or individual knife blanks on Etsy, at Walmart, Amazon or wood and metal craft stores.
- Small 2×4 pine board — For the custom handles. Pine is an easy-to-work wood for beginners, but you can experiment with hardwoods like walnut or maple for a more polished look.
- Mitre saw or hand saw — To cut the wood to size
- Belt sander — For smoothing edges and shaping handles
- Electric drill — Fitted with a 7/32″ drill bit for precise holes
- Spray paint in the color of your choice — We used Montana Gold Acrylic Spray Paint in color Petrol
- High gloss clear polyurethane spray — To seal and protect your finished pieces.
- Industrial strength adhesive — Optional
How to Make DIY Cheese Knives
1 — Cut the wood: Cut the 2×4 board into two 4-inch sections. Then, cut each of these 4-inch pieces vertically down the center, resulting in four 1×4-inch pieces. You’ll only need three pieces, so set aside or discard the fourth.
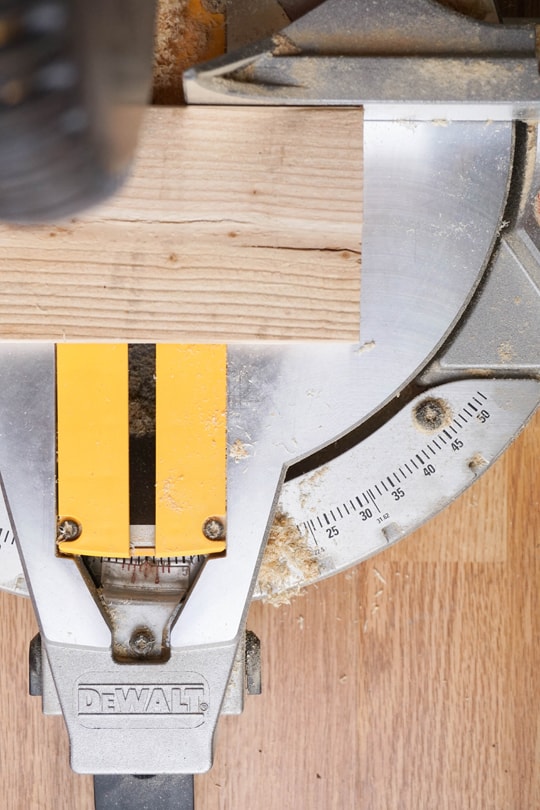
2 — Shape the wood: Using a miter saw or hand saw, cut facets into each wood piece to create an angular, crystal-like shape. Work carefully, cutting at various angles to achieve the desired look.
Safety Tip: Take your time and use caution to avoid injury.
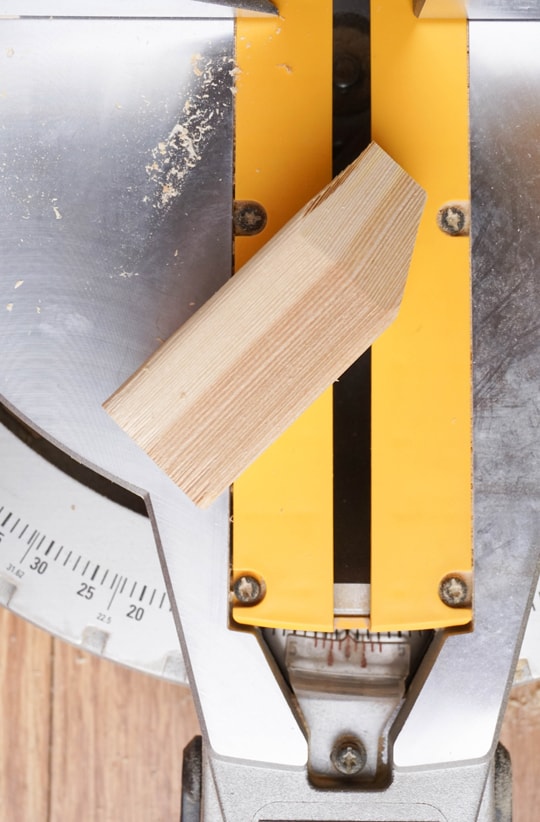
3 — Sand and refine: Use a belt sander to smooth rough edges and add additional facets. To do so, press the wood block’s corners into the sander, holding it in place until a flat plane forms. After sanding, each wood piece should be approximately 3.5 inches long. Repeat Steps 2 and 3 for the other two wood blocks to create a total of three “wood crystals.”

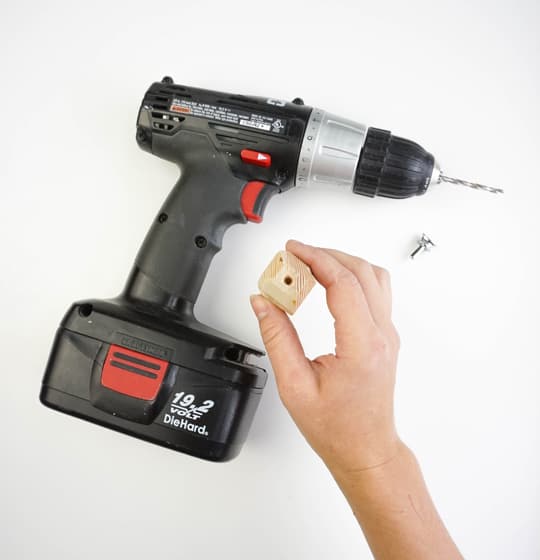
4 — Drill holes for the cheese tools: Drill a hole at one end of each wood piece using a 7/32-inch drill bit. The hole should be snug to fit the metal cheese tools securely.
5 — Paint: Apply two coats of spray paint to each wood piece, allowing the paint to dry fully between coats.
6 — Seal: Once painted, seal the pieces with a high-gloss polyurethane spray and let them dry completely. Then, it’s time to assemble the cheese knives!
7 — Slide the bolster onto the unfinished end of the metal cheese knife.
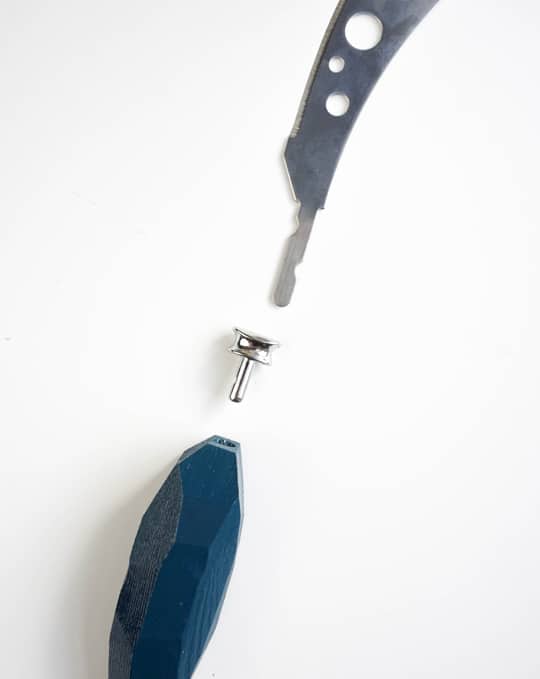
8 — Insert the unfinished end of the knife into the drilled hole of the wood crystal. If the fit is too loose, apply a small amount of industrial-strength adhesive inside the hole before reinserting the knife. Allow the adhesive to dry for a few hours if used.
Tutorial Tips and Notes
- Facets: Don’t worry about making the facets perfectly symmetrical—irregular cuts add to the unique, crystal-like appearance.
- Test before painting: Always test the cheese tool’s fit in the drilled hole before painting. If the fit is too loose, sand the hole edges or plan to use adhesive during assembly.
- Painting tips: Use light, even coats of spray paint to prevent drips and ensure a smooth finish. Hold the can about 8–10 inches away from the wood.
- Drying time: Allow ample drying time between coats of paint and polyurethane. Rushing this step could result in smudges or a tacky finish.
- Safety precautions: When sanding and painting, work in a well-ventilated area or wear a mask to avoid inhaling dust or fumes.
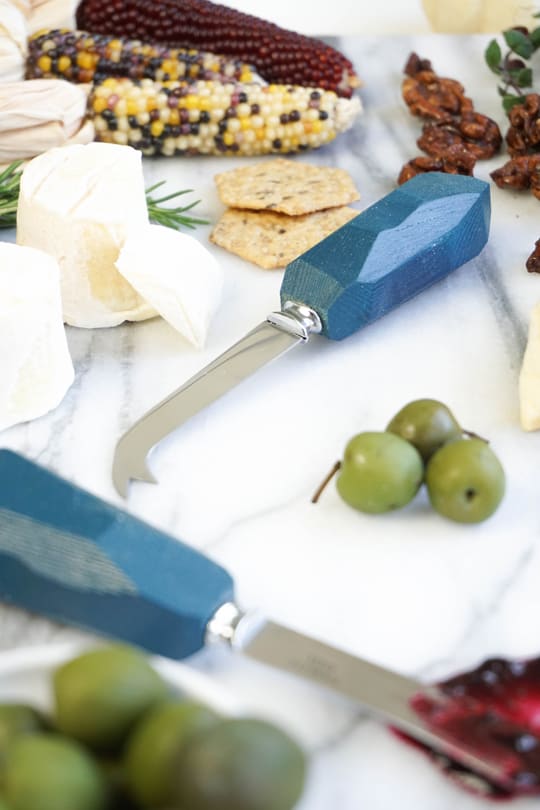
- Perfect for gifting: Pair the cheese knives with a charcuterie board, a set of cheeses, or gourmet crackers for a thoughtful holiday or housewarming gift or hostess gift.

More DIY Ideas for the Kitchen
The completed set makes a sophisticated addition to any cheese plate. So if you’re heading to a friend’s for Thanksgiving instead, why not make a set as a hostess gift together with this super cute DIY slate cheese board or colorful cheese boards? Or if you’re hosting, check out these cheeky fun printable cheese markers to go along. For more handmade items for the kitchen, check out a few of our favorite projects from the archives —
- 21 DIY Cake Stand Ideas You Can Make
- Retro DIY Lazy Susan
- DIY Frozen Wine Chiller
- Cabana Stripe DIY Apron
DIY Cheese Knives
Equipment
- Mitre saw or hand saw
- Belt sander
- Electric Drill fitted with a 7/32″ drill bit
- Industrial strength adhesive
Materials
- 3 piece cheese knives blanks tool set
- 1 piece small 2×4 pine board
- Spray paint in the color of your choice
- High gloss clear polyurethane spray
Instructions
- Cut the 2×4 board into two 4-inch sections. Then, cut each of these 4-inch pieces vertically down the center, resulting in four 1×4-inch pieces. You’ll only need three pieces, so set aside or discard the fourth.
- Using a miter saw or hand saw, cut facets into each wood piece to create an angular, crystal-like shape. Work carefully, cutting at various angles to achieve the desired look.
- Use a belt sander to smooth rough edges and add additional facets. To do so, press the wood block’s corners into the sander, holding it in place until a flat plane forms. After sanding, each wood piece should be approximately 3.5 inches long. Repeat Steps 2 and 3 for the other two wood blocks to create a total of three “wood crystals.”
- Drill a hole at one end of each wood piece using a 7/32-inch drill bit. The hole should be snug to fit the metal cheese tools securely.
- Apply two coats of spray paint to each wood piece, allowing the paint to dry fully between coats.
- Once painted, seal the pieces with a high-gloss polyurethane spray and let them dry completely.
- Slide the bolster onto the unfinished end of the metal cheese knife.
- Insert the unfinished end of the knife into the drilled hole of the wood crystal. If the fit is too loose, apply a small amount of industrial-strength adhesive inside the hole before reinserting the knife. Allow the adhesive to dry for a few hours if used.

Affordable Wall Art: 54 Stylish Prints Under $200
Looking for affordable wall art that still makes a big…
Continue Reading Affordable Wall Art: 54 Stylish Prints Under $200
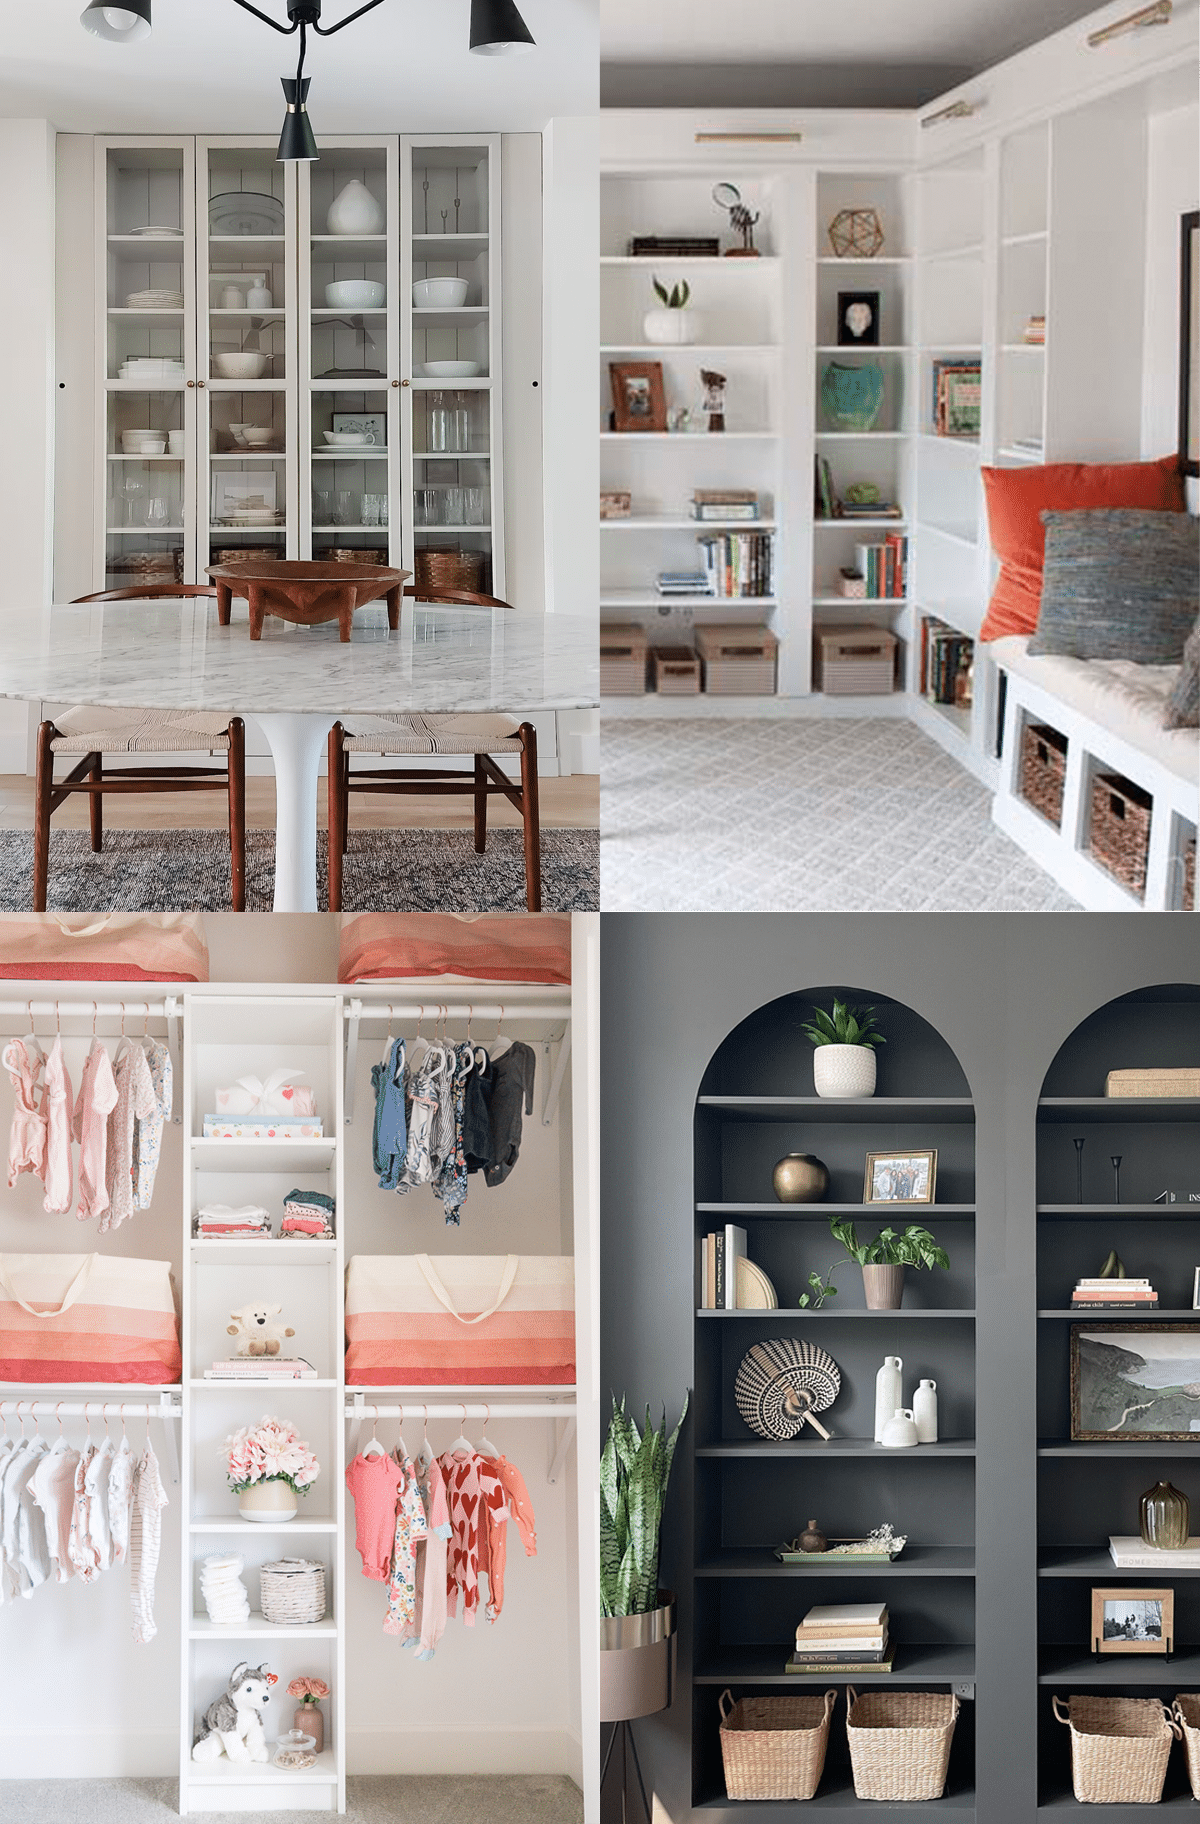
Easy IKEA Billy Hacks Anyone Can DIY at Home
Get inspired by clever IKEA Billy hacks for living rooms,…
Continue Reading Easy IKEA Billy Hacks Anyone Can DIY at Home
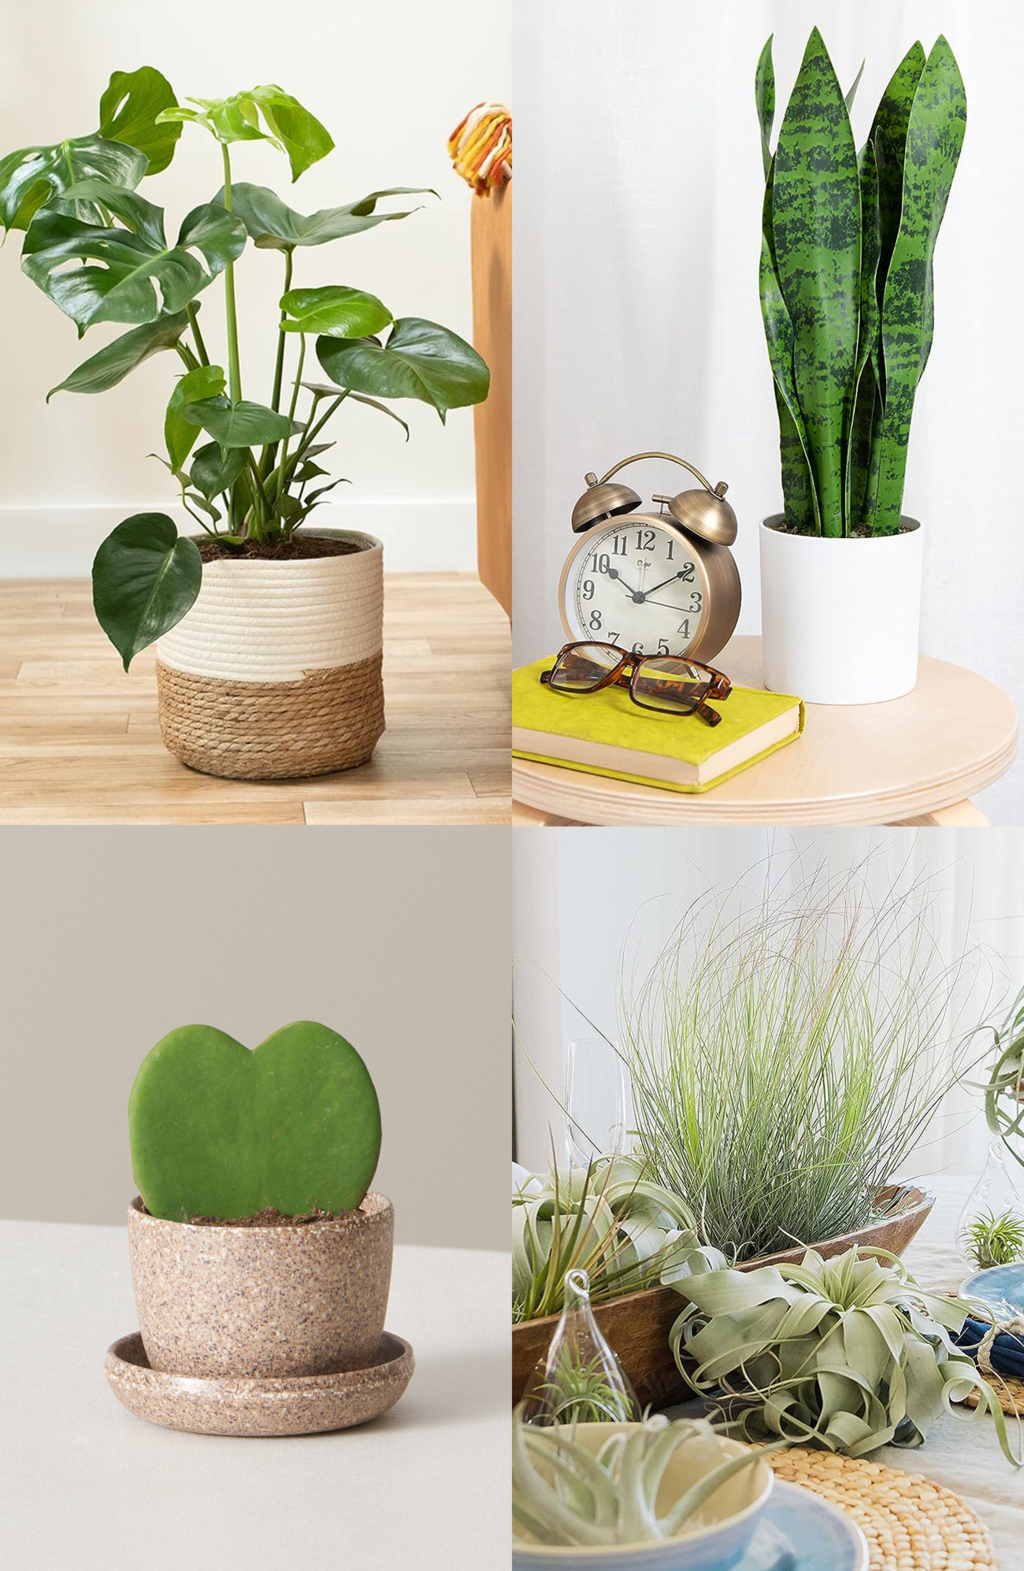
19 Unique & Easy Houseplants that We’re Loving
Looking for unique house plants? Dive into our guide to…
Continue Reading 19 Unique & Easy Houseplants that We’re Loving
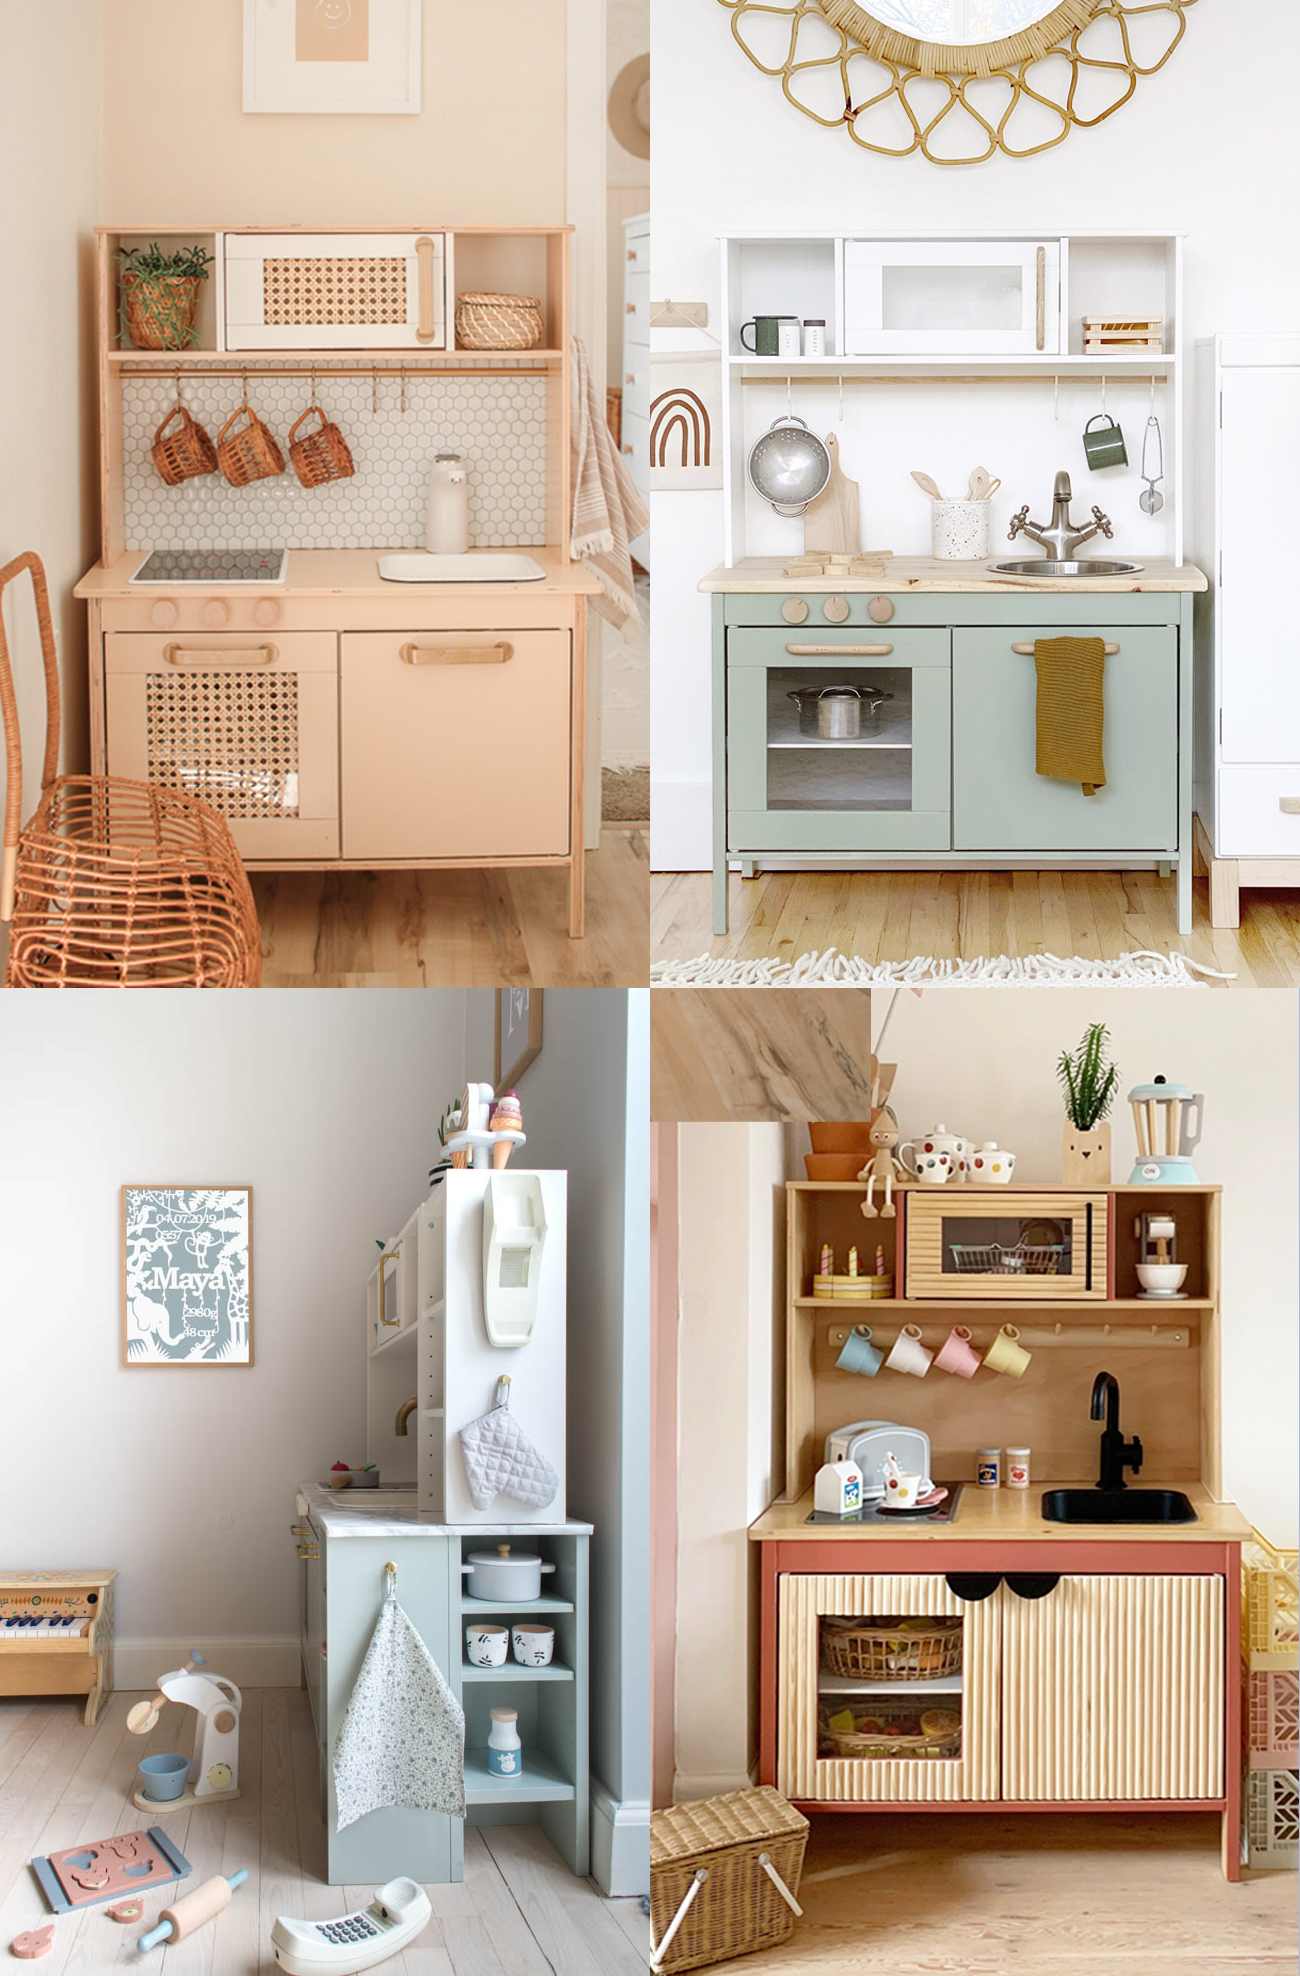
DIY Ikea Play Kitchen Hacks to Make it One-of-a-Kind
Take your child’s pretend play to the next level with…
Continue Reading DIY Ikea Play Kitchen Hacks to Make it One-of-a-Kind
Please note that we may earn a commission for some of the above affiliate links. However, products featured are independently selected and personally well-loved by us!
Where do we source the metal knife parts?
Hi Mike! Great question. We just updated the post with links in the materials and tools section. We had better luck online. Etsy and Walmart has a lot of options. Amazon has a few. Hope this helps!
This is such a cool idea Erin! The handles look beautiful and I love the color blue you chose: it has a nice balance of chic and rustic.
Any ideas for a matching cheese board?
Could this spreader kit be used with wine corks? If so, would you also buy the bolsters or would you just glue them into the cork?
Love this DIY!
Tag your project with #mysugarandcloth if you decide to make it!
I love the handles you made! They’re perfect!
Paige
http://thehappyflammily.com