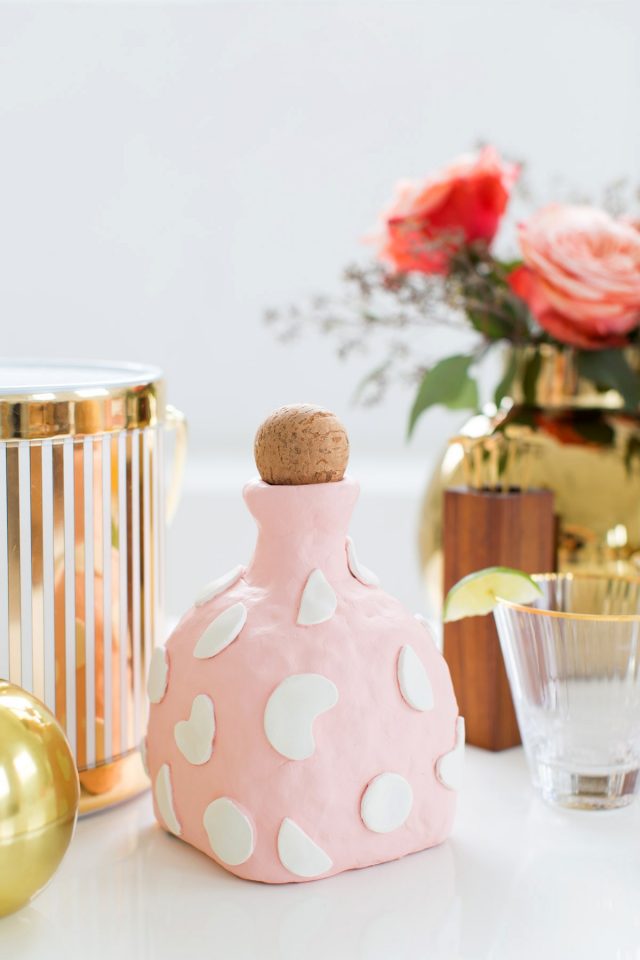
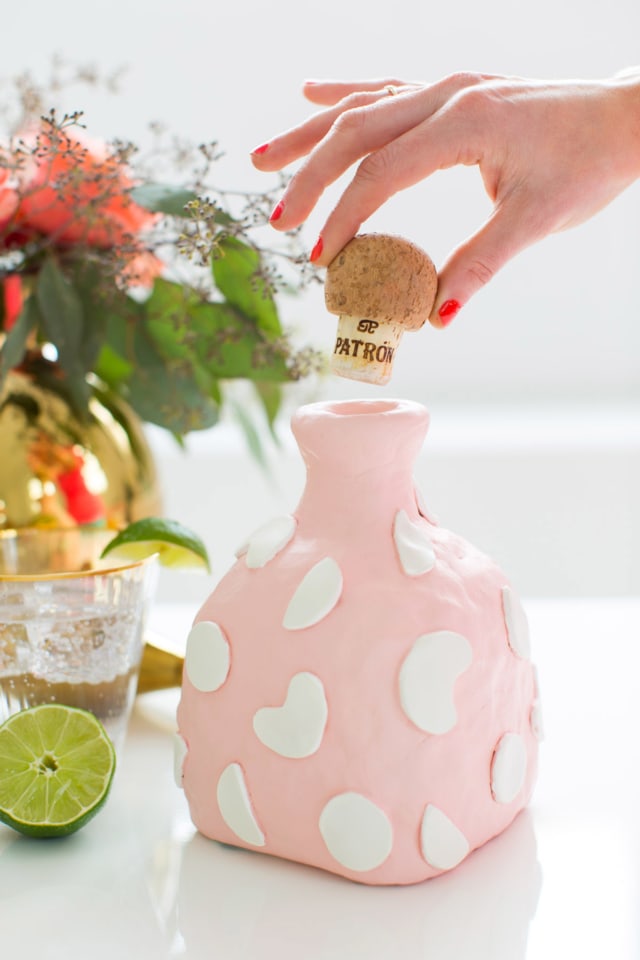
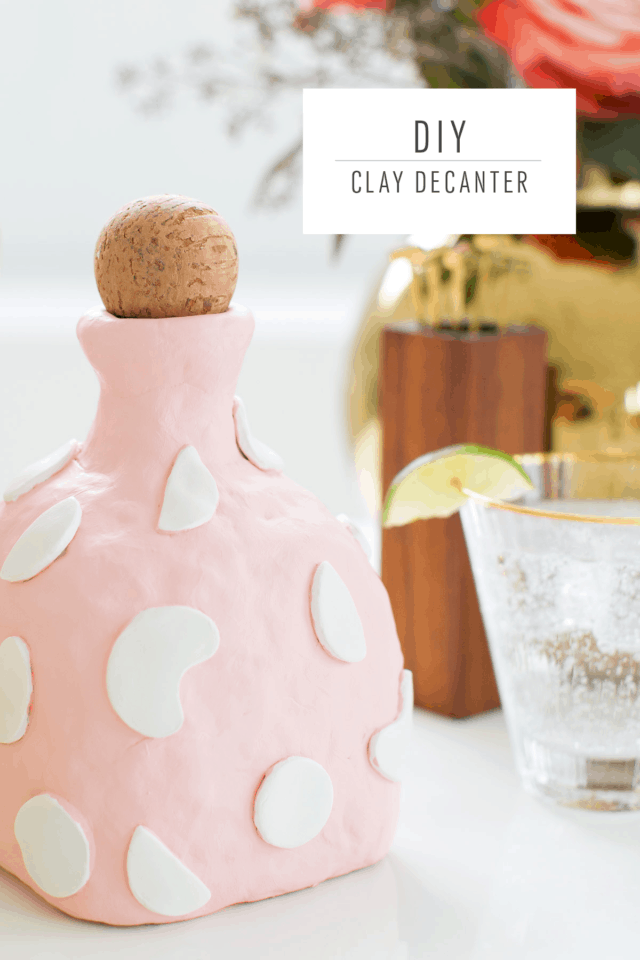
DIY Clay Decanter
The only thing better than a super cute DIY Clay Decanter is one that you can make out of something you already have on your bar cart.
If you were one of the kids that took school art competitions verrrrry seriously like me, then you’re going to love today’s post!
We’re making a DIY Clay Decanter as part of Patrón’s “Art of Patrón” Bottle Art Competition. Because who doesn’t like a healthy dose of competitiveness to spice up their weekend DIY’ing?
That and the fact that you know we’re always down to prep the bar cart with another pretty thing, and even better when you can up-cycle a bottle you’ve already bought for the occasion.
Turns out that I’m still no clay artist though. It took me several tries to get a result I was happy with while also making sure the clay didn’t crack while it dried.
Alas, I’m going to share my air dry clay tips to save you some time. Here’s how we made ours —
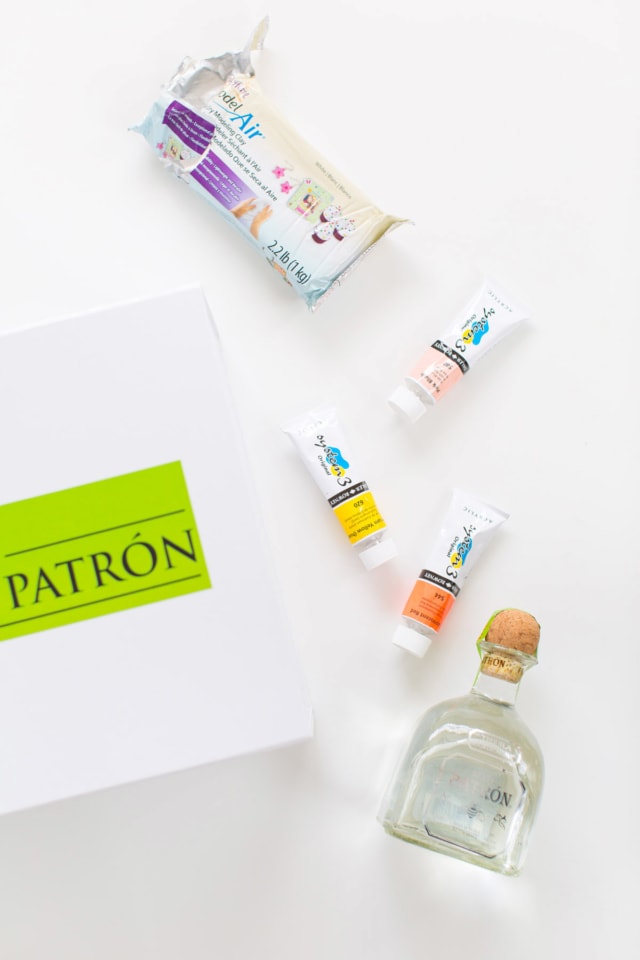
Materials and Tools Needed To Make A DIY Clay Decanter
Cup of water
Clean glass Patrón bottle
Petite four cutters — Optional for shapes
Acrylic paints of your choice — Optional if you’re painting the final look
How to Make a DIY Clay Decanter
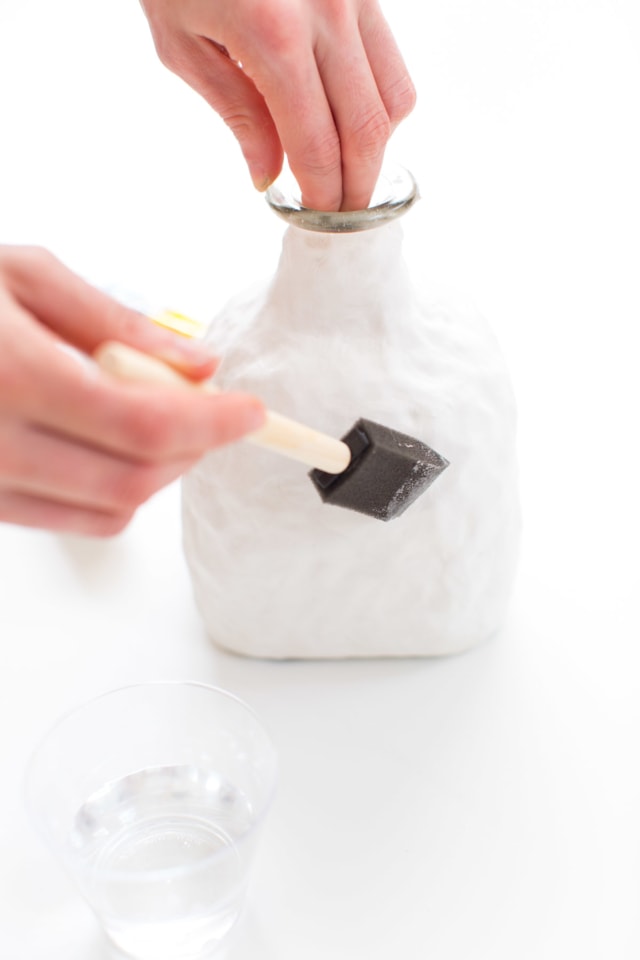
Step 1 — Starting with your empty glass bottle, apply thick layers of the clay in sections pressing down firmly to blend them together.
Make sure to leave the top of the bottle last so that you have something to grip when you’re blending and placing the clay.

I liked the look of the unfinished clay surface, but if you’d prefer yours to be smoother, you can intermittently use a wet foam brush to moisten the clay and smooth the surface with your fingers.
I also made sure to make the clay go down to the edge of the glass bottom but didn’t cover the bottom so that it had a nice even surface.
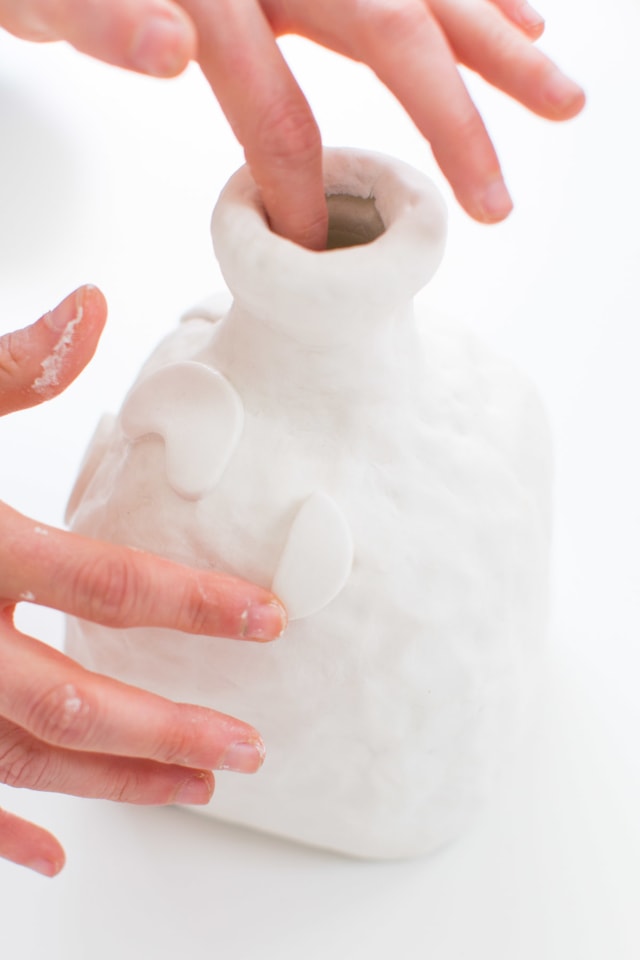
Step 2 — Once you’ve covered the majority of the bottle, you can finish the top lip.

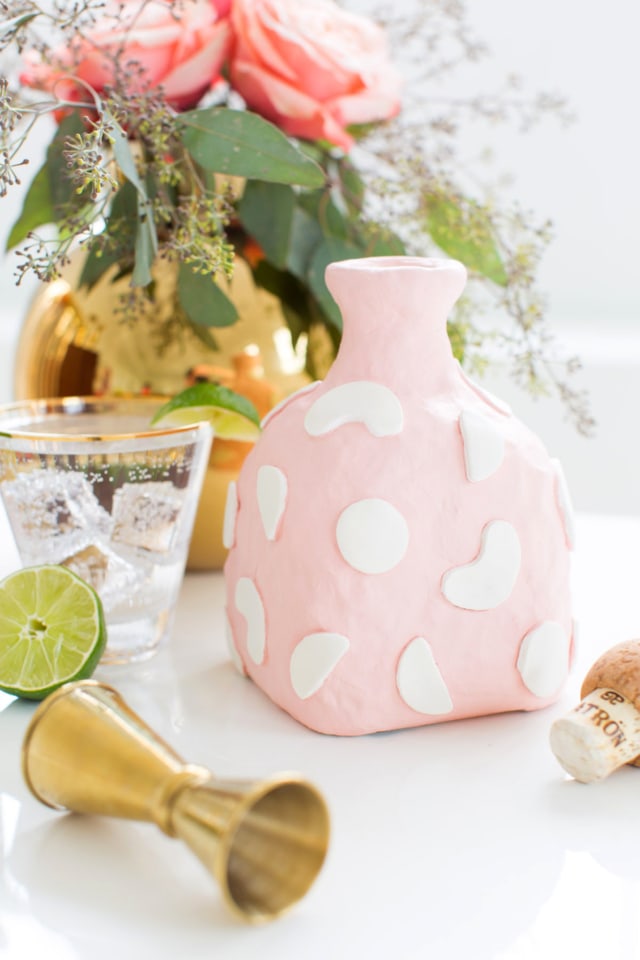
To add a little extra pizazz, I cut out shapes using petite four cutters to place around the bottle.
Step 3 — Let the clay dry for at least 24 hours, making sure it dries slowly.
If it dries too quickly you’ll get cracks in the clay. To avoid this, you can wrap the finished piece in plastic wrap so that moisture evaporates really slowly.
This means you’ll also have to wait quite a few extra days for the piece to dry completely.
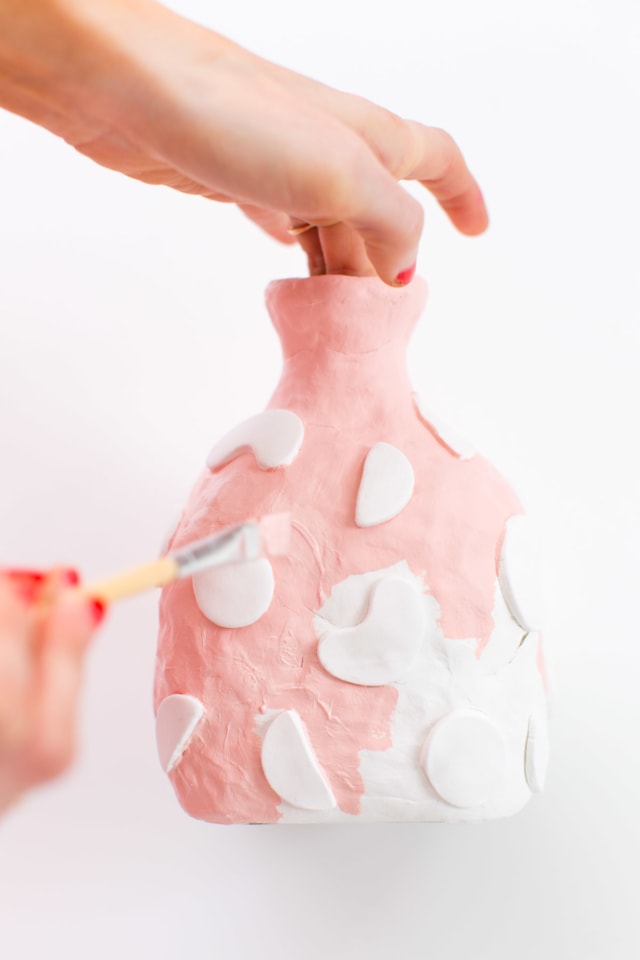
Step 4 — When it’s completely set, you can use acrylic paints to cover some or all of the pieces.
Step 5 — Next, you’ll spray the entire bottle with a coat of spray shellac — a food-safe sealant— making sure to NOT spray inside the bottle.
To avoid spraying inside the bottle, I stuffed a ball of paper napkins in the top.
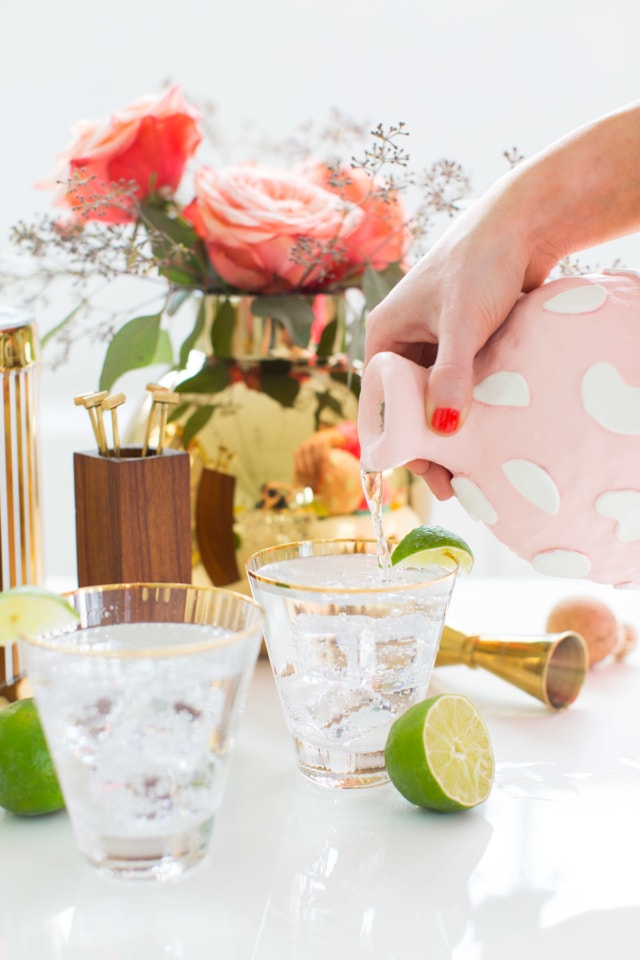
Now you have a completely food-safe, custom decanter for your next party!
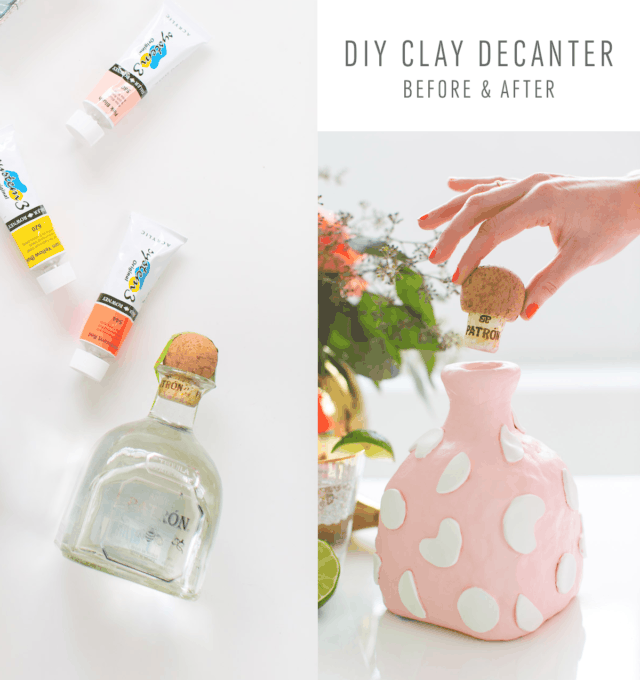
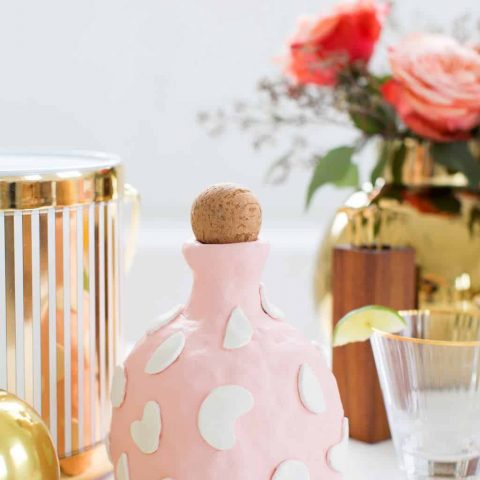
Last but not least, you can fill your decanter with any of your party favorites for a bar cart statement piece.
What do you all think? We’re excited to see some of your projects, so be sure to tag us so we can follow along on the competition with you!
More Easy DIY Clay Projects
- DIY Clay Letter Keychain DIY Accessories
- Stunning DIY Clay Rose Marbled Incense Holder
- Speckled DIY Clay Keychain — DIY Home Decor
- How To Make Easy Clay Sculptures For Decor
DIY Clay Decanter
Equipment
- Foam brush
- Petite four cutters optional for shapes
Materials
- Air dry clay
- 1 cup water
- 1 liquor glass bottle empty and clean
- Gloss shellac
- Wax paper
- Acrylic paint optional in color(s) of your choice if you’re painting the final look
Instructions
- Starting with your empty glass bottle, apply thick layers of the clay in sections pressing down firmly to blend them together.Make sure to leave the top of the bottle last so that you have something to grip when you’re blending and placing the clay.We love the look of the unfinished clay surface. But if you’d prefer yours to be smoother, you can intermittently use a wet foam brush to moisten the clay and smooth the surface with your fingers.Make sure to make the clay go down to the edge of the glass bottom, but didn’t cover the bottom so that it had a nice even surface.
- Once you’ve covered the majority of the bottle, you can finish the top lip. To add a little extra pizazz, cut out shapes using petite four cutters to place around the bottle.
- Let the clay dry for at least 24 hours, making sure it dries slowly.If it dries too quick you’ll get cracks in the clay. To avoid this, you can wrap the finished piece in plastic wrap so that moisture evaporates really slowly.This means you’ll also have to wait quite a few extra days for the piece to dry completely.
- When it’s completely set, use acrylic paints to cover some or all of the pieces.
- Spray the entire bottle with a coat of spray shellac — a food safe sealant— making sure to NOT spray inside the bottle. To avoid spraying inside the bottle, stuffed a ball of paper napkins in the top.


Please note that we may earn a commission for some of the above affiliate links. However, products featured are independently selected and personally well-loved by us!
i dont know that my skills are food enough for a contest, but im totally going to buy some patron for our labor day party so i can make these afterwards! The citronage One would be a cute shape too
You’ve got this!
Such a fun idea! I love the clay decanter idea – I don’t have one at home yet (crazy, I know), so maybe I’ll make one!
You need to make your own! Perfect for a bar cart display :)