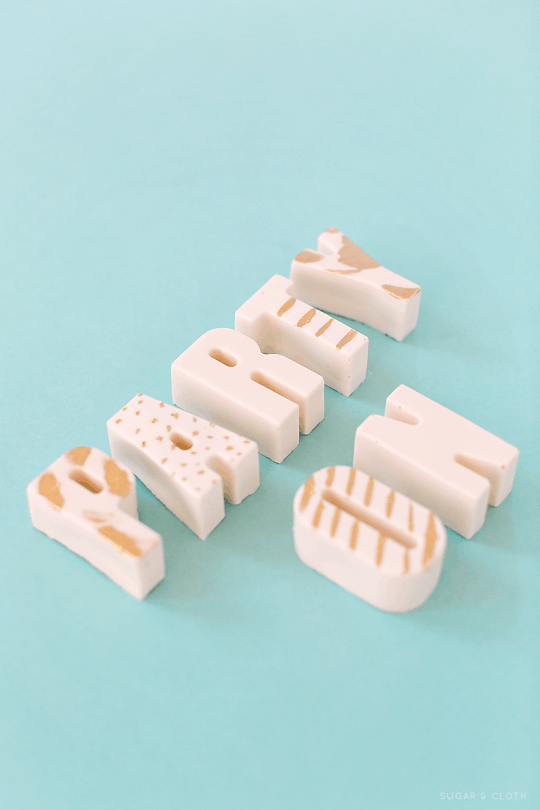
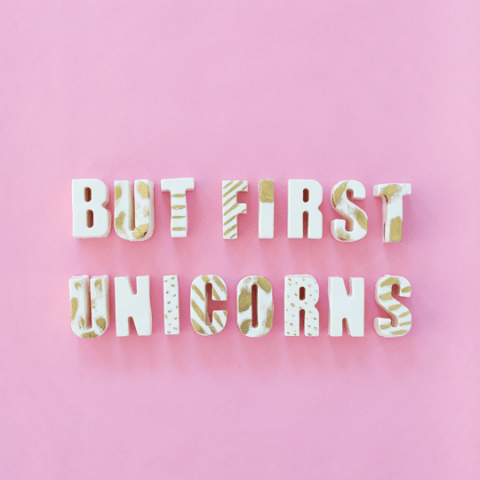
DIY Edible Chocolate Messages
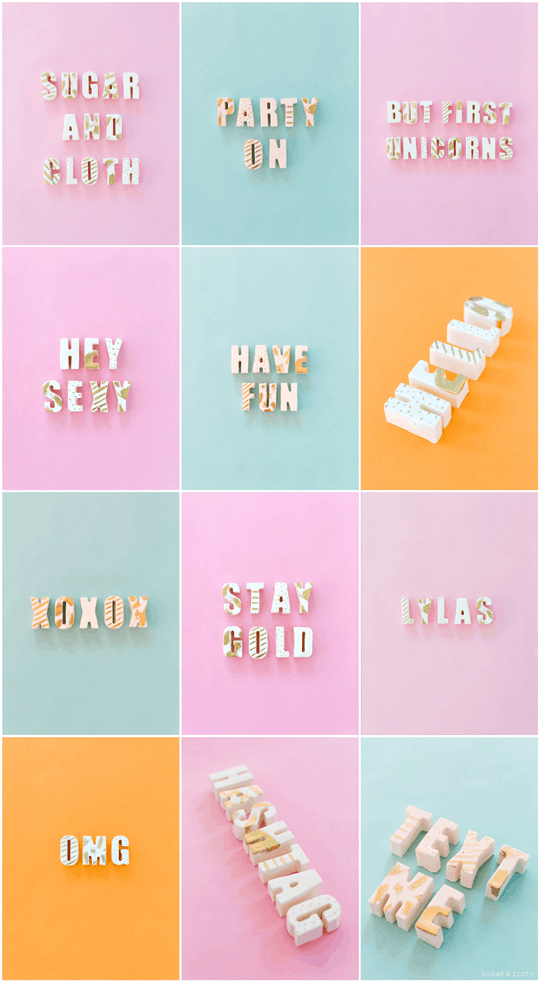
Say everything you need to, plus a little extra somethin’ with DIY Edible Chocolate Messages. This is great for wedding favors and corporate gifts.
The next time someone asks us what our favorite pastime is, we’ll tell them we color on food just to see what kind of reaction we get.
If that doesn’t work, we’ll go all wallet-sized yearbook photos on them and whip out a mini portfolio from our bag.
And talk about all our food craft projects longer than a crazy cat lady with a new kitten (also, us, apparently).
The sad part is it’s truer than we’d like to admit (sans the wallet prints for now).
But what the hey, you only live once! So we’re going to freakin’ paint my desserts if we want to.
And I have one too many times as we did with these DIY Gradient Message Macarons and Abstract Watercolor Painted Cake.
Alas, these DIY Edible Chocolate Messages take a little too long to write an entire love note (or about your entire love affair with painting food).
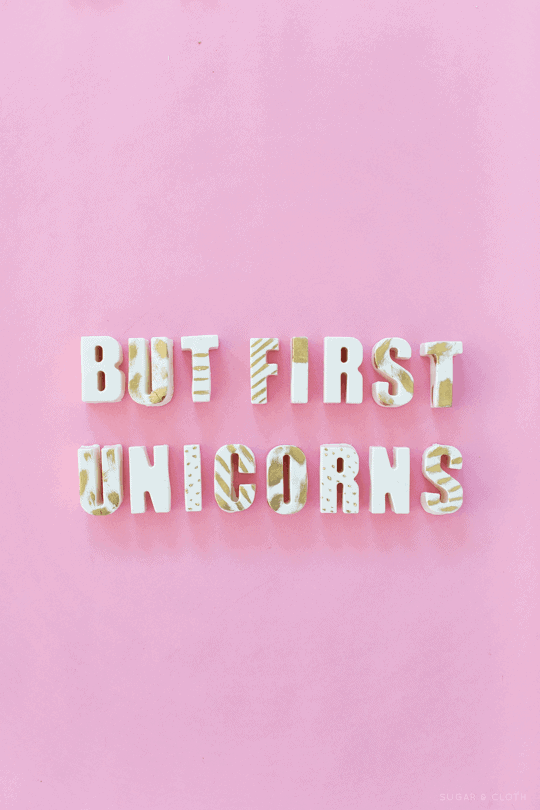
Perhaps this edible chocolate will make a cute and quirky gift for your loved one on Valentine’s Day.
But they get the short and sweet messages across loud and clear.
Also, if you have a Dad like ours, you’ll get to use the most perfect infomercial purchase of all time for them too…
What is Tempering?
Tempering chocolate is a process of heating and cooling chocolate to achieve the desired sheen, snap, and flavor.
It is important to temper chocolate correctly, or else the chocolate will be dull, crumbly, and have an unpleasant flavor.
There are two methods of tempering chocolate: tabling and seeding.
Tabling
Tabling is the most common and simplest method of tempering chocolate.
It involves melting the chocolate, then cooling it until it forms a thick paste.
The chocolate is then placed on a marble slab or another cool surface and stirred until it reaches room temperature.
The chocolate is then ready to use.
Seeding
Seeding is a more advanced method of tempering chocolate.
It involves melting the chocolate, then adding small pieces of unmelted chocolate (seeds) to the melted chocolate.
The chocolate is then stirred until it reaches room temperature.
The chocolate is then ready to use.
How Do You Know if Chocolate is Tempered?
If you’re not sure whether your chocolate is tempered, there are a few key indicators to look for.
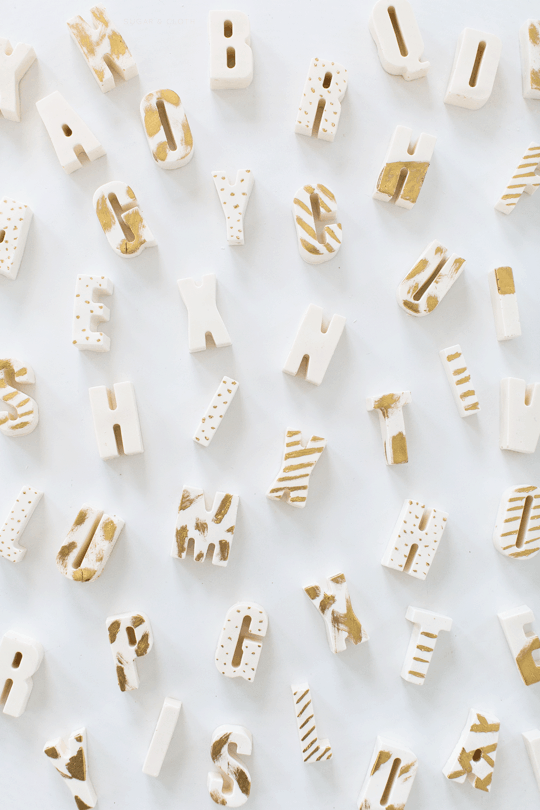
First, try edible chocolate letters:
If they snap easily and have a glossy sheen, the chocolate is tempered. If the chocolate is dull and crumbly, it’s not tempered.
Another way to tell is by looking at the chocolate’s color:
If it’s a deep, dark brown, it’s probably tempered. If it’s lighter in color, it likely isn’t tempered.
Finally, try touching the chocolate to see if it feels firm or soft:
Tempered chocolate should be firm to the touch, while untempered chocolate will be soft.
If you’re still not sure, the best way to know for sure is to test the chocolate’s tempering point with a candy thermometer:
Tempered chocolate should be between 80-90 degrees Fahrenheit.
Ingredients Needed to Make DIY Edible Chocolate Messages
White chocolate baking chips — For melting
Edible food paint — We used metallic dark gold food paint.
Tools Needed to Make DIY Edible Chocolate Messages
NuWave Induction Cooktop — You can melt the chocolate on a stovetop. But an induction cooktop makes this DIY 20x easier, and you’ll see why below.
Food dedicated paint brush
How to Make DIY Edible Chocolate Messages
Step 1 — First, you’ll need to melt your white chocolate chips either by microwave, double boiling, or tempering the chocolate.
This is a great article on the different ways to melt chocolate.
My Dad actually bought me a NuWave Induction Cooktop for the studio since we don’t have full-size appliances. And it has been a GAME CHANGER.
It’s seriously the easiest way to melt chocolate ever (studio or no studio) because you just set it too low.
And then, it keeps it at the perfect temperature forever without it burning.
It’s the single greatest thing that has happened to my kitchenette chocolate habit; not even joking.
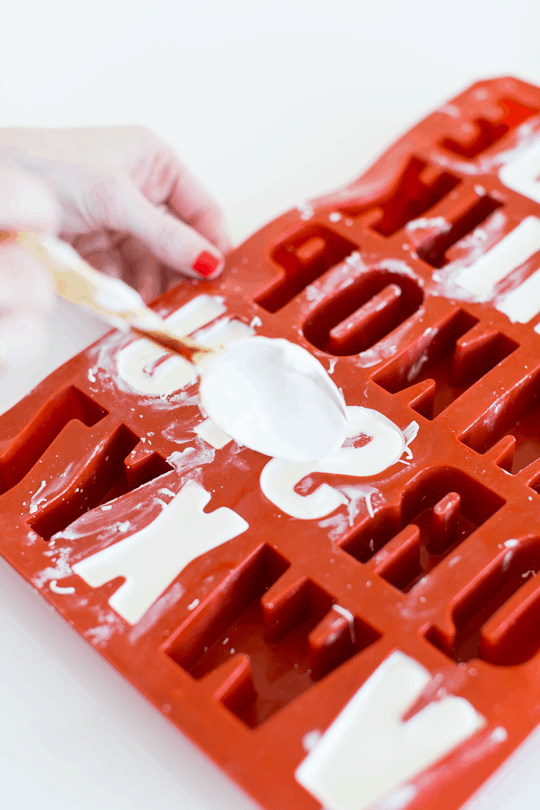
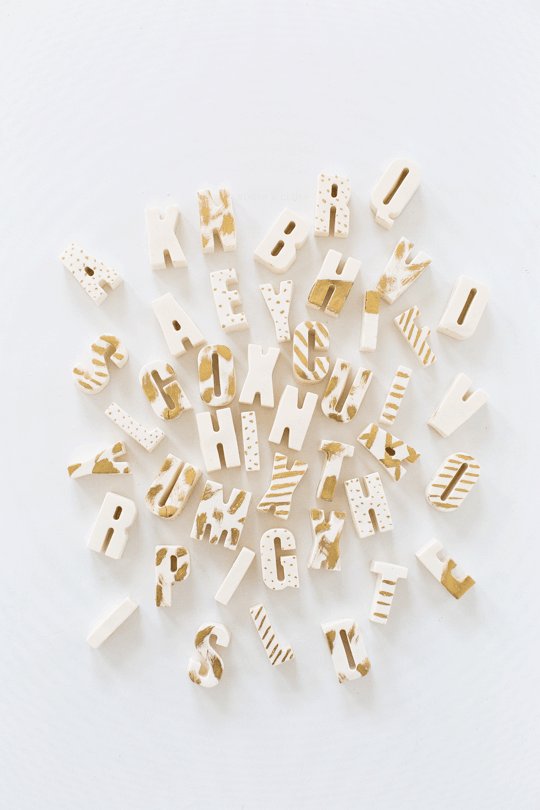
Step 2 — Once your chocolate is evenly melted, spoon it into each letter you’re going to make.
Be sure that the chocolate doesn’t go past the top of silicone on each letter, or else they won’t lay flat.
Also, save yourself some major time by jotting down the phrases you’ll be making first, so you know how many T’s, I’s, and Q’s you need or don’t need first.

Step 3 — Gently wiggling the mat to ensure all of the air bubbles are out of the chocolate you just spooned in is a good idea so that the letters come out uniform instead of like craters on the fronts.
Step 4 — Let them cool completely.
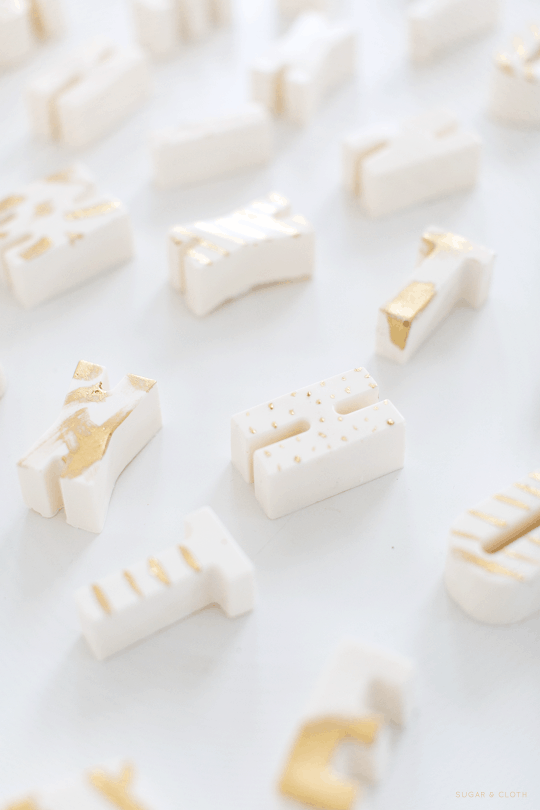
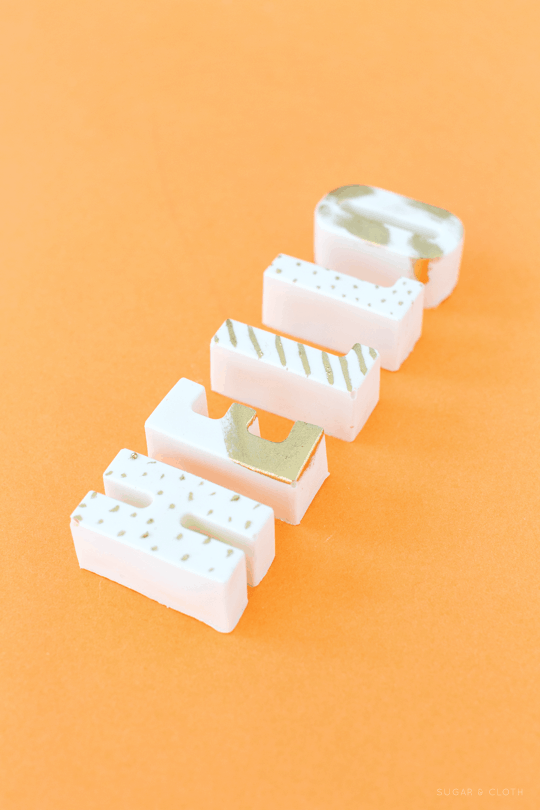
Step 5 — Then, take each letter out by peeling the mat back away from the chocolate.
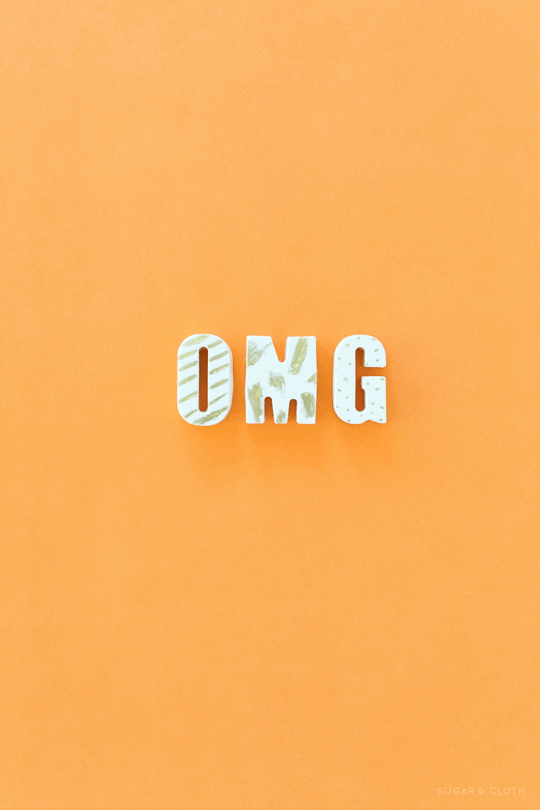
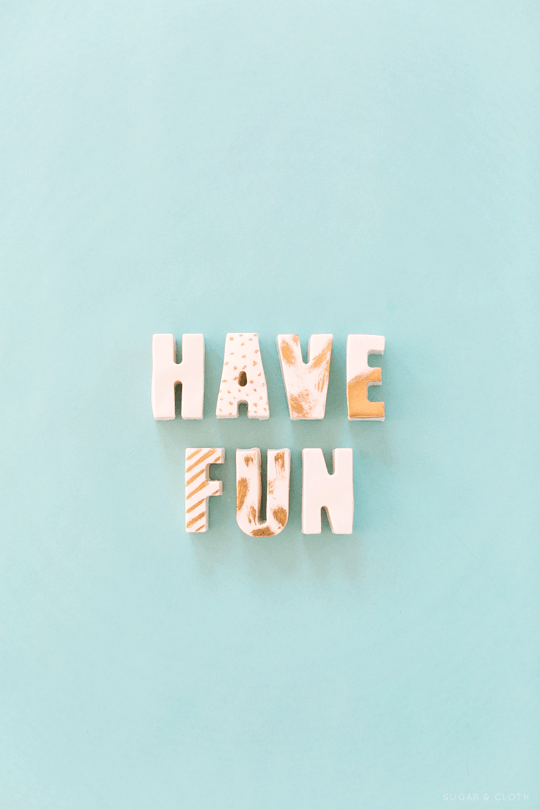
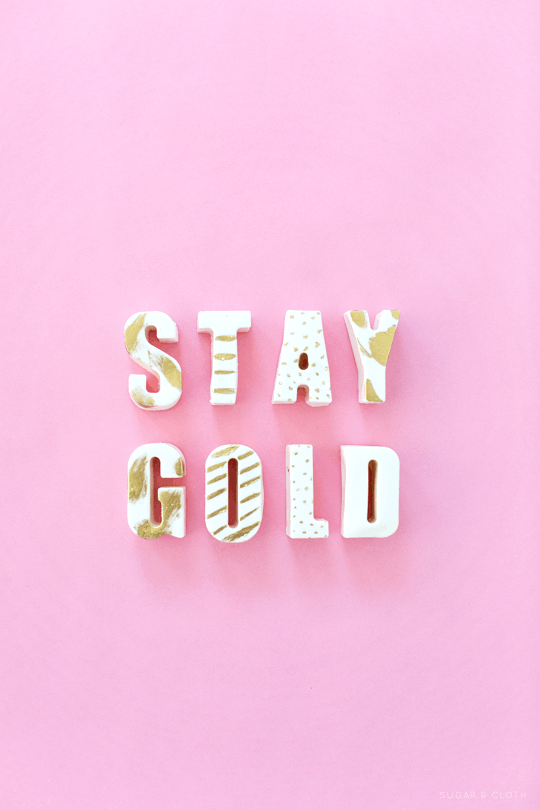
Step 6 — Use your food-dedicated brush to make fun watercolor strokes or patterns on each letter.
Then, they’re ready to gift!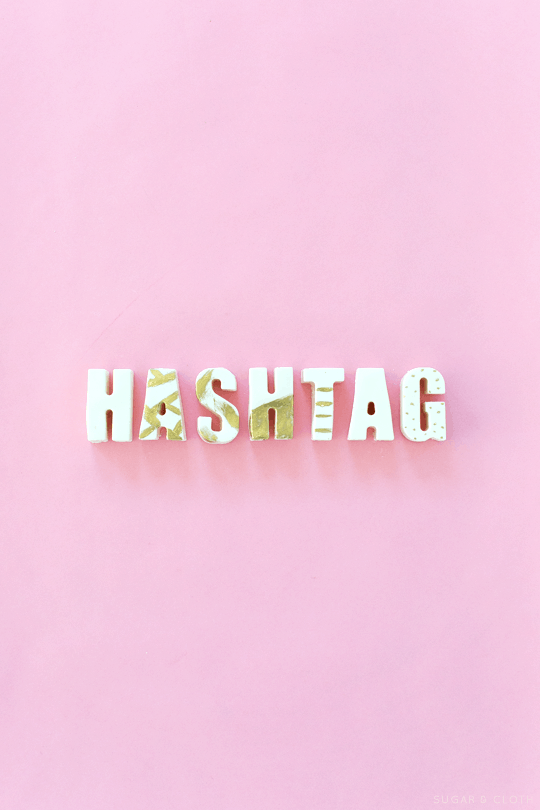
Pro Tips in Making DIY Edible Chocolate Messages
If you’re looking to add a special touch to your next edible chocolate message, consider these pro tips!
– Use high-quality chocolate. This will ensure that your edible letters are both delicious and beautiful.
– Tempering the chocolate correctly is key to getting a smooth, glossy finish. Be sure to follow instructions carefully.
– Experiment with different shapes and sizes of letters to add interest to your edible chocolate message.
– Have fun with it! Edible chocolate messages are a great way to show someone you care. Get creative and enjoy yourself.
This probably goes without saying, but I’d rethink trying to mail these cute phrases in warm climates or leaving them out in places that are super humid or heat ridden.
Otherwise, you’ll just be gifting a REALLY time-consuming puddle of sparkly white chocolate. But hey, to each his own, right?
More Dessert Hacks to Try
If you like this DIY Edible Chocolate Messages, you might also want our favorites below —
- DIY Edible Confetti – How to Make Homemade Confetti
- Edible DIY Layered Cookie Cake Recipe
- Edible Flower Lemon Jello Shots Recipe
Equipment
- Silicone alphabet mold
- NuWave Induction Cooktop
Ingredients
- White chocolate baking chips
- Edible food paint
Instructions
- Melt your white chocolate chips either by microwave, double boiling, or tempering the chocolate.
- Once your chocolate is evenly melted, spoon it into each letter you’re going to make.Be sure that the chocolate doesn’t go past the top of silicone on each letter, or else they won’t lay flat.Also, save yourself some major time by jotting down the phrases you’ll be making first. This way, you'll know how many T’s, I’s, and Q’s you need or don’t need first.
- Gently wiggle the mat to ensure all of the air bubbles are out of the chocolate you just spooned in.This is a good idea so that the letters come out uniform instead of like craters on the fronts.
- Let them cool completely.
- Once cooled, take each letter out by peeling the mat back away from the chocolate.
- Use your food-dedicated brush to make fun watercolor strokes or patterns on each letter.Then, they’re ready to gift!
Nutrition

Don’t forget to share your edible chocolate message with us on Instagram using the hashtag #sugarandclothloves. We always love seeing all of your creations! Looking for more quick and delicious recipes? You can find them all right here with a few dinner ideas to go along with them!


Please note that we may earn a commission for some of the above affiliate links. However, products featured are independently selected and personally well-loved by us!
Hurrah, that’s what I was seeking for, what a stuff!
present here at this website, thanks admin of this site.
So glad you enjoyed the DIY recipe!
You should make these into downloadable desktop wallpapers!!!
Wauw, this is amazing!
AMAZING. PURE. AMAZING.
Seriously so awesome. Makes me thick of the old magnets on the fridge
Oh my goodness, you are a creative genius! I am so in love with this idea and want to immediately start making the alphabet many times over in chocolate! LOVE!!!
Every time I visit I am amazed at your creativity!!!
Carrie
http://www.wearwherewell.com
How fun! I just came across your blog on Pinterest from the stikboard post, I love it, its so clean even though its ‘full’. Its a breath of fresh air! :)
These are SO amazing, Ash! Love them!!! Especially ‘But First Unicorns.’
Best idea I’ve seen this year! I’m in LOVE! :) SOOOOO well done!