Gilded Gemstone Popsicles Recipe
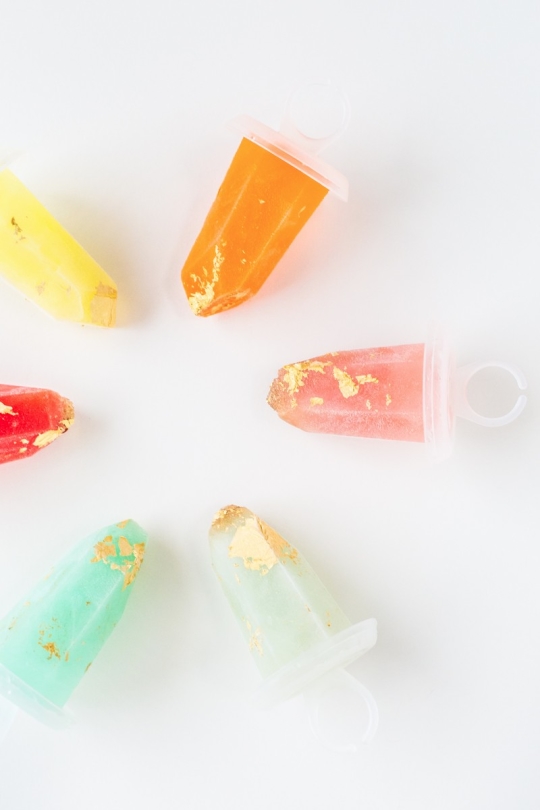
Sharing our guide on how to make Gilded Gemstone Popsicles adorned with edible gold, making for a magical and visually stunning treat.
Unleash your creativity and add a touch of opulence to your frozen treats with our mesmerizing recipe for Gilded Gemstone Popsicles.
And technically, this is more like a craft recipe hack because we used lemonade and Kool-Aid for the popsicles. Embellished with the allure of edible gold, these popsicles are not only a feast for the taste buds but also a feast for the eyes.
Whether you’re planning a luxurious party or simply want to indulge in some edible magic, follow our step-by-step guide to create these exquisite and Instagram-worthy gemstone popsicles that will leave everyone in awe.
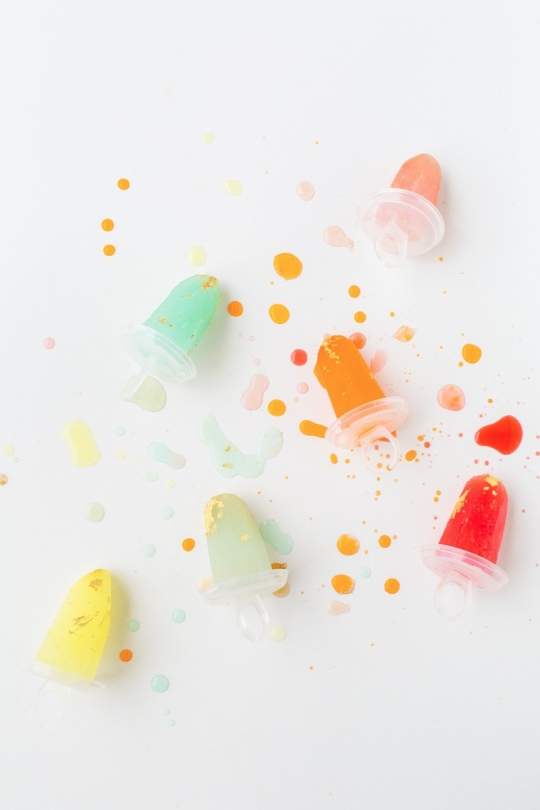
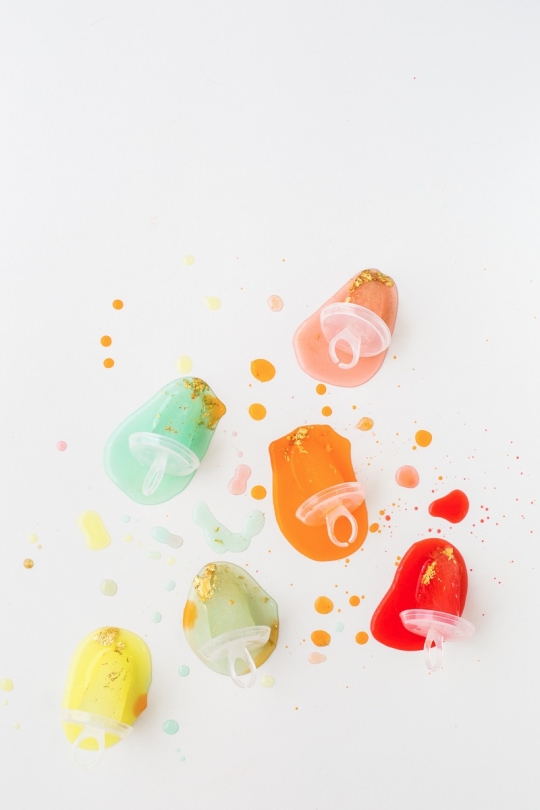
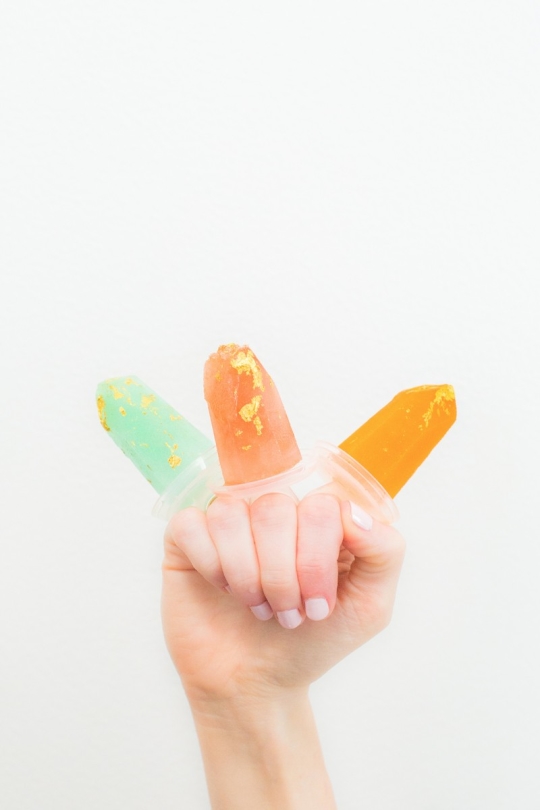
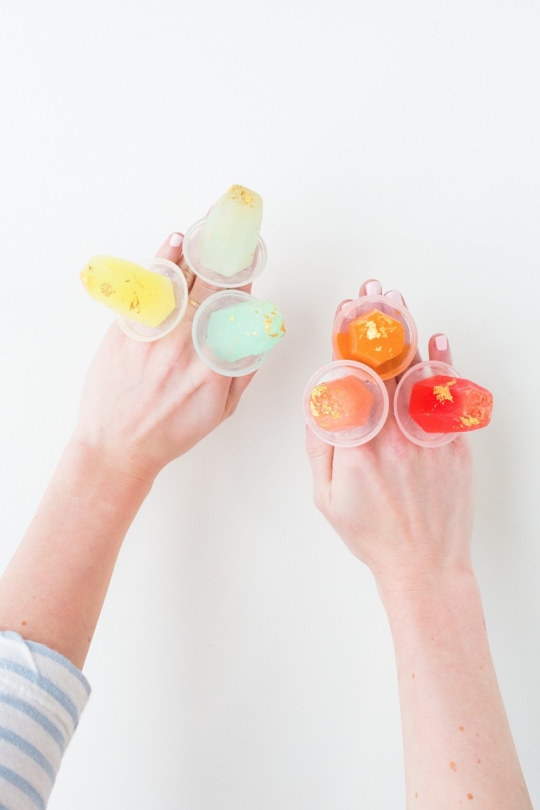
So get ready to take your summertime treats to a whole new level of elegance and enchantment! And did we mention these were also ring pop style?
Materials and Tools Needed
- Gemstone popsicle ring molds — The exact ones we used are currently sold out, but this jewel ring ice pop mold is very similar. There are also some larger gemstone popsicle molds or diamond shaped molds with for sticks.
- Lemonade, Kool-Aid, fruit juice or your own homemade popsicle recipe — Some of our popsicles are simply frozen lemonade (with added food coloring). Others are frozen Kool-Aid.
- Edible gold leaf
- Dedicated food brush or tweezers
- Optional: Food coloring
- Optional: Edible gold glitter
What is Edible Gold?
In case you’re wondering, are these popsicles actually made of gold? Yes, indeed they are and all thanks to edible gold leaf. The ones we used in particular are made of genuine 23-karat gold.
Edible gold is a food additive. It is biologically inert so it has no benefits or negative effects when ingested.
We purchased them in a large pack since there are so many other cool things that you can do with edible gold. We also used them to make champagne jello shots, edible gold macarons, a flower pot cake and more.
If you are using gold leaf for a food project, make sure to purchase one that specifically states that it is edible and safe for consumption. Because there are gold leaf sheets sold for purely craft purposes.
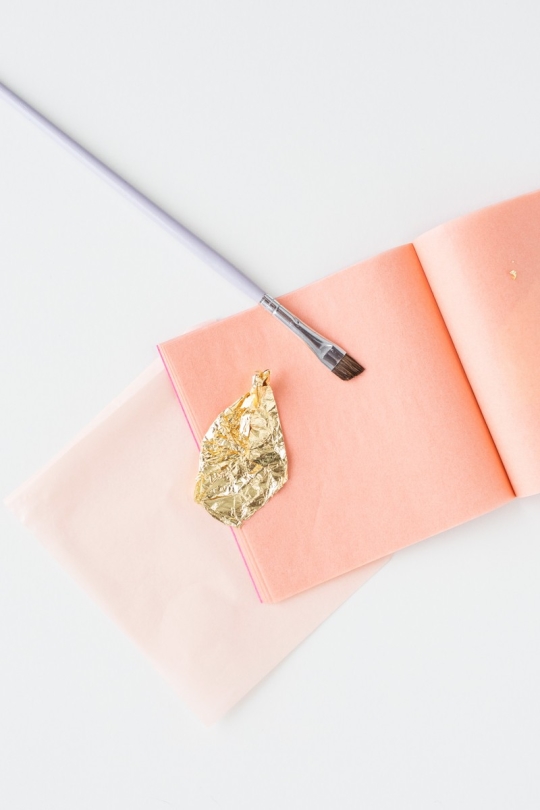
Gold leaf sheets are delicate, so handle it with care to avoid tearing or wrinkling.
It’s really helpful to apply it with a fine thin brush or tweezers, dedicated just for food. And remember that a little goes a long way.
It also helps to light wet the surface first with your brush before applying the gold leaf. This way, the sheet will stick better. Simple syrup could also work.
How to Make Homemade Popsicles
1 — Optional: Add 1-2 drops food coloring to get those vibrant colors into your juice. We made different flavors with Kool-Aid and lemonade juice. Sprinkle edible gold flakes or dust into the juice for some shimmer and texture. Keep in mind that though it works, it also makes the popsicles fall a part a lot quicker.
1 — Pour the juice(s) into the gemstone popsicle molds.
3 — Insert popsicle sticks into the molds, ensuring they are centered and stand upright.
4 — Place the molds in the freezer and allow the popsicles to freeze completely. This typically takes 4-6 hours or overnight.
5 — Once fully frozen, gently remove the popsicles from the molds. If needed, run the molds briefly under warm water to loosen the popsicles.
This is a very easy and simple way to make homemade popsicles. If you’re feeling adventurous, try these delicious Peaches and Cream Popsicles and Whole 30 Tropical Popsicles.
Tips & How to Add Gold to Your Popsicles
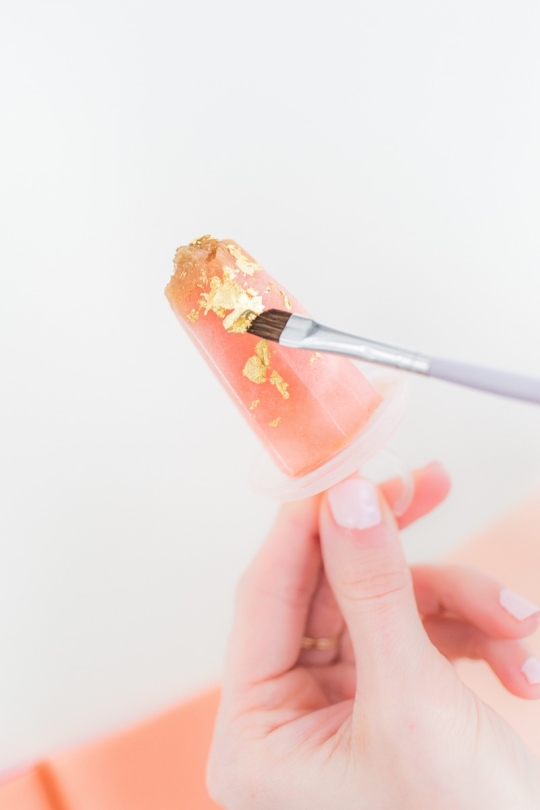
1 — Let the popsicles thaw slightly to create a damp surface. This will help the gold adhere more easily. Or lightly wet your brush or tweezers.
Pick up a piece of gold leaf with a food-safe brush or tweezers. Gently place it onto the slightly melted surface of the popsicle.
3 — If using gold flakes, delicately sprinkle them onto the popsicles. If using gold dust, dip a food-safe brush into the dust and gently apply it to the popsicles.
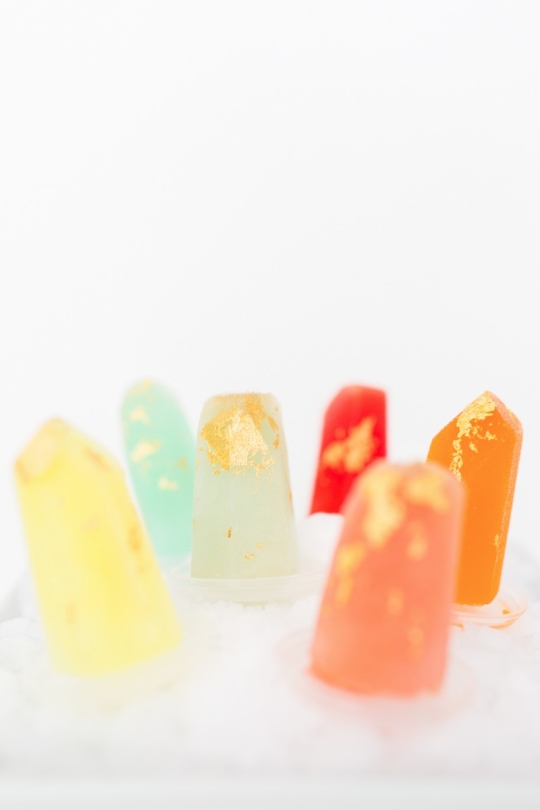
4 — Choose whether you want to highlight the edges, create a scattered effect, or cover specific areas with gold. This allows for customization and creativity.
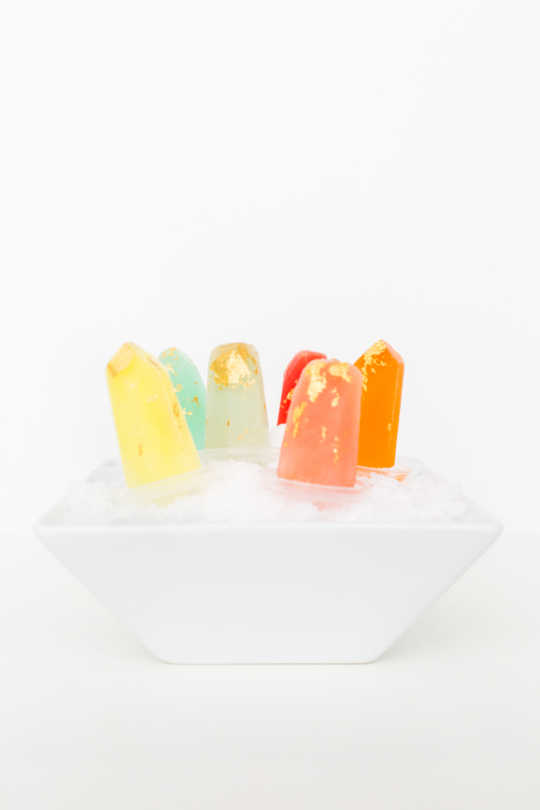
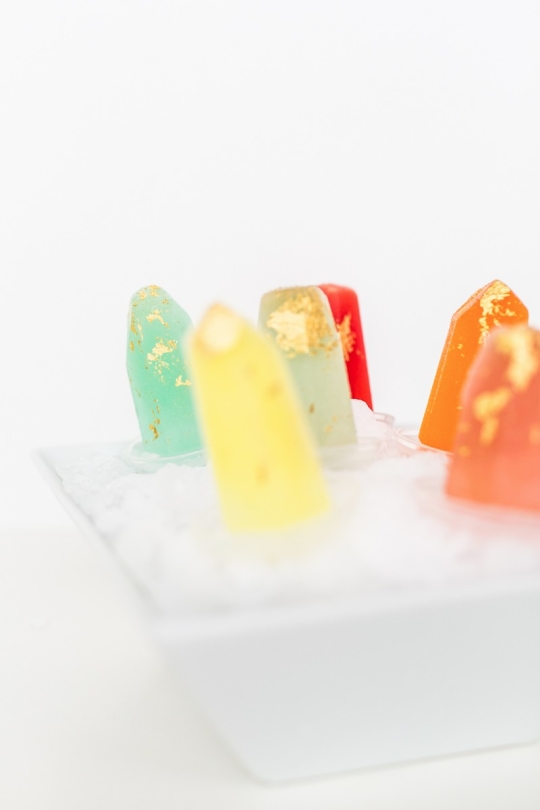
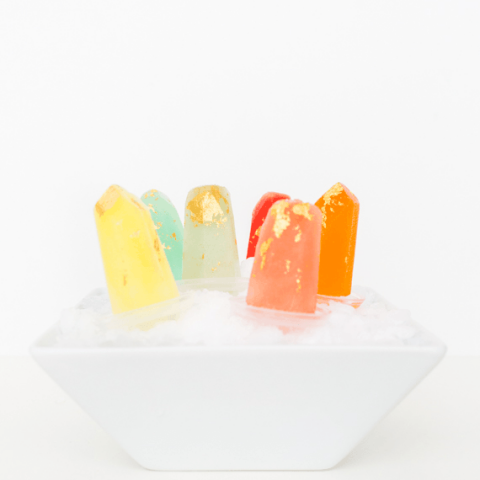
6 — Once you’ve added the desired amount of gold, return the popsicles to the freezer until they are fully solid again. Be sure not to lay the popsicles flat on their sides when you put them back in the freezer. Either put them back in the molds or store them upright in a bowl of crushed iced so that they keep their shape.
Different Ways to Serve Your Popsicles
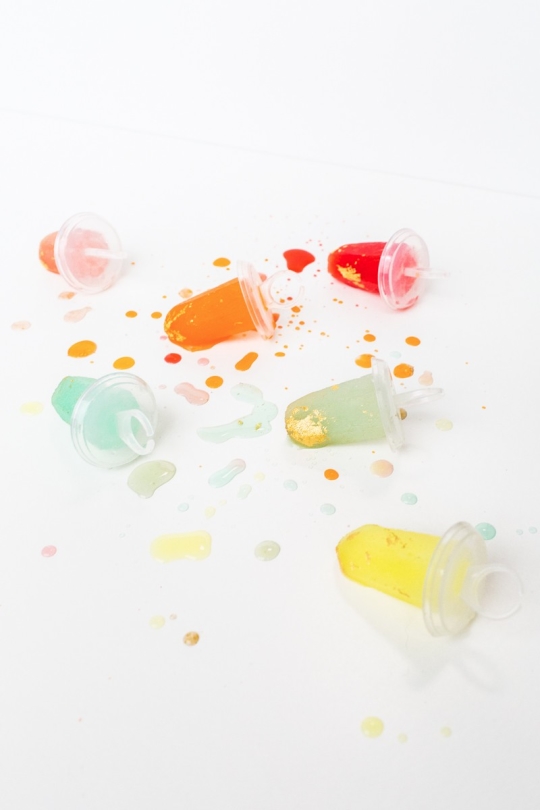
As with all frozen treats, it’s best to serve them immediately after taking them out of the fridge. However, these beautiful desserts were originally meant for a party.
And we learned that the hard way on how not to serve them after a gemstone pop casualty or two got crushed.
But now that we’ve realized that a bed of ice is for more than just oysters, we may never go back to serving popsicles from plastic wrap again.
If you do have some popsicle casualties that lose its shape, definitely use the crushed ice to serve your other popsicles on. This is a delicate DIY so we recommend making extras.
More Fun Ways to Use Edible Gold
Once you’ve gotten the hang of working with edible gold, check out other fun ways to incorporate it in the kitchen below —
Equipment
- Gemstone popsicle mold
- Food safe paintbrush or tweezers
Ingredients
- Juice for your popsicle
- 1 edible gold leaf
- Food coloring optional
- Edible gold luster dust optional
Instructions
To make your popsicle:
- Optional: Add 1-2 drops of food coloring for vibrant colors. Sprinkle edible gold flakes or dust into the molds for some shimmer and texture.
- Pour the juice into the gemstone popsicle molds.
- Insert popsicle sticks into the molds, ensuring they are centered and stand upright.
- Place the molds in the freezer and allow the popsicles to freeze completely. This typically takes 4-6 hours or overnight.
- Once fully frozen, gently remove the popsicles from the molds. If needed, run the molds briefly under warm water to loosen the popsicles. Let the popsicles thaw slightly to create a damp surface. This will help the gold adhere more easily. Or lightly wet your brush or tweezers.
To add the edible gold:
- Pick up a piece of gold leaf with a food-safe brush or tweezers. Gently place it onto the slightly melted surface of the popsicle. Choose whether you want to highlight the edges, create a scattered effect, or cover specific areas with gold. This allows for customization and creativity.
- If using gold flakes, delicately sprinkle them onto the popsicles. If using gold dust, dip a food-safe brush into the dust and gently apply it to the popsicles.
- Once you’ve added the desired amount of gold, return the popsicles to the freezer until they are fully solid again.
Nutrition
Notes

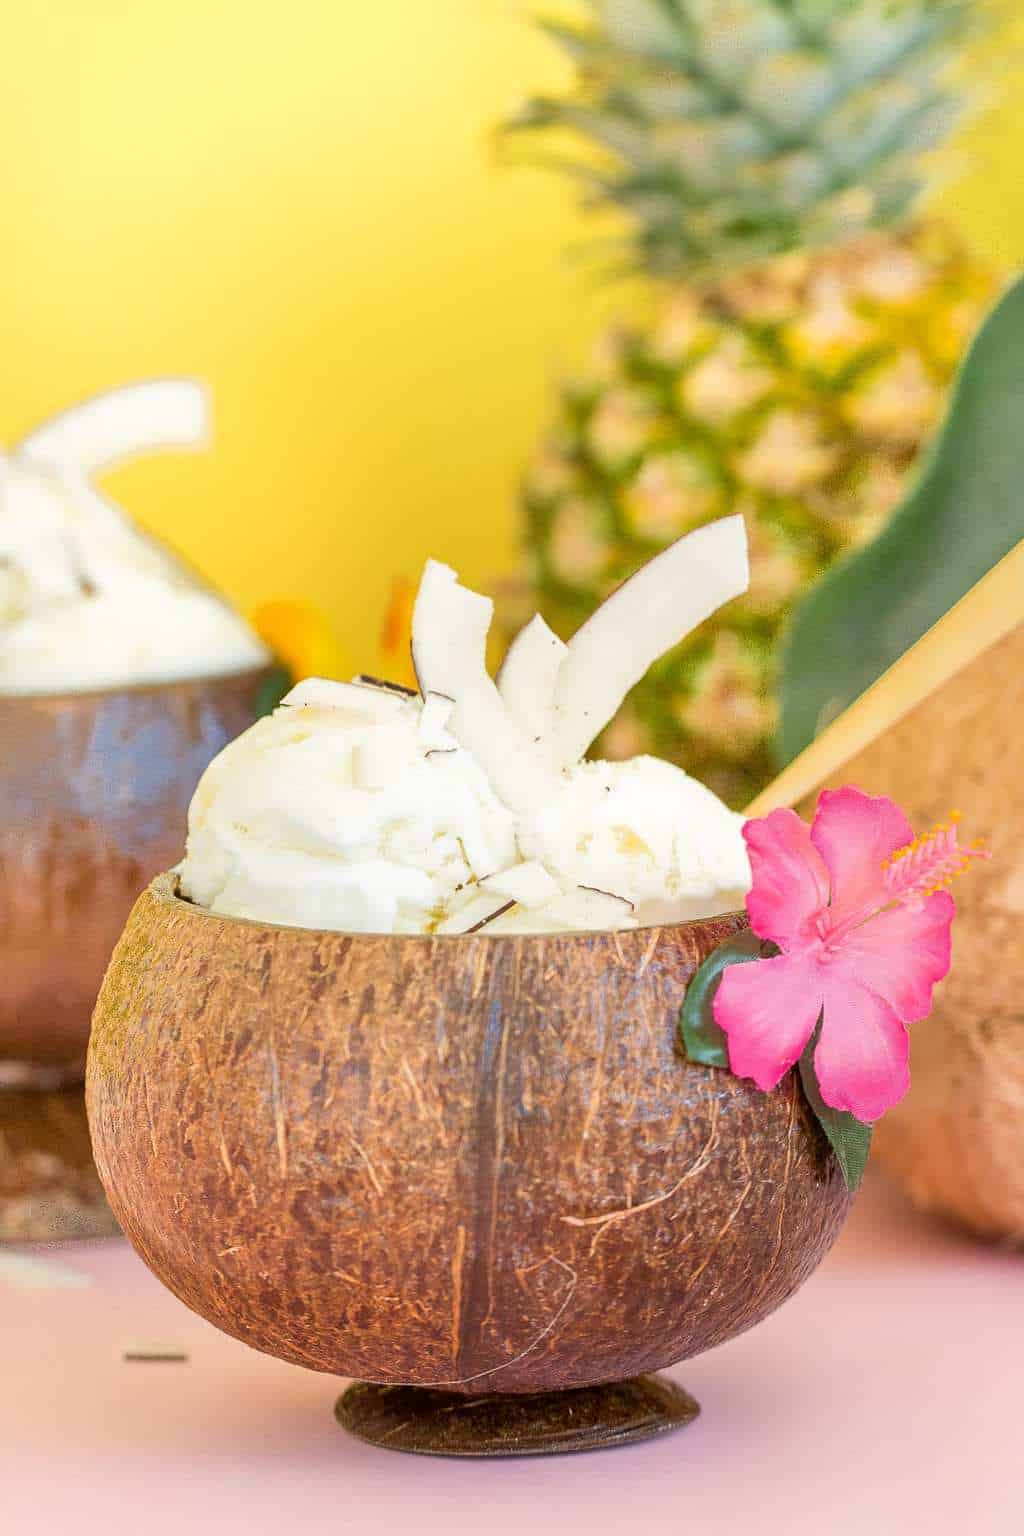
No Churn Pineapple Coconut Ice Cream
Make this creamy no-churn Pineapple Coconut Ice Cream with just…
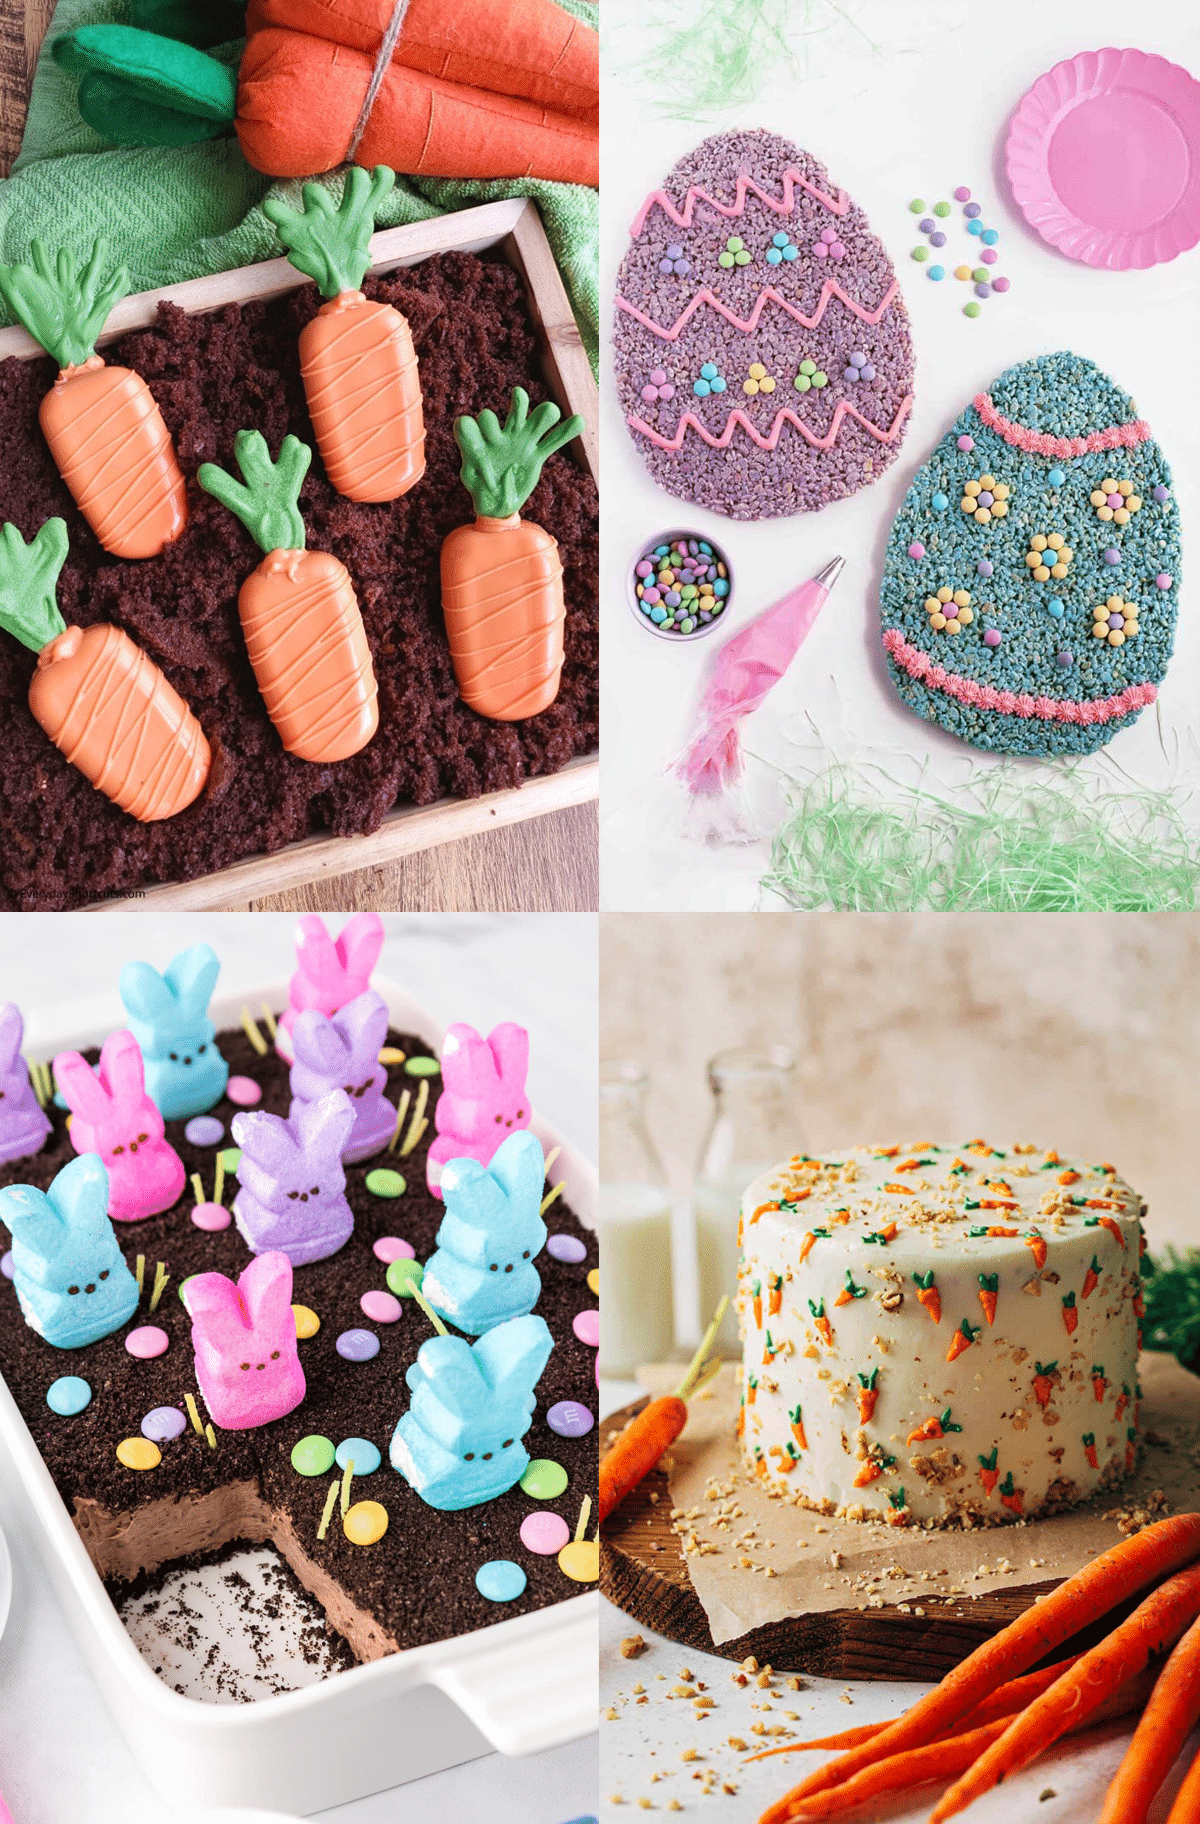
40 Delicious Easter Desserts to Sweeten Your Celebration
Get inspired by these festive and easy-to-make Easter desserts that…
Continue Reading 40 Delicious Easter Desserts to Sweeten Your Celebration
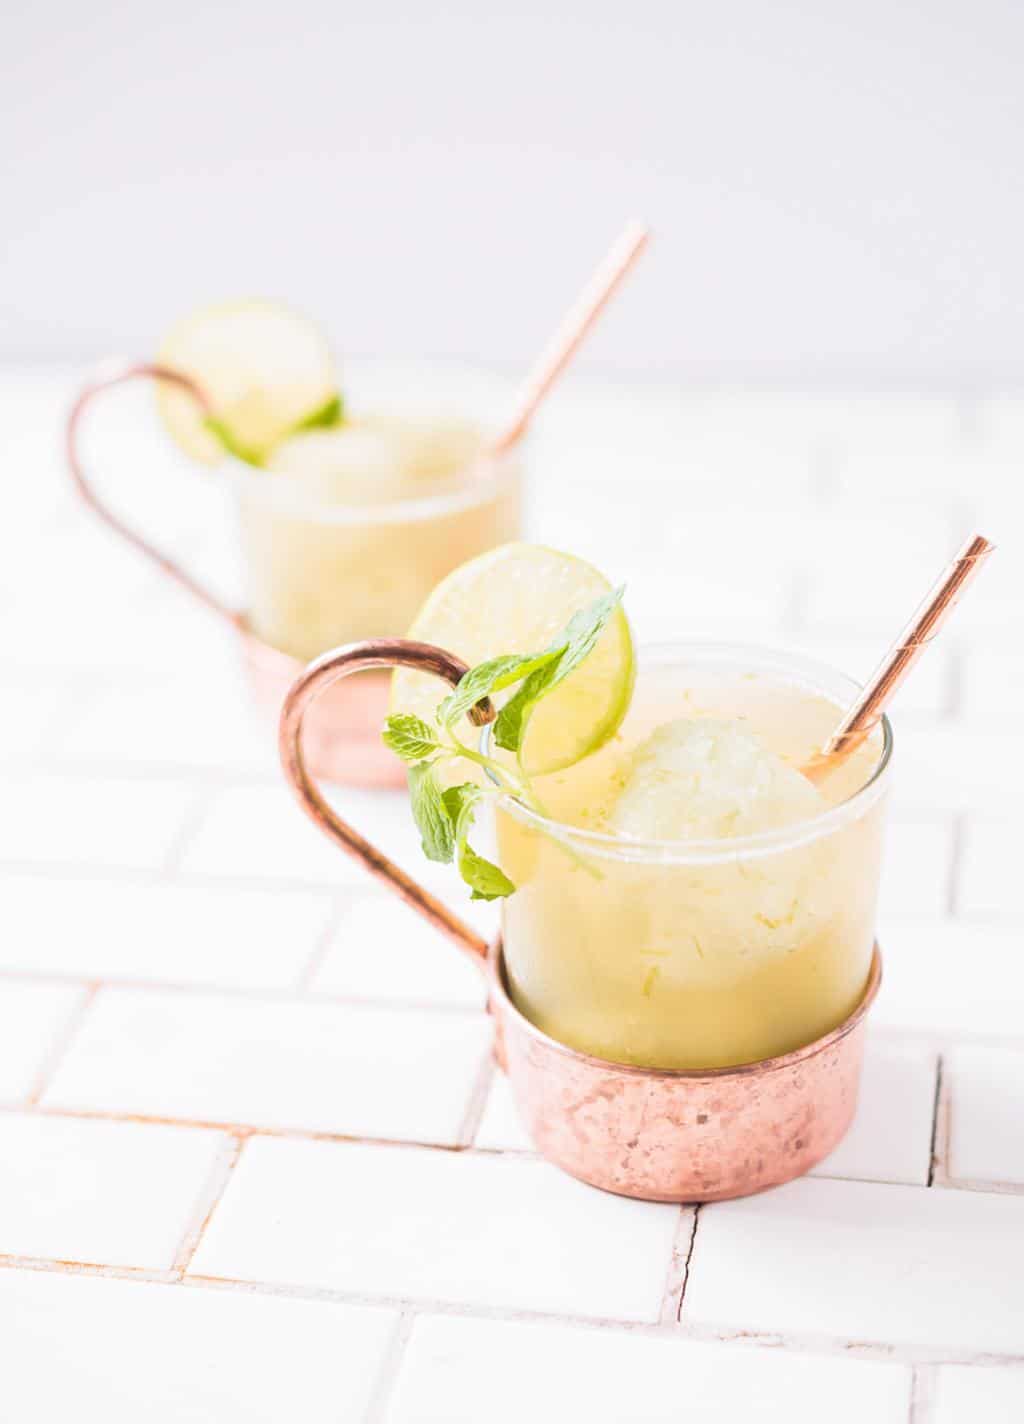
Moscow Mule Float Recipe
Beat the heat with a refreshing twist on a classic! This…
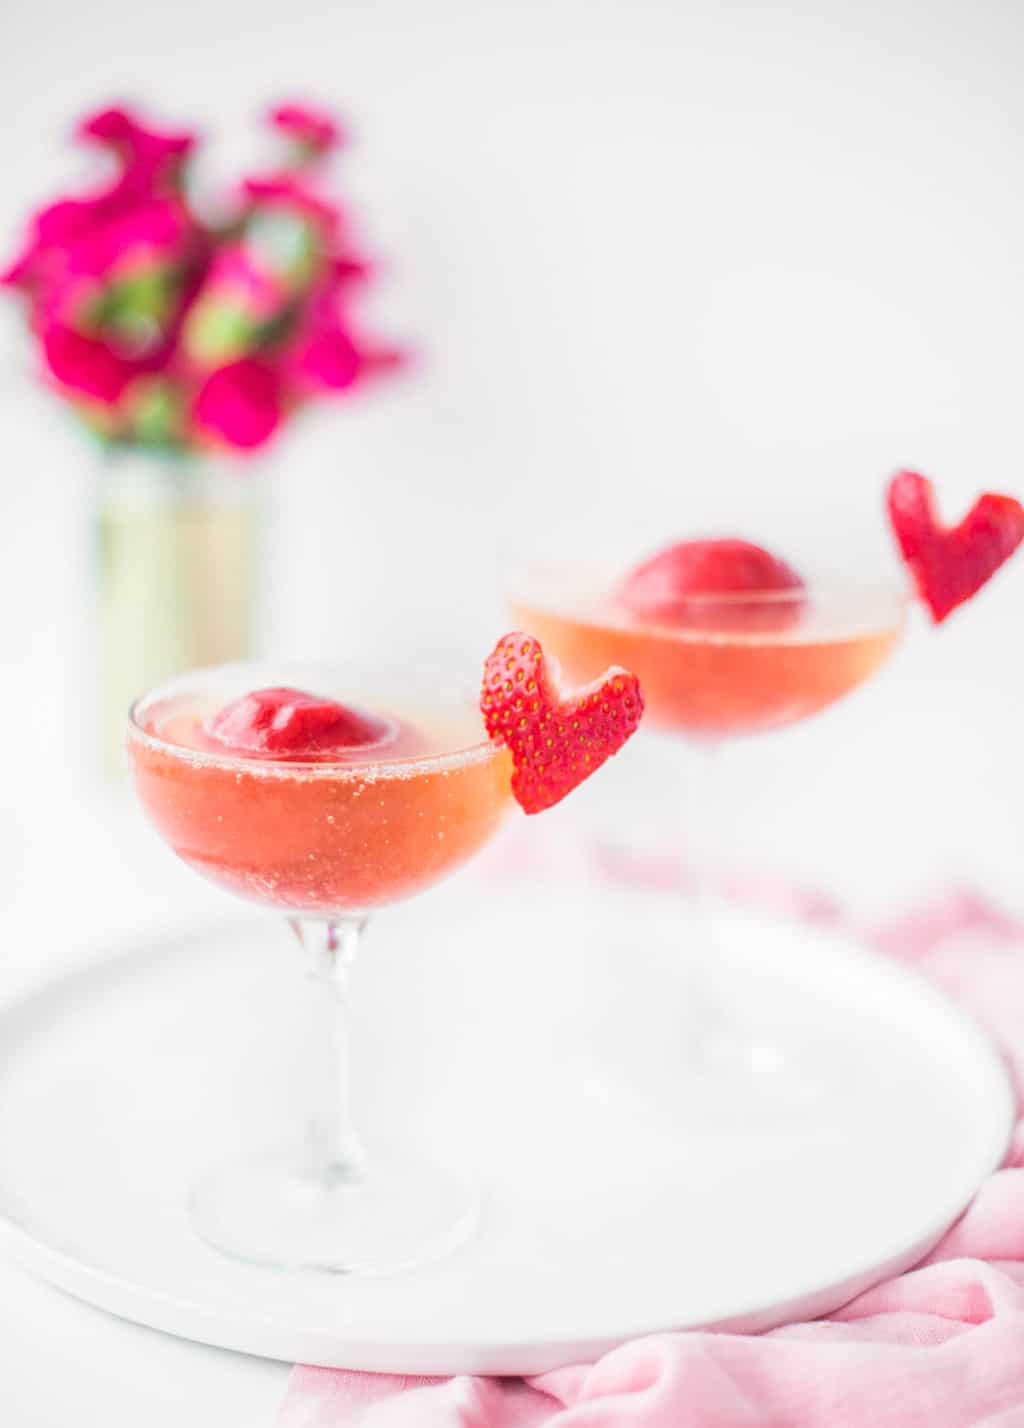
Strawberry Rose Sorbet Champagne Float Recipe
Treat yourself to an exquisite dessert-drink hybrid with our Strawberry…
Continue Reading Strawberry Rose Sorbet Champagne Float Recipe
Please note that we may earn a commission for some of the above affiliate links. However, products featured are independently selected and personally well-loved by us!
That is so pretty!!!! I want to buy that mould now. I swear you could sell these lol ;)
Ahh! These are by far the coolest popsicles ever. Now I just need to get me some gold leaf and a gemstone mold. Thanks so much for sharing!
<3 Morgan
wanderingrush.wordpress.com
yes! let me know how it goes!
Totally great for a bridal shower {*mental note*}Too perfect! ;) Thx!
xo!
These are SO pretty! I kind of feel like it would be sad to eat them though… but i would.
popsicles could never be too pretty not to eat!
this is an incredible idea! they are almost too beautiful to eat.. i think you’ve stumbled onto something great here.
haha, insert fist bump emoji!
So fun!
thank you ladies!
so cute!
http://emiandkimi.blogspot.com
thank you!
ash. the prettiest dessert i’ve ever seen ever. omg.
thanks Molly! Now I just need to make your DIY cooler for them, haha ;)
Suddenly the popsicles in my frig no longer seem appealing, i want these!
haha, move over skinny cows! just kidding ;)
They almost look too gorgeous to eat. Great photos!
thanks Tori!
You already know how I feel about these, but I’m just going to say it again. I love these!
thanks B!