DIY Rattan Drawers Ikea Hack
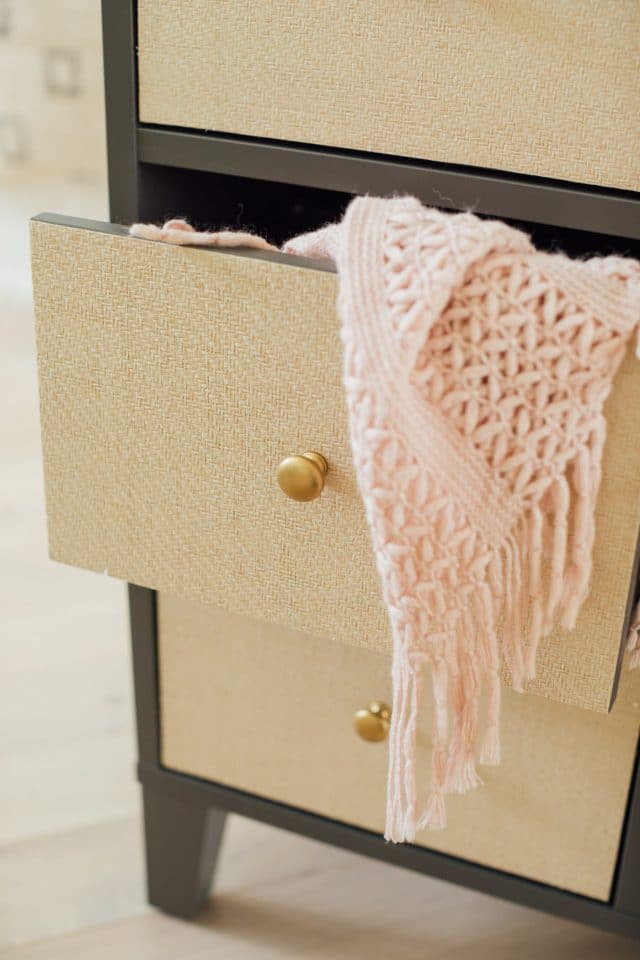
This is a super easy DIY Ikea hack for making any Ikea drawers, doors, or chests into rattan drawers…
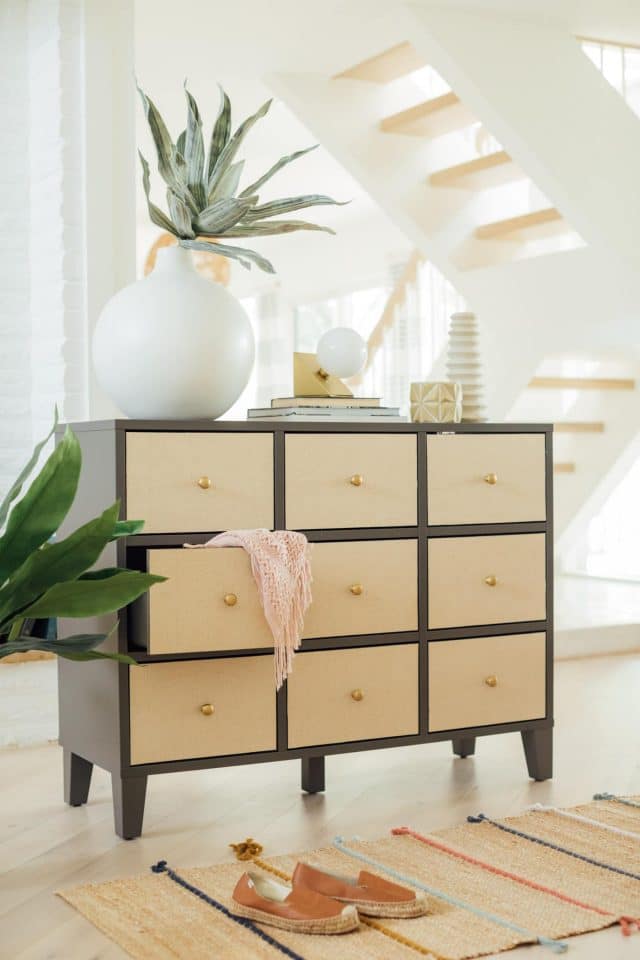
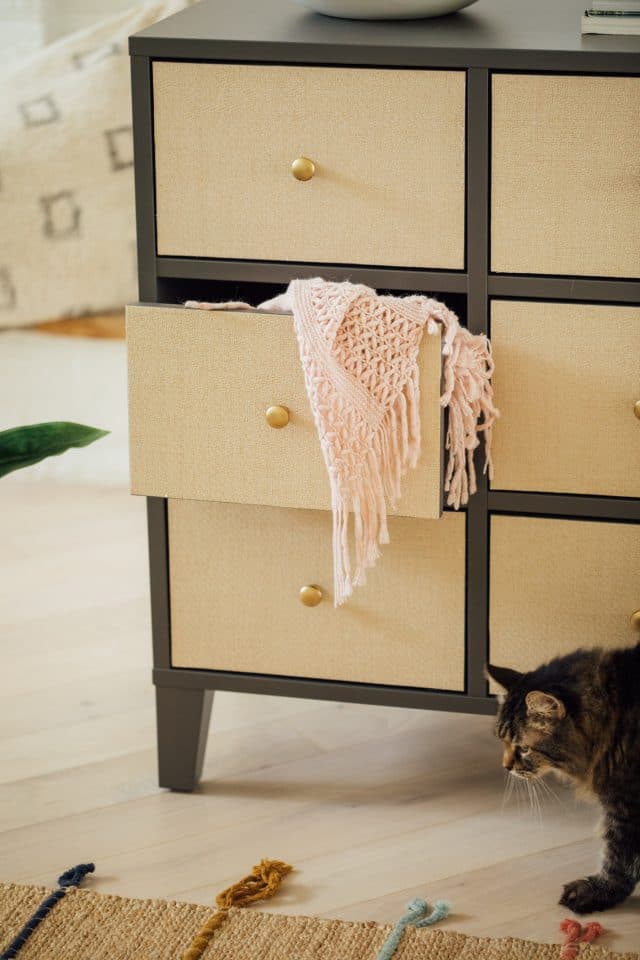
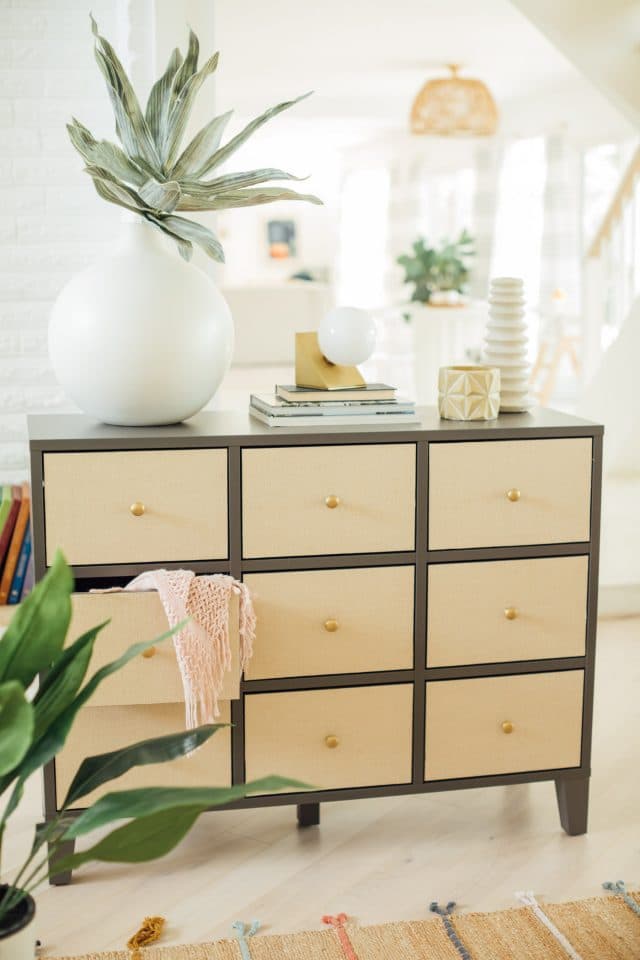
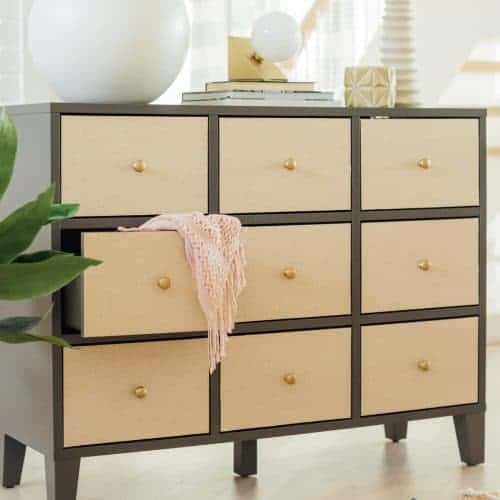
I was browsing through Pinterest the other day when I fell in love with this super expensive dresser with rattan drawers.
Being the DIY lover that I am, I immediately decided to recreate the look on a budget like we did with our DIY Ikea TV unit!
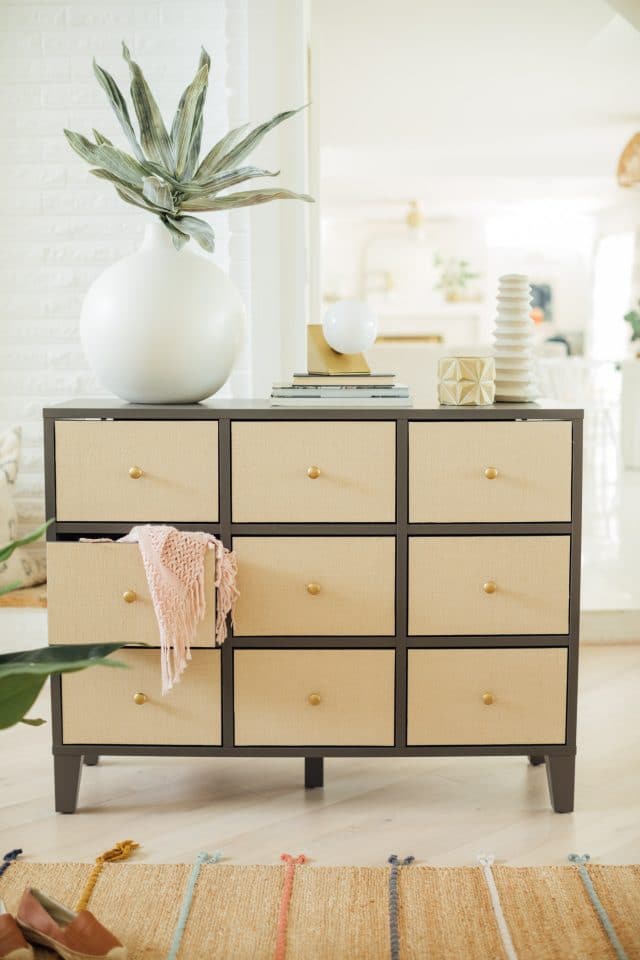
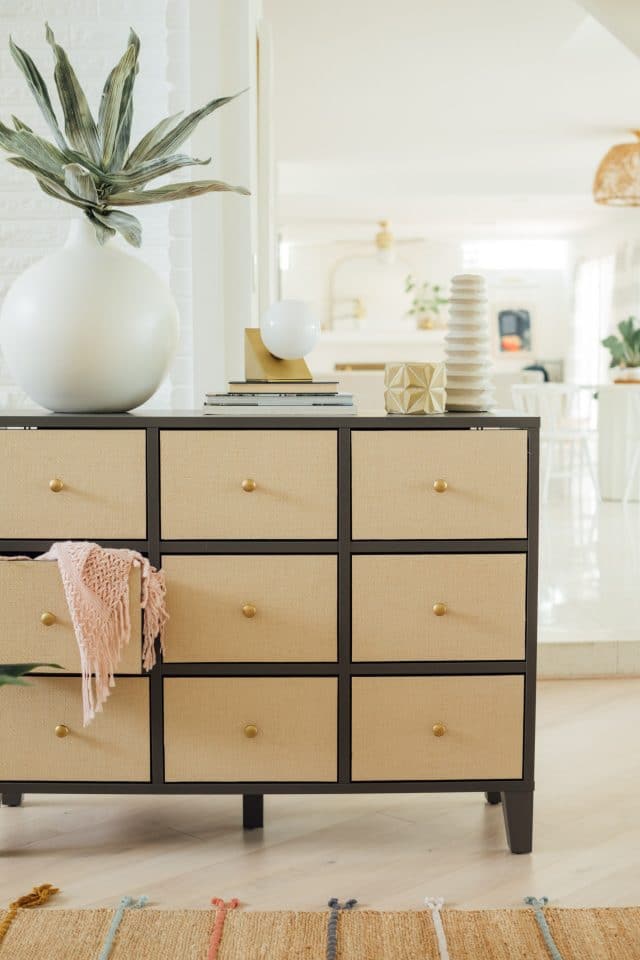
I was going to opt for a white Ikea dresser for a very similar look, but I stumbled on a 9-drawer dresser that would be super functional for household organizing, too.
Next, I got to work on assembling the look for less…
Materials Needed To Make DIY Rattan Ikea Drawers
The beauty of this easy how-to is that you can make a ton of customized drawers with very few materials.
All you need to have on hand is —
Titebond glue and brush for spreading
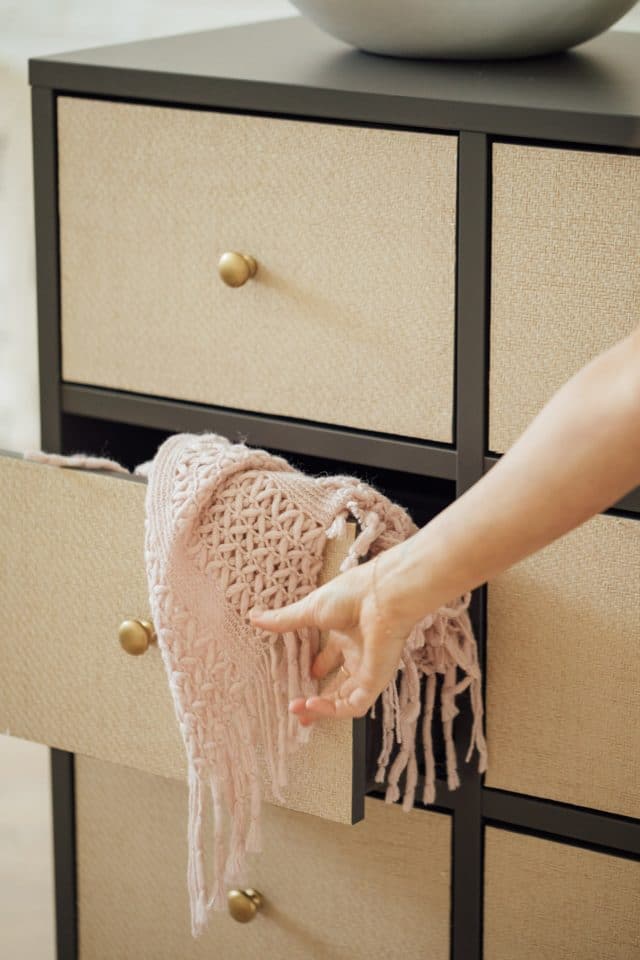
Ikea Drawers or chest of drawers of your choice — We used the Bryggja.
Gold spray paint — Optional for painting the handles gold
How To Make DIY Rattan Ikea Drawers
When you’re assembling your Ikea dresser or chest of drawers, be sure to leave the drawer fronts off so that it’s easier to attach the grasscloth.
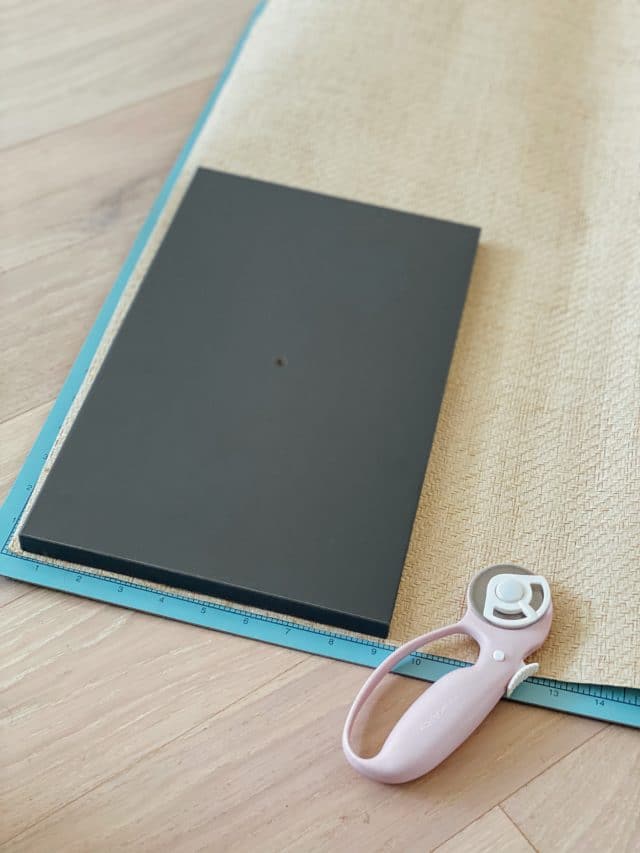
Lay the grasscloth on your cutting mat and cut a piece that’s the general size of your drawer or door.
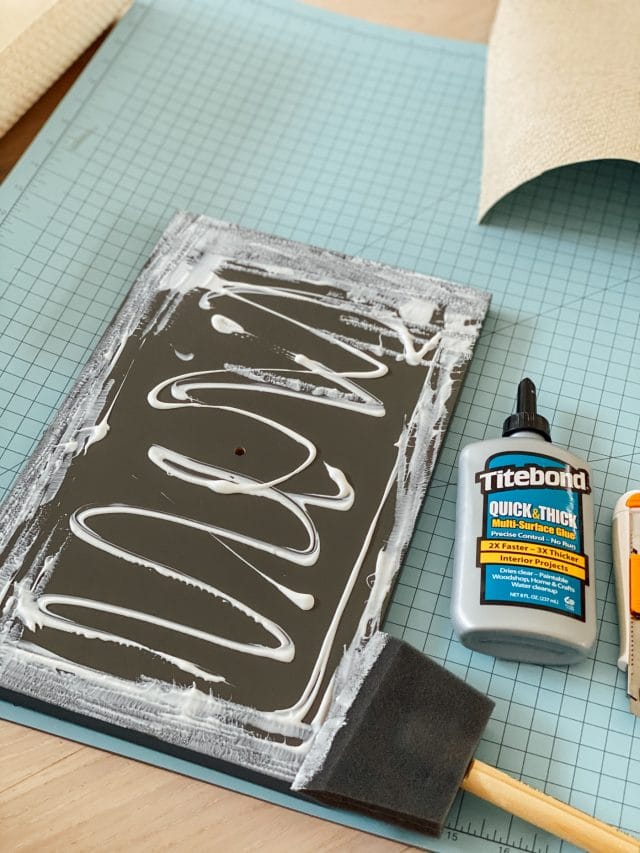
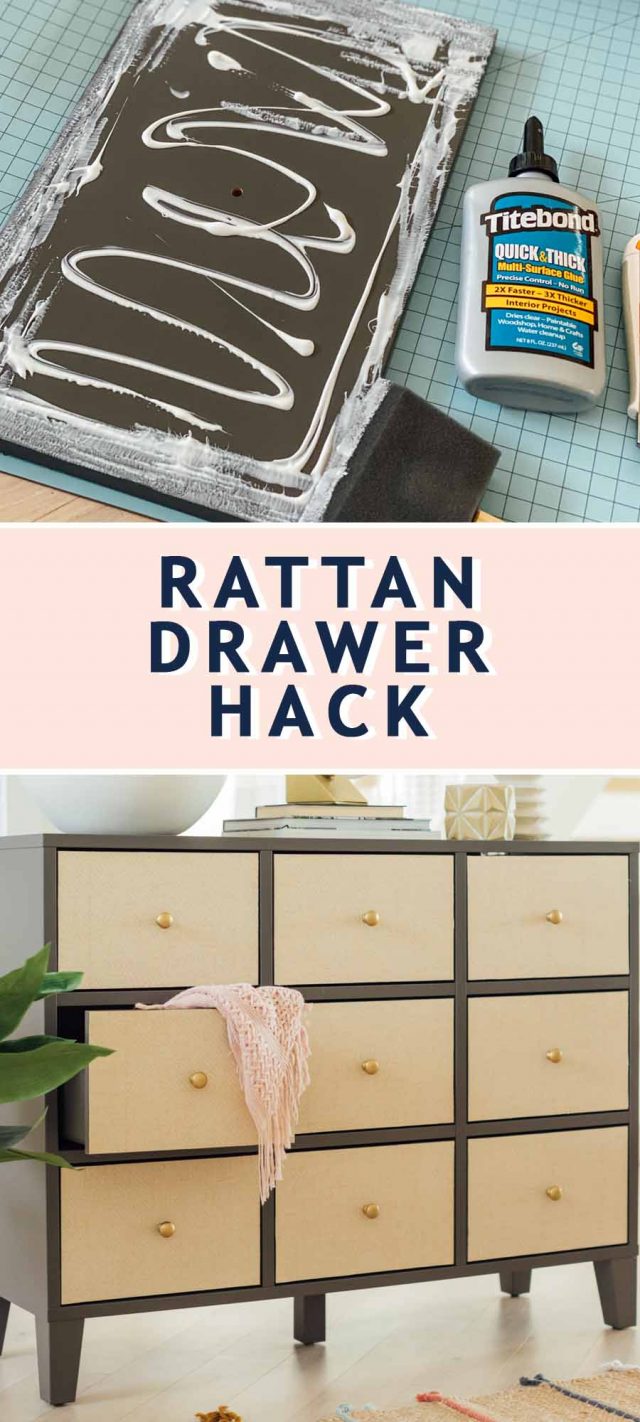
Making sure that the front of the drawer is facing up, use a foam brush to spread Titebond glue across the front.
Be careful not to make the edges of the glue too thick or it will overflow once you press the wallpaper to the front.
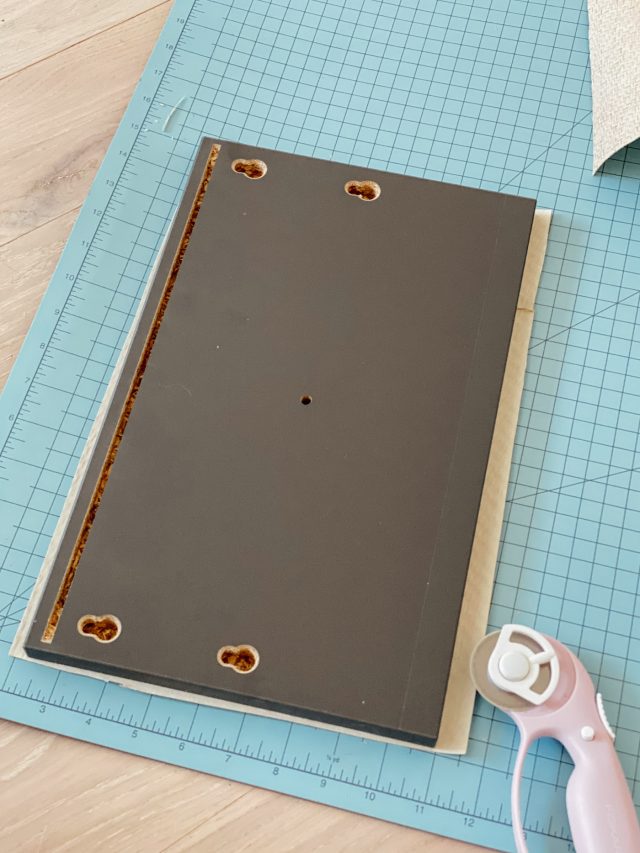
Place the grasscloth face down on your mat and then place the glue side of the drawer on top of the back of the grasscloth and press firmly.
If you have any excess glue on the edges of the drawer, quickly wipe it away.
You’ll notice that there is an excess of grasscloth all the way around the drawer front, which is good! Once the glue dries, we’ll be cutting the excess away.
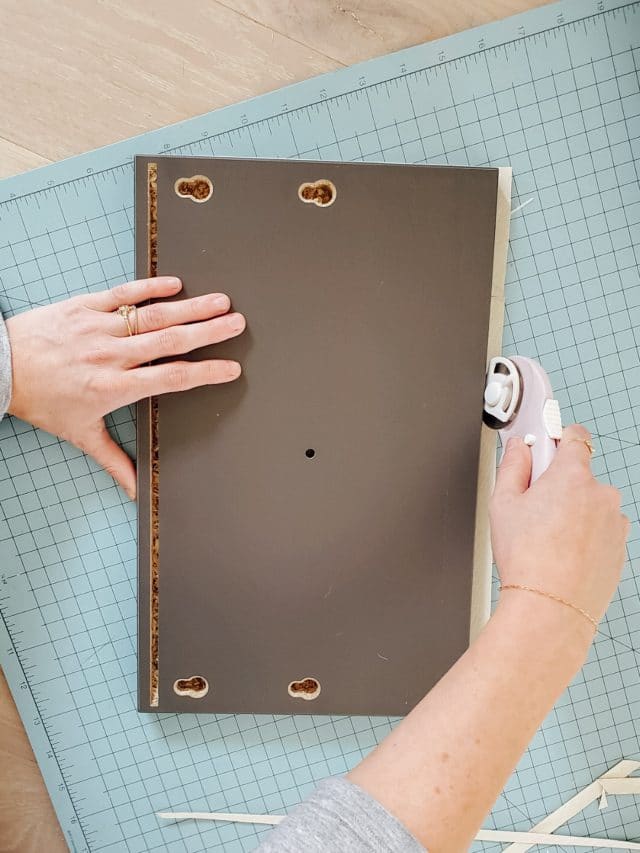
Leave the drawer front on top of the glued grasscloth for about 15 minutes to make sure the glue is adhering well.
Once the glue has set, use the rotary cutter to trim away the excess grasscloth all the way around the drawer front.
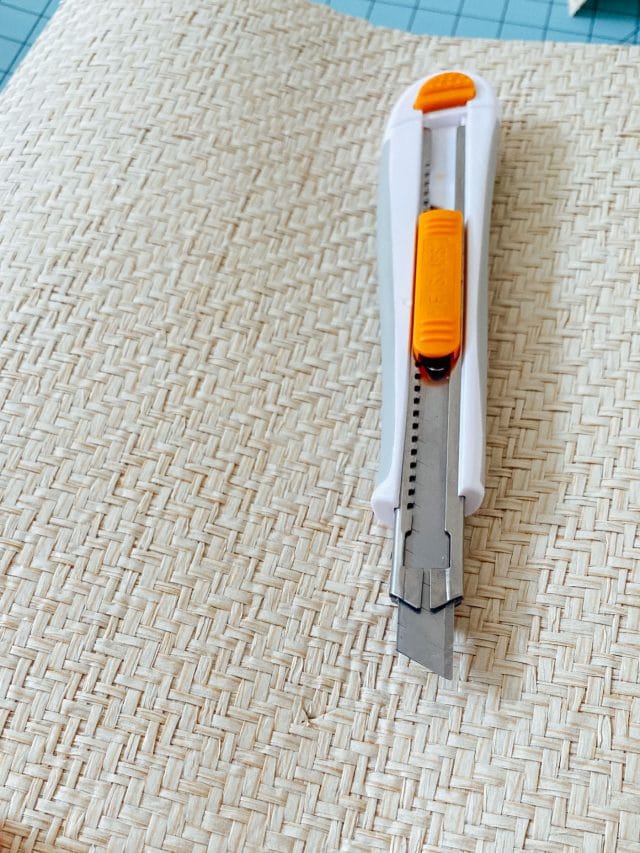
You can feel for the hole in the center of the drawer where the knob will go by running your finger over the center.
Once you know the hole placement, make a small “X” with your Xacto knife.
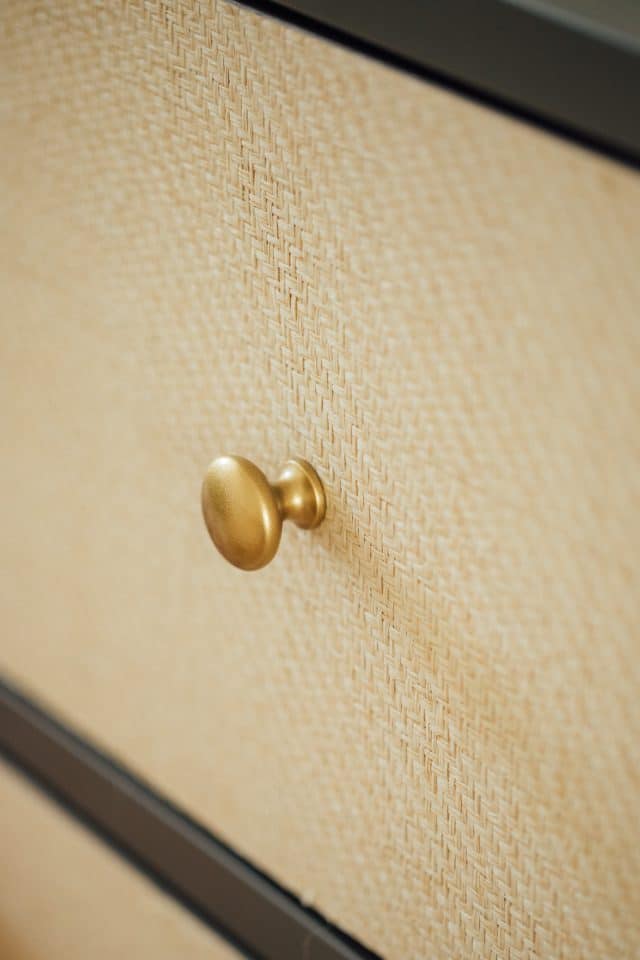
Installing your draw handles:
Using the hardware that came with your choice of knobs (or in our case, that came with the dresser), attach each knob to the drawer fronts.
You can use a custom handle or pull as well, it’s totally up to you. Now all you have to do is style your Ikea dresser and you’re all set!
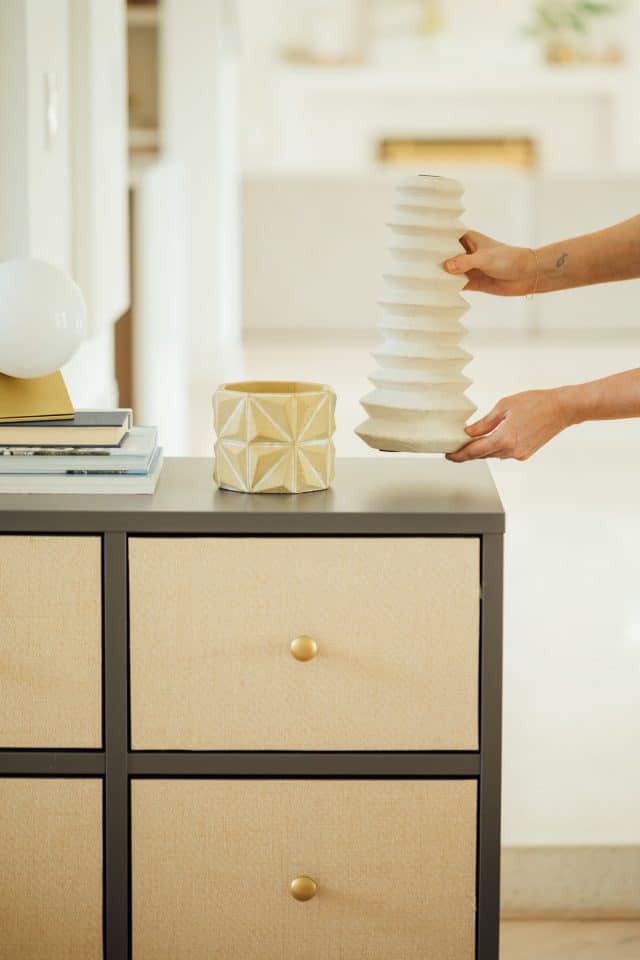
Dressers To Use For Easy DIY Rattan Drawers
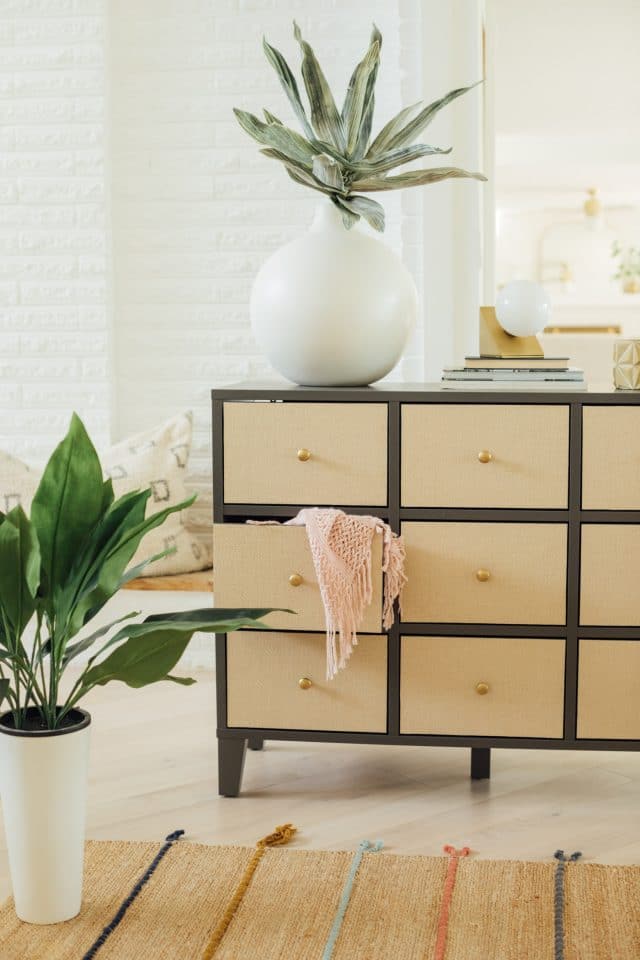
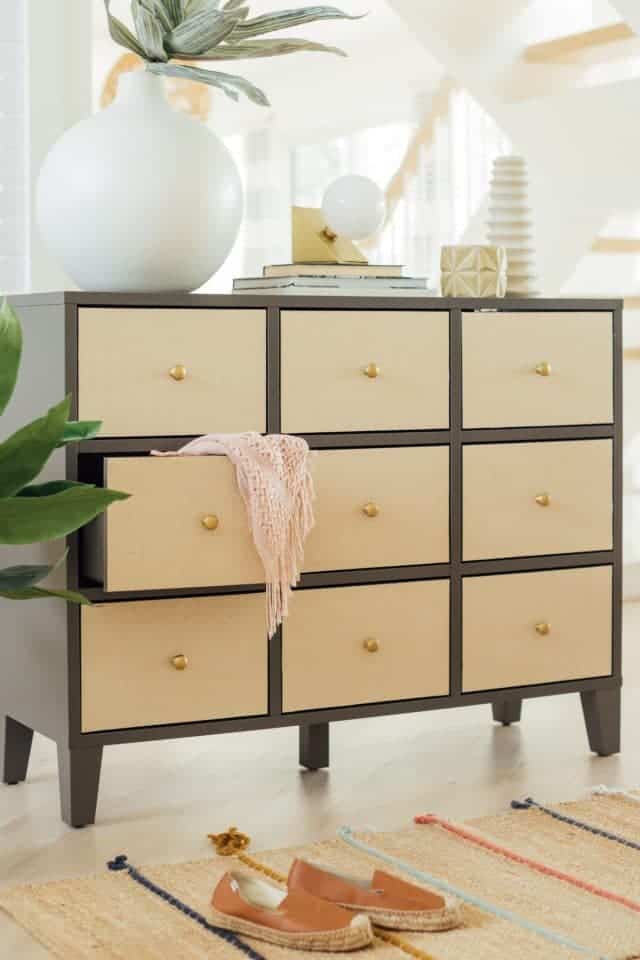
The sky is the limit when it comes to this tutorial! You can really apply it to just about any door, drawer, or cabinet that you can think of. Trust me, I’ve tried. Ha!
Here are a few of my Ikea dresser choices that are budget-friendly options —
— BRYGGJA series
— Kallax doors
— Alex cabinets
— Hemnes series

More Easy Ikea Hacks
If you’ve been around a while, then you already know that I’m no stranger to Ikea hacks!
I love a good weekend project that’s budget-friendly and packs a big punch. Here are a few of my other favorites —
- DIY Ikea TV Stand: How to Make a Rattan TV Stand
- Ikea hack bar cart
- DIY Ikea hack ice cream cart
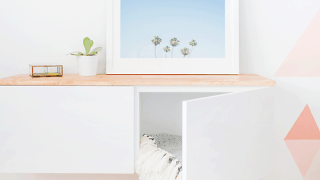
- How to make a DIY Ikea hack floating credenza
- Prepping for guests with an Ikea hack dresser
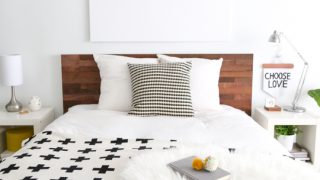
- Ikea bed hack: DIY wooden headboard
- Our Ikea Kitchen and Kitchen Cabinets
- DIY Dressing Table: How to Make an Ikea Hack Vanity
- DIY Ikea Sideboard Hack
How To Make DIY Ikea Drawers with Rattan Drawer Fronts
DIY Ikea Drawers
Equipment
- Xacto knife
- Rotary cutter
- Cutting mat
Materials
- Grasscloth wallpaper
- Titebond glue and brush for spreading
- Ikea drawers or any drawer brand of choice. We used the Ikea Bryggia.
- Gold spray paint optional for painting the handles gold
Instructions
- When you're assembling your Ikea dresser or chest of drawers, be sure to leave the drawer fronts off so that it's easier to attach the grasscloth.
- Lay the grasscloth on your cutting mat and cut a piece that's the general size of your drawer or door.
- Making sure that the front of the drawer is facing up, use a foam brush to spread Titebond glue across the front.
- Be careful not to make the edges of the glue too thick or it will overflow once you press the wallpaper to the front.
- Place the grasscloth face down on your mat and then place the glue side of the drawer on top of the back of the grasscloth and press firmly. If you have any excess glue on the edges of the drawer, quickly wipe it away.
- You'll notice that there is an excess of grasscloth all the way around the drawer front, which is good! Once the glue dries, we'll be cutting the excess away.
- Leave the drawer front on top of the glued grasscloth for about 15 minutes to make sure the glue is adhering well. Once the glue has set, use the rotary cutter to trim away the excess grasscloth all the way around the drawer front.
- You can feel for the hole in the center of the drawer where the knob will go by running your finger over the center. Once you know the hole placement, make a small "X" with your Xacto knife.
- Using the hardware that came with your choice of knobs (or in our case, that came with the dresser), attach each knob to the drawer fronts. You can use a custom handle or pull as well, it's totally up to you. Now all you have to do is style your Ikea dresser and you're all set!

Please note that we may earn a commission for some of the above affiliate links. However, products featured are independently selected and personally well-loved by us!

Found you after a vicious search for TV console hacks and I’m so excited to try yours! And your printable DIY recipe cards are genius! I’ve never seen that for a non-food item before and I’m a foodie + DIY’er Ü Thanks so much for sharing!
Thanks, Tracy! We are going to start doing those cards for DIY’s just so it’s easier to follow too!
Beautiful Design and Idea. Thanks for sharing. Keep Posting.
http://www.calendar-times.com/
Thank you, Aarti!
Unique and Creative Idea. Thanks for sharing.
http://www.calendar-news.com/
Thank you, Himanshu!
Love how easy this is to follow! Thank you!
Glad it was easy to follow! XOXO
I love this idea! It’s creative and amazing! Can’t wait to try this out!
Thanks, Beth! It’s really easy especially if you love the rattan look!
This is so awesome!! Love how easy this is to follow! Thank you!
You’re welcome, Toni! XOXO
What a great idea!!!! So cute.
Thank you, Aimee!