Patterned DIY Boob Vase
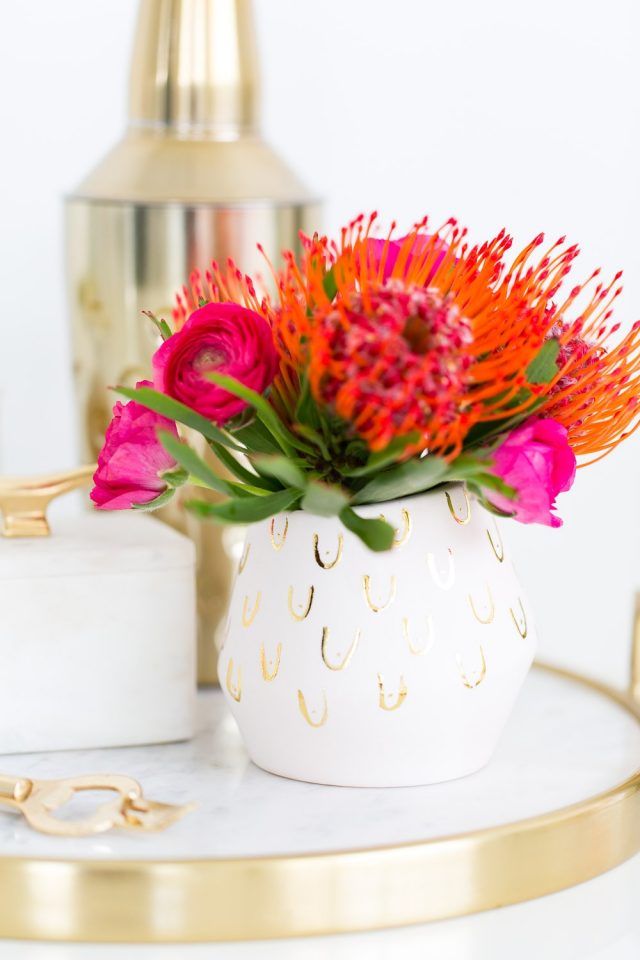
I will say sorry to those of you that don’t receive an abstract boob DIY patterned vase with your Valentine’s flowers, because you will be missing out. Try this easy do-it-yourself project!
I would apologize for being weird and really into boob prints right now. (See here.)
Except I already know I’m weird, which is half the reason the crazy on this blog exists, so I won’t apologize for that.
However, I will say sorry to those of you that don’t receive an abstract boob DIY Patterned Case with your Valentine’s flowers, because you will be missing out!
That said, if anyone stumbles upon their boyfriend making them this custom vase for the occasion, do you solemnly swear to document it and send it to me? Pretty please?
Because that would be epic and will have totally made my year! The rest of us will probably have to depend on the Galentines in our lives to fill this void instead…
And you can take it however you feel like, but these DIY boob macarons are also pretty awesome for a Galentine’s Day party.
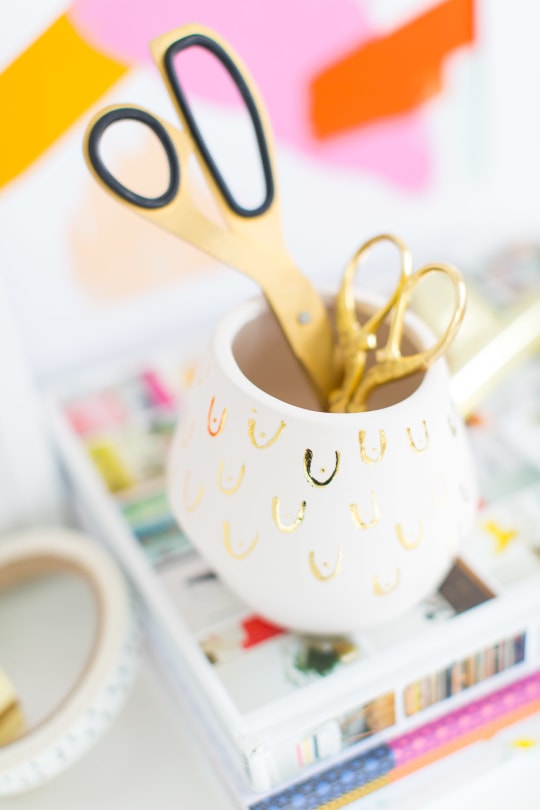
Materials and Tools Needed to Make A DIY Patterned Vase
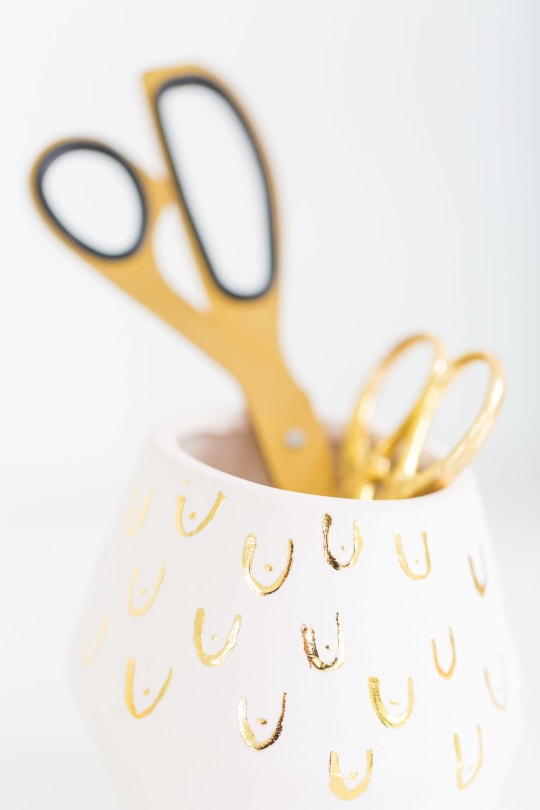
How To Make A DIY Patterned Vase
If you’ve never worked with gold foil adhesive before, you may want to test a few spots on a piece of paper before using your vase.
My best tip is to use a decent amount of glue when painting it on the vase because if you use too little the gold foil won’t stick properly.
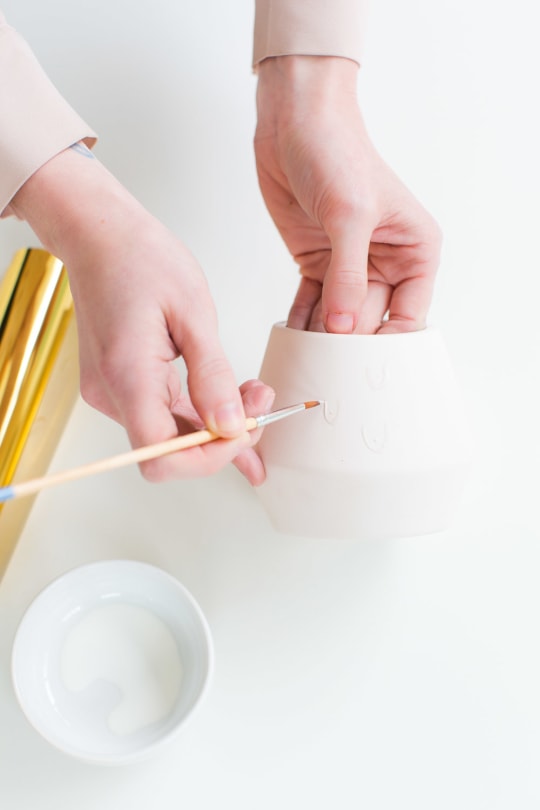
Once you’ve mastered your adhesive strokes, you can paint your shapes sporadically on the vase, then let them dry completely.
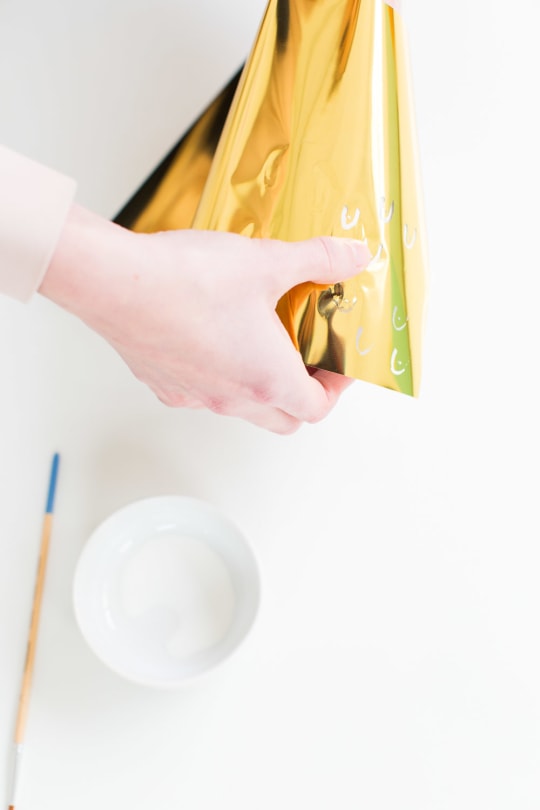
Now press the foil down onto the dried shapes firmly, smooth it over top with your hands, and then peel away. Repeat until you’ve covered all of the painted elements, and you’re all set!
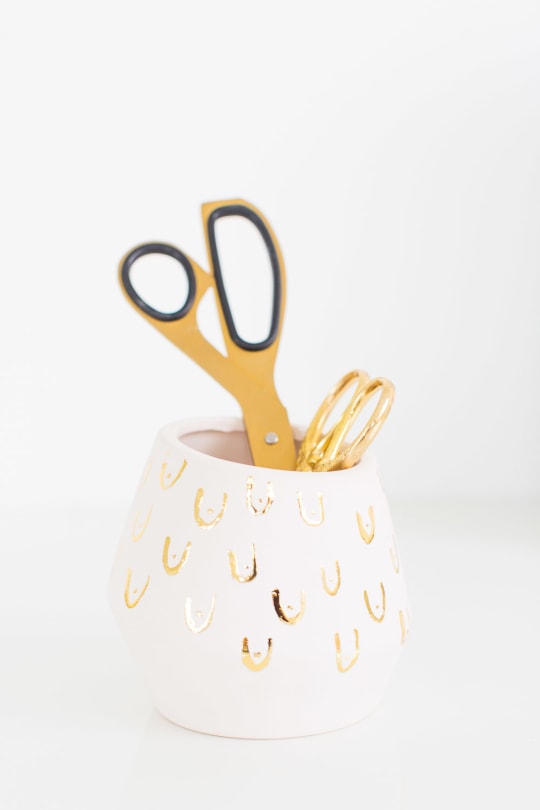
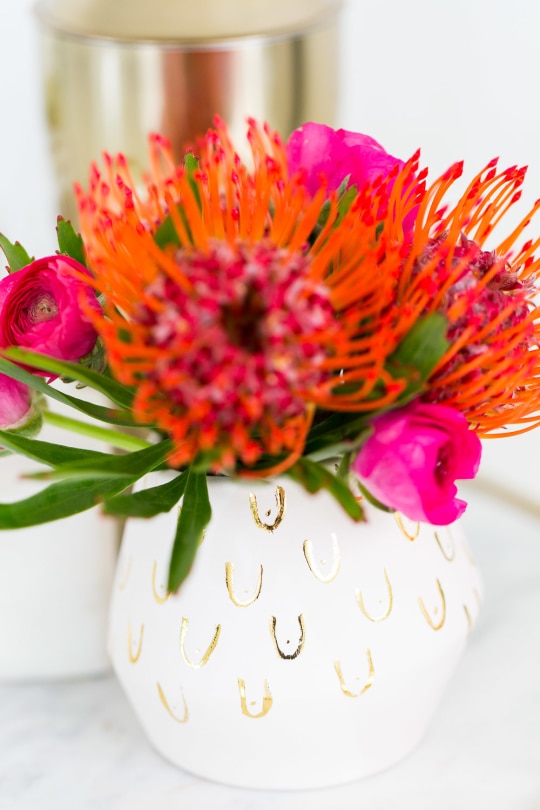
So what do you think?! It’s subtle, but a little cheeky if you want it to be, am I right?!
Also with these stunning DIY Color Glazed Stacked Vases, you can give your decor a whole new look.
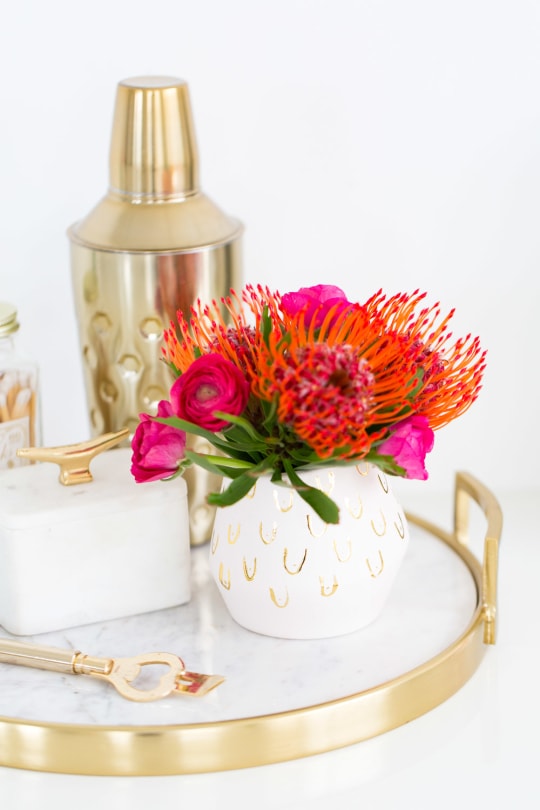
Different Ways To Customize A Vase
One simple technique for creating patterned vases is using tape creatively.
By simply cutting or folding strips of patterned tape, you can easily create a variety of fun and eye-catching designs on your vase.
Another option is to use stencils, which allow you to create intricate patterns that are perfect for adding some visual interest and dimension to any space.
Another great way to customize your vase is to add some embellishments. You can use beads, rhinestones, or sequins to create a unique and sparkly design.
Pair this with this DIY Giant Paper Flower Bouquet.
You can also add ribbon, fabric, or other materials to create a one-of-a-kind look.
For more DIY ideas like this, you might want to consider reading the following related posts –
- DIY Edible Gold Lipstick Glasses
- Patterned DIY Candle Holder
- DIY Photo Holder: Mini Mountain Photo Holders
- Stunning DIY Clay Rose Marbled Incense Holder
Hope you all are having a great week so far, and I’ll catch you tomorrow! Be sure to share your recipes and projects with us online, too! #sugarandcloth #mysugarandcloth
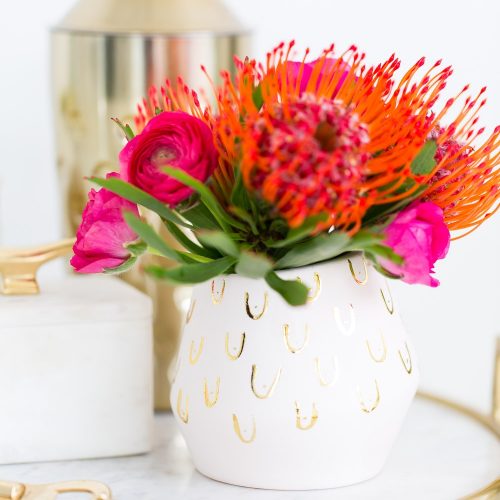
DIY Patterned Vase
Equipment
- Simply Screen adhesive
- Paint brush
Materials
- Ceramic vase
- Minc gold foil paper
Instructions
- Use a decent amount of glue when painting it on a vase, because if you use too little the gold foil won’t stick properly.
- You can paint your shapes sporadically on the vase, then let them dry completely.
- Now press the foil down onto the dried shapes firmly, smooth it over the top with your hands, and then peel away.
- Repeat until you’ve covered all of the painted elements, and you’re all set!

Please note that we may earn a commission for some of the above affiliate links. However, products featured are independently selected and personally well-loved by us!
This is so easy and brought a spark in this otherwise plain pot.
http://www.ThatGrlInHighHeels.blogspot.com
Thanks, Nyda! Glad you enjoyed it :)
Love this! So funny. Definitely a conversation piece.
Haha Thanks, Yolanda!
This vase is super cute! I totally want to make one!
Paige
http://thehappyflammily.com
Thanks, Paige! So glad you like it :)
Ha! I’m loving that pattern too. What a cool technique. Anytime gold is involved it’s a sure winner. Just lovely.
Thanks so much, Corey!
Love the boob print. I have to make one of these!
I love this idea and I love that bar setup! Where did you get your supplies!
Thanks, Heather! Mostly Amazon. There are links to all the supplies we used in the “materials” section of the post! :)
What a lovely vase! White & gold – the everlasting color trends. Well done, Ashley :)
Thanks, Emma! :)
Haha boob shapes are all the rage! I love it :)
– X Marloes
We are loving the trend as well! Haha. Thanks, Marloes!