Polka Dot DIY Bicycle Basket
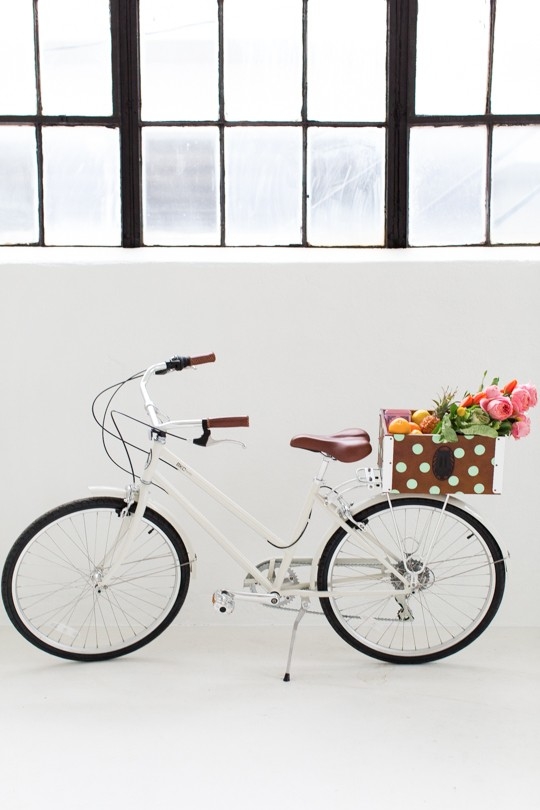
Cruise around in style when spring and summer roll around with this DIY polka dot bicycle basket! Check out this easy tutorial – perfect for spring and summertime!
Not to go all 8-years old on you by bragging about my sweet new bike or anything, but it wouldn’t be true to form if I didn’t DIY a little something for it.
So I’m justifying it as something that most 26-year old girls do in this instance. You have to admit, she’s a pretty sassy-looking little thing with this Polka DIY Bicycle Basket, huh?!
I’ll spare you the super uncomfortable part of the conversation where I decide to name her something like Lola.
And then, whisk off into the dusk with my basket full of flowers and sunshine beaming from her pedals.
Totally not going to do that to you.
But what I will tell you is that you can also use this Polka Dot DIY Bicycle Basket for a camping fun excursion as part of one of our date night gift basket ideas.
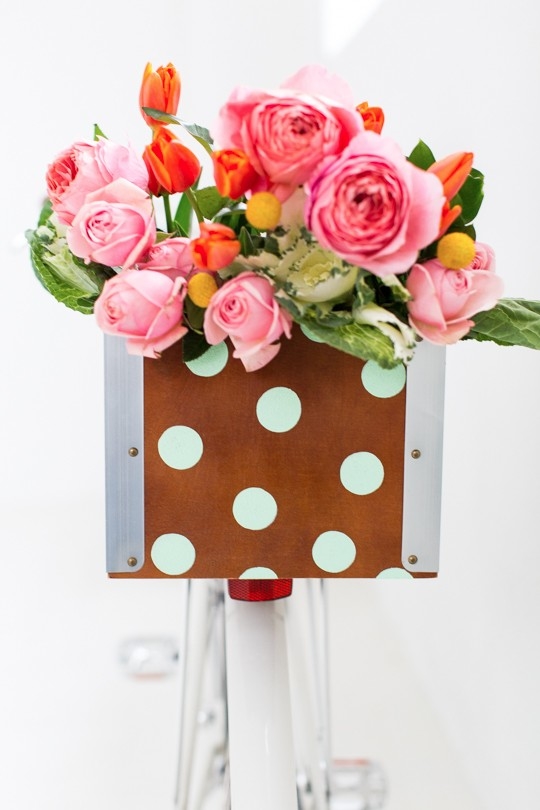
Materials and Tools Needed to Make a Polka Dot DIY Bicycle Basket
Mint green all-surface craft paint (or color of your choice)
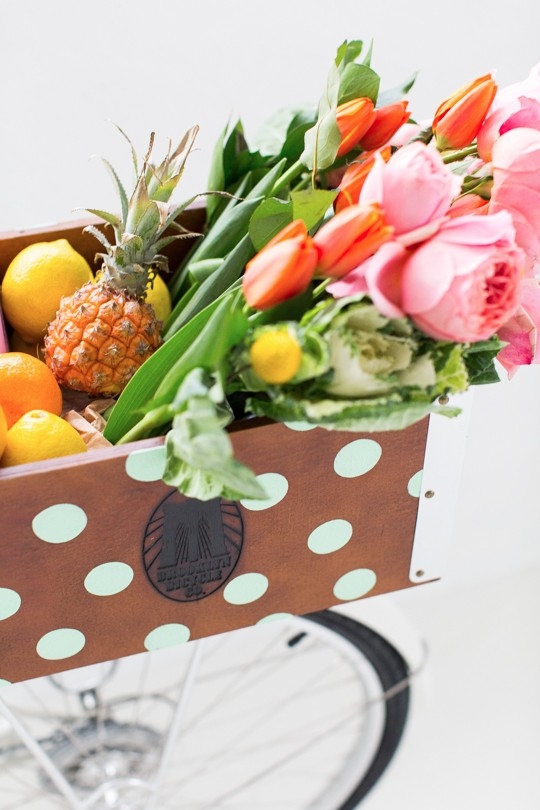
How to Make a Polka Dot DIY Bicycle Basket
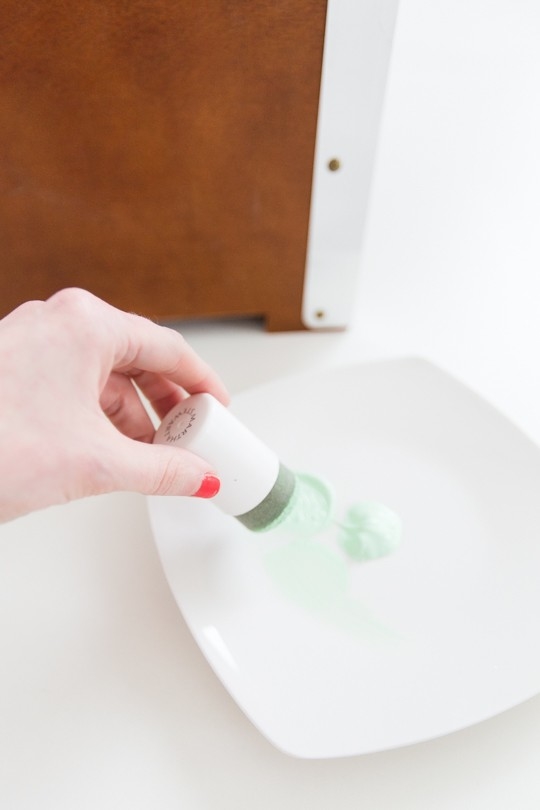
Step 1 –– Use a flat surface to dab paint onto the foam pouncer. Be careful to not have too much or else when you press down the paint will bleed.
You only need a thin layer of paint to make the dots, and then you’ll go over them again with a second coat to make nice even circles.
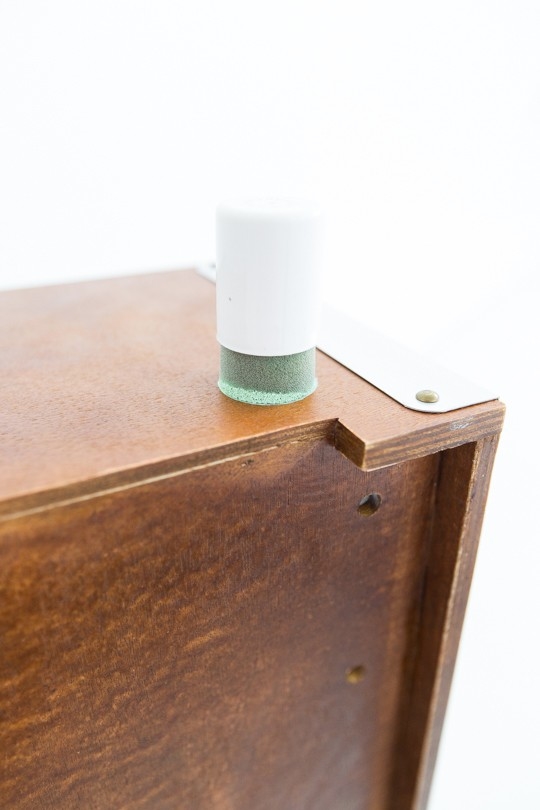
Step 2 — When you press the pouncer onto the basket, make a small twisting motions with your wrist while gently pressing down to make the paint go on evenly.
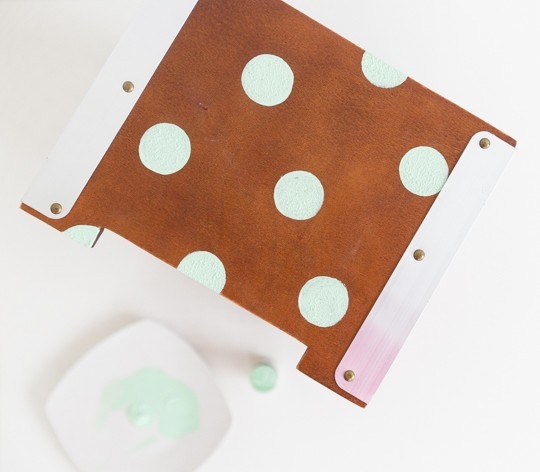
Keep making dots as big or small as you’d like in a random pattern until one side is covered.
Step 3 –– Then, move around to finish each side once the others are dry.
Step 4 –– Once your dots are finished and dried after you’ve made your second coat on them, install the crate brackets to the bike and you’re all set.
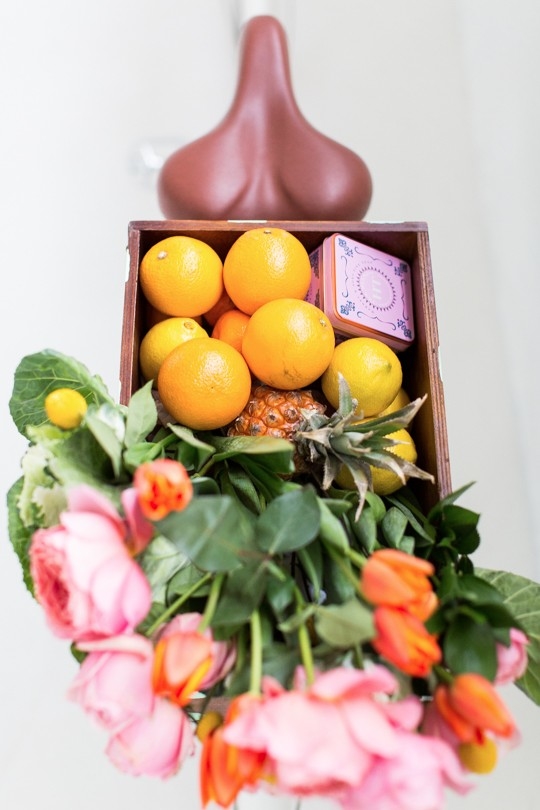
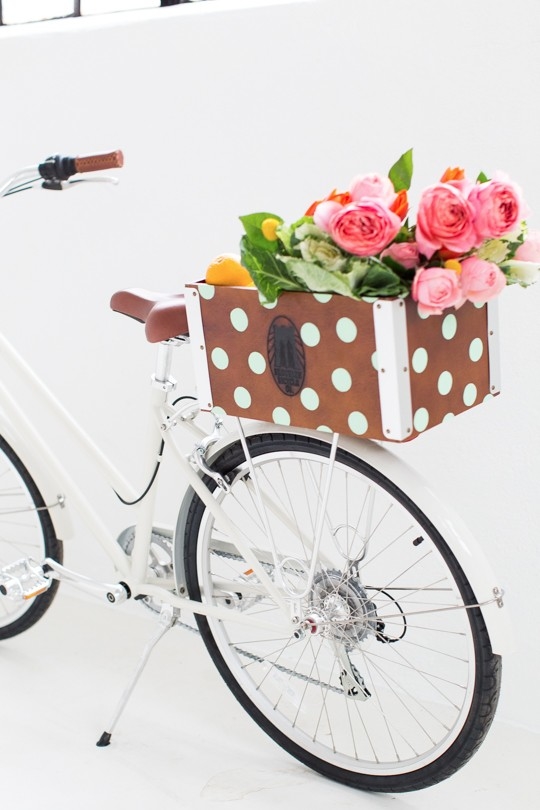
Is It Better to Have a Bike Basket in Front or Back?
There are pros and cons to having a bike basket in front or back.
If you’re carrying light items, it’s probably best to have the basket in front so you can see what you’re carrying.
However, if you’re carrying heavier items, it’s better to have the basket in the back so that the weight is evenly distributed.
Ultimately, the decision of where to place your bike basket will depend on your individual needs and usage habits.
Can’t you just picture me whipping around a corner on this thing, trying to hold down fly-away flowers? Just kidding, but only sort of.
I’ve technically never tried to bike around with this many flowers in a basket before, but it works in the movies!
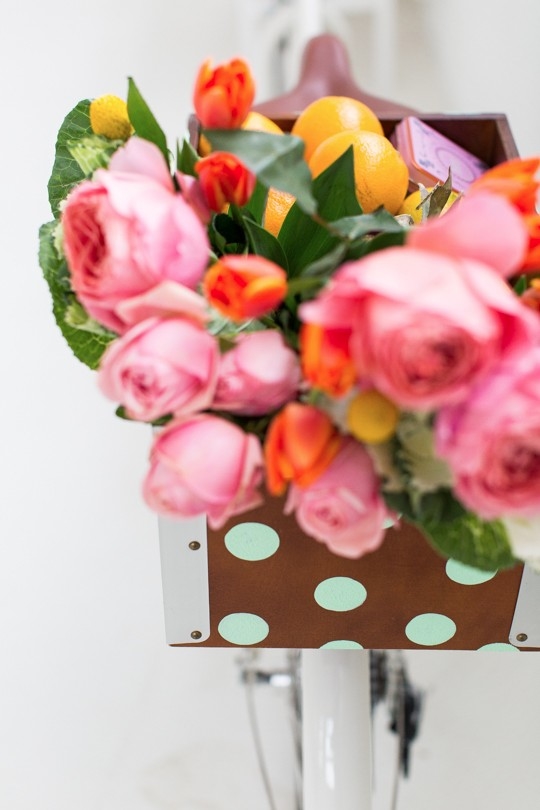
The idea can also be used as a Couples Day Date Idea with your boyfriend and is still just as cute and thought out as any other.
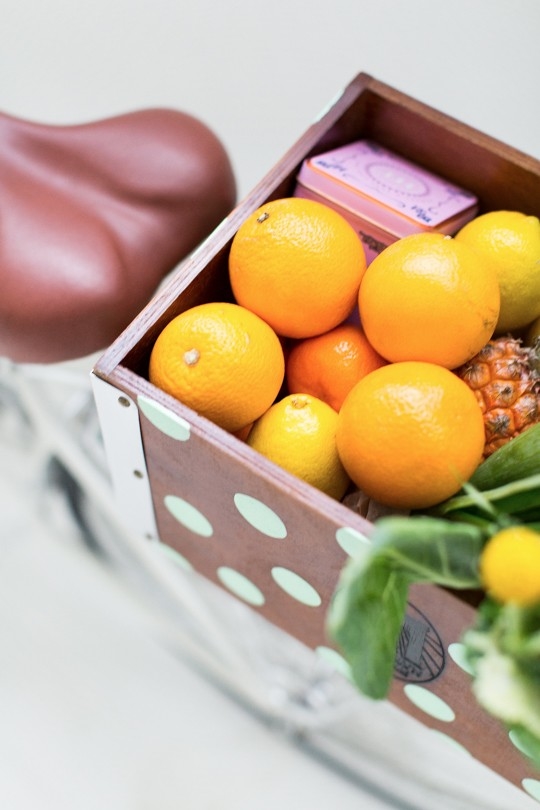
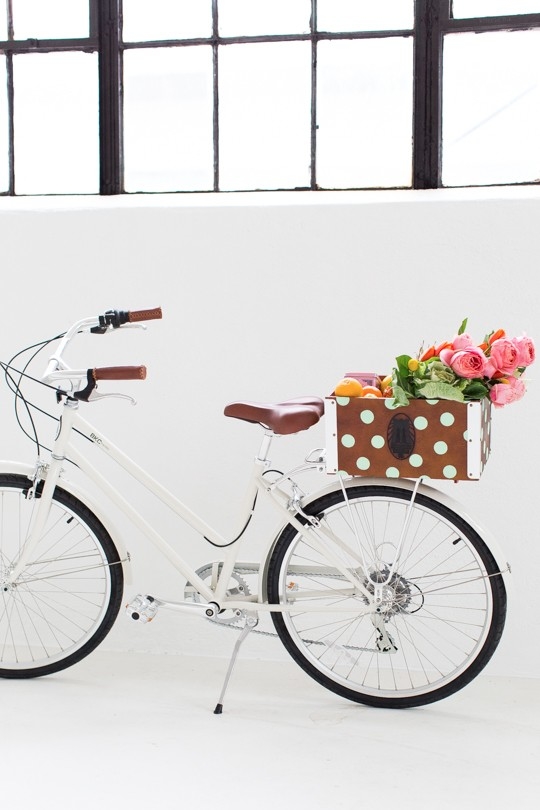
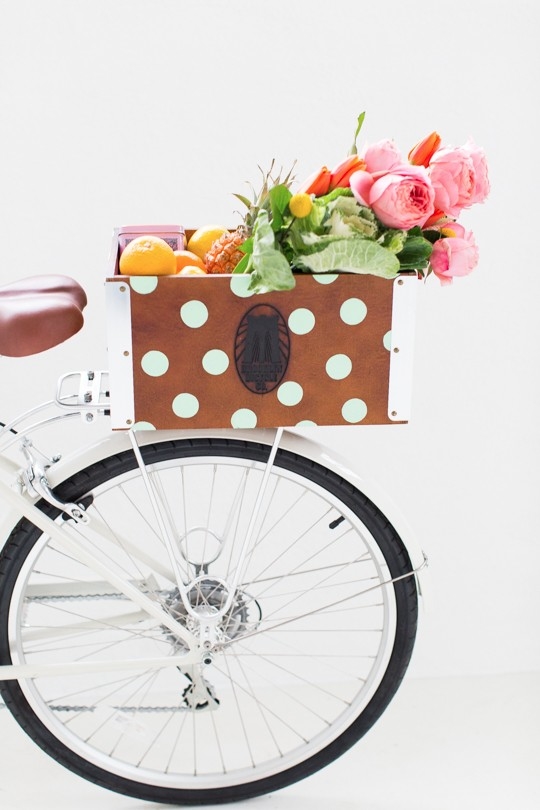
So what do you think?! Who’s down for a mint green polka dot bike basket?! Be sure to keep a lookout for an upcoming day date post where you can win your own bike to DIY!
For more DIY projects like this, you may consider the following related posts below –
- DIY Polka Dot Floppy Hat
- DIY Ric Rac Summer Hat
- DIY Rag Rug Storage Baskets
- DIY Basket Pendant Light – How To Make A Basket Light Fixture
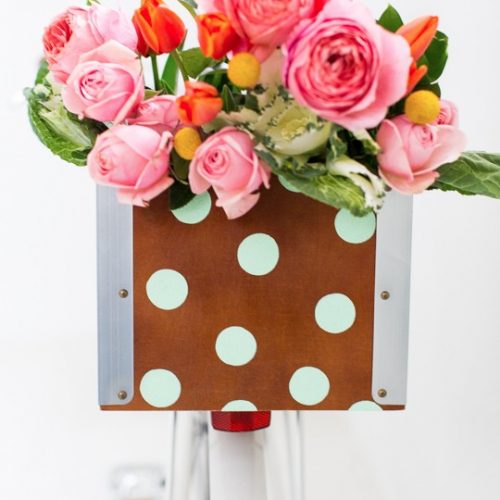
Polka Dot DIY Bicycle Basket
Equipment
- Foam pouncer
Materials
- Mint green all-surface craft paint (or color of your choice)
- Wooden bike crate
Instructions
- Use a flat surface to dab paint onto the foam pouncer. Be careful to not have too much or else when you press down the paint will bleed.You only need a thin layer of paint to make the dots, and then you’ll go over them again with a second coat to make nice even circles.
- When you press the pouncer onto the basket, make a small twisting motions with your wrist while gently pressing down to make the paint go on evenly. Keep making dots as big or small as you’d like in a random pattern until one side is covered.
- Move around to finish each side once the others are dry.
- Once your dots are finished and dried after you’ve made your second coat on them, install the crate brackets to the bike and you’re all set.

Be sure to share your DIY Polka Dot Bicycle Basket with us on Instagram using the hashtag #sugarandclothloves, so we can follow along, too! We always love seeing all of your creations!
More Fun Outdoor DIY's
Please note that we may earn a commission for some of the above affiliate links. However, products featured are independently selected and personally well-loved by us!


Aswome images
Thanks!
DIY polka Bicycle Basket https://www.allcottonandlinen.com
Nice post… I love it
Thank you!
Where did you purchase the wooden bike crate? Can’t find it anywhere :/pe
SO CUTE. you could do anything with that bike box and it would be pure perfection. now I need a cruiser :)
These photos are so beautiful!! They completely cheered up my day! Lovely post and what a great idea x
Super cute idea & it doesn’t get any simpler! Love this!!!
I don’t own a bike, but this DIY post has me wishing that I did. This basket is just really, really cute. I guess I’ll have to keep my eye out for your upcoming post so that I can try to win my own bike. :D
http://www.sweethelengrace.com
Love the idea of this, because you can make it as small or as big as you want. And any pattern you desire. So cool.
Awesome, Ash! I love the bike and your new DIYed basket. So cute.
Alright. Well. Someone get me a one-way ticket to Paris and this bike situation stat. This is SO CUTE.
Neha // http://nehasharmaphoto.com/blog
Omg, I’m gonna run out and make this right away. Adorable!
So cute! I love it. And I want a Lola of my own!!
Oh my, this is one clever and adorable project…if I was driving down the street and saw this bike, I would probably side swipe a car cause I wouldnt be able to stop admiring the bike and the basket…great job!
That’s so fancy! And I adore the bike. Too bad that I’ve decided to never ever buy a fancy bike again. Had mine stolen twice, but luckily enough no-one wants my old half-broken Dutch roadster.
What a pretty photo shoot! I almost believe it is spring. Thanks for sharing :)