Retro DIY Cake Carrier Idea
A cute and sweet DIY Retro Cake Carrier that will get you lots of compliments at your next party! And don’t worry, it’s totally food safe.
I’m not even kidding when I tell you that I bought this cake carrier literally over a year ago with every intention of giving it a DIY facelift.
Also, I love anything retro, like this aesthetically pleasing Retro DIY Portable Bar
But I could never quite decide what to do to it until last week.
I’m actually super impressed with myself that I could even still find all of the pieces after a studio move and another year’s worth of hoarding other projects.
Alas, it has survived and is now a much cuter DIY retro cake carrier than before!
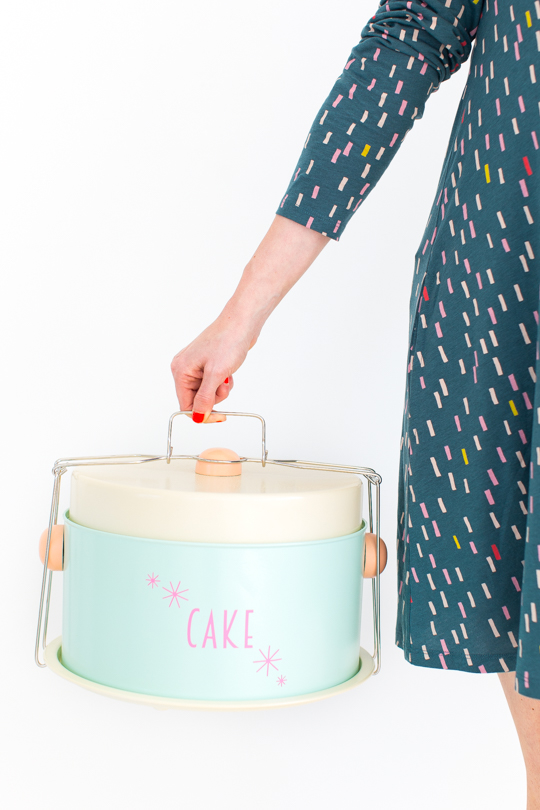
It wasn’t bad before, but it just wasn’t quite “me”, ya know? So I did some mixing up of the colors and font.
AND I happen to have discovered food-safe shellac that has COMPLETELY changed my spray painting world forever. I can now spray paint all of the kitchen things!
The best part is you still have plenty of time to whip up one of these cute little carriers before your holiday parties this year.
And this is perfect for your festive confetti birthday cheesecake!
Because if you’re anything like me, the delivery has to be as cute as the sweets themselves! #OCD…
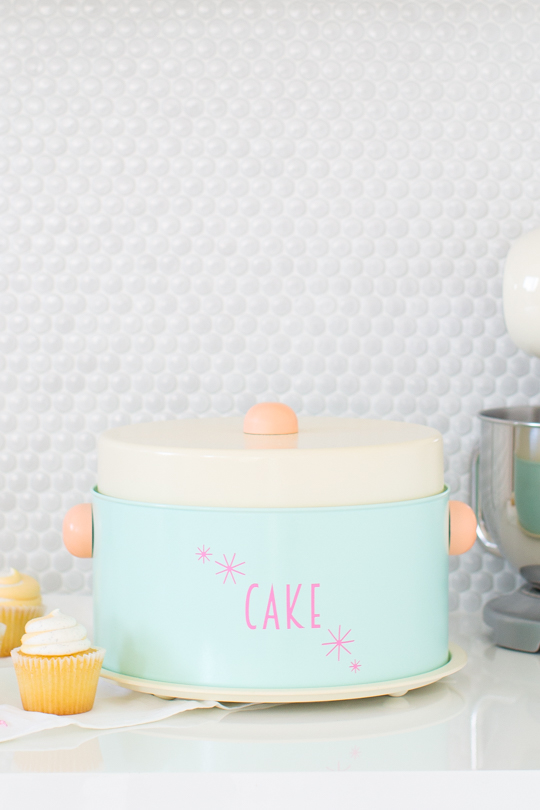
Materials and Tools Needed to Make a Vintage DIY Cake Carrier
This cake carrier — Or a similar one here
Your choices of enamel gloss spray paint — I used Montana Gold mint, shrimp pastel and cream.
BIN Shellac Primer — A life changer!
Food safe clear shellac sealant spray — I used the Rust-Oleum Zinsser 408 Bulls Eye Clear Shellac Spray which is all-natural and non-toxic.
Matte pink adhesive vinyl — Optional for the letters and starburst.
Retro Cake sticker download — Or you can use stencils and paint or a retro sticker instead!
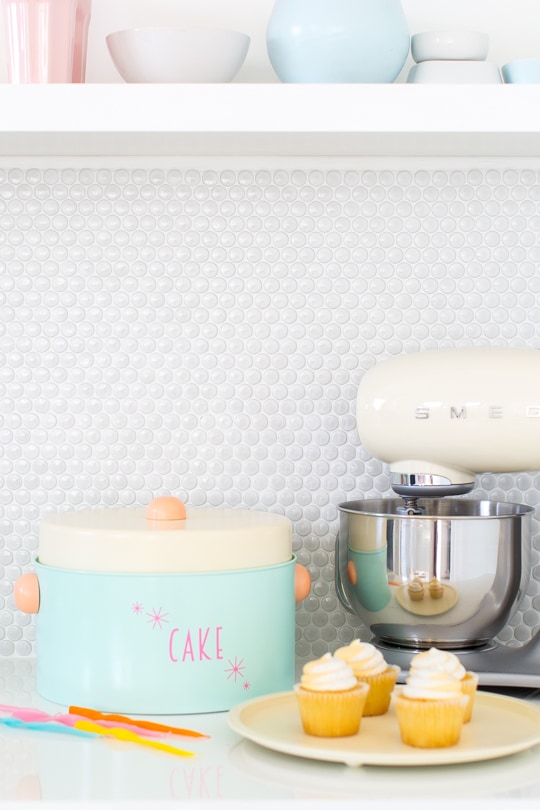
How To Make A Retro DIY Cake Carrier
Step 1 — First, unscrew the handles from the carrier, and disassemble everything so that you can use the extra fine sandpaper to sand down all of the pieces. However, leave the silver latching mechanism alone.
Once everything is sanded, you should no longer be able to see any of the previous graphics.
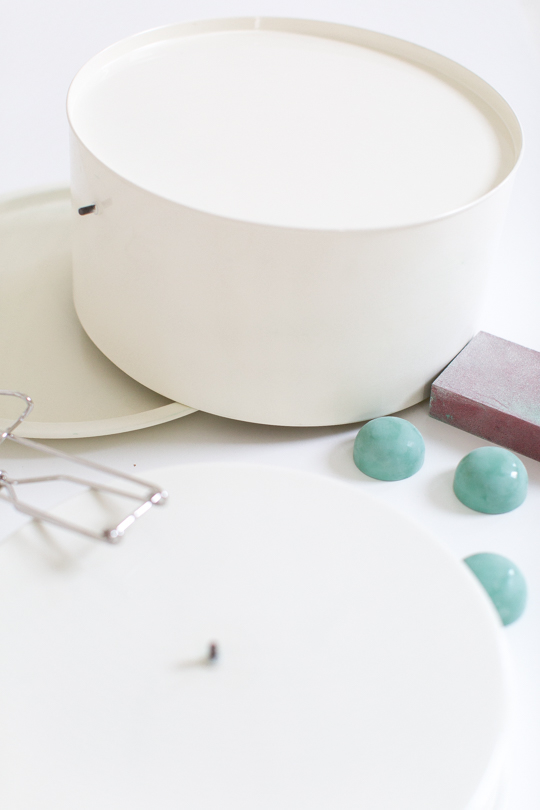
Step 2 — Dust everything off so that you have a clean surface to spray your BIN shellac primer on. The cool thing about shellac primer is that it self levels and fills out a lot of the roughness of surfaces. So you should have a nice clean slate once this is dry!
Step 3 — Next, spray each piece of your cake carrier the colors of your choice, using three very thin coats of spray paint.
And let it dry 24 hours.
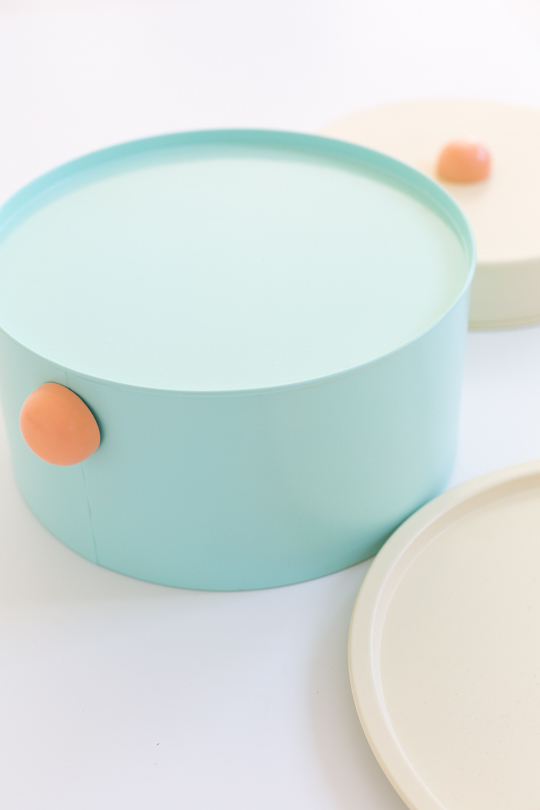
Step 4 — Now you’ll use the final coat of clear food-safe shellac to spray all of the pieces again so that there are no toxic paint surfaces exposed to any of your sweets!
The shellac also cures really quickly so you shouldn’t have a lot of down time here!
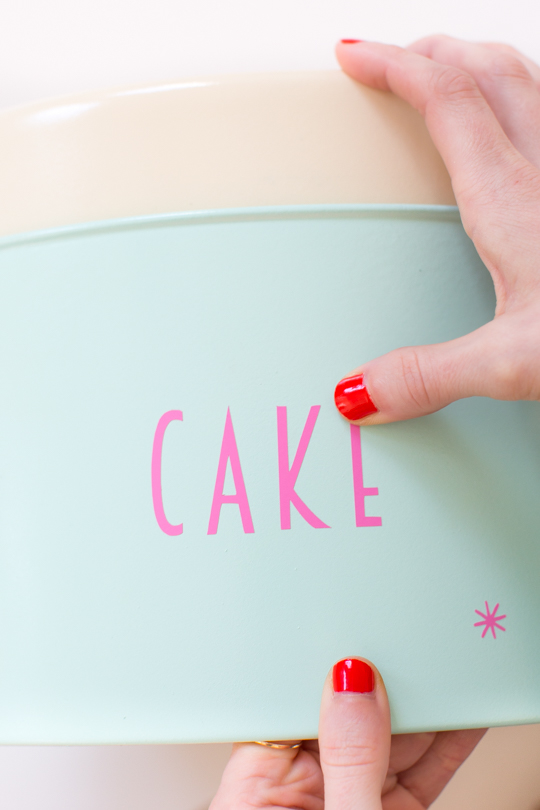
Step 5 — For the sticker portion, I used my Cricut machine to cut the graphic out of adhesive pink vinyl.
But you can always download the artwork to cut out and use as a stencil or print on a solid sticker as well!
It’s definitely not worth buying an entire cutting machine for if you don’t already have one!
Step 6 — I sprayed one last coat of shellac over top of the sticker once I had it in place so that it wouldn’t easily peel off.
Plus, the extra coat of shellac makes the DIY cake carrier wipeable whenever it needs to be cleaned after use.
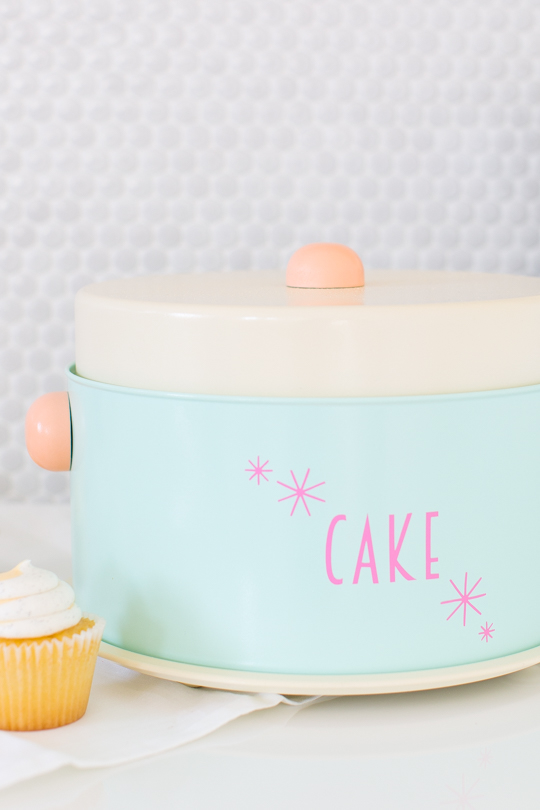
How To Wash Your Retro DIY Cake Carrier
Your cake carrier will need hand-washing only when needed.
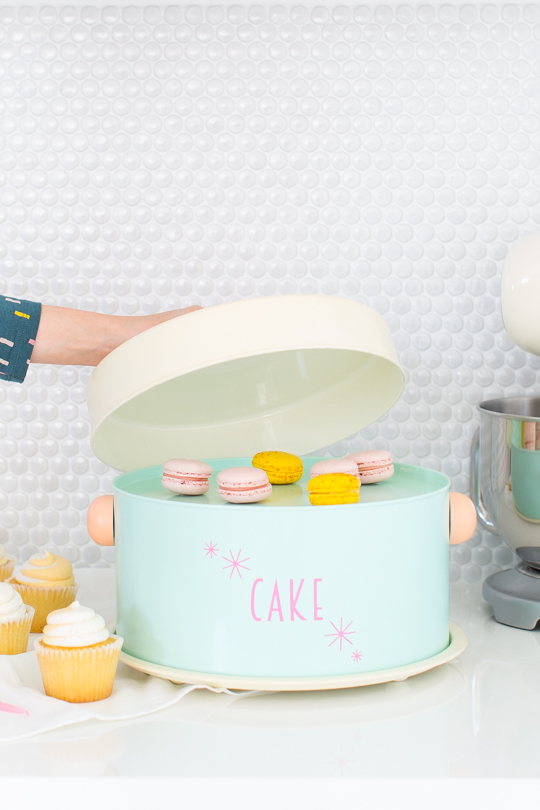
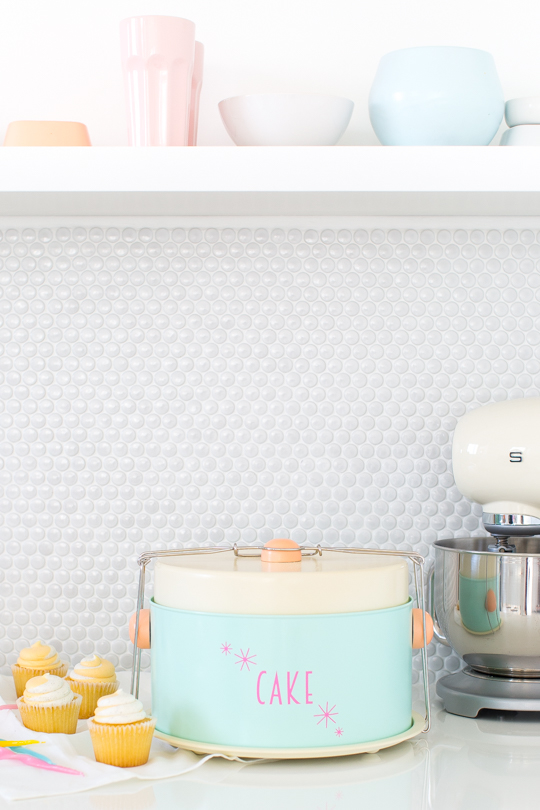
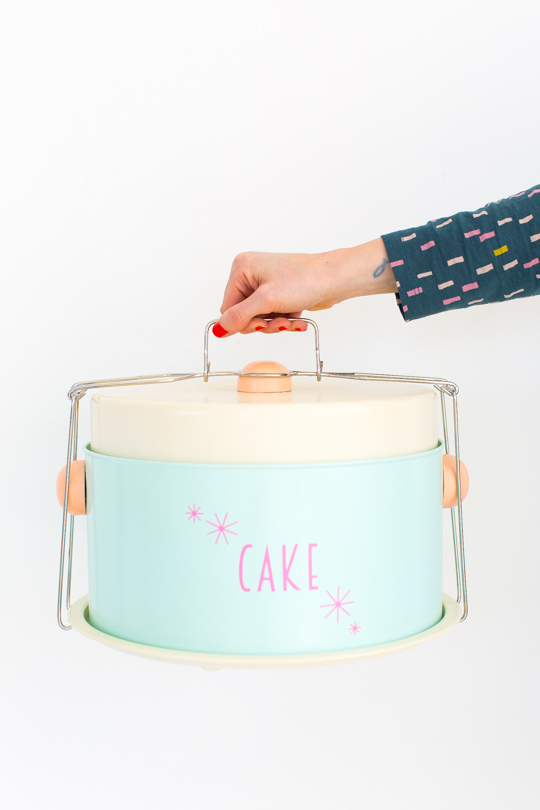
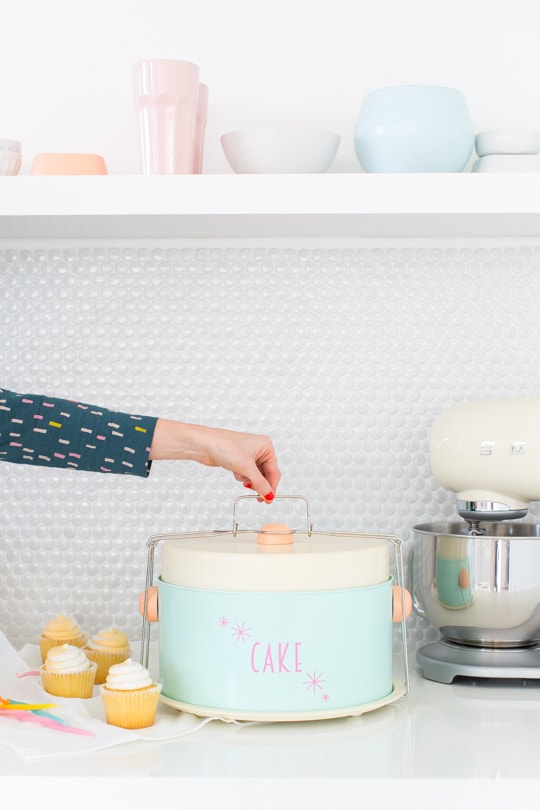
So this project may make me a bit obsessive over styling. But we already took it to a friend’s birthday gathering and got a lot of compliments on it!
It’s worth the trouble for as much use as it gets with all of the desserts we make here!
The perfect way to carry your Raspberry Layer Cake!
Plus, it’s a pet peeve of mine to not have a cute container when you’re headed to parties. Don’t judge me!
For more DIY retro ideas like this, be sure to check out our related posts below –
- DIY Metallic Patterned Glassware
- Retro DIY Portable Bar
- Ikea Hack Retro DIY Sideboard
- Outdoor Decor: DIY Retro Beach Umbrella
DIY Cake Carrier Idea
Equipment
- Cricut machine
Materials
- cake carrier Or a similar one here
- gloss spray paint I used Montana Gold mint, shrimp pastel and cream.
- BIN Shellac Primer
- Extra fine sandpaper
- Food safe clear shellac sealant spray
- Matte pink adhesive vinyl
- Retro Cake sticker download
Instructions
- Unscrew the handles from the carrier, and disassemble everything so that you can use the extra fine sandpaper to sand down all of the pieces. However, leave the silver latching mechanism alone.Once everything is sanded, you should no longer be able to see any of the previous graphics.
- Dust everything off so that you have a clean surface to spray your BIN shellac primer on. The cool thing about shellac primer is that it self levels and fills out a lot of the roughness of surfaces. So you should have a nice clean slate once this is dry.
- Spray each piece of your cake carrier the colors of your choice, using three very thin coats of spray paint. And let it dry 24 hours.
- Now you’ll use the final coat of clear food-safe shellac to spray all of the pieces again so that there are no toxic paint surfaces exposed to any of your sweets!The shellac also cures really quickly so you shouldn’t have a lot of down time here.
- For the sticker portion, you can use a Cricut machine to cut the graphic out of adhesive pink vinyl.But you can always download the artwork to cut out and use as a stencil or print on a solid sticker as well
- Spray one last coat of shellac over top of the sticker once you had it in place so that it wouldn’t easily peel off.

Don’t forget to share your DIY retro cake carrier with us on Instagram using the hashtag #sugarandclothloves. We always love seeing all of your creations! Looking for more interior design inspiration? You can find all of our home decor tutorials and ideas right here!
Please note that we may earn a commission for some of the above affiliate links. However, products featured are independently selected and personally well-loved by us!


what is the brand of the lacquer/sealer that you used that is food safe. I’m having a hard time locating one to use on my vintage cake taker and a metal platter I’m making over for the 4th of July party I’m planning!
This is the brand we used: http://amzn.to/2r5tEae
:)
Oh Ash, I love this one! I currently have a cake carrier in my prop closet that is indeed in need of a face lift!
This is SO lovely! Absolutely adorable!
Oh my goodness, you made this so adorable!
I love this so much!! Talk about adorable. And I’ll have to try out your recommended primer – I’ve been having trouble with spray painting plastic so I’ll give this a shot. Thanks Ash!
My two favorite things- cake and vintage! Love this!
Can you tell me what the font used to write “cake” is? Thanks!!
This is so cute! I want to make one!
Paige
http://thehappyflammily.com
WOW, move over plastic cake holders. This is one of a kind. Such awesome originality.
I would love to have it!
this looks cute and handy. well done!
So cute, Ash. The shape is perfect and I love the colors.