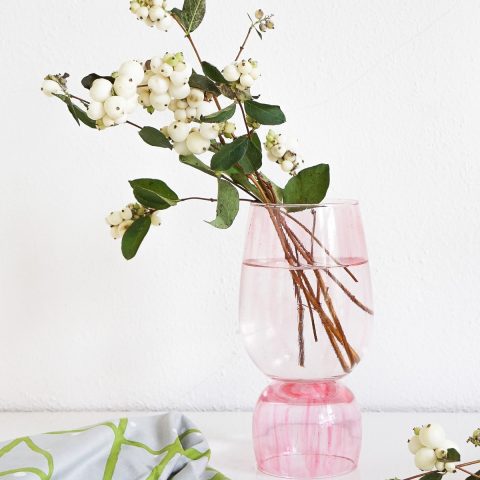
Stacked DIY Painted Vase
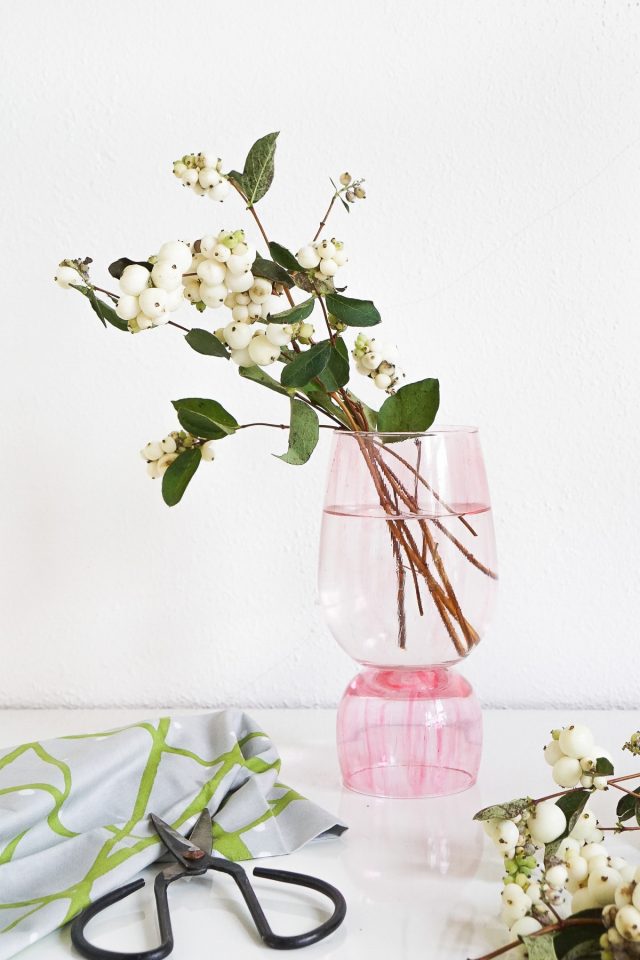
Transform ordinary glassware into stunning decorative bud vases with this easy Stacked DIY Pained Vase tutorial!
Creating unique and stylish home decor doesn’t have to break the bank. With a little creativity and some simple supplies, you can transform ordinary items into personalized pieces that reflect your own taste. This DIY project focuses on repurposing glassware into trendy stacked painted vases.
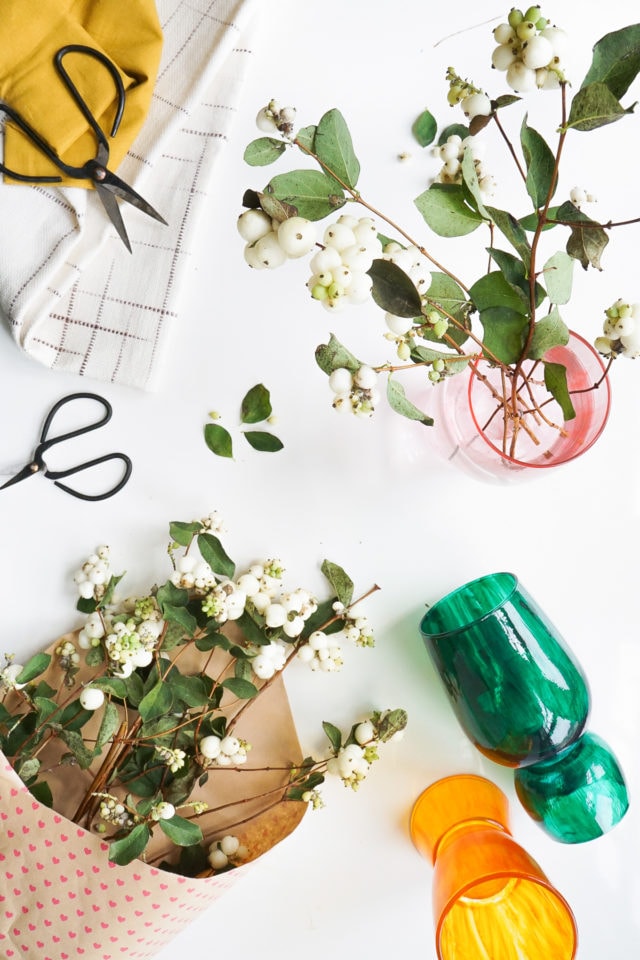
I, Erin love thrift shopping, because you never know what gem you’re gonna stumble upon. And this time I found a big ole haul of drinking glasses, perfect for this DIY (and even making DIY citronella candles).
This stacking technique allows you to create a modern, sculptural look with just a few coats of paint and some careful layering. It’s a fantastic way to upcycle items you already have or find inexpensive glassware, giving them a fresh, contemporary makeover. Plus, this DIY vase makes for a unique handmade gift!
This tutorial is perfect for beginners and requires no special artistic skills. We’ll walk you through the process step-by-step, from prepping your glassware to achieving the perfect stacked effect. You’ll be amazed at how easily you can create a designer-worthy vase that adds a touch of sophistication to any room. Get ready to unleash your inner artist and transform some plain glass into a stunning focal point for your home!
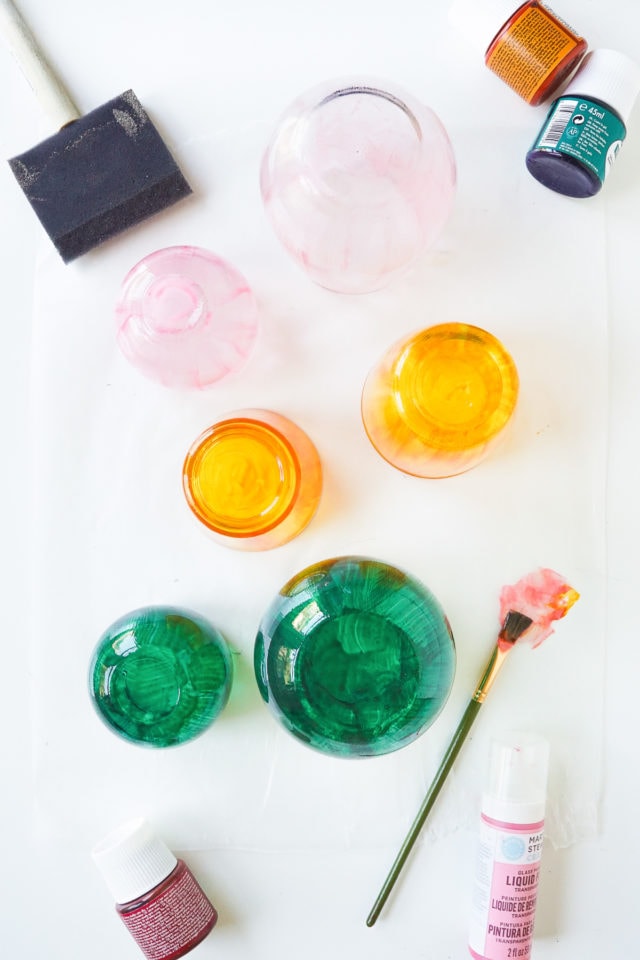
Materials and Tools Needed
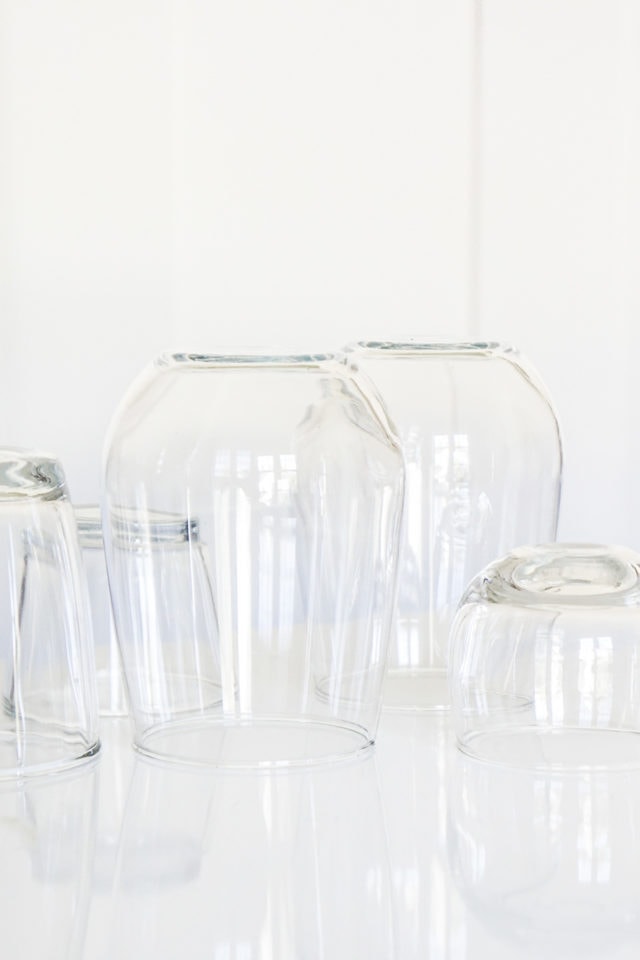
- Large stemless glass — Though ours are thrifted, you can find similar ones online here.
- Short stemless glass — Must have the same base size as the large glass.
- Glass paint
- Glass paint thinner — Optional for a translucent look.
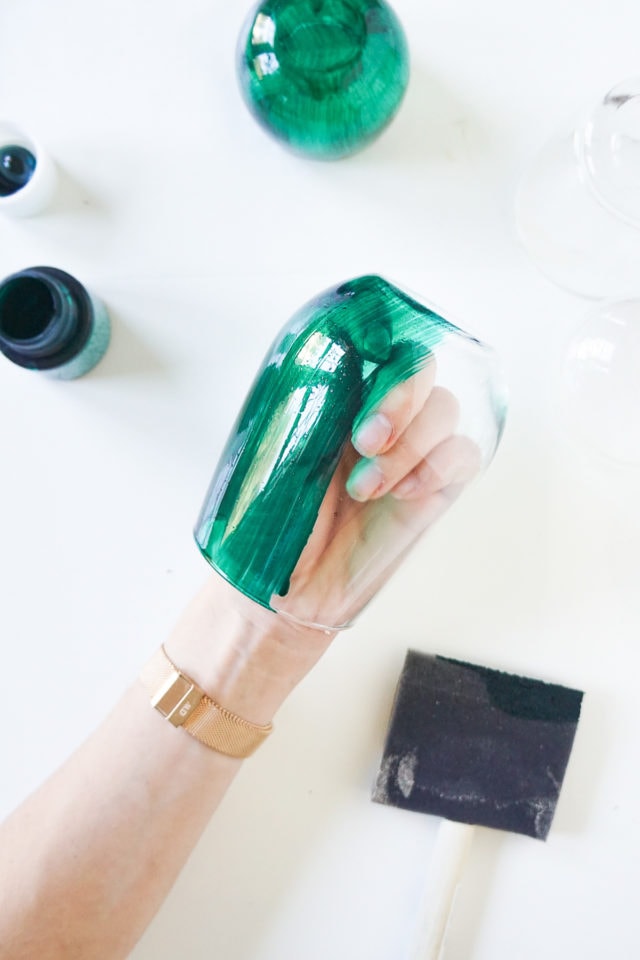
- Flat paintbrush — To minimize brushstrokes, use a soft, flat brush and apply the paint in smooth, even strokes. You can also try using a sponge brush for a different texture.
- Wax paper
- Oven
- Super glue — Use a strong, clear super glue that is designed for glass.
How to Make a Stacked DIY Painted Vase
1 — Paint: Paint the outside of both glasses, including the bottom, with glass paint. For a more translucent finish, mix the paint with a small amount of glass paint thinner.
2 — Dry: Place the painted glasses on wax paper and allow them to dry for 24 hours.
3 — Cure: After 24 hours, bake the glasses in a preheated oven at 325°F (163°C) for 40 minutes. This cures the paint and makes it more durable. Let them cool completely.
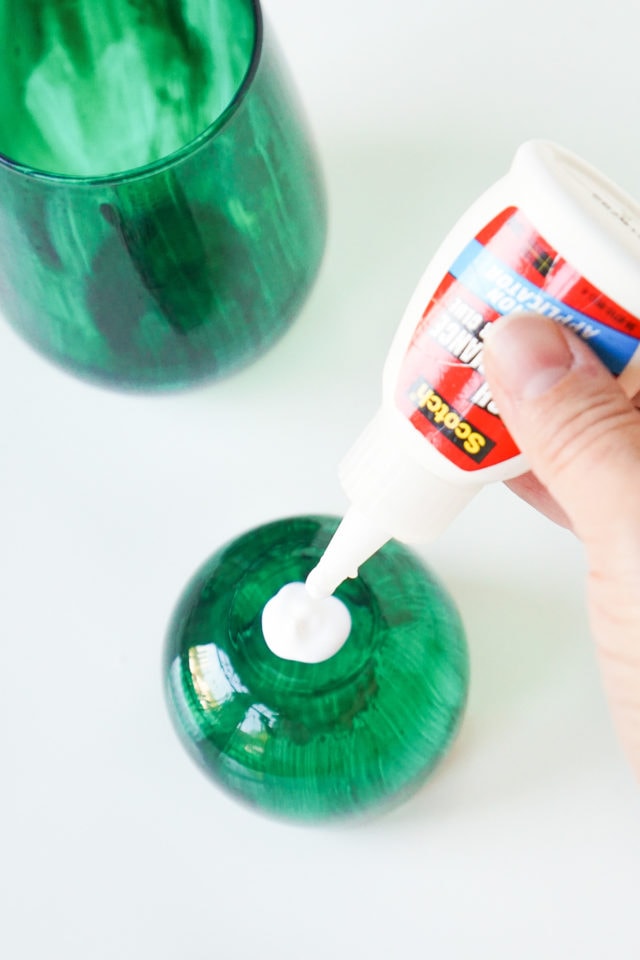
4 — Assemble: Turn the smaller glass upside down. Apply a generous amount of super glue to the base of the smaller glass.
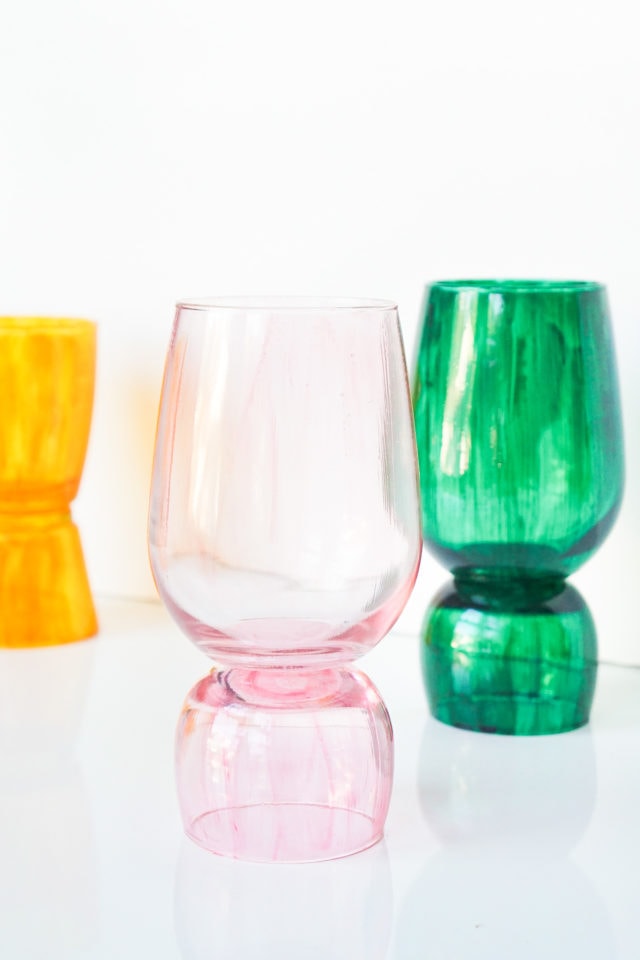
5 — Stack: Carefully place the larger glass right-side up on top of the smaller glass, ensuring the bases are firmly touching.
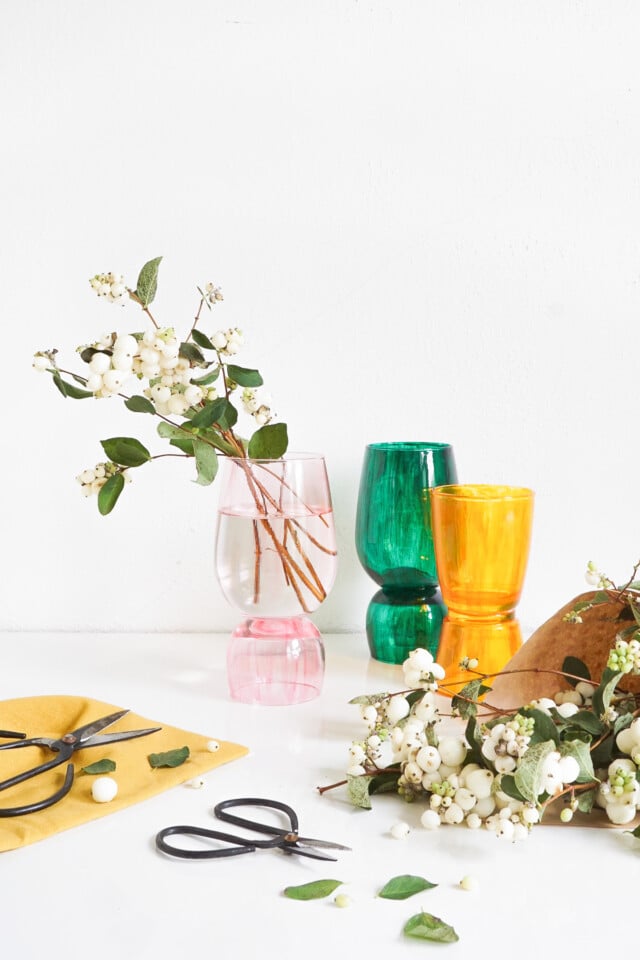
6 — Dry: Allow the glue to dry and cure for 24 hours before handling or using the vase. And that’s it! Fill with water and add florals like berry branches, sunflowers, dried wheat and even feathers!
Tutorial Notes and Tips
- Prep: Wash both glasses thoroughly with soap and water. Ensure they are completely dry before painting.
- Multiple coats: For a more opaque and vibrant color, apply 2-3 thin coats of glass paint, allowing each coat to dry completely before applying the next.
- Experiment with colors: Don’t be afraid to experiment with different colors and combinations. You can create a monochromatic look, use contrasting colors, or even try ombre effects.
- Care: Hand-wash your finished vase with mild soap and water. Avoid using abrasive cleaners or placing it in the dishwasher.
More Easy DIY’s for Flowers and Plants
We were super inspired by emeralds, ochres and blushes this season (hence our color choices for these DIY vases). For more unique DIY’s for your foliage, check out a few of our favorites from the archives —
- Patterned Vase
- Mid Century Modern Planter
- Mini Face Planters
- Hanging Planter made from Bundt Cake Pans
- Outdoor Vertical Garden
Stacked DIY Painted Vase
Equipment
- Paintbrush
- Wax paper
- Super glue
Materials
- 1 large glass
- 1 small glass
- 1 glass paint color of choice
- 1 glass paint thinner optional
Instructions
- Paint: Paint the outside of both glasses, including the bottom, with glass paint. For a more translucent finish, mix the paint with a small amount of glass paint thinner.
- Dry: Place the painted glasses on wax paper and allow them to dry for 24 hours.
- Cure: After 24 hours, bake the glasses in a preheated oven at 325°F (163°C) for 40 minutes. This cures the paint and makes it more durable. Let them cool completely.
- Assemble: Turn the smaller glass upside down. Apply a generous amount of super glue to the base of the smaller glass.
- Stack: Carefully place the larger glass right-side up on top of the smaller glass, ensuring the bases are firmly touching.
- Dry: Allow the glue to dry and cure for 24 hours before handling or using the vase.
Notes


26 Edible Flowers Recipes
Sharing a collection of edible flowers recipes for you to…
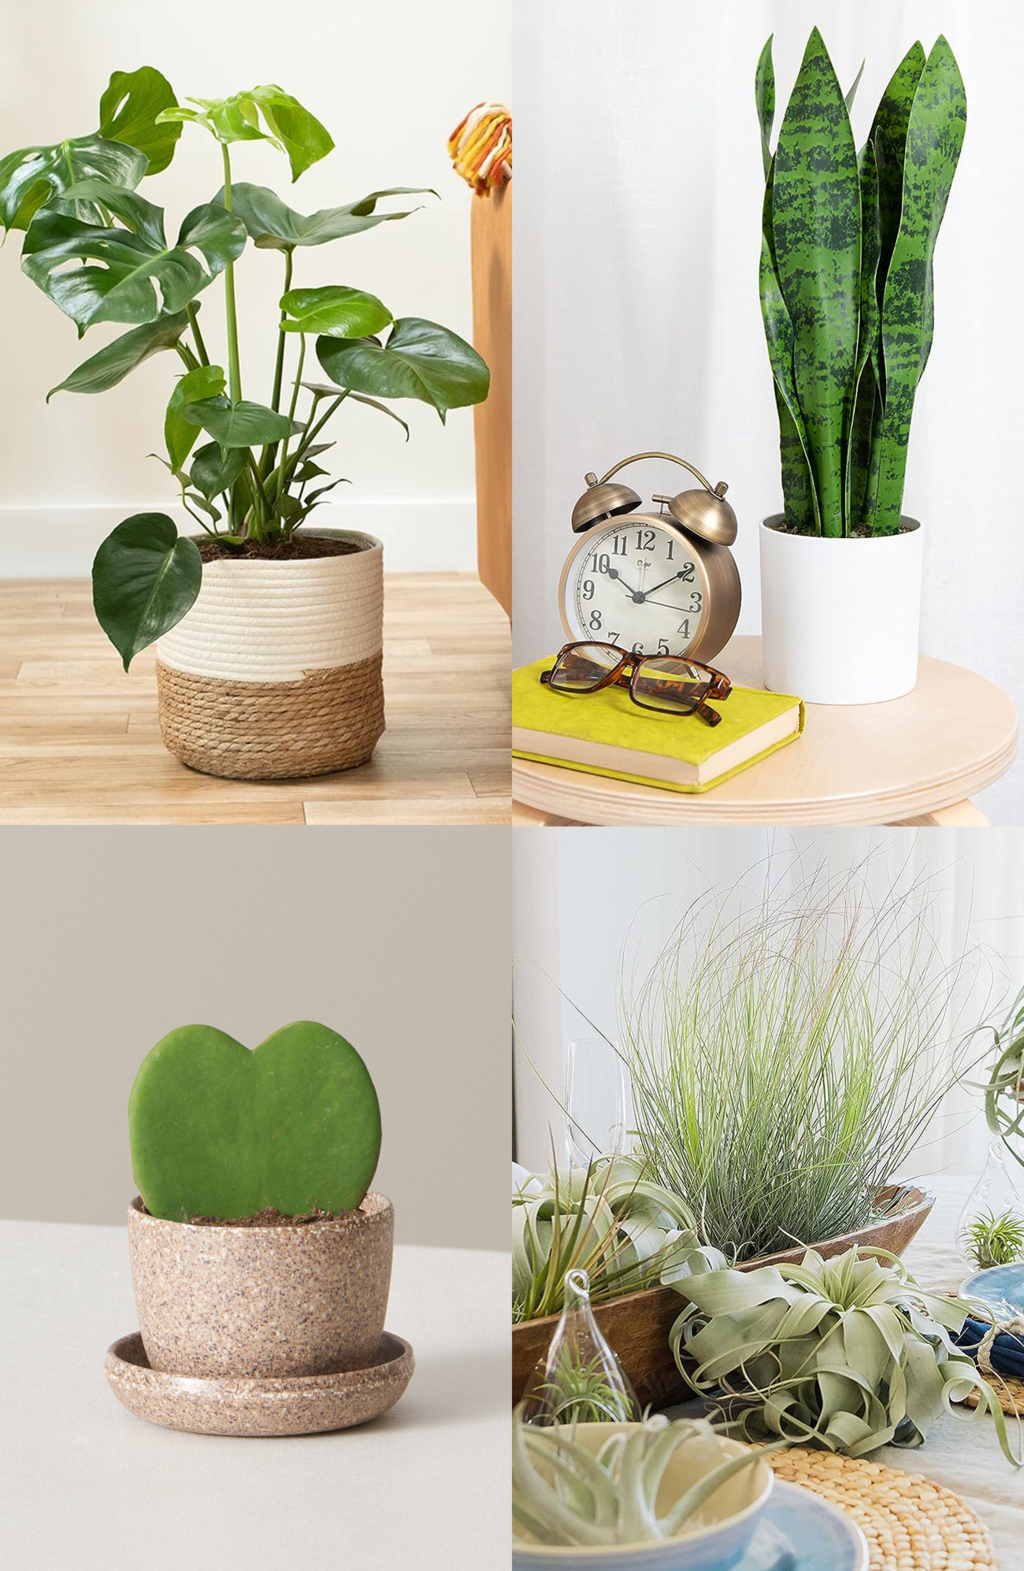
19 Unique & Easy Houseplants that We’re Loving
Looking for unique house plants? Dive into our guide to…
Continue Reading 19 Unique & Easy Houseplants that We’re Loving
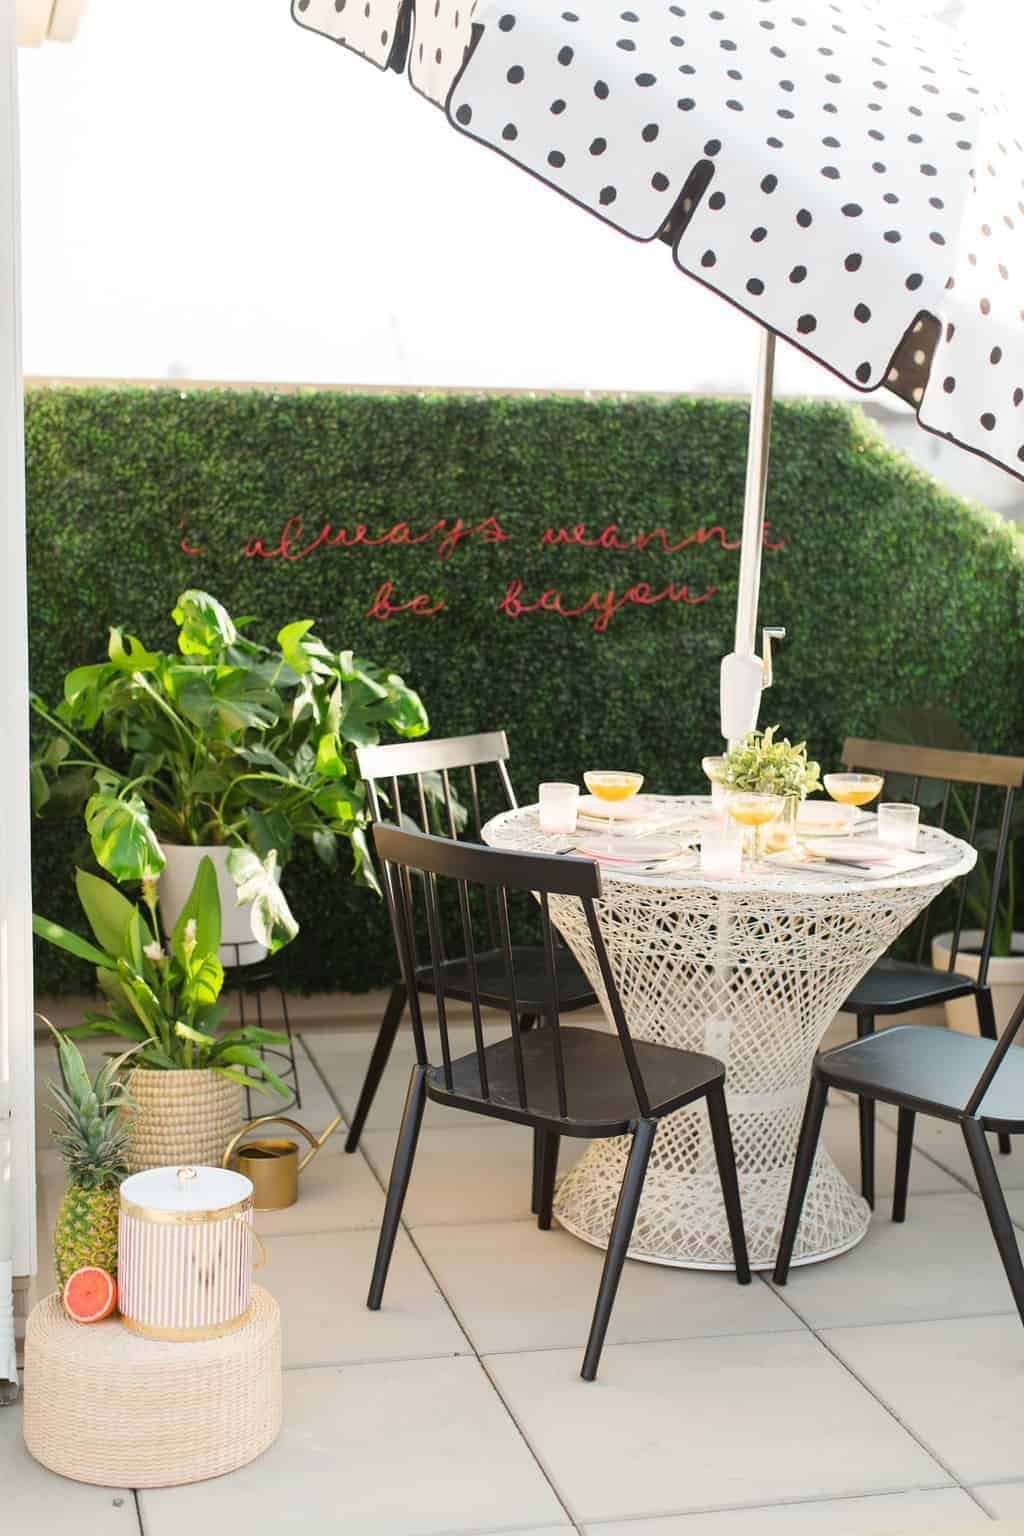
Faux Boxwood Wall with a DIY Neon Sign
Bring an element of nature to your home with a…
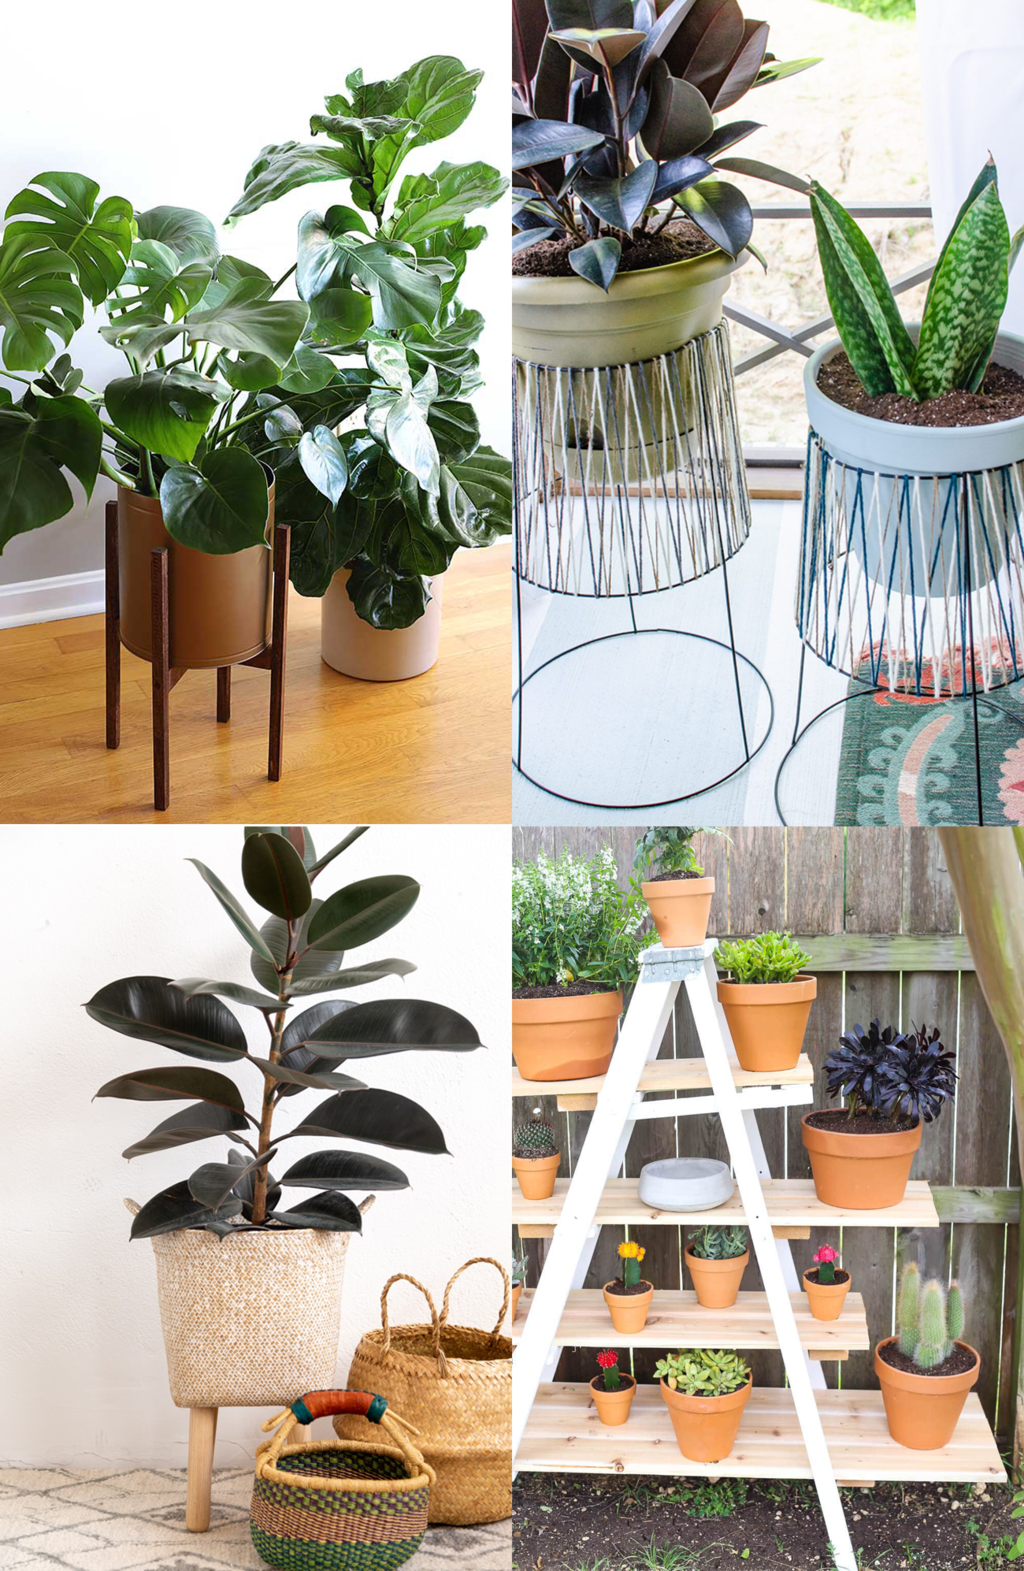
20 Simple & Attractive DIY Plant Stand Ideas
Looking for plant stands that will showcase your plants quite…
Continue Reading 20 Simple & Attractive DIY Plant Stand Ideas
Please note that we may earn a commission for some of the above affiliate links. However, products featured are independently selected and personally well-loved by us!
This is such an awesome and simple DIY! I’ve actually been looking for blush colored drinking glasses. Since this paint is going on the outside of the cup, would they be safe to use for drinking? Thanks!
Hi Natalie! Unfortunately, most glass paint is not food safe so we do not advise drinking out of the vase.
very good tutorial! Thank you
These are so lovely. I love the pink especially. I want to try this but have a question. Would this project work with textured glass? I have glass cups with beaded glass dots along the outside. The beads are raised from the cup giving the glass a bumpy texture. Can you bake textured glass the same way you would regular smooth glass? Thanks!
Hi Erin! Thanks for the question! Texture glass should be fine when you bake it. Are the bumps on the bottom as well? If so, I wouldn’t recommend glueing them together like we did. Glazing them and baking in the oven would be fine though! Have fun :)
These vases are so pretty and I like that you can make them in so many different colors. I also love how affordable they are to make!
-Helen
http://www.sweethelengrace.com