Pumpkin Decal for Your Halloween Glassware
DIY Halloween Glassware Pumpkin Decal — This Halloween party idea is a super easy DIY that’s quick to make and perfect for entertaining or your Halloween bar. It’s also a temporary Halloween sticker so you won’t ruin your pretty glassware collection after the holiday fun is over…
Though I’m not necessarily a big Halloween fan, I can still whip up a few non-scary decor ideas here and there! These DIY Halloween decals may actually be one of my prouder DIY craft moments, too!
I mean, not only were they an excellent excuse for me to breakdown and buy some copper glasses (to resemble pumpkin color, of course), but they’re also temporary so I can have these copper mug beauties all to my non-scary holiday self after the season ends.
To seal the deal, you can make a whole slew of custom glassware decals for your costume party with just one package of vinyl clings.
That means no one has to know that you were budget-friendly while making your spooky floral Halloween bar…
Materials To Make A Halloween Pumpkin Decal
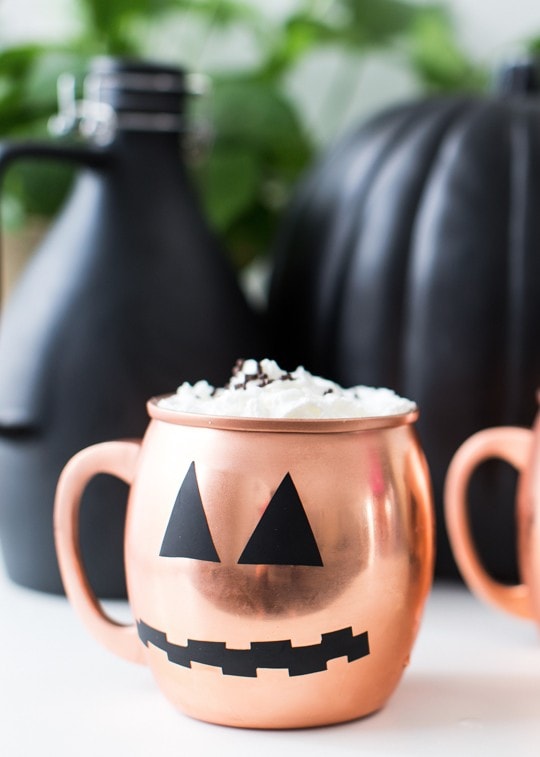
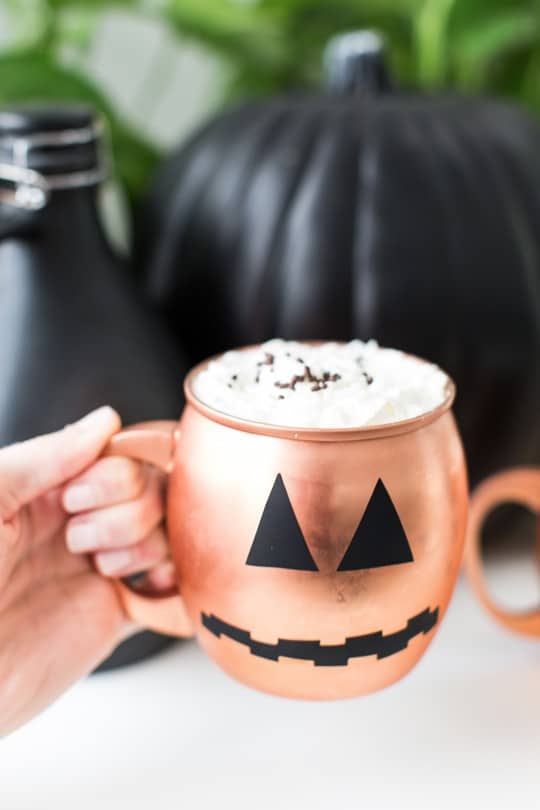
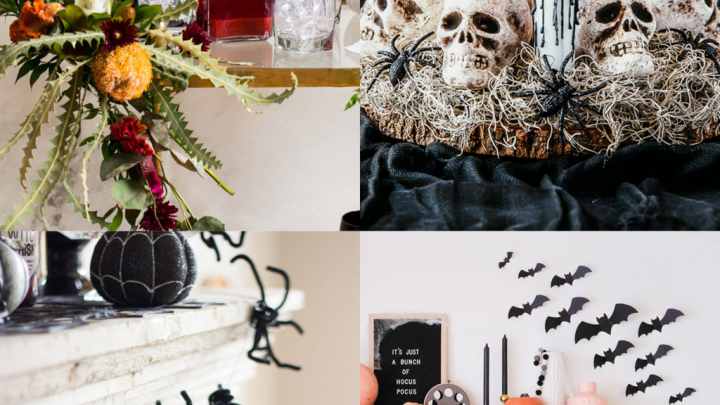
Everyone loves a good Halloween pumpkin decoration and this version is a play on the traditional Halloween window cling for an entertaining idea rather than a Halloween wall.
Since we’re repurposing window clings to recreate a pumpkin decal, it makes for a great temporary design so that you aren’t too worried about ruining your perfectly good copper mugs just for one holiday out of the year.
You’ll simply cut out your designs, apply them, and then remove them once the party is over!
- Scissors
- Black window cling material
- Smooth surface copper mugs or your choice of glass drinkware

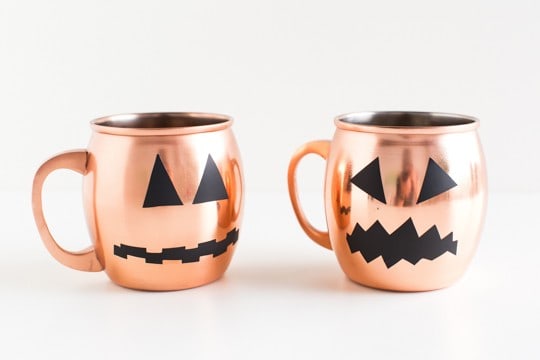
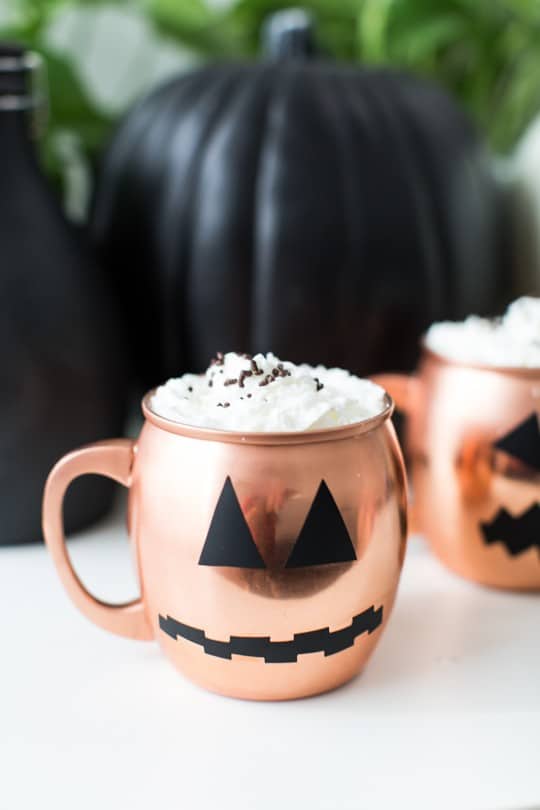
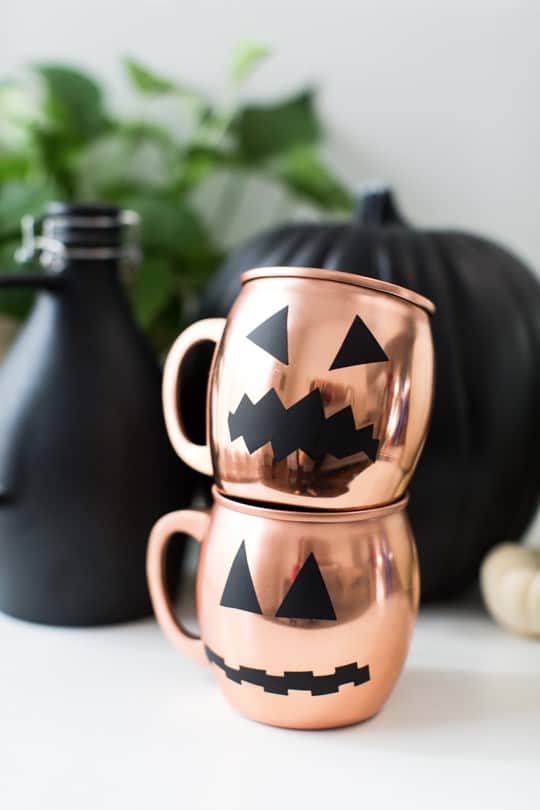
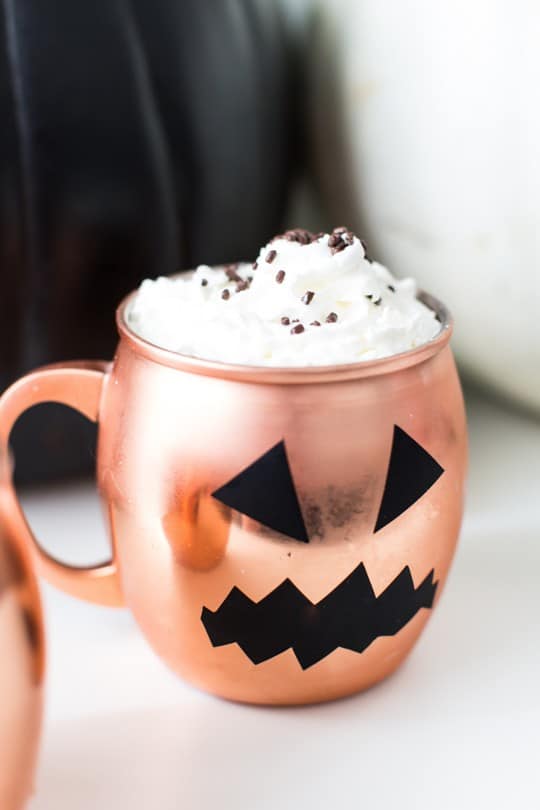
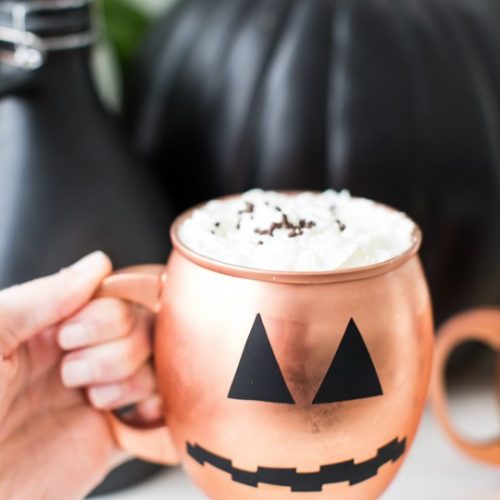
To make the Halloween pumpkin decals, cut out triangles and scary burst shapes (similar to zipper shapes) from the window cling material.
These will serve as the eyes and mouth just like you would when carving a real pumpkin.
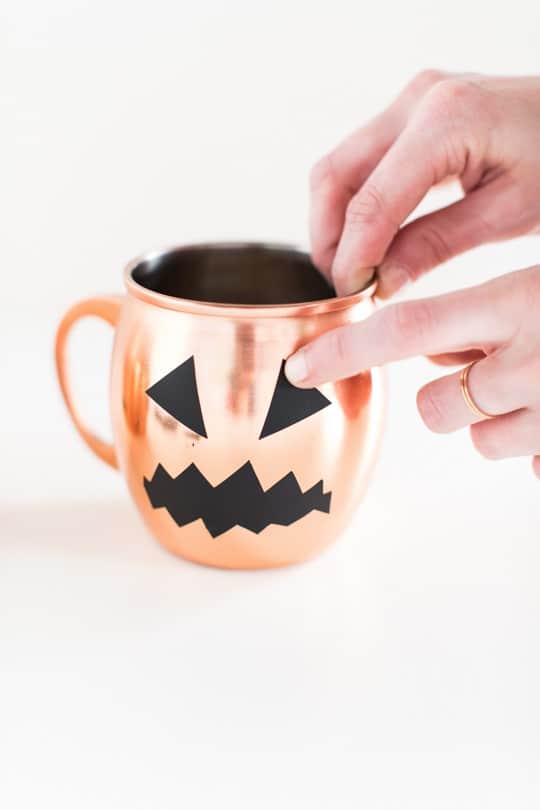
Make sure your glassware is clean and dry, then press the clings in place on the glassware, and serve!
The clings actually hold up really well to condensation and warm drinks. We even hand-washed the cups with the clings on them and they still stayed in place, so you could easily reuse cups throughout a party if you needed to.
Once the party is over, just peel the clings away and toss them or save them in the packaging for next year!
Pumpkin Decals Pro Tip
If you’re having trouble getting your window cling material to stay put as a pumpkin decal, simply dilute white vinegar and wipe the surface of your glass down with a lint-free rag or cloth.
This will ensure that the surface is smooth and clean for the cling to grab onto!
How To Wash The Halloween Glassware
This pumpkin decal DIY is meant to be a temporary decor item for your Halloween party or Halloween bar.
If you’d really like to reuse them, you’ll have to very gentle handwash each cup to make sure to wipe around the decals softly.
Otherwise, you can simply peel the decals back off of the copper mugs and store them on a sheet of plastic paper to reuse for next Halloween if you’d like too!
How to Reuse Window Cling Pumpkin Decal
If you’re storing use cup decals to reuse for Halloween next year, there’s a simple way to make sure that they’ll stick again year after year.
Since window clings stick to smooth surfaces using static, they should be easily reusable as long as they’re stored properly and applied to clean surfaces.
If your window cling, or pumpkin decal in this case, loses it’s stickiness here’s what to do —
- Fill your cleaned kitchen sink with warm water and a few drops of dishwashing soap and place the pumpkin decals inside.
- Let them soak, then drain the water and run cool water over them.
- Place them on a clean dry cloth (preferably a lint-free cloth) and let dry. Then you’re ready to reuse!
More Halloween Projects
And in case you’re looking for some Halloween costume ideas or fancy champagne jello shots to go along with your Halloween table decor setting or pumpkin decals, here are a few ideas for you —
- 41 Easy Ideas for Halloween Couples Costumes
- Easy Halloween Wigs and Lashes: 4 Last-Minute Costume Ideas
- 36 Easy Halloween Costumes for Kids
- Family Costume Idea: Easy DIY Hungry Hippos Costume

How To Make Our Five Minute Halloween Pumpkin Decal
Easy Pumpkin Decal: Five Minute Temporary DIY Halloween Glassware
Equipment
- Scissors
Materials
- Black window cling material
- Smooth surface copper mugs or your choice of glass drinkware
Instructions
- To make the Halloween pumpkin decals, cut out triangles and scary burst shapes (similar to zipper shapes) from the window cling material. These will serve as the eyes and mouth just like you would when carving a real pumpkin.
- Make sure your glassware is clean and dry, then press the clings in place on the glassware, and serve!
- The clings actually hold up really well to condensation and warm drinks. We even hand-washed the cups with the clings on them and they still stayed in place, so you could easily reuse cups throughout a party if you needed to.


Please note that we may earn a commission for some of the above affiliate links. However, products featured are independently selected and personally well-loved by us!
Such a great and simple idea!
Thank you Danijela! Really hope you try this DIY. Its super quick and simple!
What a charming diy project for halloween! It’s so simple and adds a great touch for the holiday spirit!
Thanks, girl!
Great tutorial! I love all these halloween diy’s I’ve been coming across lately. Nothing gets you in the mood for halloween better than reading blogs and browsing pinterest ideas!
This is such a neat idea! Thanks for posting!
What a fun idea! I’m going to check out the dollar store and hopefully find some that I won’t have to wait on to be shipped :). My daughter will love it.
I love this idea!!! May I ask where you found those gorgeous copper mugs?
Love this! Ashley, where did you get the mugs? They are great for this time of year abc would like to pick some up.
Ahhh, I love how simple and clever this is! I gotta get me some copper mugs stat!
These are so cute and simple! I was expecting a stencil and paint or etching. Nope!
These are AMAZING. Usually halloween DIY’s are pretty cheesy but I adore this!
So cute, Ash. Love these.
These are incredible! I love them with these copper mugs.
These are incredible! I love them with these copper mugs.