DIY Dreamcatcher
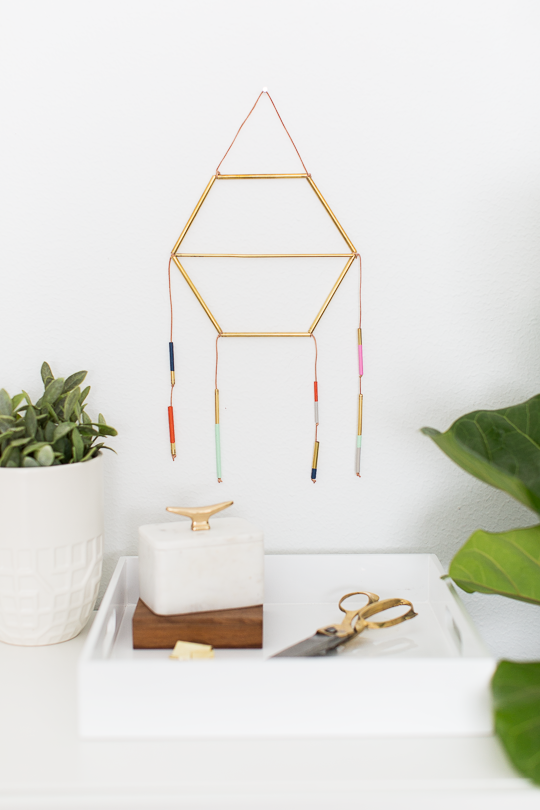
A Modern DIY Dreamcatcher tutorial just in time for handmade holiday gift ideas!
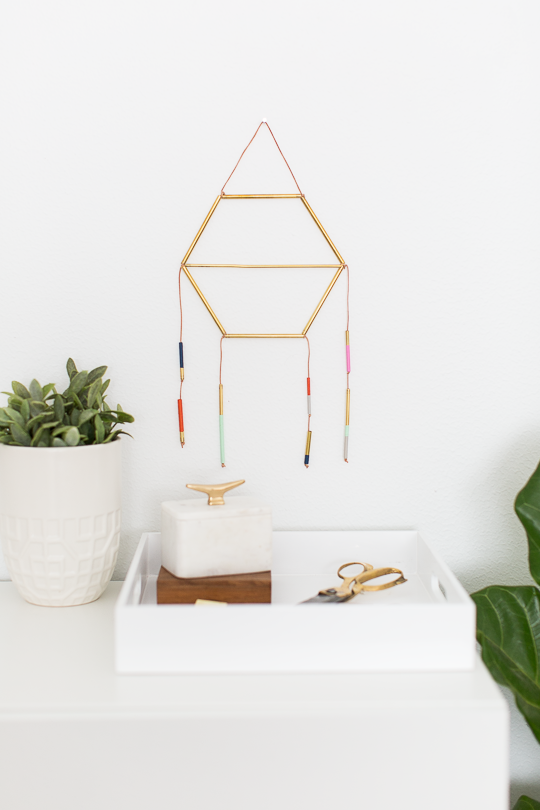
Not that classic dream catchers aren’t always a good idea. But when they’re metal and gold like this modern DIY Dreamcatcher, we’re totally down!
We may be biased since we’ve been dreaming (no pun intended) of this bad boy for a while now. But I think they’d make pretty great handmade holiday gifts too.
And besides geometric wall hang trend is all the rage at the moment!
We just wish you could’ve seen the trial and error that it took before we got to this version. And by we, we actually mean our assistant Tiffany pretty much manned the fort.
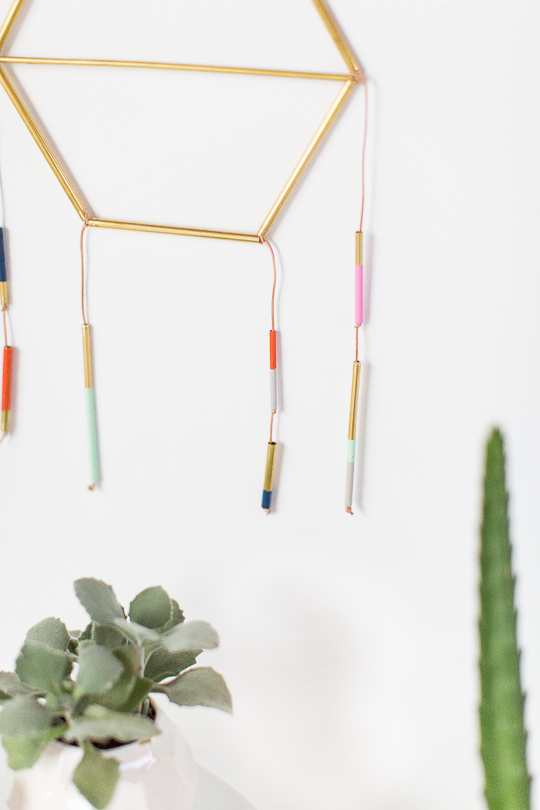
Materials Needed to Make a Modern DIY Dreamcatcher
3 feet of tan leather lace cord
Scissors
Pen and ruler
Craft paint and brushes — Optional for color blocking
How To Make A Modern DIY Dreamcatcher
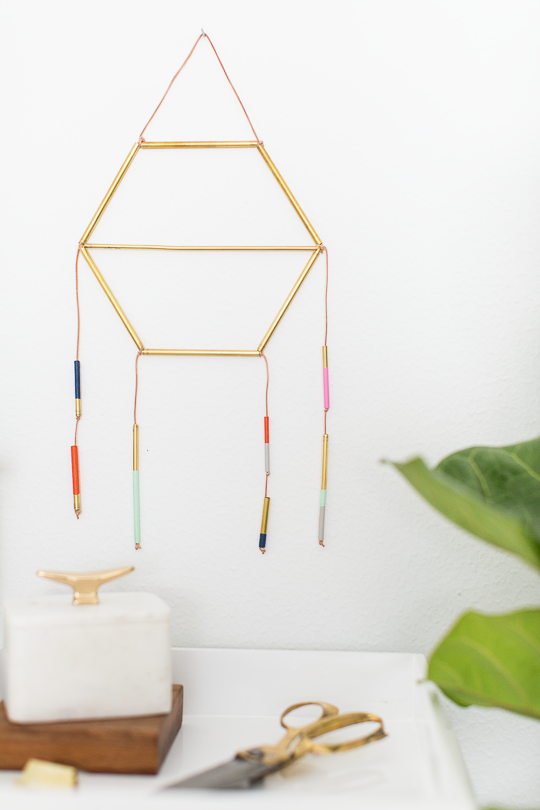
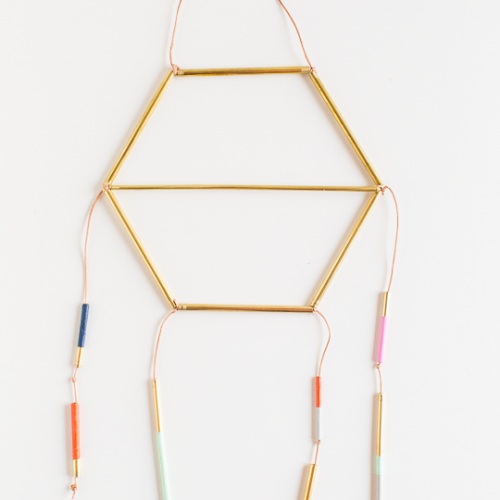
To make the core of the dreamcatcher, you can follow the image below as a general guideline for the base structure. You can scale it to be as big or as small as you’d like it to be.
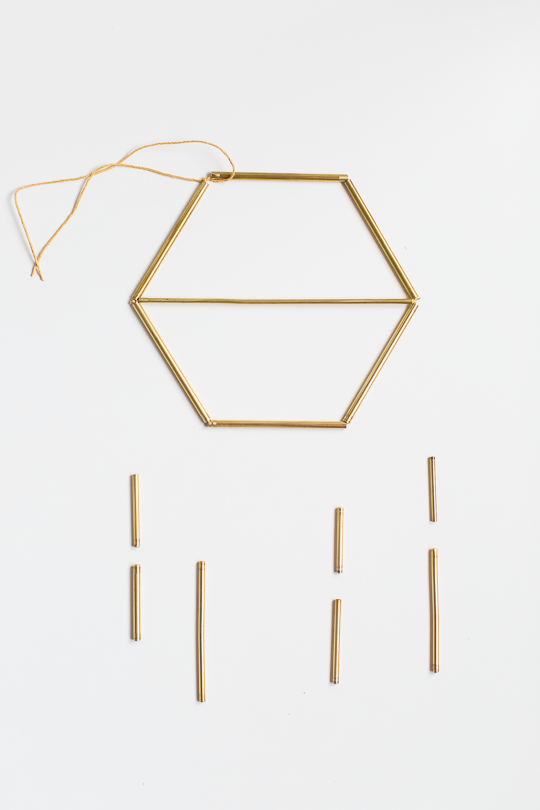
Step 1 – For the hexagon, you’ll need six pieces of tubing that are identical in size. We used 4-inch pieces.
Step 2 – You’ll string them all together using the leather cording, laying it flat on a working surface.
Step 3 – Cut another piece of brass tubing just long enough to go across the middle of the hexagon to make the shape more defined. In our case, it was 8.5 inches.
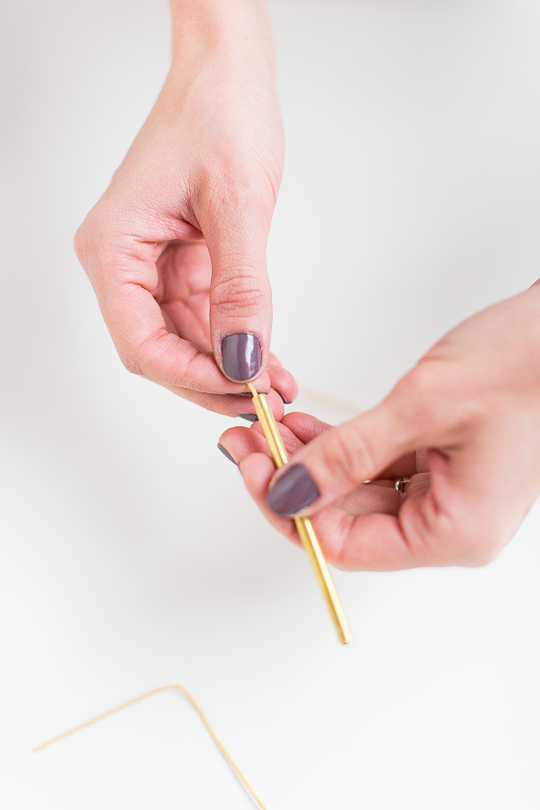
Step 4 – Once you have the tubing laid out how you’d like for it to be, string a piece of leather cord through the 8.5-inch piece of pipe, and knot it in place on either side of the middle.
Step 5 – Next, pull the cord that’s going through the hexagon shape tight and knot in the corner. You should now have a tightly held-hexagon base.

Step 6 – For the bottom strings, you use whatever configuration or combination of metal pieces you’d like, just as long as each strand holds the same amount of weight (or metal tubing) so that it doesn’t hang lopsided.
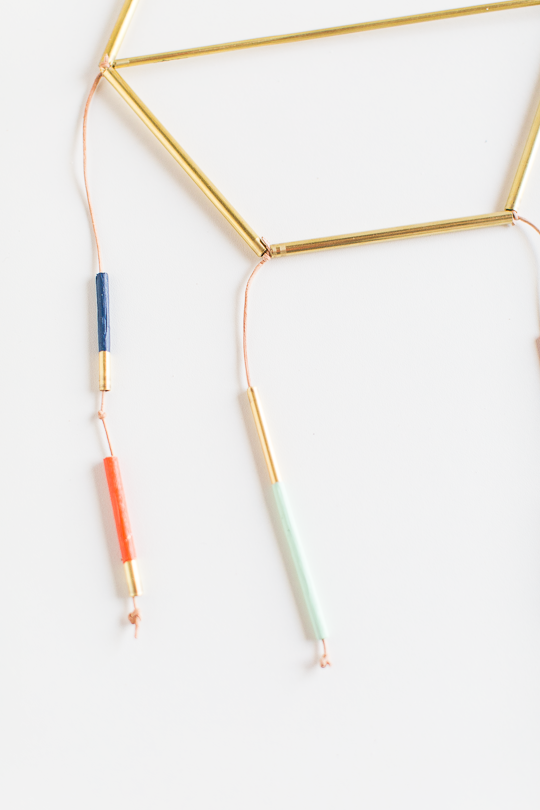
You can see below that we use small knots to mini space tubes and then another knot at the bottom of each strand to hold them in place.
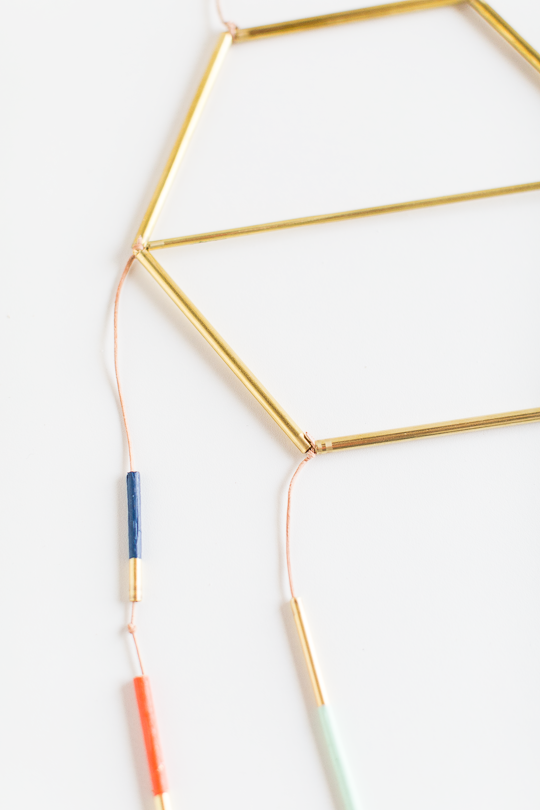
Step 7 – To add a pop of color, paint small bands of tubing in different colors of your choice and let them dry.
To make this process easier, you can use a bowl of sugar or fine salt to stick each tube in to dry consistently without spots from laying them down wet.
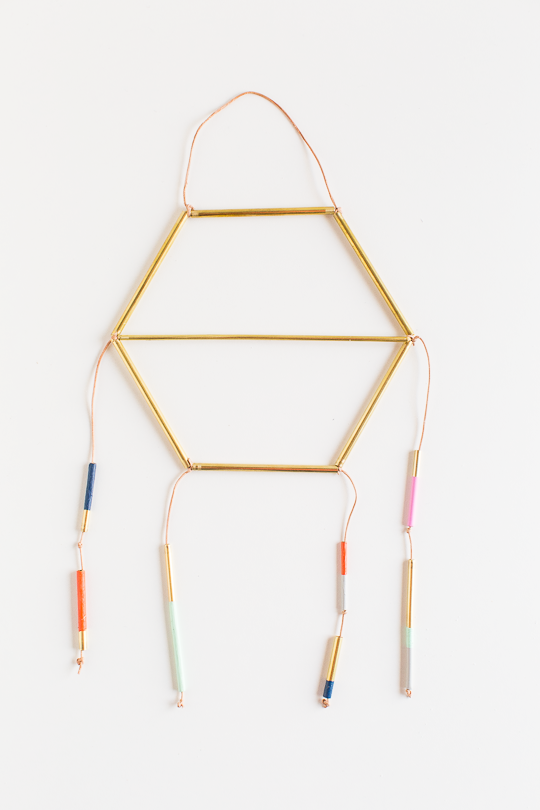
Step 8 – When all of the strands are assembled and knotted at the bottom, use another short piece of leather cording to knot on either side of the top bar to create a way for the dream catcher to hang.
If, for some reason, it doesn’t hang evenly, adjust the mini piece of tubing on each strand until the weight balances out.
More DIY Wall Art
If your friends didn’t love your handmade gifts before, they wouldn’t after this labor of love, trust me!
Or you can just skip the gift-giving and get together to make them over hot chocolate and cookies all at once.
I also really love the idea of making these for a nursery. You can pair it with these fun abstract shape nursery wall decor to make your nursery look really cute.
It would be so fun to have an overside one as a statement wall piece!
For more DIY wall art ideas, check out a few of our favorites from the archives below —
- DIY Pegboard Wall Art
- DIY Paper Shapes Wall Art
- Hanging DIY Diamond Mobile
- DIY Rainbow Wall Art Hang
Equipment
- Mini tubing cutter
- Scissors
- Pen
- Ruler
- Paint brush
Materials
- 3 ft leather lace cord
- 3 brass tubing 3/32″ diameter x 12″ length
- Craft paint optional for your tubes
Instructions
- For the hexagon centerpiece, cut 6 pieces of identical sized tubes. We used 4-inch pieces.
- String the 6 tubes all together using the leather cording, laying it flat on a working surface.
- Cut another piece of brass tubing just long enough to go across the middle of the hexagon to make the shape more defined. In our case, it was 8.5 inches.
- Once you have the tubing laid out how you’d like for it to be, string a piece of leather cord through the 8.5 inch piece of pipe, and knot it in place on either side of the middle.
- Pull the cord that’s going through the hexagon shape tight, and knot in the corner. You should now have a tightly held hexagon base.
- For the bottom strings, you use whatever configuration or combination of metal pieces as you’d like just as long as each strand holds the same amount of weight (or metal tubing) so that it doesn’t hang lopsided. We used small knots to space mini tubes, and then another knot at the bottom of each strand to hold them in place.
- To add a pop of color, paint small bands of tubing different colors of your choice and let them dry. To make this process easier, you can use a bowl of sugar or fine salt to stick each tube in to dry consistently without spots from laying them down wet.
- When all of the strands are assembled and knotted at the bottom, use another short piece of leather cording to knot on either side of the top bar to create a way for the dreamcatcher to hang. If for some reason it doesn’t hang evenly, adjust the mini piece of tubing on each strand until the weight balances out.
Notes
- Scale the mobile as big or as small as you’d like it to be.
- If you already have a metal tube cutter than this mobile will be a lot cheaper to construct!

Don’t forget to share your dream catchers with us on Instagram using the hashtag #sugarandclothloves. We always love seeing all of your creations! Looking for more interior design inspiration? You can find them all of our home decor tutorials and ideas right here!
Easy Wall Art Projects to Try at Home
Please note that we may earn a commission for some of the above affiliate links. However, products featured are independently selected and personally well-loved by us!




I love these Modern DIY Dreamcatcher, amazing one. Thanks for sharing these with us.
Thanks, Samantha!
Love this! But what kind of knot did you use? I’m working on it now and my knots with the learher cord are pretty awkward and noticeable.
We just used a traditional knot, but pulled them very tightly!
I love this! Where did you get the brass tubing from?
Well, this is amazing!!! I absolutely have to make one of these.