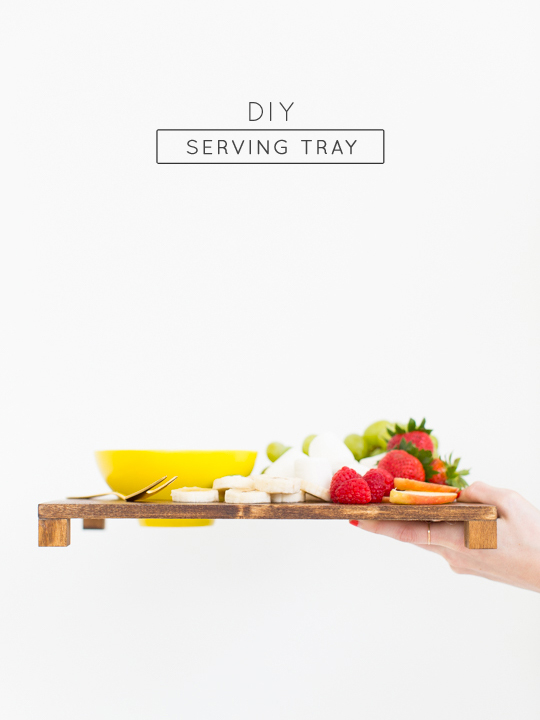
DIY Serving Tray with a Bowl Rest
This DIY Serving Tray features a sly little nesting place for your salsa bowl and dishes to rest!
We’re bringing that mid-century vibe back to entertaining with this DIY Serving Tray with a built-in dish holder!
We love hidden compartments like a 90’s second grader loved Lisa Frank.
And while there are technically no hidden compartments with this DIY Serving Tray, there is a sly little nesting place for your salsa bowl and dishes to rest neatly in place.
Is it kind of the same thing, right?
We’re getting the warm fuzzy’s about it either way.
We also feel that we should mention this simple little DIY requires absolutely zero power tools, which is the next best thing since the phrase “no-sew” if you ask us.
And no, there is no duct tape involved either!
Materials and Tools Needed to Make a DIY Serving Tray With a Bowl Rest
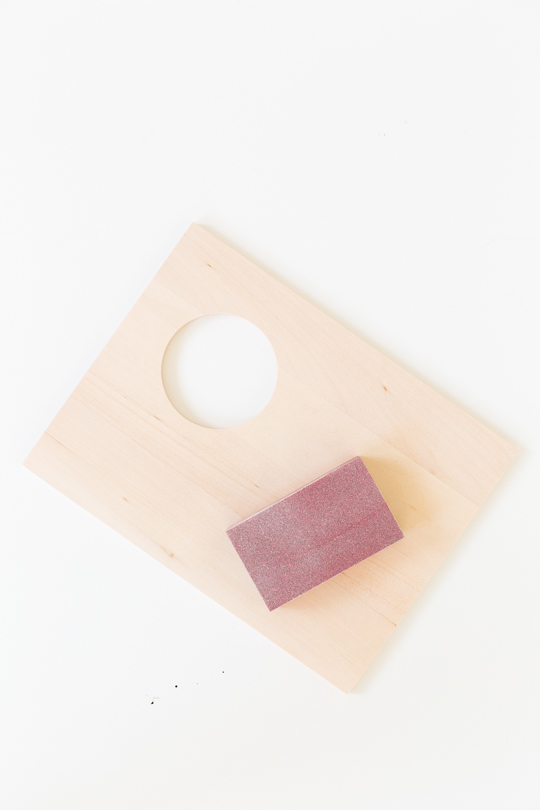
Unfinished wooden plaque with a circle — Our wood board conveniently features a circle cutout for photos (which we used as our bow rest opening). If you do not find one with a cutout, then you can cut when out yourself.
Wooden blocks — Ours are 1″ wood blocks from the craft store. You can use any scrap wood laying around also.
Wood stain — We painted ours in Early American for that rustic mid-century look.
Foam brush
How to Make a DIY Serving Tray with a Bowl Rest
Step 1 — Our wooden board comes relatively sanded since it is a plaque.
But we wanted it to be extra smooth to avoid splintery food or hands to be had when it comes time to use it.
So be pretty generous with how thorough you’re sanding!
Step 2 — Once you’ve sanded all sides, use a foam brush to stain the wood (including the wooden blocks as legs) in the color of your choice.
Let dry completely according to the manufacturer’s instructions.
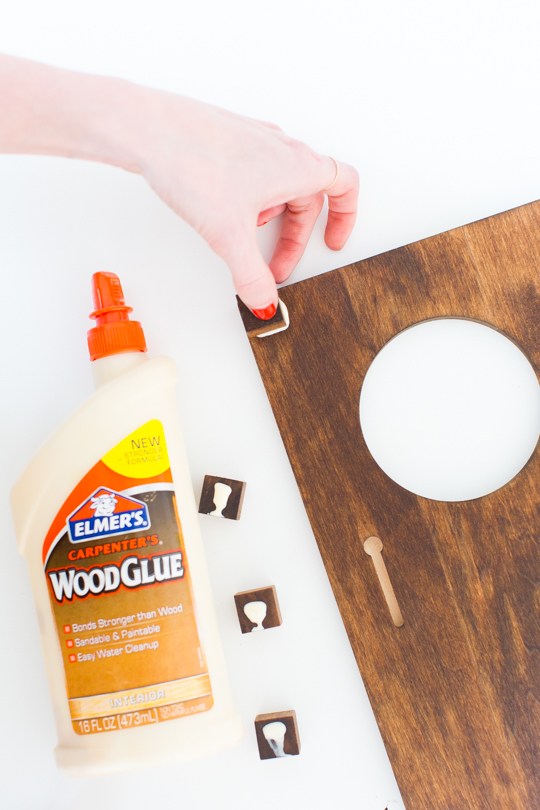
Step 3 — Next, glue a wooden block to each corner with wood glue.
You need to either clamp the legs to the board while the glue dries.
Or flip it right-side up and sit something heavy on top to ensure it’s secure while the wood glue sets.
Step 4 — Once everything is dried, spray the entire piece with food-safe shellac and wait 48 hours before using.
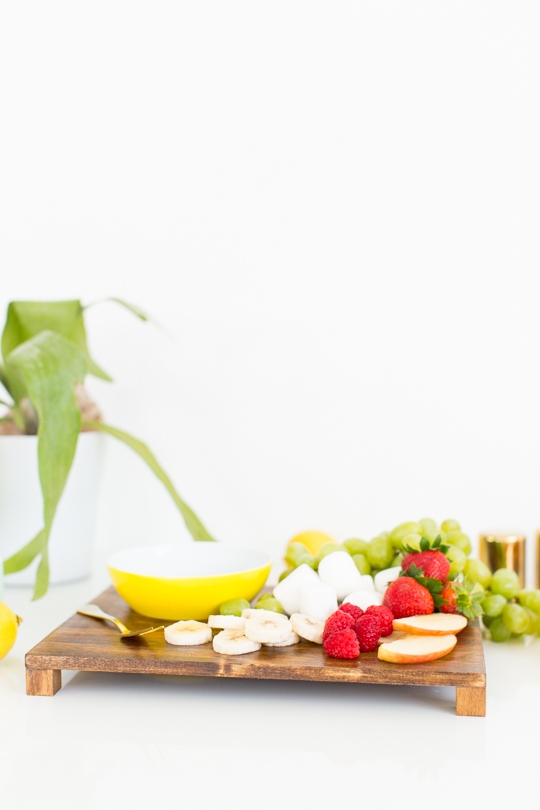
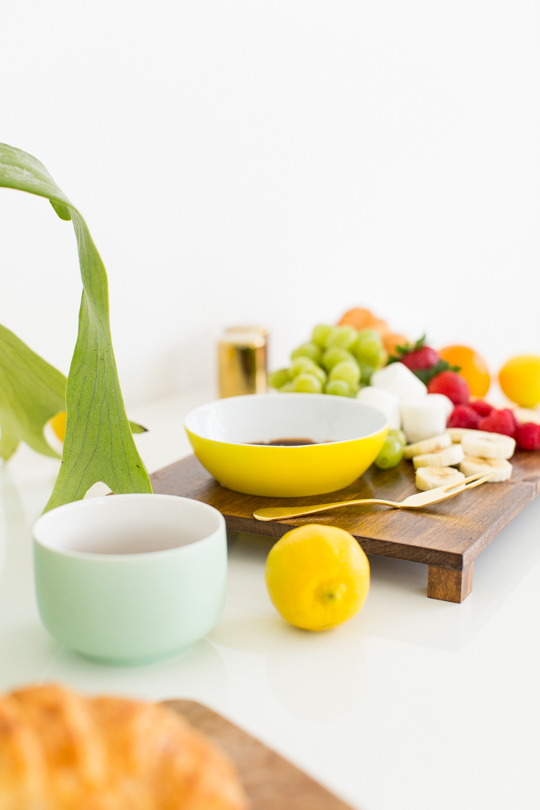
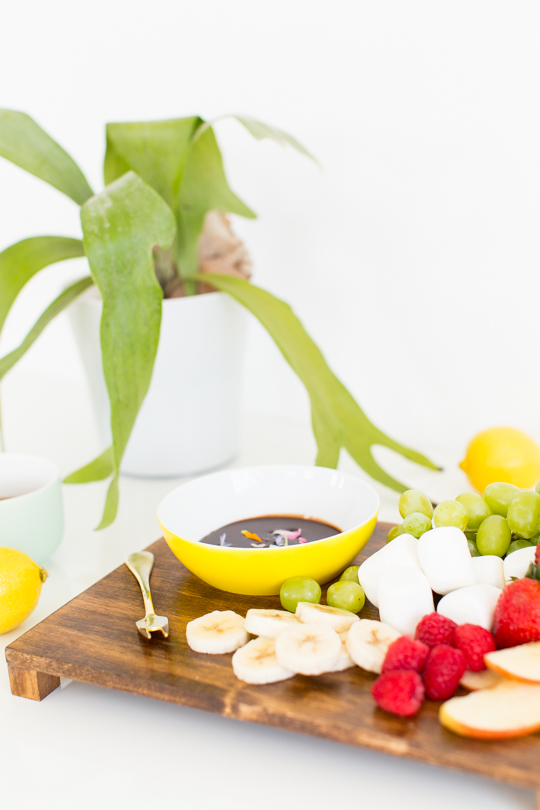
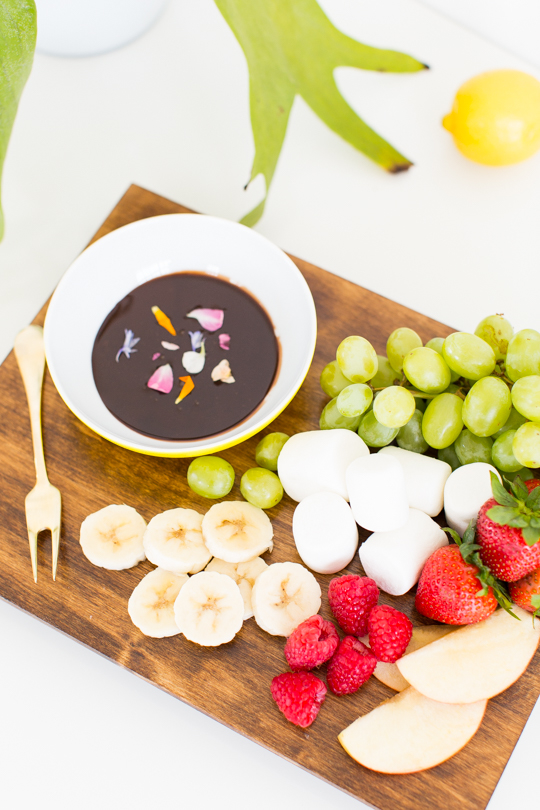
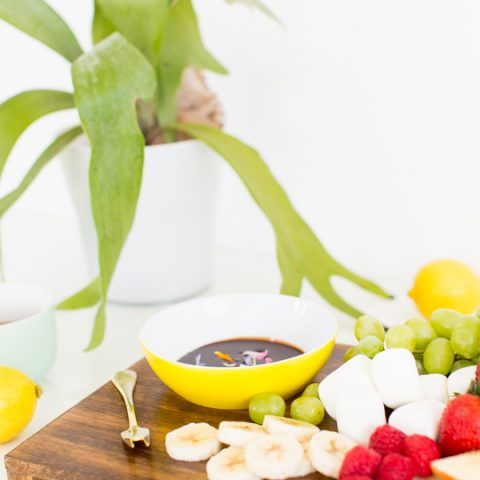
We actually used a small bowl from Ikea to set in the nested circle. And it makes for the perfect dipping bowl!
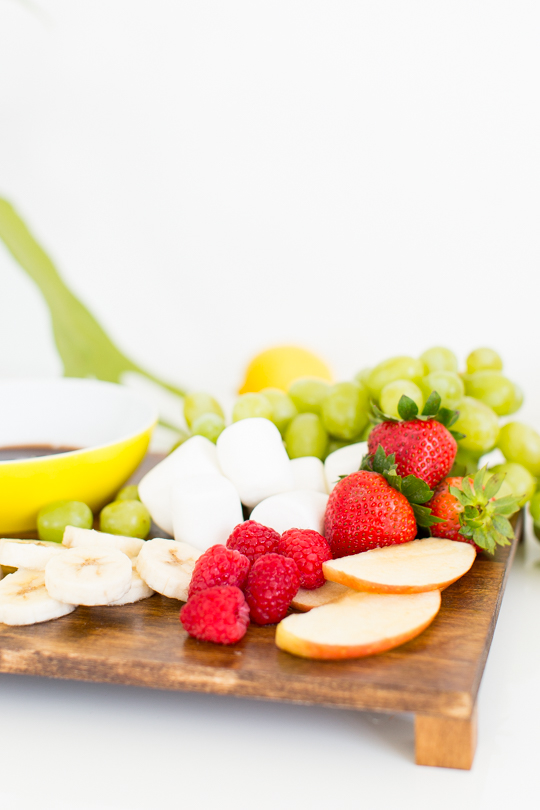
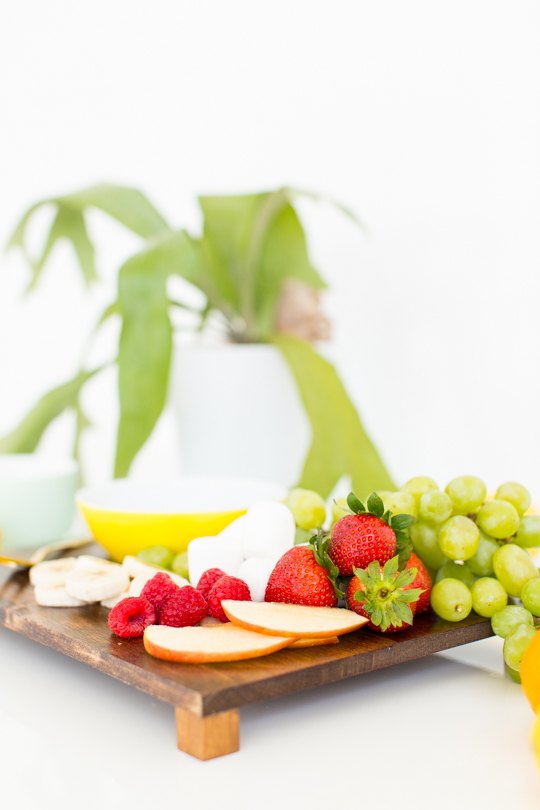
It’s also perfect for a dessert and dip spread or even for some delicious homemade churros with chocolate chili sauce.
That plain wooden plaque turned out pretty nifty, right?!
We’re super happy with the way it turned out.
And I think it makes for a really clever serving tray that’s easy to maneuver.

More Similar DIYs to Try
If you enjoy doing the DIY Serving Tray With A Bowl Rest, you might want to try the related posts below –
- Tiered DIY Concrete Tray
- DIY Slate Cheese Board
- Fancy Fiesta: DIY Pattern Bowls
- Easy DIY Custom Hand-Painted Bowls
DIY Serving Tray with a Bowl Rest
Equipment
- Extra fine sandpaper
- Foam brush
Materials
Instructions
- Optional: Sand your wood board.Ours was relatively sanded, but we wanted it to be extra smooth to avoid splinters.
- With a foam brush, stain the wood (including the wooden blocks as legs) in the color of your choice.Let dry completely according to the manufacturer’s instructions.
- Once everything is dried, spray the entire piece with food-safe shellac and wait 48 hours before using.

Don’t forget to share your DIY Serving Tray with us on Instagram using the hashtag #sugarandclothloves. We always love seeing all of your creations! Looking for more interior design inspiration? You can find them all of our home decor tutorials and ideas right here!
More Easy DIY's To Try

Please note that we may earn a commission for some of the above affiliate links. However, products featured are independently selected and personally well-loved by us!
So cute! And this is such a lovely idea! It looks stunning!
This would make such an awesome gift for the holidays! Did I really just throw out gift giving already?
Paige
http://thehappyflammily.com
Very cute. Love the bowl rest!
This is THE CUTEST.
Definitely going to be making this for a few gifts this year. Thanks for sharing!!
xo, Kait.
http://www.teacupsandthings.com