DIY Strikable Matchstick Holder
For fellow candle hoarders, let us introduce you to your newest obsession, the DIY Strikable Matchstick Holder. It’s simple, cheap, and won’t take you long at all!
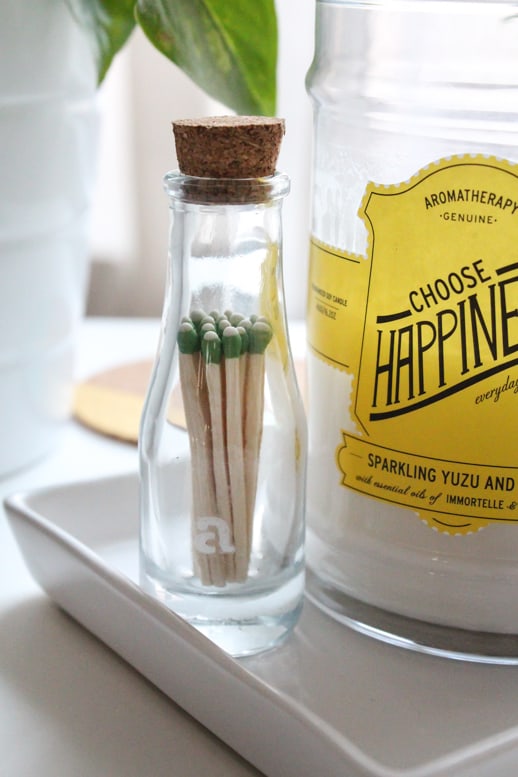
Among the many things that we may or may not be proud of, we can genuinely say that we have no remorse in acknowledging that we’re candle and candle holder hoarders.
But not in a creepy Phantom of the Opera cave type of way.
It’s just that we almost ALWAYS have a candle burning when we’re home.
If you’re a fellow candle hoarder or know someone who is, let us introduce you to your newest obsession, the striking matchstick holder.
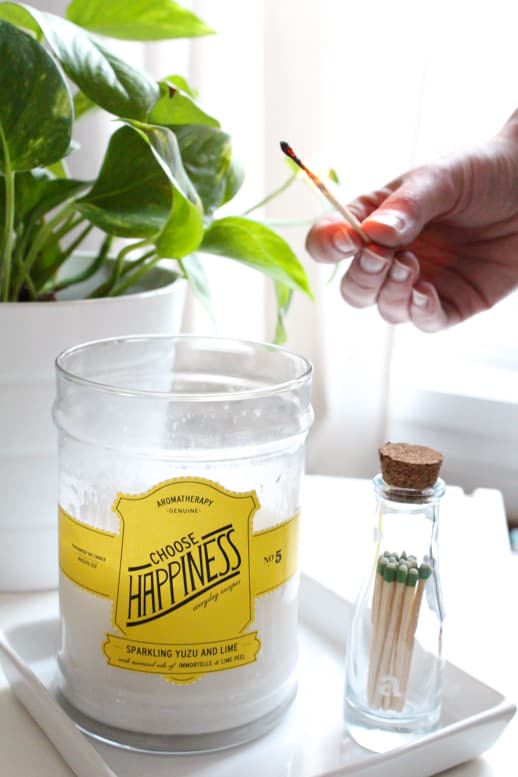
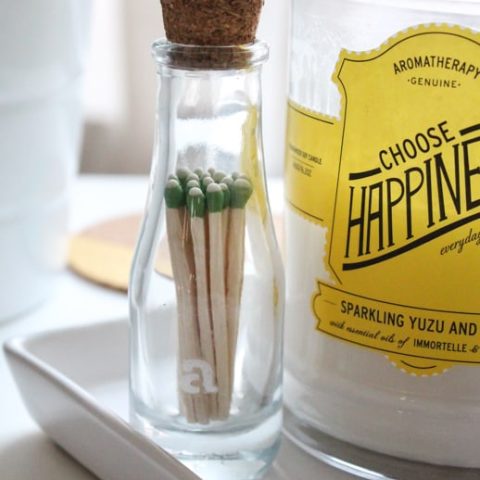
We found one a couple of weeks ago at a local shop that we absolutely loved.
The only catch is that this cute little bottle that maybe takes fifty cents to make costs us a whopping $25!
At this point, you’re allowed to judge us for paying that much.
But we’re taking one for the team now and showing you how to make our DIY version with etching cream!
Here’s how–
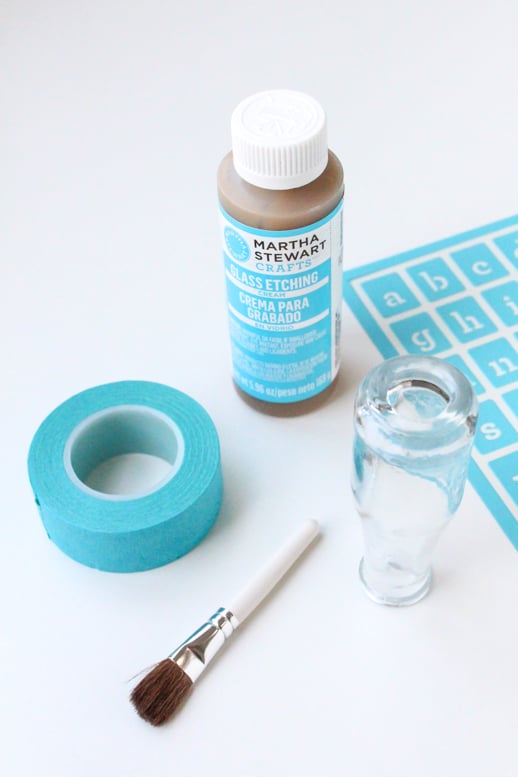
Materials and Tools Needed to Make a DIY Strikable Matchstick Holder
Etching cream kit — We used a Martha Stewart kit offers an all in one package for this project. It consists of etching cream, gloves, adhesive stencil designs and a brush.
All these items, especially the etching cream can be purchased separately. We just loved how everything was conveniently in a set.
Glass jar — Ours was a $1 at Hobby Lobby.
Matches — We love the optional of colored matches.
How to Make a DIY Strikable Matchstick Holder
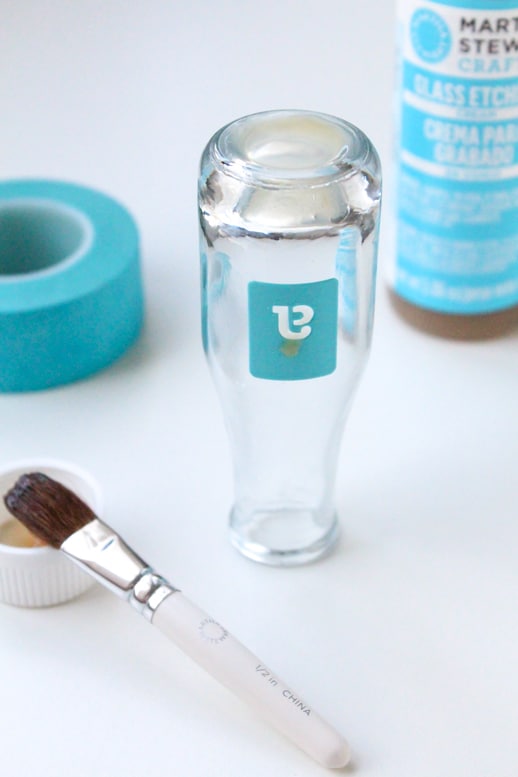
Literally, all you have to do to make a function matchstick jar is lather a ridiculous clump of etching cream on the bottom of the jar.
Wait about 30 minutes (much longer than the instructed time for the cream to sit).
Then, rinse off the excess cream.
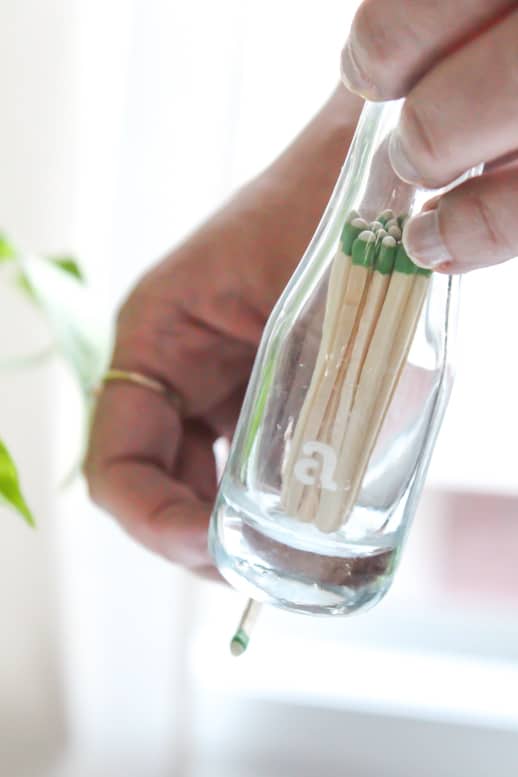
I tried to jazz up my canister by using adhesive stencils for etching a monogram on the front.
This makes for a great personalized gift or hostess gift too.
Finally, hold the jar up, and strike the match on the bottom. And you’re all set!
Tips on Using Etching Cream
You’ll want to be careful with cream or wear gloves while using it.
But the key is to use enough cream for a long enough period so that the glass because really rough on the bottom.
The rougher the glass, the easier it is to strike the match against it.
If it isn’t etched enough, apply more cream to the area and wait again.
More Easy Apothecary Projects
For more DIY projects like this matchstick holder, check out our favorites below —
DIY Strikable Matchstick Holder
Equipment
- Adhesive stencils optional
- Brush
Materials
- 1 etching cream for glass
- 1 glass jar
- Matches
Instructions
- Lather a clump of etching cream on the bottom of the jar. The rougher the surface, the easier it is to strike a match.
- Allow the cream to dry for about about 30 minutes. (This is much longer than the instructed time for the cream to sit.) Rinse off the excess cream when dry.
- Fill the glass with matches. Optional: Decorate the glass with a decal.

Don’t forget to share your DIY Strikable Matchstick Holder with us on Instagram using the hashtag #sugarandclothloves. We always love seeing all of your creations! Looking for more interior design inspiration? You can find them all of our home decor tutorials and ideas right here!
Please note that we may earn a commission for some of the above affiliate links. However, products featured are independently selected and personally well-loved by us!



Will this etched glass jar only light STRIKE ANYWHERE matches or will it also light SAFETY MATCHES?
Hi Debs! I’m not sure about the safety matches, but it will definitely strike on the part you paint with etching cream!
I love this! I live in Starkville, MS where those candles are made! This will be my next project, and I’ll leave it next to my own volcano candle : )
So cute! Need to try this one.
Oh how cool, I didn’t know it would be that easy! Volcano is THE best :)
I was wondering what the size of the jar you used is?
Fun idea! You always come up with the best DIYs! may I ask you where you found the Choose Happiness candle? I love that!
Love the idea! Super cute.