Marble Place Cards Holder – One Minute DIY Place Card
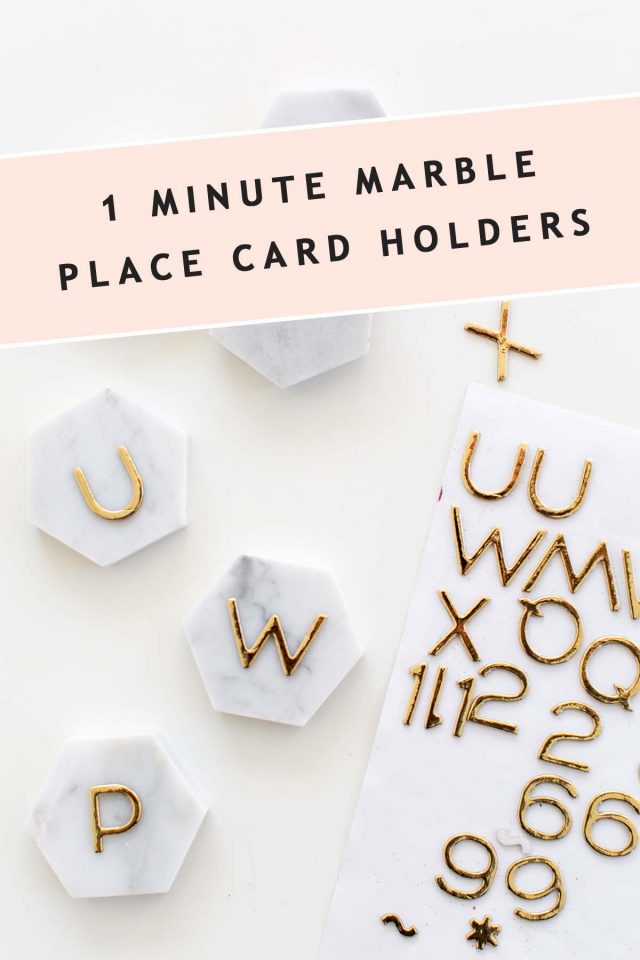
Quick DIY Place Card Holders — These marble place cards are made from inexpensive, repurposed marble tile! You can make a ton of them super quickly to serve as sophisticated table name cards for your dinner place settings…
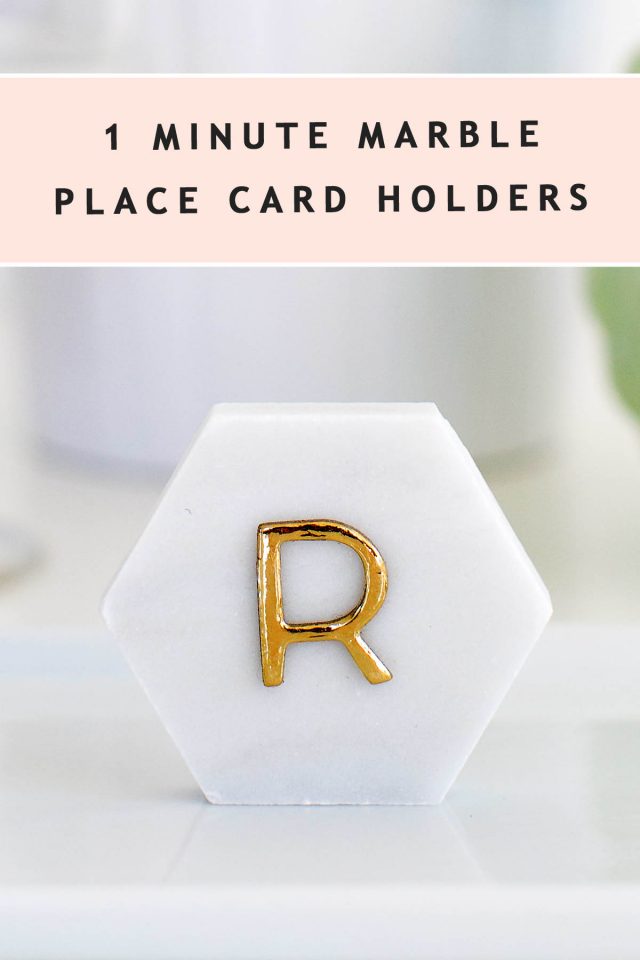
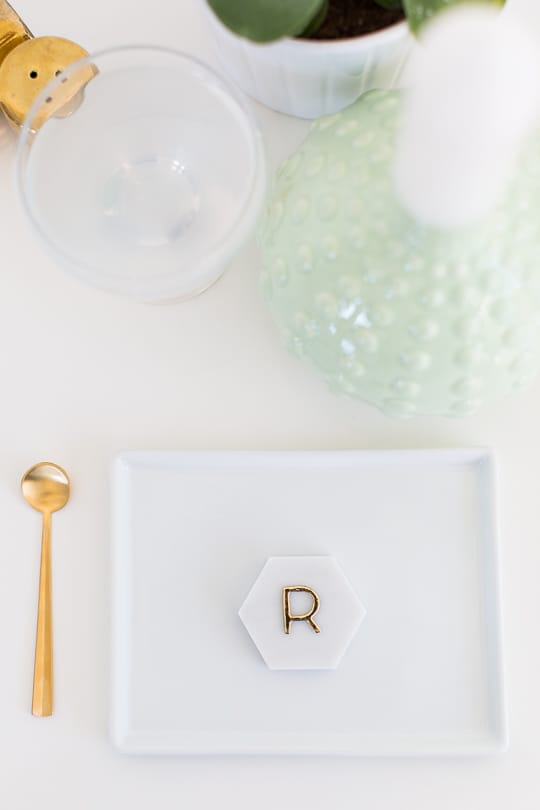
Sometimes my scrambling last minute to style a project before we lose daylight turns into a total, blubbering mess. Then other times it turns into something SUPER AWESOME by accident, like these marble DIY place card holders.
Today’s project was definitely one of my “happy accidents”, and I love how they turned out!
I stumbled onto this idea while I was styling a tabletop DIY for an entertaining post and needed something to spice up the place settings. Somehow these one-minute DIY carrara marble place cards came to be, and now I’m hooked!
Now I hope you’re ready to have your minds blown, my friends, because you can make approximately 30 of these pretty table name cards for a mere $8.
Yes, that’s thirty real marble place cards for $8 (hello, wedding season). Which also happens to make these the perfect idea for cheap wedding place cards, if you ask me.
You can thank me in the form of baked goods when all of your family members think you spent a million dollars just to have their initials resting on their plates (no free shipping needed, ha!)…
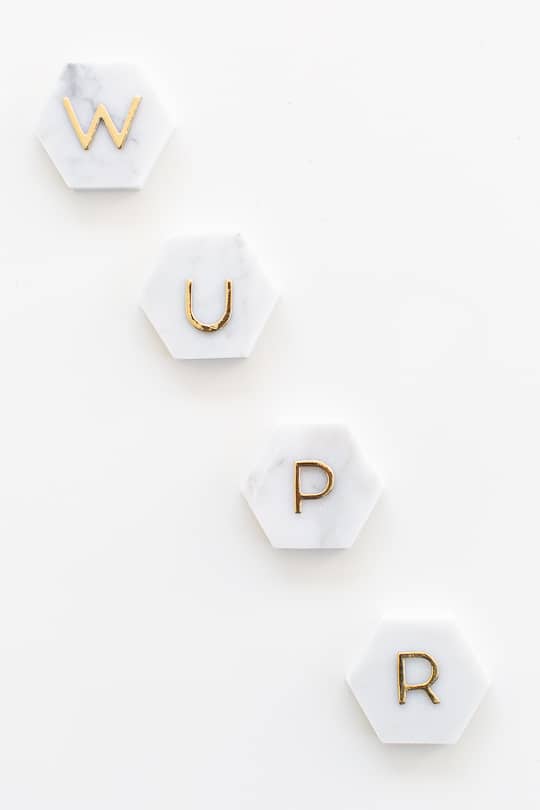
Easy Place Cards Idea | DIY Wedding Place Card Holders
You don’t have to be a ritzy bride and groom type of couple to recreate these place card holders for your wedding or dinner party.
They’re perfectly sophisticated enough for wedding table names, or style them down and use them as name card holders for your next impromptu dinner party with friends.
Materials Needed To Make A DIY Marble Place Card Holders
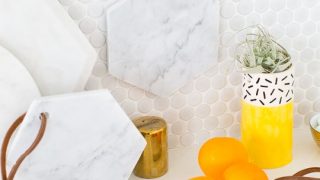
A sheet of 2″ (or 3″ if you need a bigger surface for names!) of carrara marble hexagon tiles
Fine point gold pen (optional if you’d like to write a full name on them instead of just an initial)
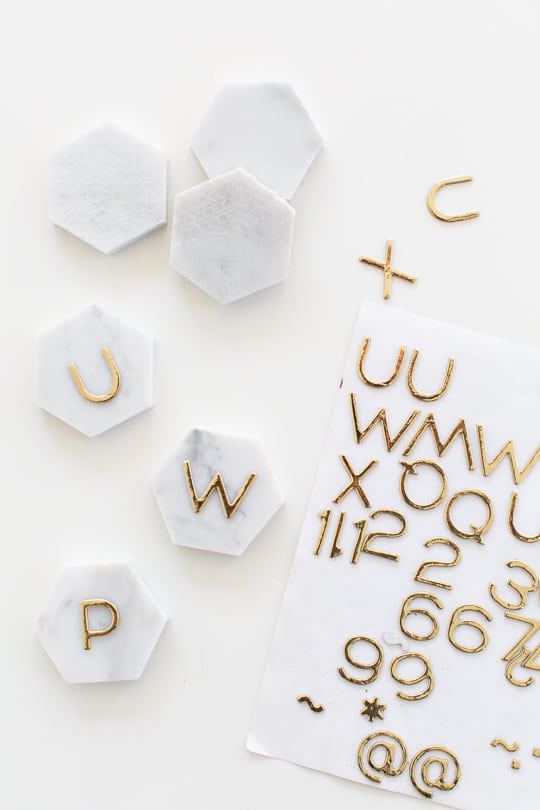
Like I said, I came up with this idea on the superfly, so I had already torn all of my mini tiles off of the tile netting before snapping photos. I’m sorry!
How To Make A DIY Marble Place Card Holders
Essentially all of your hexagon tiles will come adhered to a mesh backing. All you have to do is peel them off the backing one by one.
And since the sky is the limit when it comes to tile options these days, you can go as wild or as subdued as you’d like for your tile choice! The only key takeaway is that it needs to be about 1/2 inch or 3/4 inch thick so that it can stand up on it’s own.
You might want to also make sure that whatever tiles you choose also have smooth, straight edges so that the finished place card holders won’t easily tip over.
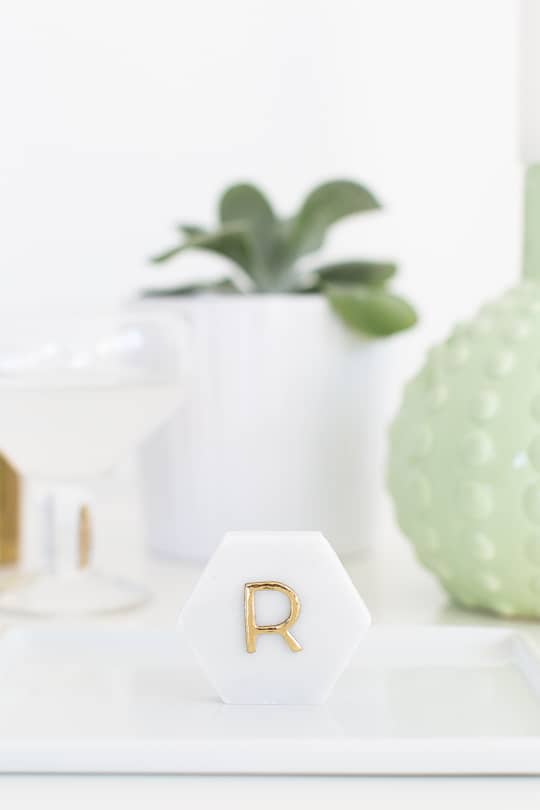
Once you’ve chosen your tile, you can now apply the initial sticker to the fronts of them to mark your table settings for dinner, or you can use a fine point permanent marker to write a full name on each tile.
If you’re recreating these as DIY wedding place card holders, you could easily hire a local calligrapher to write on each tile for you or even use something like a Cricut machine and a printable template for names to apply to the tiles from vinyl!
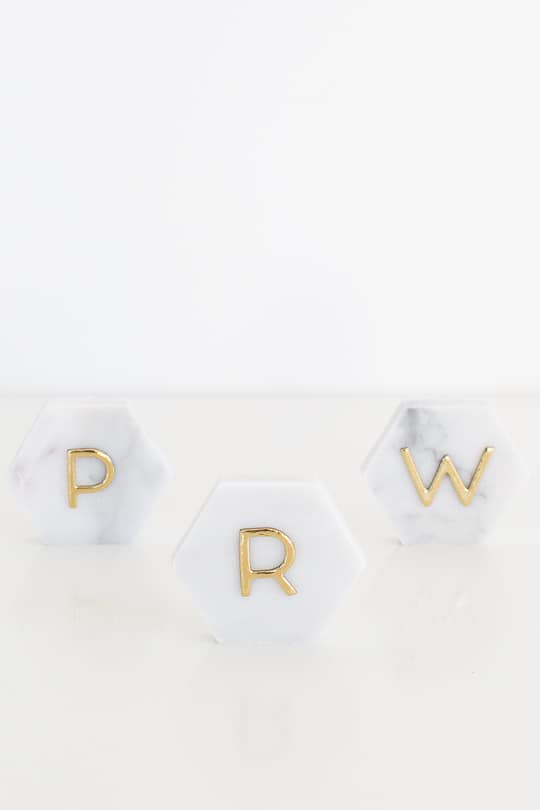
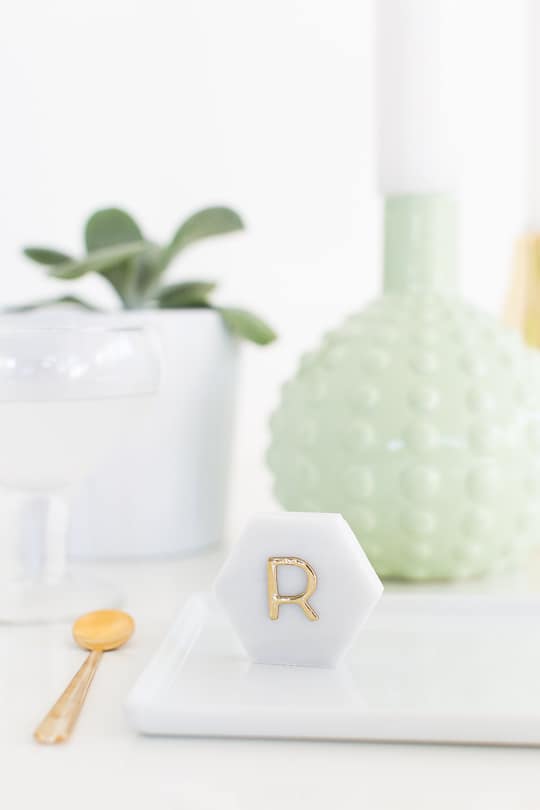
Easy Ideas for DIY Name Card Holders
With the amount table settings we put together around here, we’re definitely no stranger to place card holder ideas!
These are endless ways to create your own DIY versions or repurpose unexpected items to use as name cards, like we did with these ribbon candy holders!
Here are a few of my favorite past projects —
- Faceted Easter egg place card holders
- Clay DIY Geometric place card holders
- DIY Mini mountain photo holders that you could easily repurpose
- DIY candy ribbon place card holders
- Simple pumpkin leaf place card holders
Fair warning: some of those are oldies, but goodies!
It’s kind of crazy to think that I’ve been blogging for so many years that old photography methods look ancient to me now!
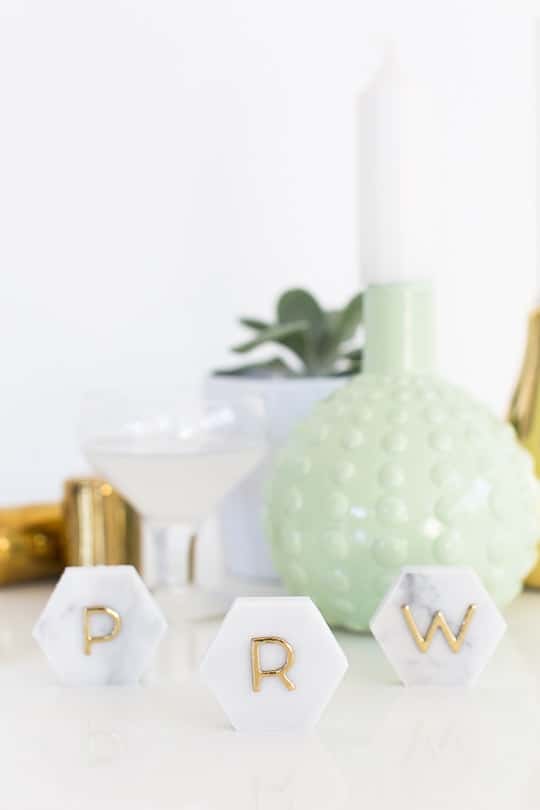
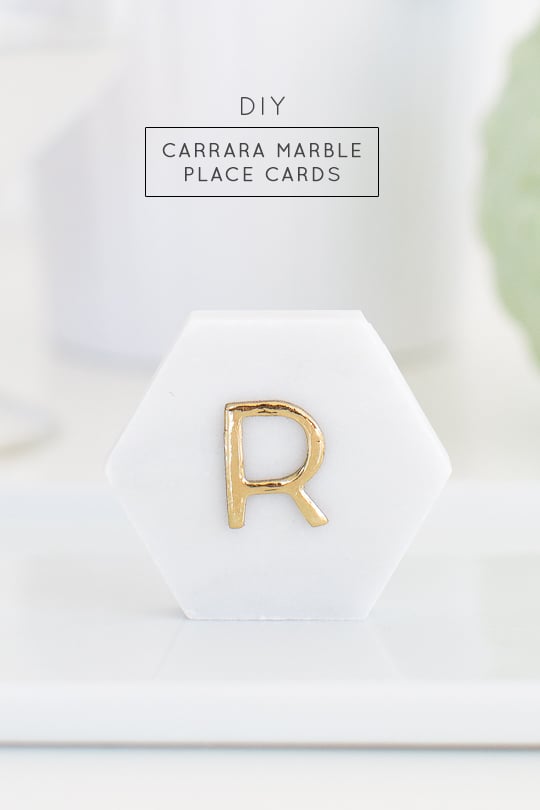
So simple, right?! I almost feel bad calling it a DIY… except not because we’re totally sneaking by with highway robbery on how expensive these look!
What do you think? Would you prefer to save these for the fancier occasions like a wedding, bridal shower, or engagement party, or go ahead and bust them out for your next holiday dinner?
You can see more of our favorite marble based DIY projects just underneath the tutorial below!
Tutorial for Making Marble DIY Place Card Holders
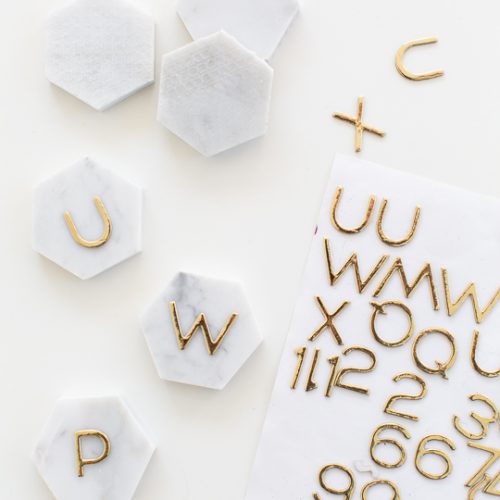
DIY Place Card Holders: One Minute Marble Place Cards
Equipment
- Tile sheets
Materials
- A sheet of 2" (or 3" if you need a bigger surface for names!) of carrara marble hexagon tiles
- 1" letter stickers
- Fine point gold pen (optional if you'd like to write a full name on them instead of just an initial)
Instructions
- Essentially all of your hexagon tiles will come adhered to a mesh backing. All you have to do is peel them off the backing one by one.
- And since the sky is the limit when it comes to tile options these days, you can go as wild or as subdued as you'd like for your tile choice! The only key takeaway is that it needs to be about 1/2 inch or 3/4 inch thick so that it can stand up on it's own.
- You might want to also make sure that whatever tiles you choose also have smooth, straight edges so that the finished place card holders won't easily tip over.
- Once you've chosen your tile, you can now apply the initial sticker to the fronts of them to mark your table settings for dinner, or you can use a fine point permanent marker to write a full name on each tile.
- If you're recreating these as DIY wedding place card holders, you could easily hire a local calligrapher to write on each tile for you or even use something like a Cricut machine and a printable template for names to apply to the tiles from vinyl!

Please note that we may earn a commission for some of the above affiliate links. However, products featured are independently selected and personally well-loved by us!

Blowing my mind right now. How have I not thought of this?? It’s so simple! Thank you for the inspiration!
So glad you like the DIY, Jodi! xo
Hi! These are so neat, I really want to do something like this for my wedding! I read in the FAQ on the amazon product page for the tiles that they are quite difficult to remove from the mesh. Any tips or idea of how long it will take? :)
So beautiful! I want to make place cards like this for my wedding. How difficult was it to remove the tiles from the mesh? Did you need any special tools?
Hello! This is perfeCt for my theme. We will be having a grey marble cake. In any case, i am curious, why Only one letter?Do you plan on sPelling out the guests full name in tiles? Thank you in advance.
Hi Kendall! We love the simplicity of just using the guest’s initial, but the concept would work for full names as well!
Hey I would like to know if you used the 2 inch tiles or 3 inch and I like the shade of your marble are they all the same? Thank you
Hi Litsa,
We used the 2 inch Carrara White Marble (link in post) tiles, so if you order those the shade will be similar to what you see in the pictures! Let us know if you have any other questions!
droooool. not to sound like everyone else, but what sticker brand did you use? I think I might try this with copperrrr
You can find them at local craft stores or here!- http://bit.ly/1OedZdV
These turned out fabulous!
Wow! I can’t get enough of gold + marble. This is so very clever and easy!
thanks Marwa!
These are absolutely beautiful! No way do they look like they are as quick to make as they are! Love this idea so much! Great gift idea too!
thanks Robyn! Hope you’ve been well! xox
Lovely idea !!! Adorable
http://bujaren.com
In love with your ideas and blog!!
This is so minimal and pretty i cannot even handle this!!
very cute! but.. where can i find your exact stickers?? love the font.
You can find them at local craft stores or here!- http://bit.ly/1OedZdV
LOVE this idea! Could you link to the exact stickers used? The font is so unique and beautiful!
You can find them at local craft stores or here!- http://bit.ly/1OedZdV
Please let us know exactly what kind of letters you used! Yours are so perfect, and I’m desperate to find them for my wedding! Thanks!!!
You can find them at local craft stores or here!- http://bit.ly/1OedZdV
These are so lovely! Is there a direct link to the stickers you bought? The font and color are so perfect! :)
You can find them at local craft stores or here!- http://bit.ly/1OedZdV
These place card holders are gorgeous! I love them!
Paige
http://thehappyflammily.com
What font/ brand?
what kind of letters did you use? i LOVE the font of them!
You can find them at local craft stores or here!- http://bit.ly/1OedZdV
These are PERFECT! What a lovely idea! I’m hosting a southern-inspired brunch this holiday season and I’m absolutely going to use these! :)
g.
these would be perfect then!
Love these!!! I wish I could have a dinner party every week so I could try all your amazing ideas! =)