Skip to content
About
CONTACT
Search for:
Search
Facebook
Instagram
Pinterest
TikTok
Gift Guides
Expand
For Her
For Him
For Kids
Just Because
For Special Occasions
Decor
Expand
Bedroom
Kids’ Room
Living Room
Office
Bathroom
Kitchen
Outdoors
Recipes
Expand
Cocktails
Expand
Shots
Gin
Rum & Brandy
Sparkling
Tequila
Vodka
Whiskey
Wine & Beer
Non Alcoholic Drinks
Dinner
Desserts
Expand
Cakes & Cupcakes
Cookies & Candy
Donuts
Ice Cream
Macarons
No Bake Desserts
Snacks & Appetizers
Healthy Bites
DIY Projects
Expand
Home Decor
Entertaining
Travel
Beauty & Style
Free Printables
Holidays
Expand
Fourth of July
Birthdays
Game Day
Halloween
Thanksgiving
Christmas
Valentine’s Day
St. Patricks Day
Easter
Mother’s Day
Father’s Day
Shop
Search
Toggle Menu
decor
25 Large Wall Clocks for Your Living Room
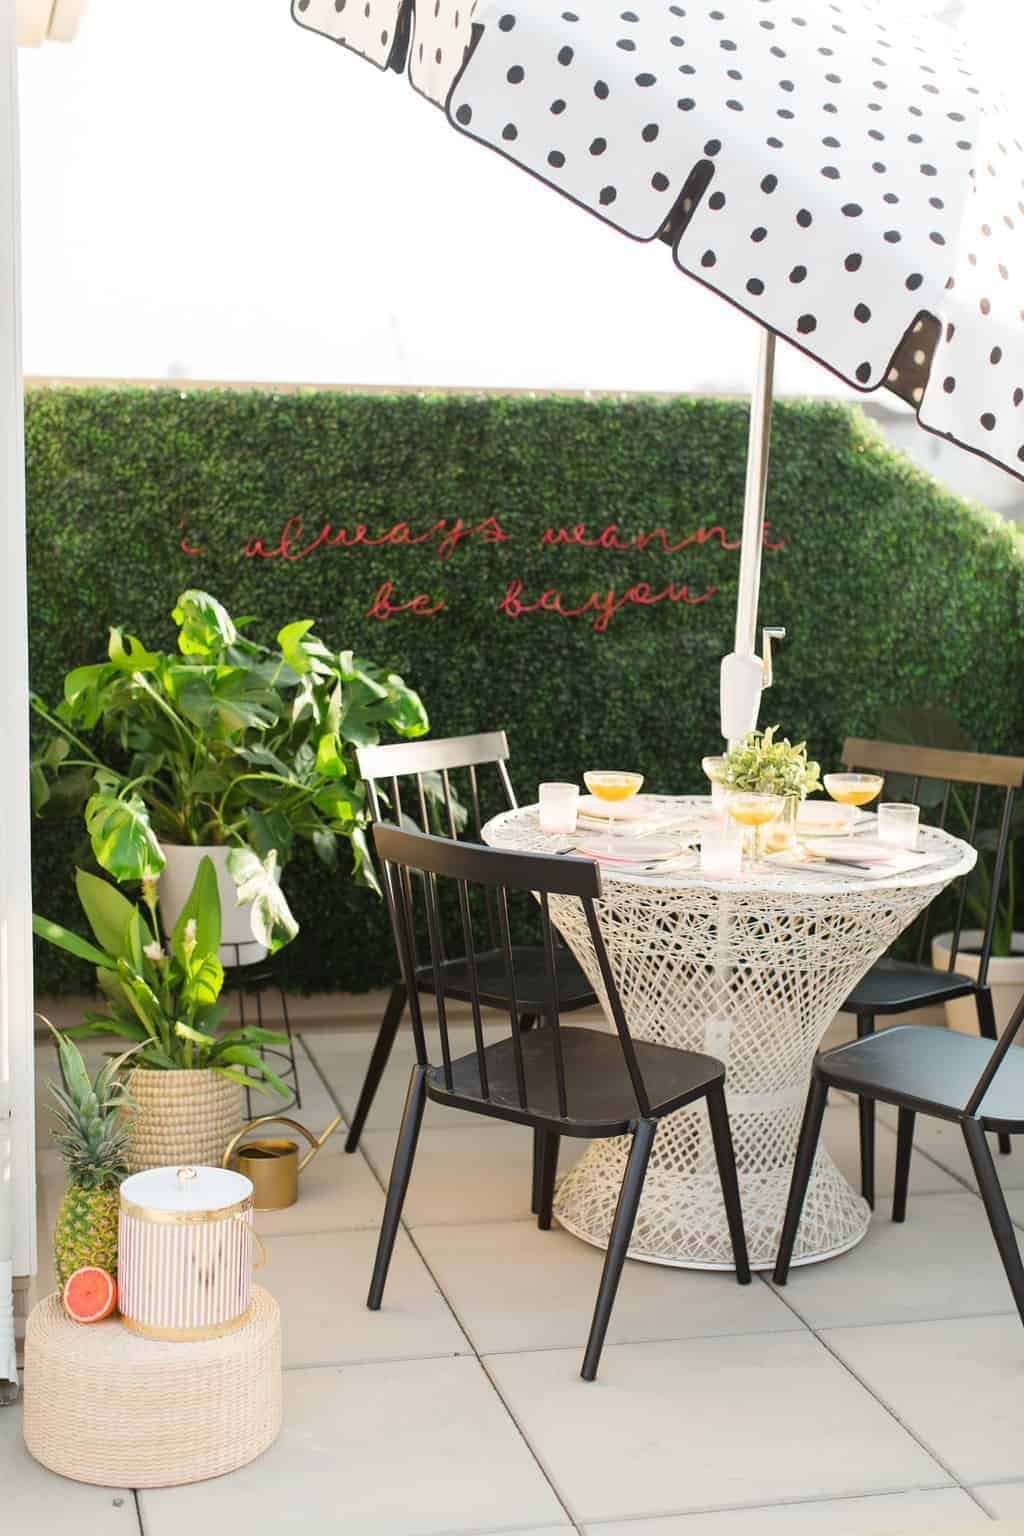
Faux Boxwood Wall with a DIY Neon Sign
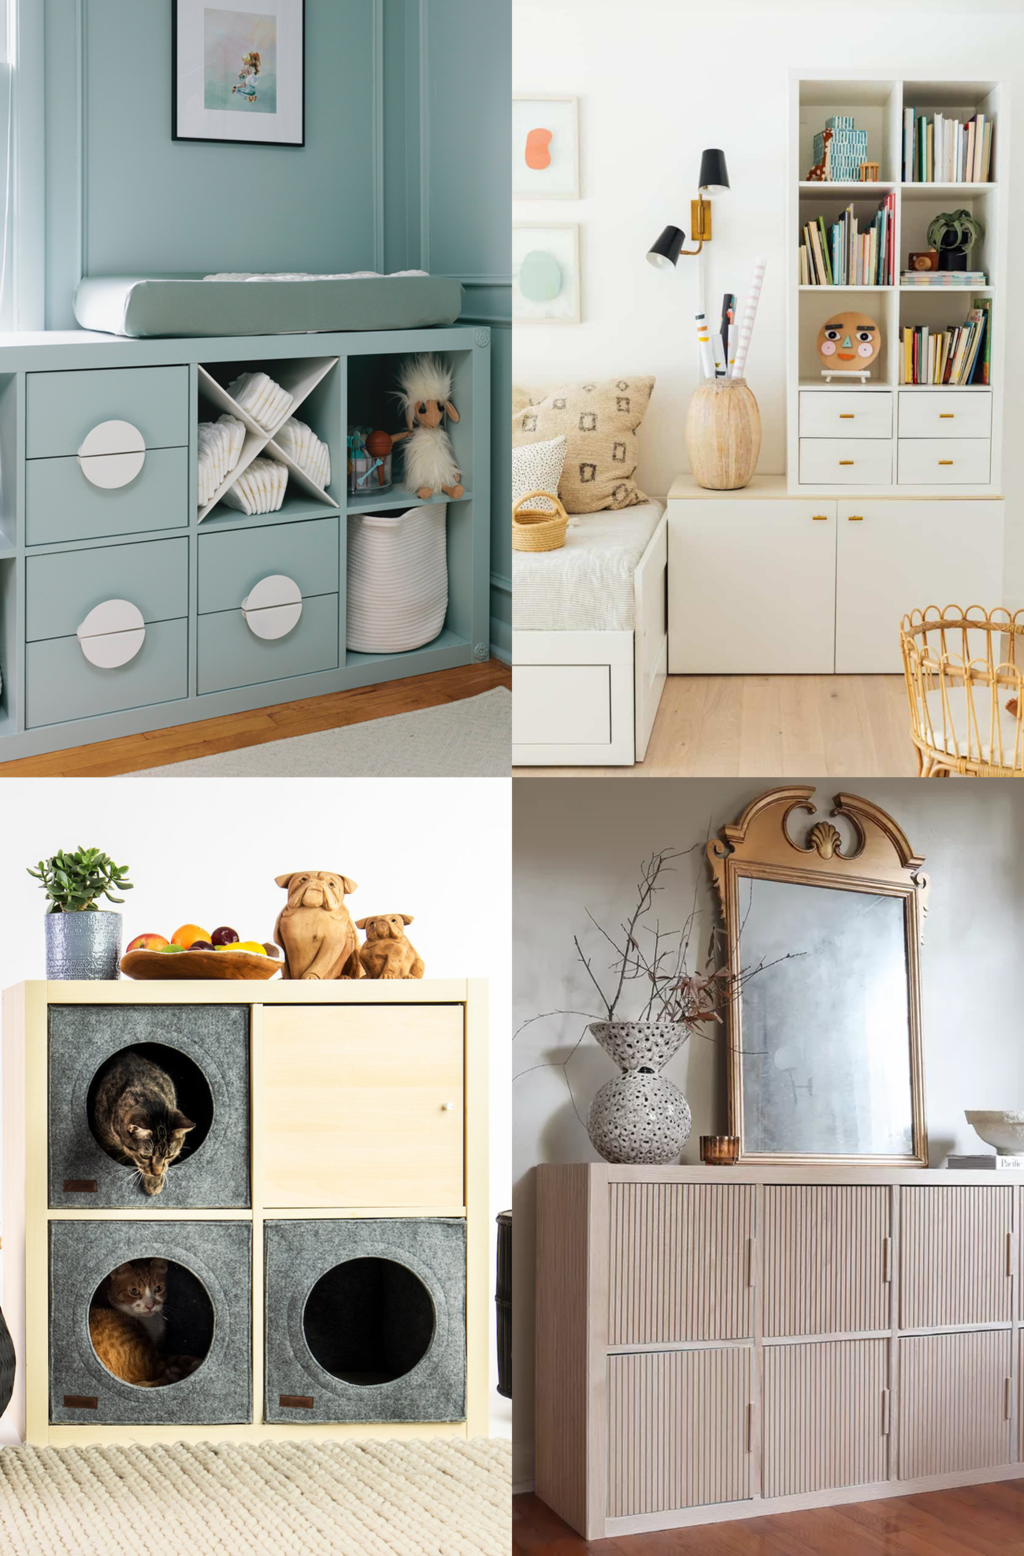
Inspiring Ikea Kallax Hacks for Every Room
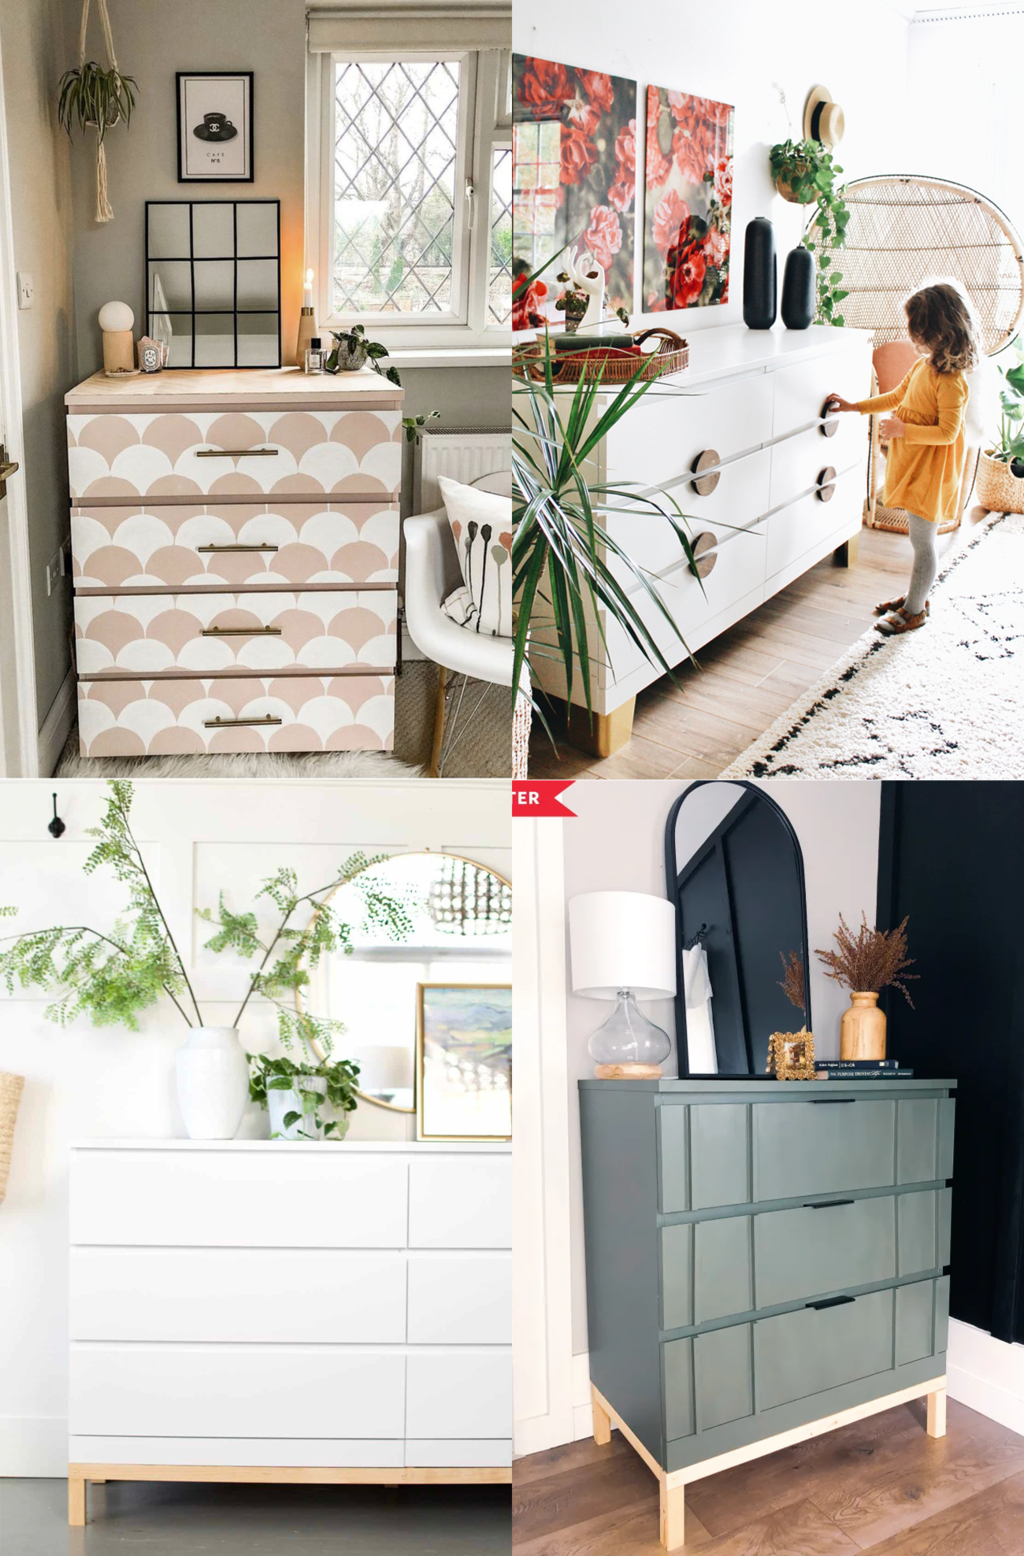
19 Creative Ways to Hack Your Ikea Malm Dresser
Genius Ikea Besta Hacks for a Stylish & Functional Home
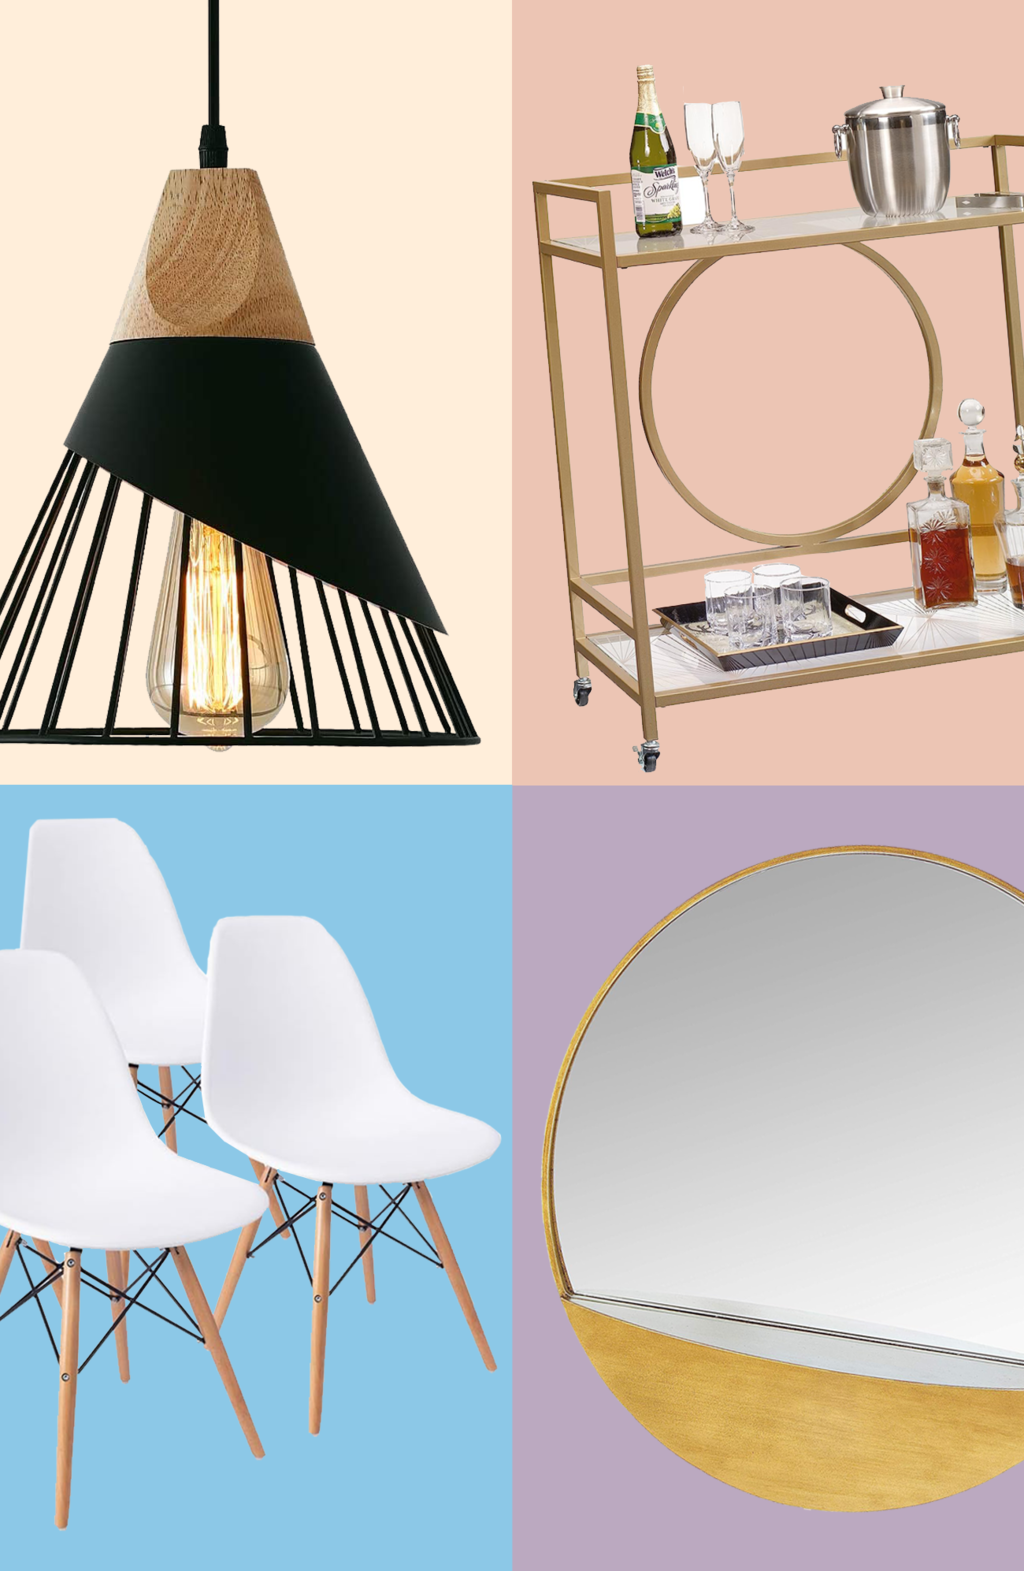
Transform Your Space with These Must-Have Amazon Home Decor Items
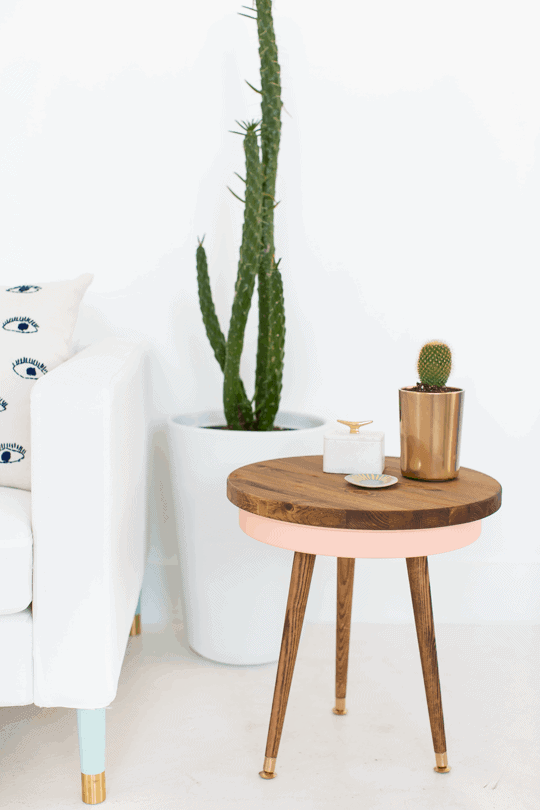
DIY Mid Century Modern Side Table
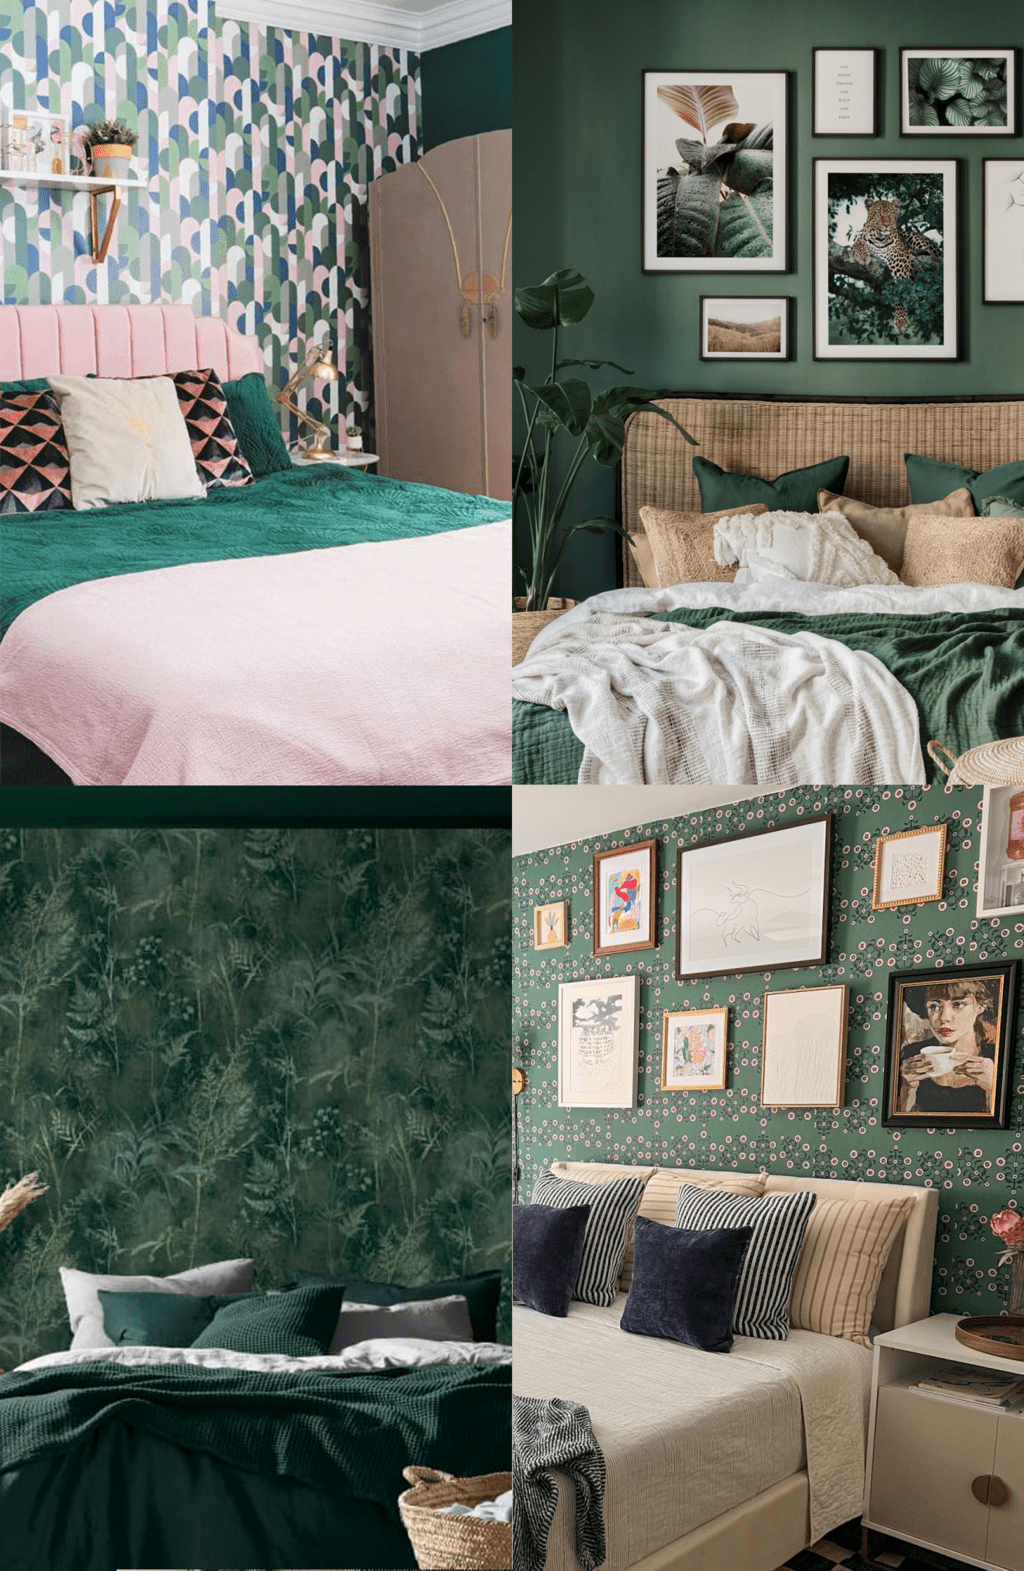
11 Emerald Green Bedroom Ideas
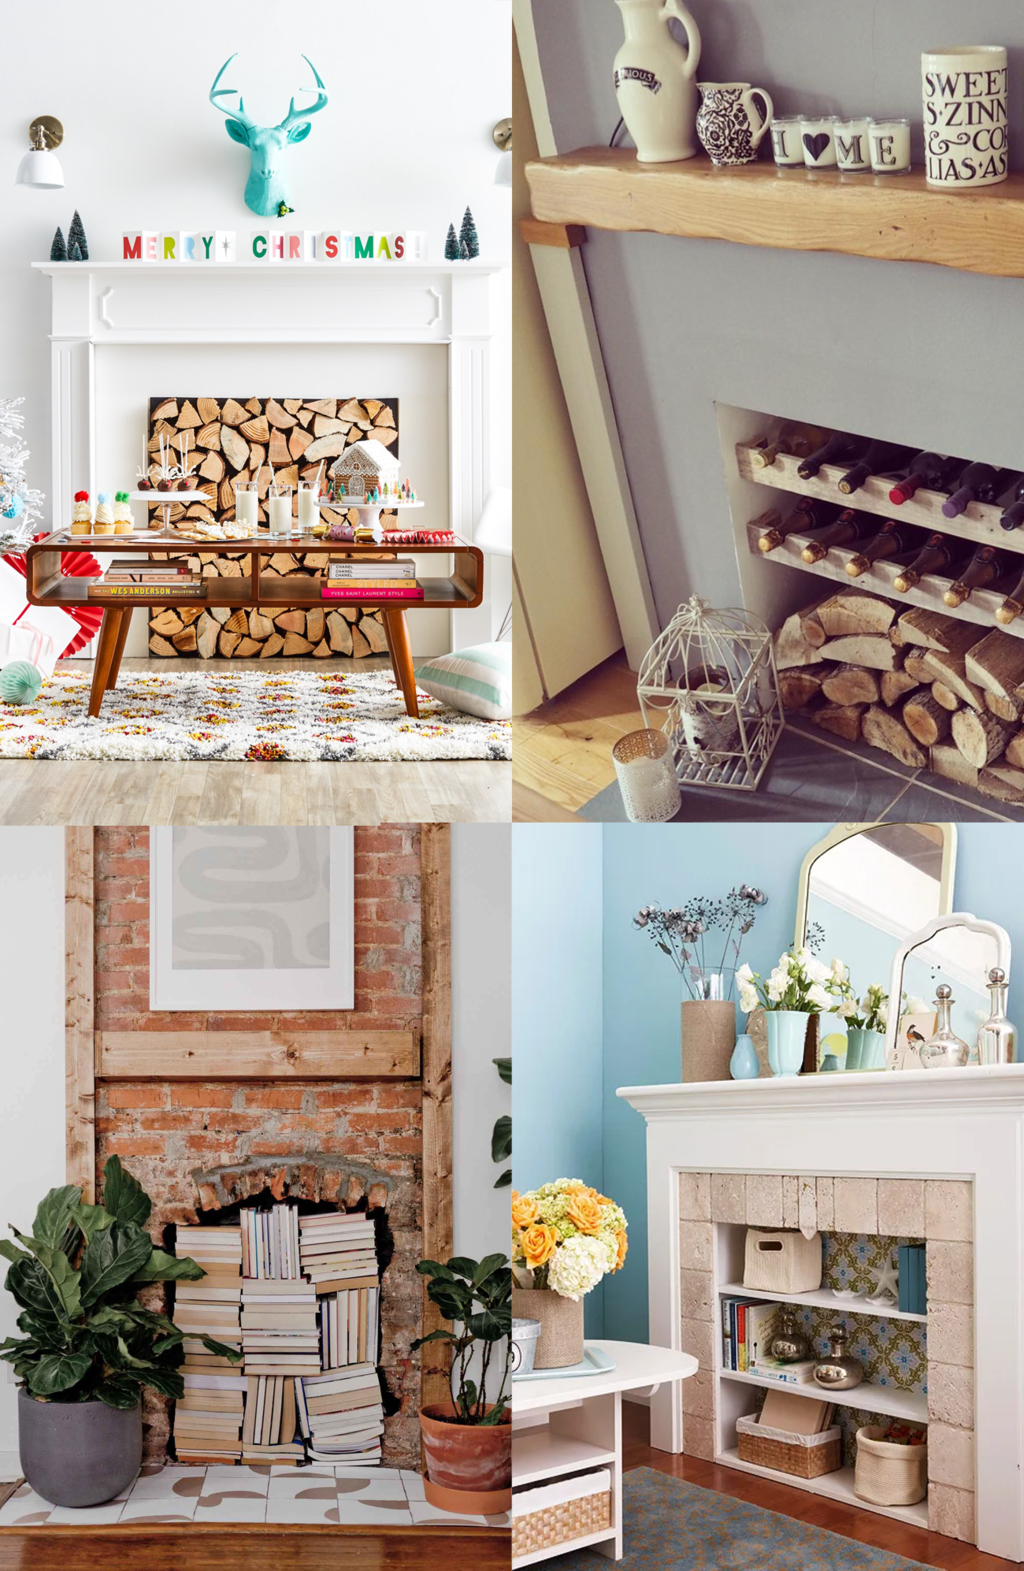
12 Empty Fireplace Ideas: How to Style an Unused Fireplace
Smith House Family Room Makeover
Poolside Christmas Decor with Santa
Our Revamped, Open Concept Living Room & Dining Room Design
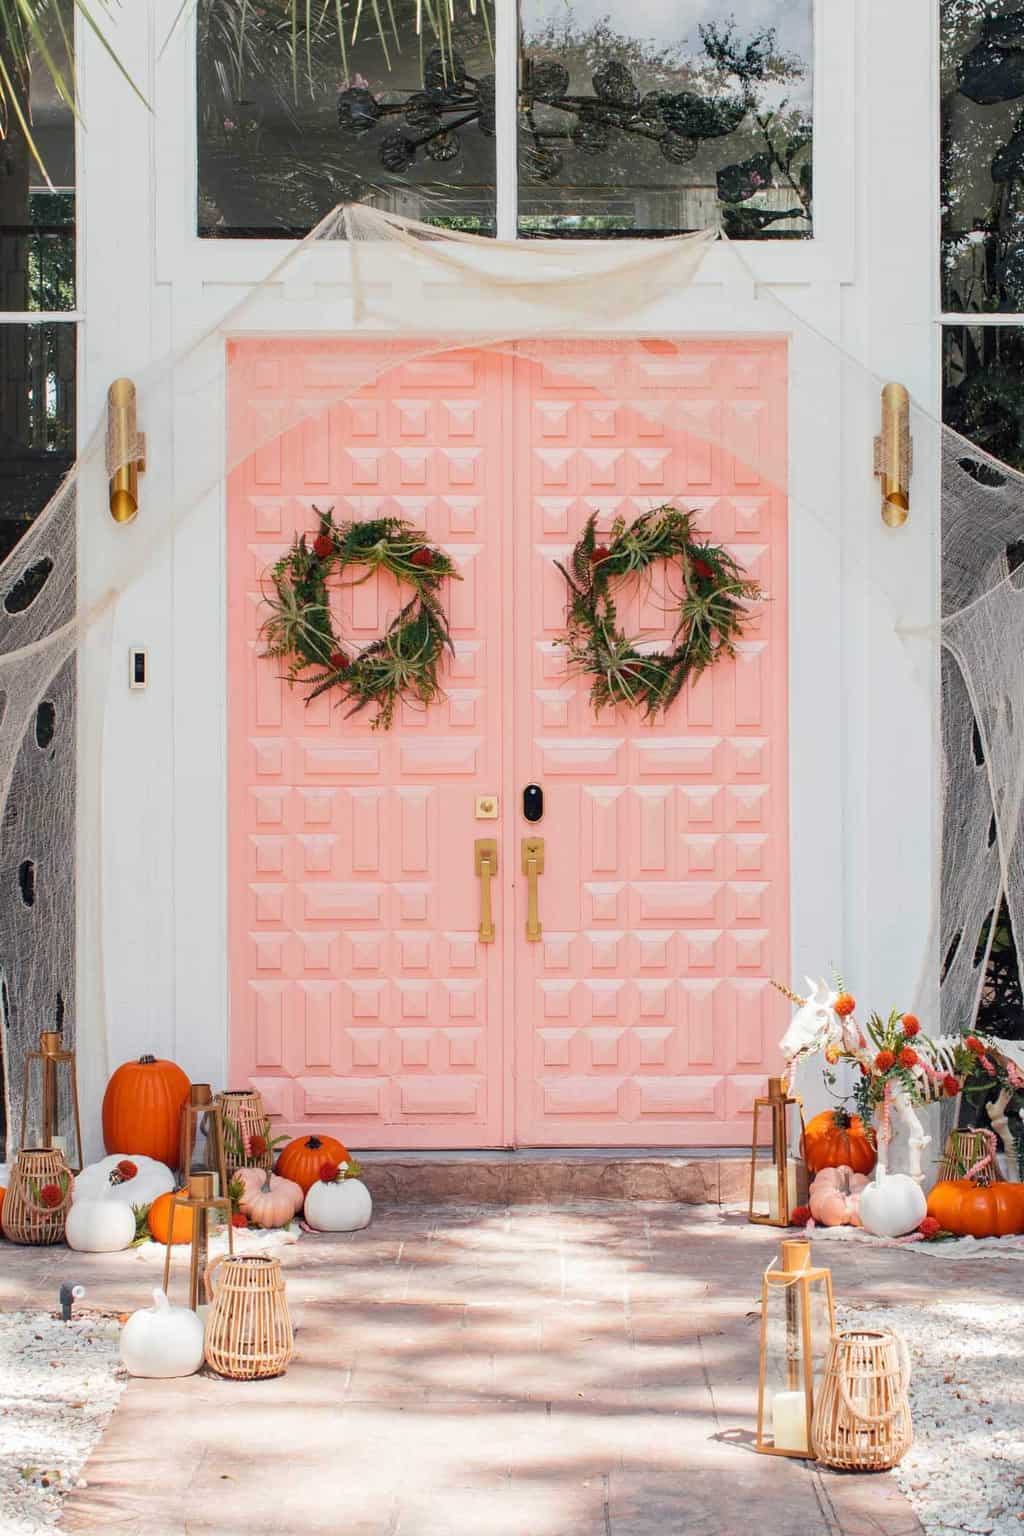
3 Not-So-Spooky Halloween Door Decor Ideas
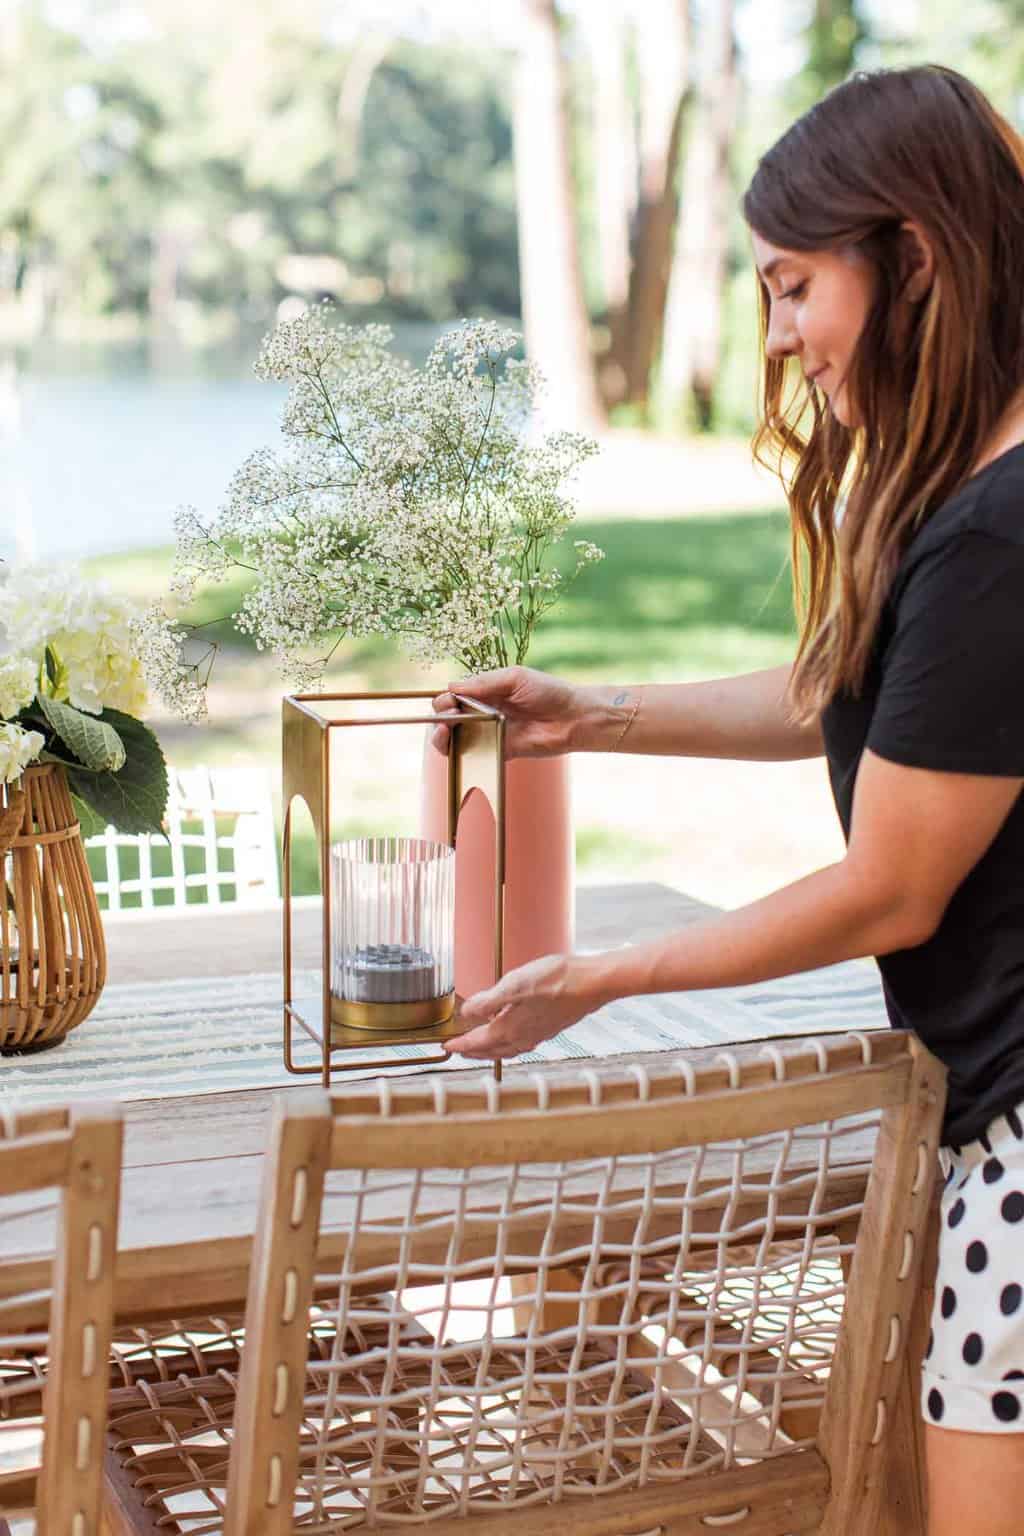
How to Get Rid of Flies Outside When Dining
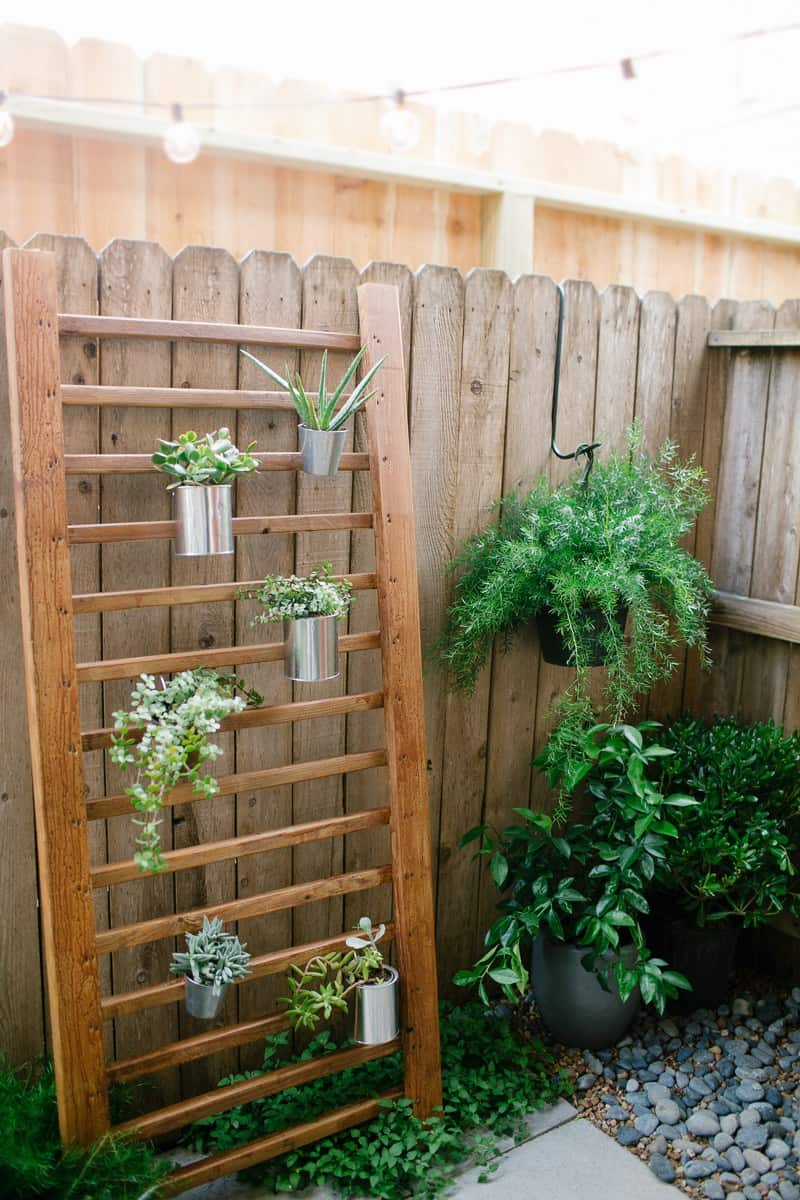
DIY Vertical Garden
Lakeside Modern Living Room Before & After
Lakeside Master Bedroom Design Before & After
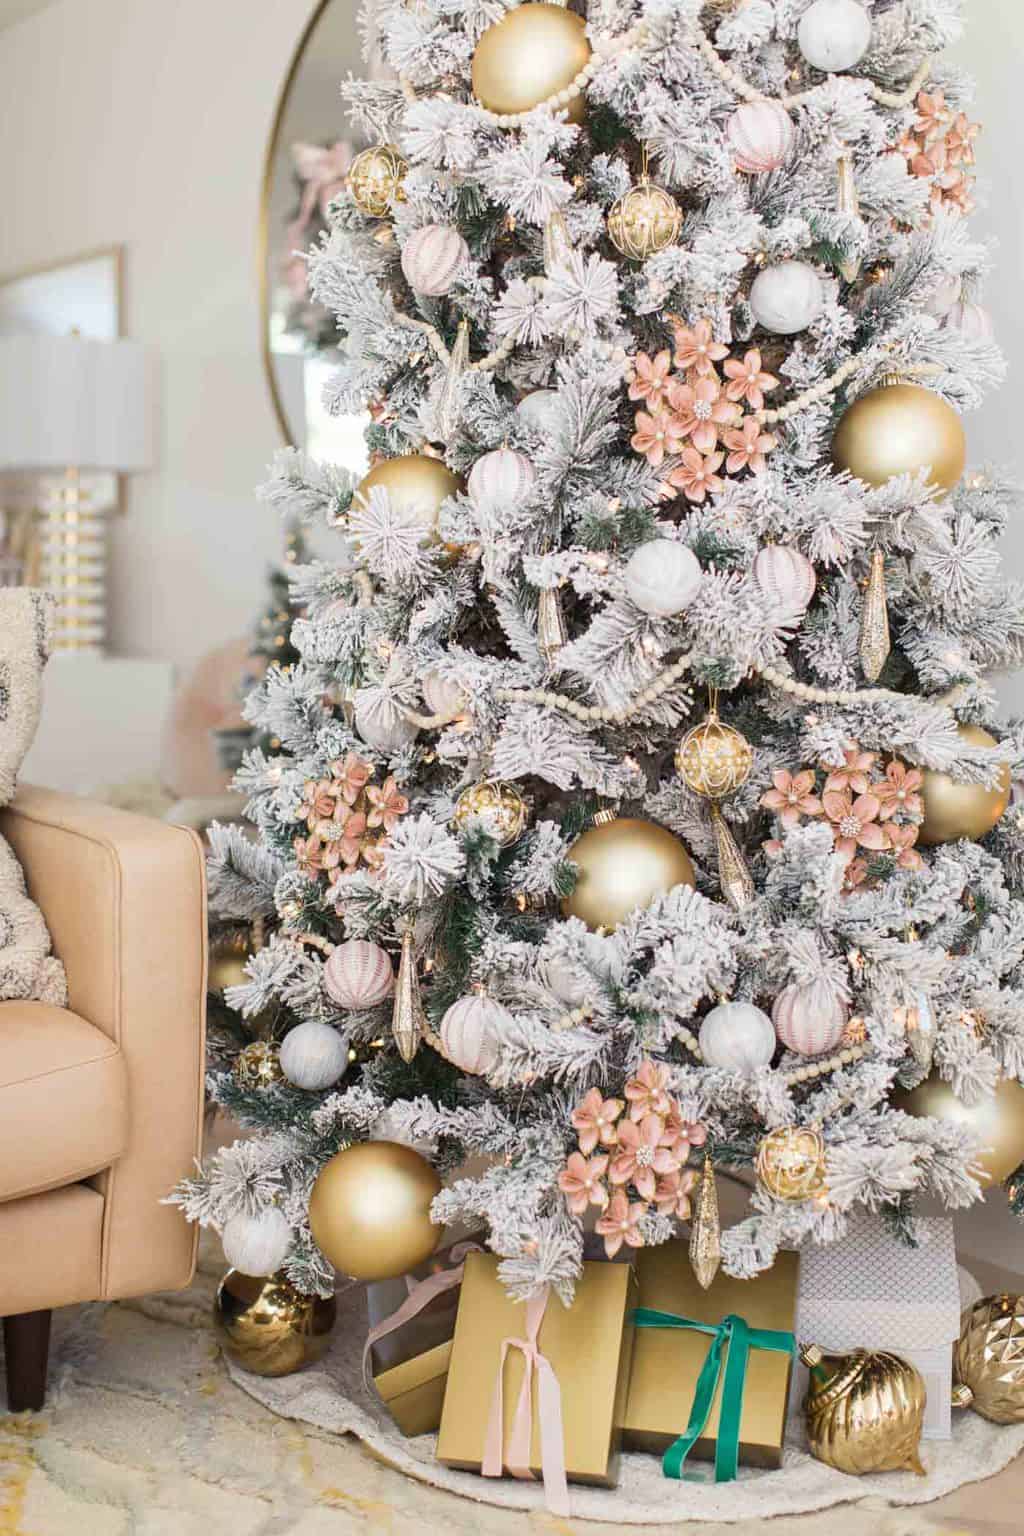
Our Living Room Pink and Gold Christmas Decorations
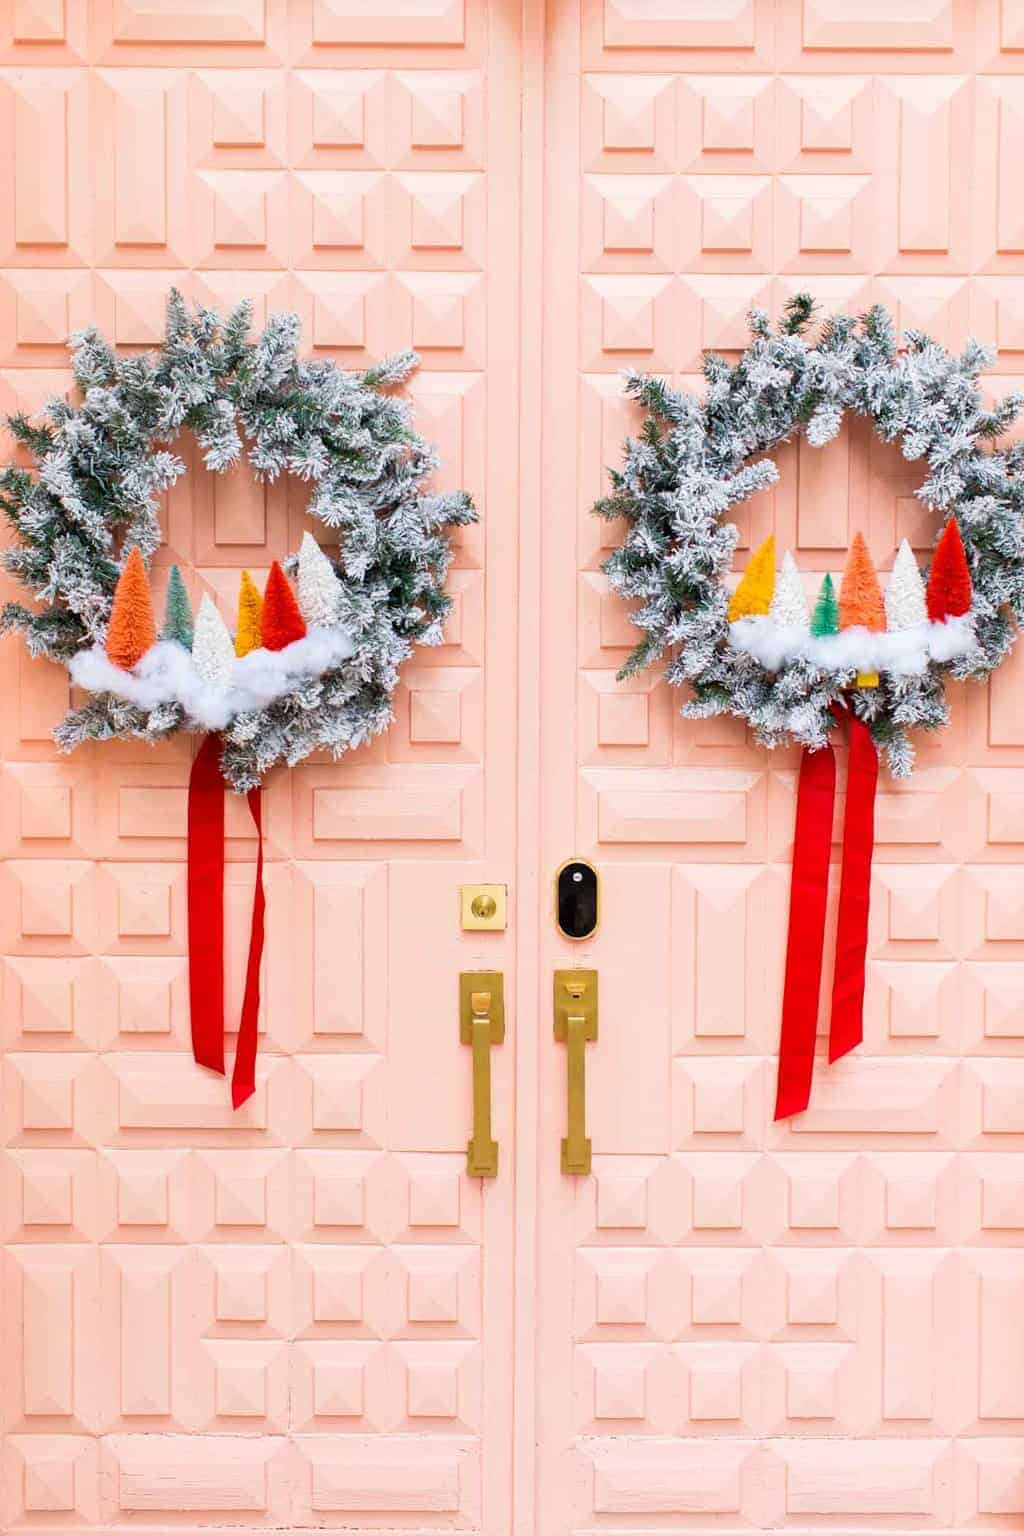
Colorful Front Door Christmas Decor
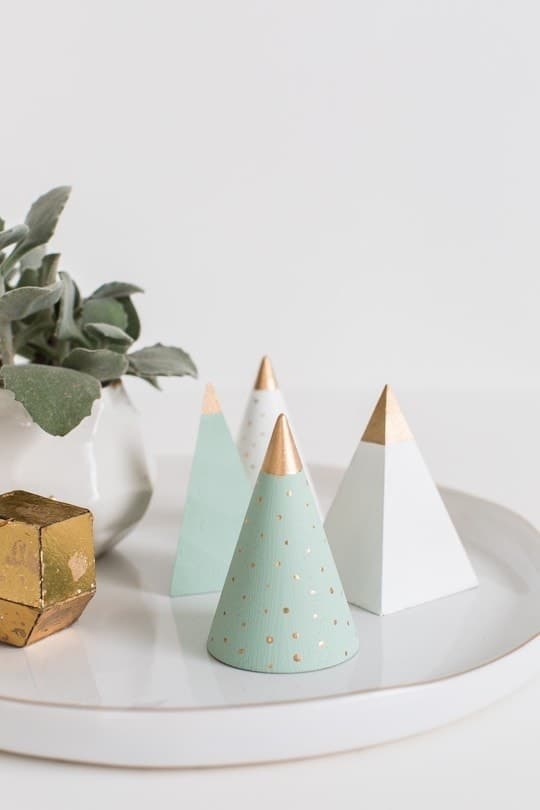
Mini DIY Wooden Christmas Tree
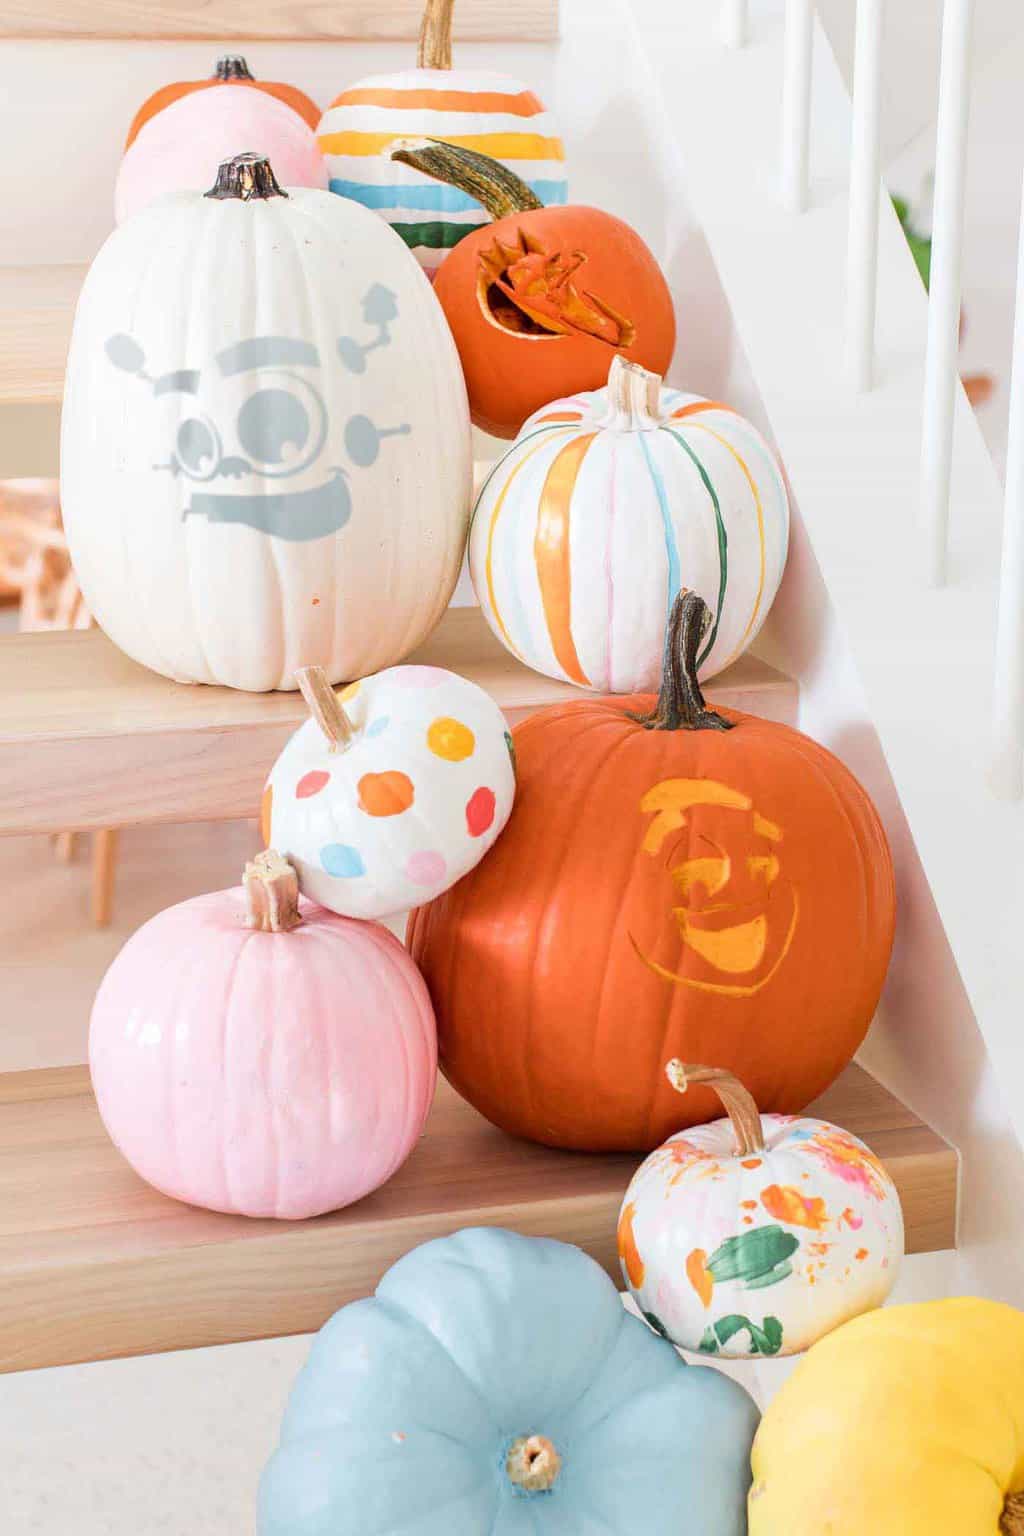
How to Carve a Pumpkin with Stencil
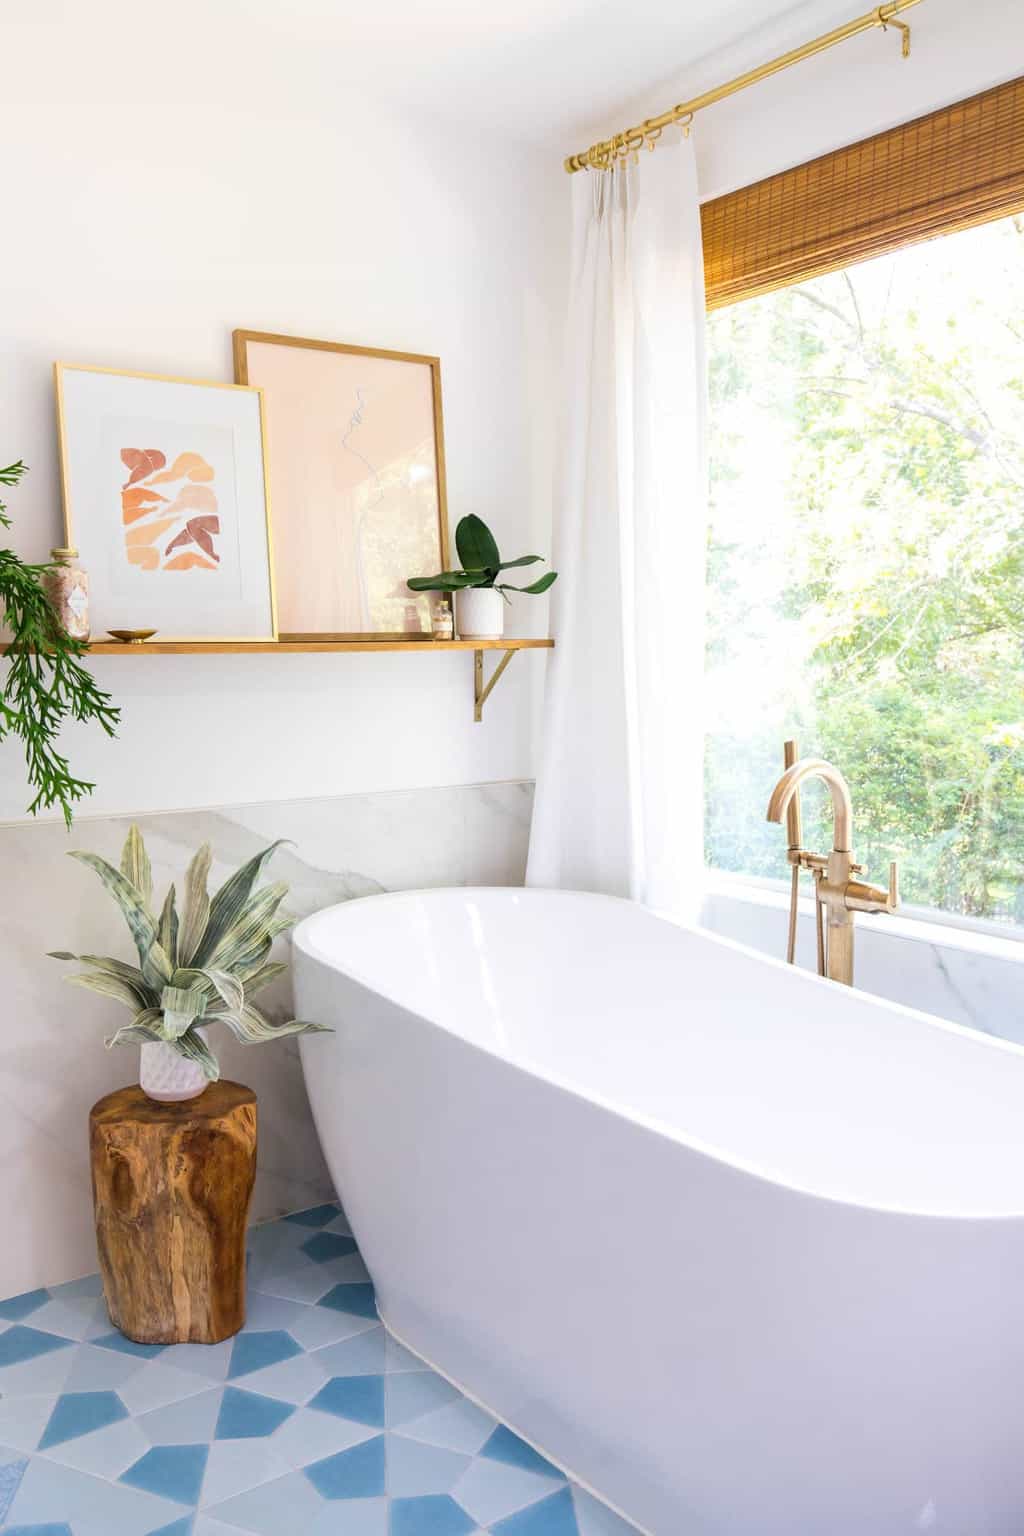
Lakeside Bathroom Remodel Before & After
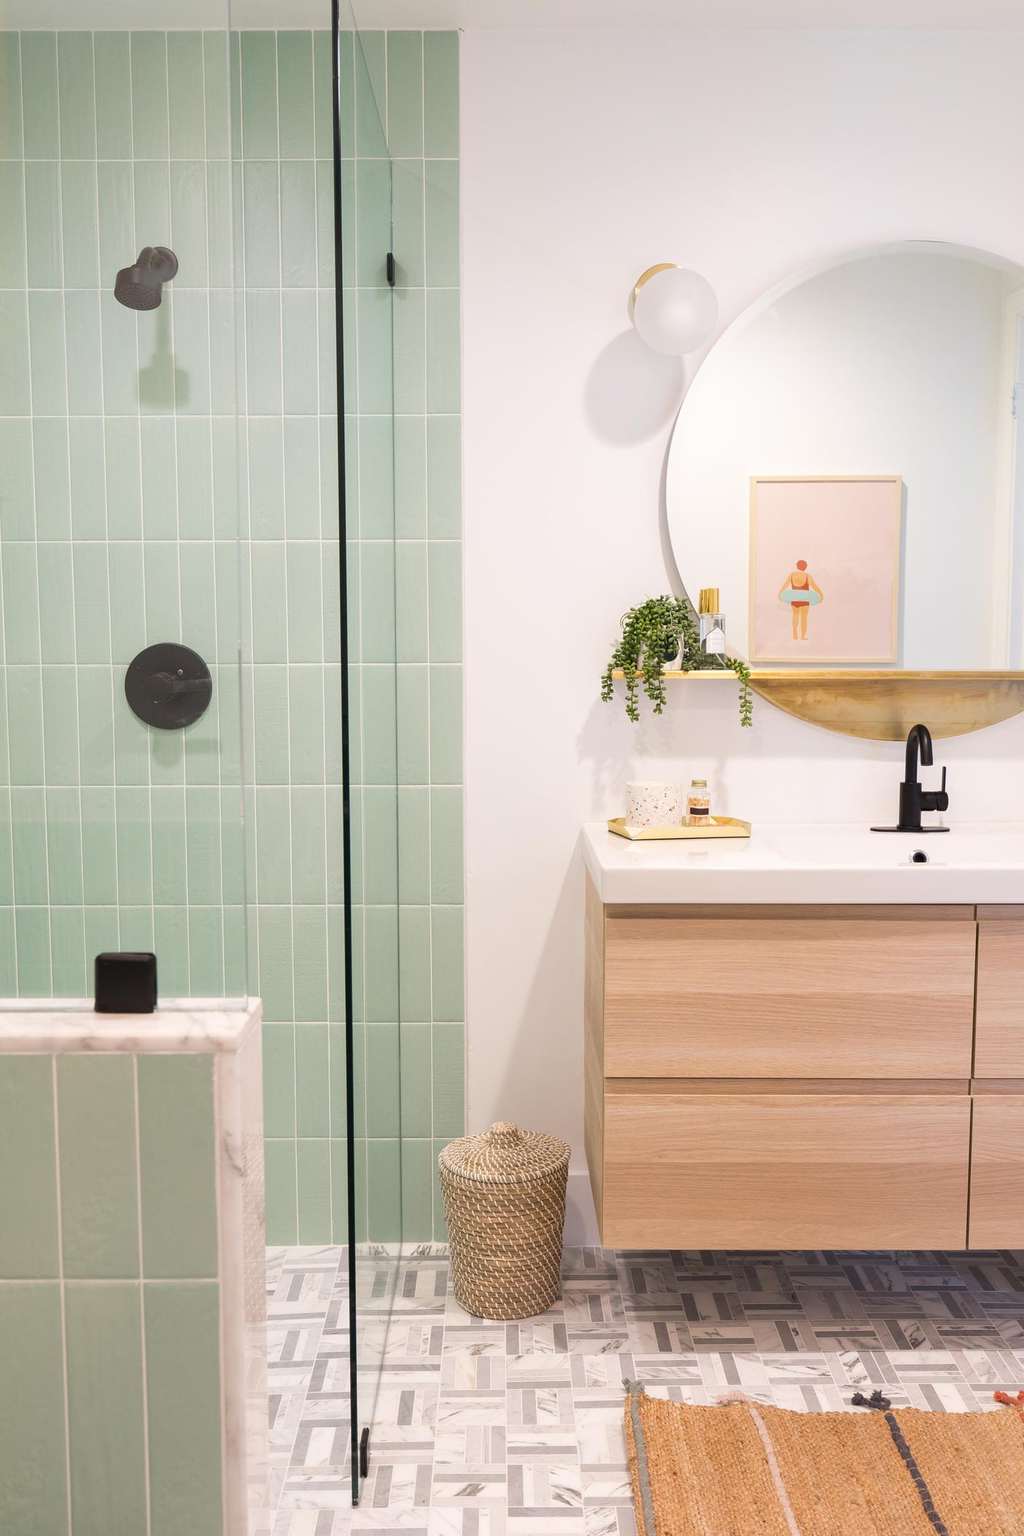
Lakeside Guest Bathroom Remodel Reveal
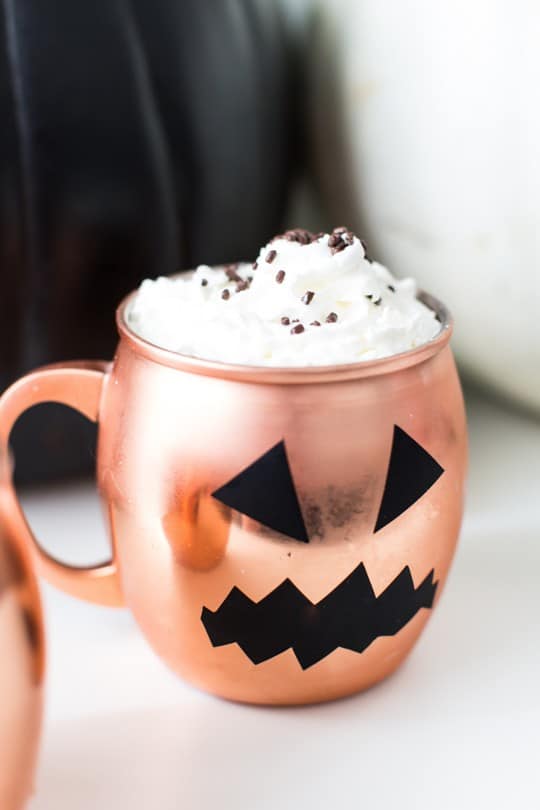
Pumpkin Decal for Your Halloween Glassware
Page navigation
1
2
3
…
7
Next Page
Next
Sugar & Cloth
Scroll to top
Scroll to top
Gift Guides
Toggle child menu
Expand
For Her
For Him
For Kids
Just Because
For Special Occasions
Decor
Toggle child menu
Expand
Bedroom
Kids’ Room
Living Room
Office
Bathroom
Kitchen
Outdoors
Recipes
Toggle child menu
Expand
Cocktails
Toggle child menu
Expand
Shots
Gin
Rum & Brandy
Sparkling
Tequila
Vodka
Whiskey
Wine & Beer
Non Alcoholic Drinks
Dinner
Desserts
Toggle child menu
Expand
Cakes & Cupcakes
Cookies & Candy
Donuts
Ice Cream
Macarons
No Bake Desserts
Snacks & Appetizers
Healthy Bites
DIY Projects
Toggle child menu
Expand
Home Decor
Entertaining
Travel
Beauty & Style
Free Printables
Holidays
Toggle child menu
Expand
Fourth of July
Birthdays
Game Day
Halloween
Thanksgiving
Christmas
Valentine’s Day
St. Patricks Day
Easter
Mother’s Day
Father’s Day
Shop
Facebook
Instagram
Pinterest
TikTok
Toggle Menu Close
Search for:
Search