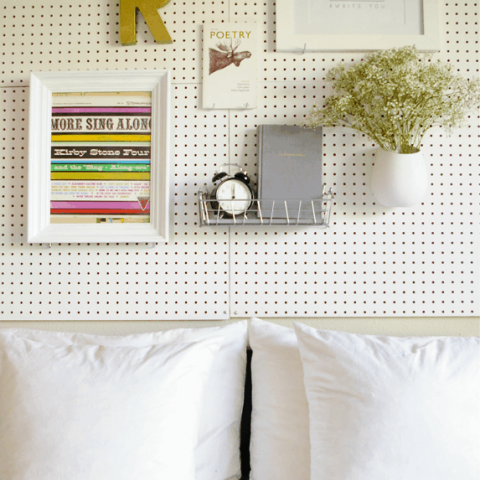
DIY Pegboard Headboard
This easy DIY Pegboard Headboard is for everyone who can’t quiet commit to a headboard and needs some add functionality to their space!

Don’t worry I haven’t deemed myself a poet, the title just rhymes by accident. Ughm..
Remember my oohing’ and aahing’ over headboards left and right?
Well, despite my insisting that I was going to decide on the perfect DIY version to create, I finally broke down and made one that would accommodate my constant indecisiveness.
Also read: DIY Paper Wall Art
Now you can sleep well knowing you won’t wake up to another one of my headboard proclamations.
Without further ado, I’d like to introduce to you to my DIY Pegboard Headboard, designed especially for those that have trouble with commitment.

Materials And Tools Needed To Make A DIY Pegboard Headboard
Pegboard — You can purchase some online but it’s much cheaper at your local hardware or craft store. You could also cut your pegboard to your desired size at Home Depot or Lowes. We opted for white, but there are lots of color choices!
The great thing about pegboard is that it’s affordable and versatile. We’ve done multiple DIY projects with this material like our DIY Pegboard Wall Art, DIY Pegboard Christmas Tree, and creating a She Shed It Tool Organizer.
Dry wall screws
Clear spacers — We used 1 in. x 3/8 in. O.D. x 0.171 in. nylon spacers.
General mounting tools

How To Make A DIY Pegboard Headboard
I used four pegboard squares because we had no way to transport the size we needed in one go.
1 – Get a general idea of the layout you want, then measure and mark.
2 – Anchor drywall screws to the wall, and then place clear spacers between the wall and pegboard before screwing them in place.
3 – Continue with the remaining boards.
4 – Use pegboard accessory hangers to decorate!


More Easy Bedroom DIY’s To Try
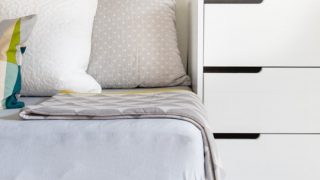
- DIY Midcentury Daybed
- Color Dipped DIY Clothes Hangers
- Beautiful DIY Tassels For Your Door Handle
- Modern DIY Dream Catcher
DIY Pegboard Headboard
DIY Pegboard Headboard
Equipment
- General mounting tools
- Dry wall screws
Materials
- Pegboard
- Clear spacers We used 1 in. x 3/8 in. O.D. x 0.171 in. nylon spacers
- Pegboard hangers
Instructions
- Get a general idea of the layout you want, then measure and mark.
- Anchor drywall screws to the wall, and then place clear spacers between the wall and pegboard before screwing them in place.
- Continue with the remaining boards. This is only if you are working with 4 pegboard pieces like us. We had to purchase smaller sizes due to transportation limitations but this project is easier if you can use one single piece of pegboard.
- Use pegboard accessory hangers to decorate!

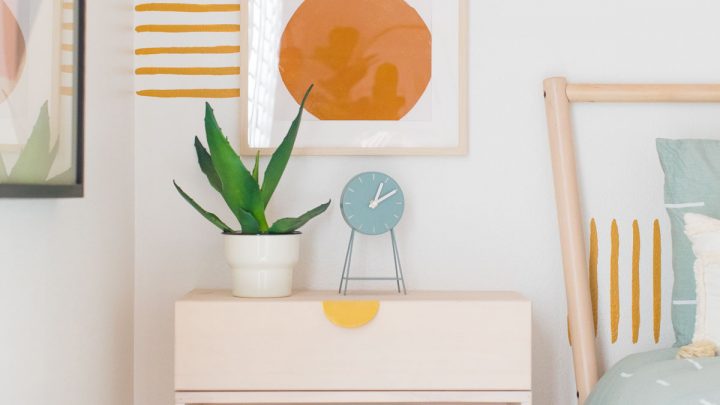
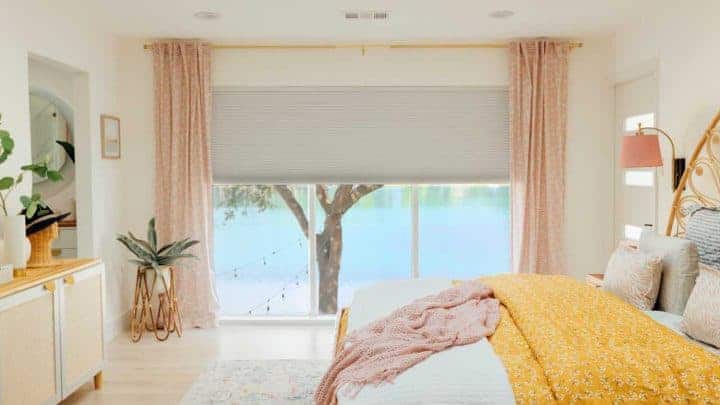
Bedroom Decor Makeovers


Please note that we may earn a commission for some of the above affiliate links. However, products featured are independently selected and personally well-loved by us!