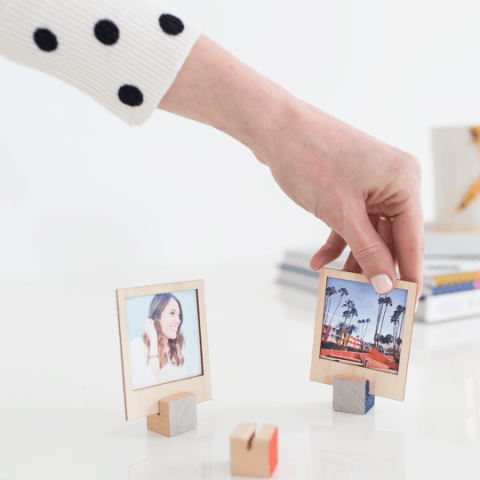
DIY Wooden Polaroid Displays
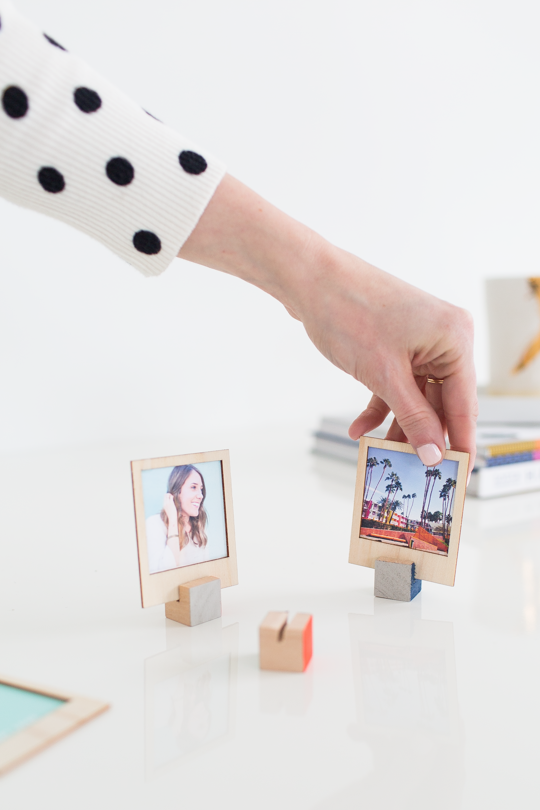
This Polaroid display idea is perfect for showing off your favorite memories! Plus, they’re easy to make with this video tutorial.
I love that you all went crazy over last year’s DIY Wooden Polaroid Gift Set. But there was just one little thing missing for them. A stand!
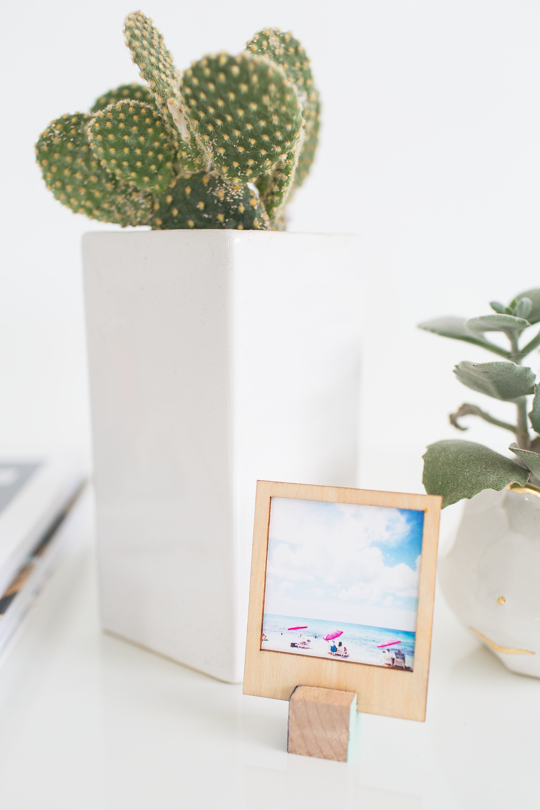
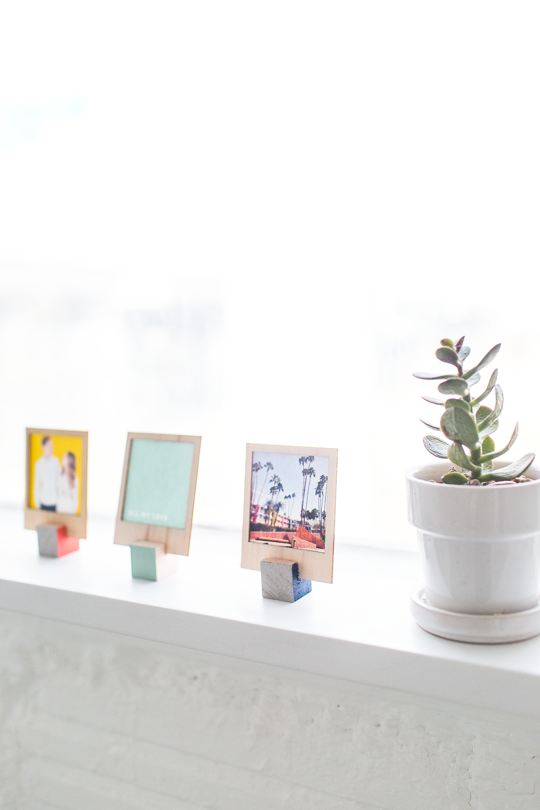
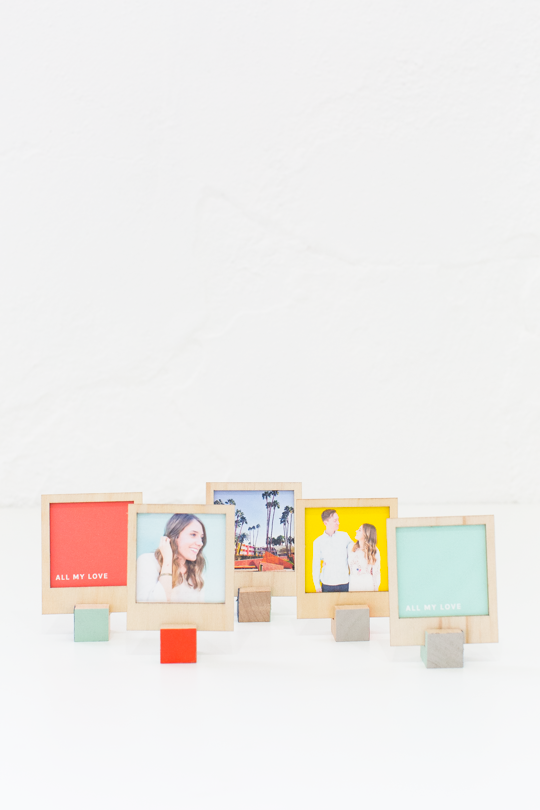
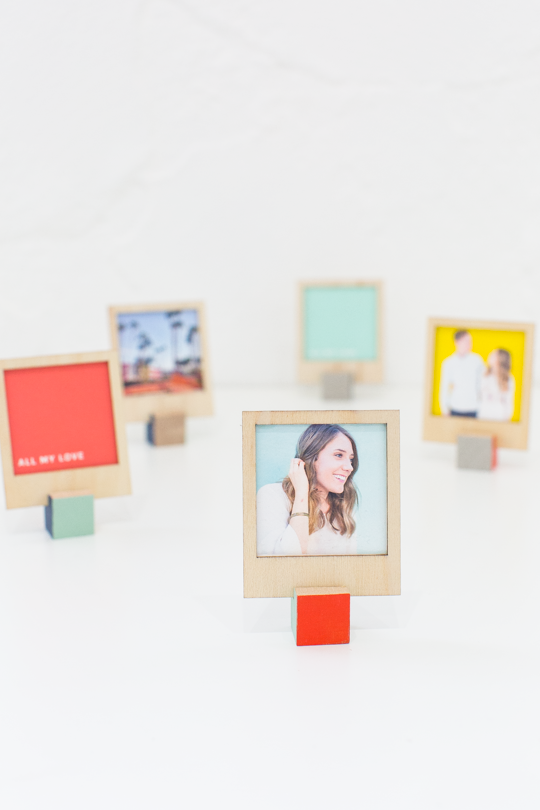
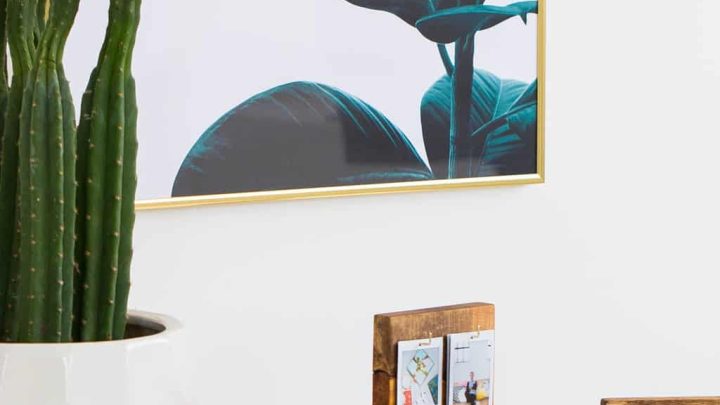
We solved that problem by making these DIY Wooden Polaroid Displays that make for the perfect desk additions or home decor trinkets.
And if you want a more polished bedroom touch, try this DIY Wooden Headboard Using Stikwood, perfect for those that aren’t exactly woodworkers but still want the reclaimed wood look.
Even better, you can make the displays in almost no time flat AND DIY along to our second-ever video tutorial for them too!
The polaroid portion is the same easy steps as last year, which you can find right here.
Once you have your wooden frames ready to go, you’re all set for making the displays…
Materials and Tools Needed to Make DIY Polaroid Displays
Your wooden polaroid frames from this tutorial
Craft paint — Optional
Foam brush — Optional
Steps to Make DIY Polaroid Displays
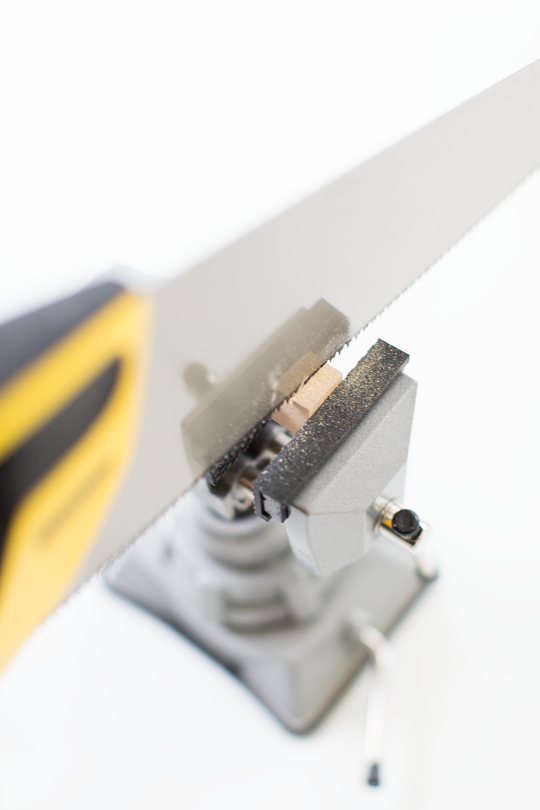
1 — For the stands, use a vice to grip the wooden blocks so that your hands are a safe distance away from where you’ll be sawing.
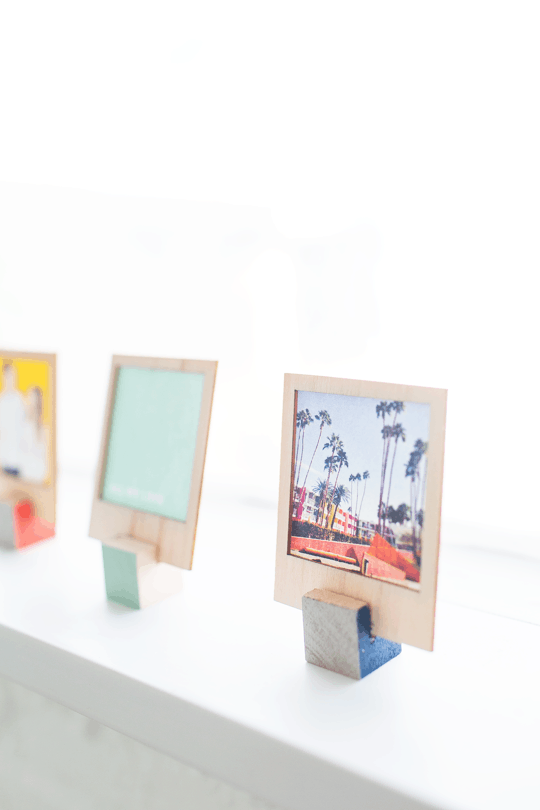
2 — Next, use the handsaw back and forth across one side of the block to create a groove about a quarter of an inch deep that’s just wide enough to fit the wooden frame.
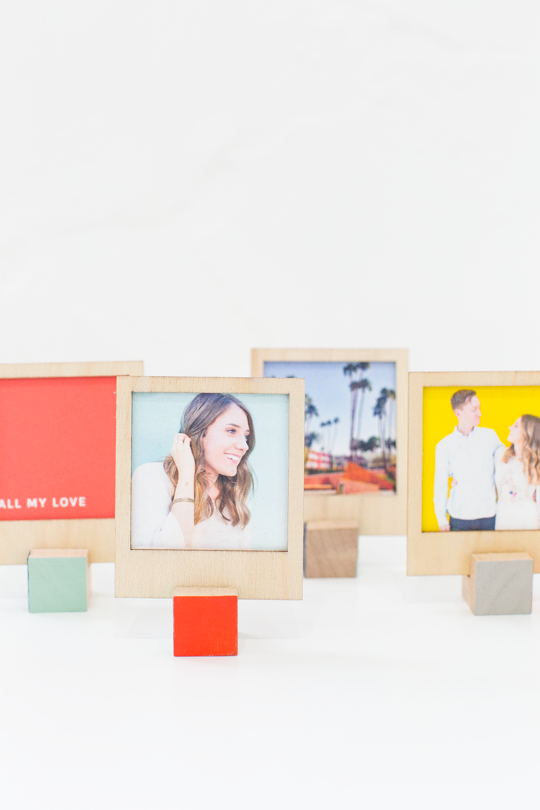
3 — Once the groove is cut, you can add a little punch to them by color blocking the sides of the cubes with different colors of your choice with craft paint and a foam brush.
Now you can display them on mantles, window sills, desks, counters, dressers… the list goes on!
Here’s also a fun video tutorial to follow along…
More Easy DIYs
So how do you guys feel about the new video tutorials to accompany projects? A bit more action-packed, too action-packed? I want to hear your take on it all!
For more DIY ideas like this, consider the following related posts below –
- DIY Watercolor Printable Wall Art
- DIY Floating Flower Table Display
- How To Make A DIY Watercolor Wall Art
- DIY Footed Display Bowls
DIY Wooden Polaroid Displays
Equipment
- Hand saw
- Woodwork vice
- Foam brush optional
Materials
- Wooden cube
- Craft paint optional
Video
Instructions
- Use a woodwork vice to grip the wooden blocks so that your hands are a safe distance away from where you’ll be sawing.
- Use the handsaw sawing back and forth across one side of the block to create a groove about a quarter of an inch deep that’s just wide enough to fit the wooden frame.
- Optional: Once the groove is cut, add a little punch to them by color blocking the sides of the cubes with different colors of your choice with craft paint and a foam brush.

Don’t forget to share your Polaroid Display Ideas with us on Instagram using the hashtag #sugarandclothloves. We always love seeing all of your creations! Looking for more interior design inspiration? You can find all of our home decor tutorials and ideas right here!
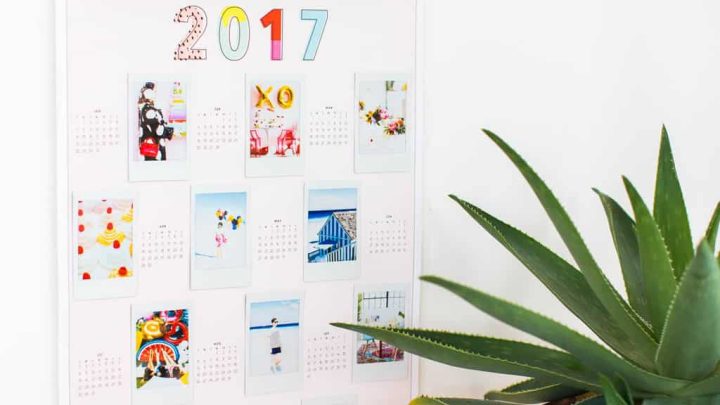
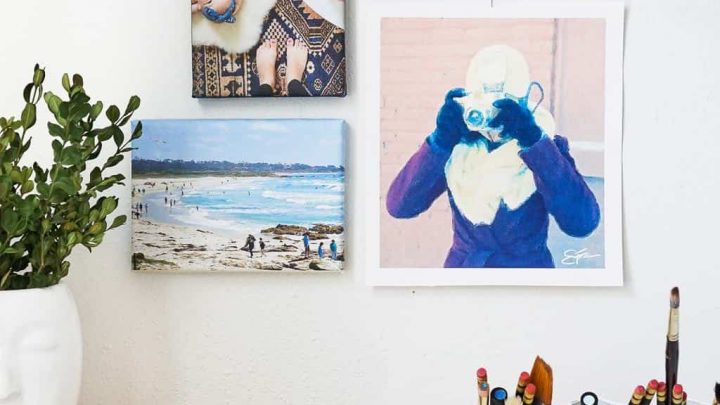
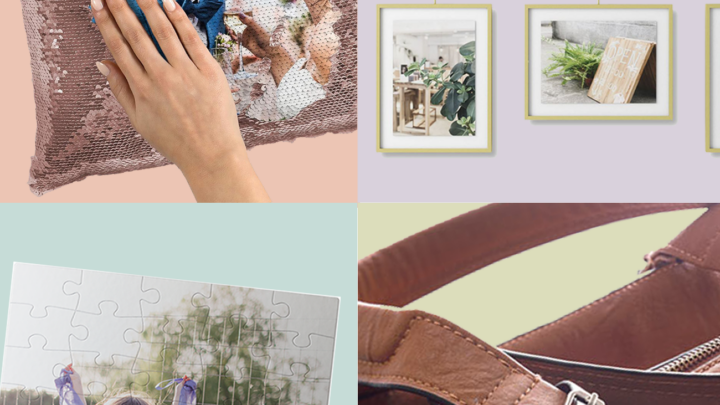
Other Photo Decor Ideas for You


Please note that we may earn a commission for some of the above affiliate links. However, products featured are independently selected and personally well-loved by us!