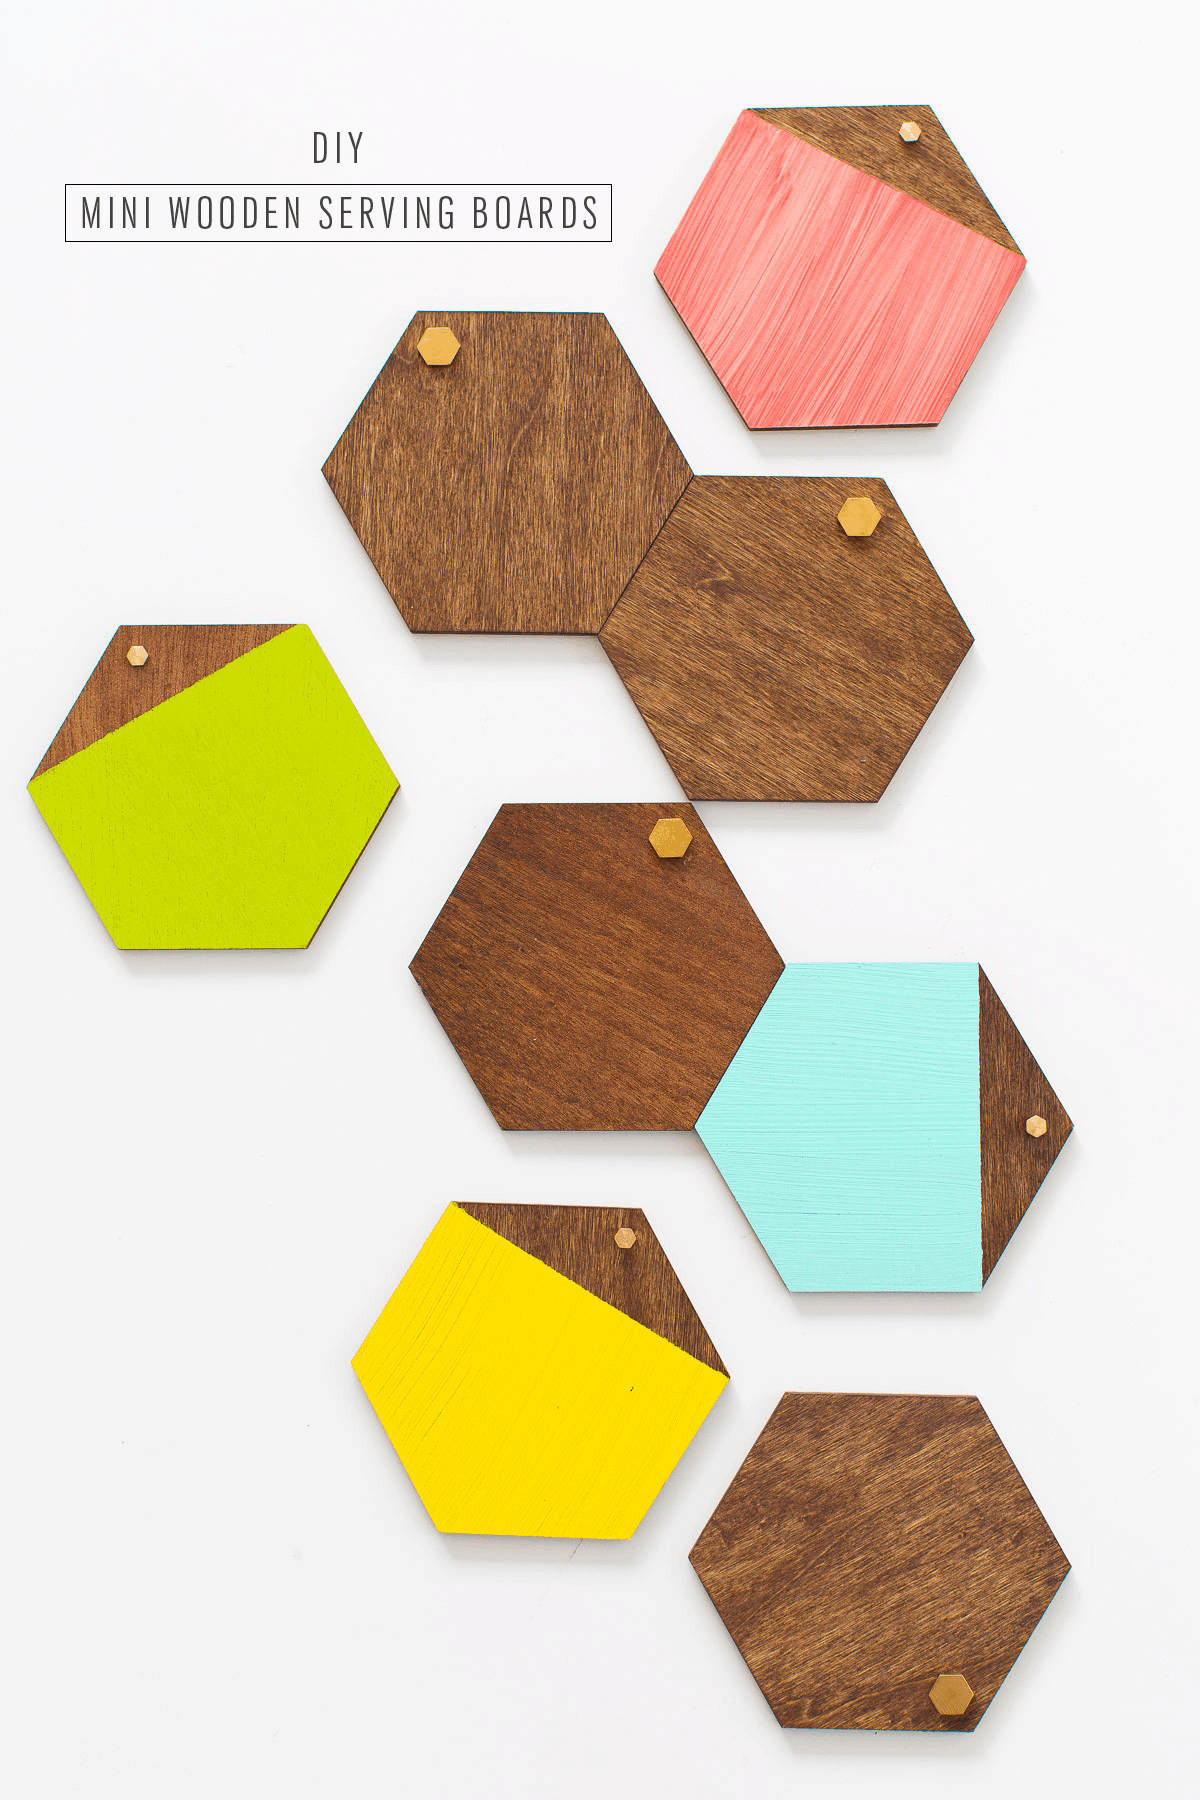
DIY Mini Wooden Serving Boards
Learn how to make your own mini wooden serving boards. These adorable little boards are the perfect way to show off a great DIY project that anyone can do!
Considering this might actually be our one-millionth hexagon-related post, it’s pretty safe to say I have a very healthy obsession.
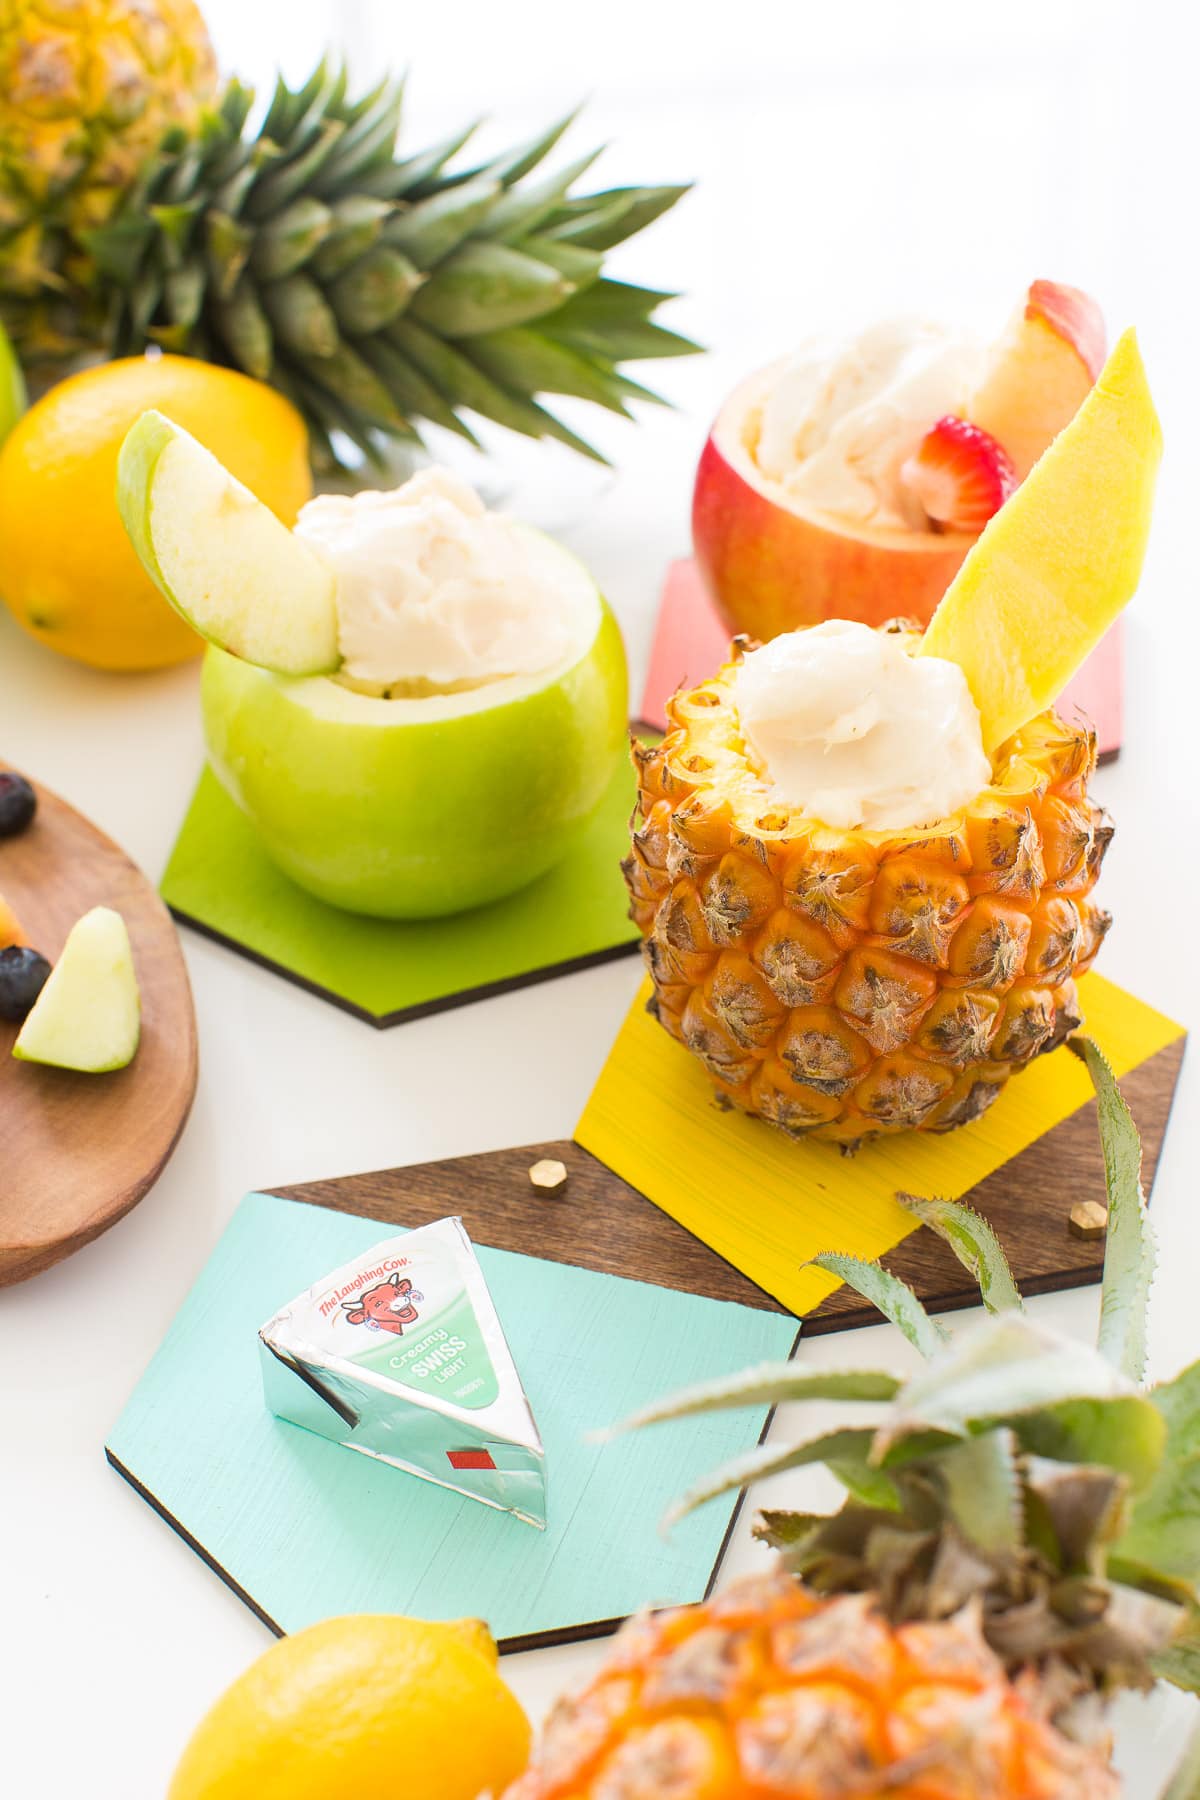
But hey, why fix what isn’t broken you know?! So I’m back at it again with these DIY Mini Wooden Serving Boards that I made for our friends at The Laughing Cow®.
We’re basically BFF’s now.
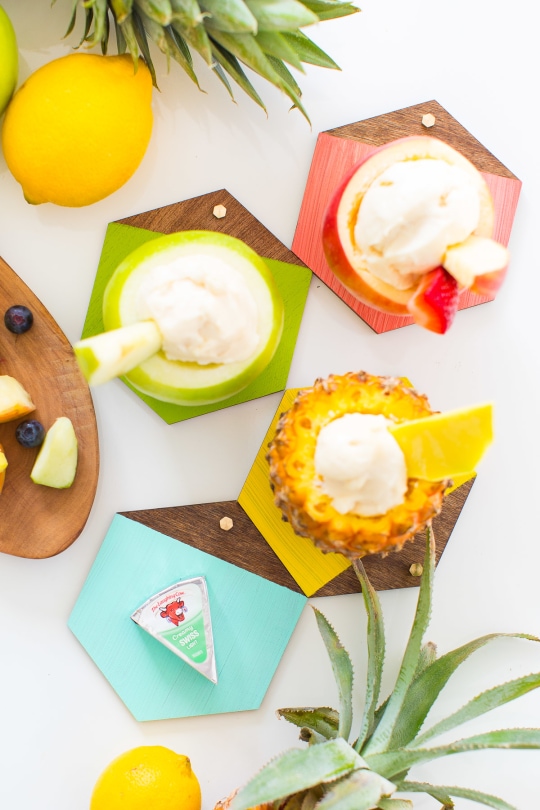
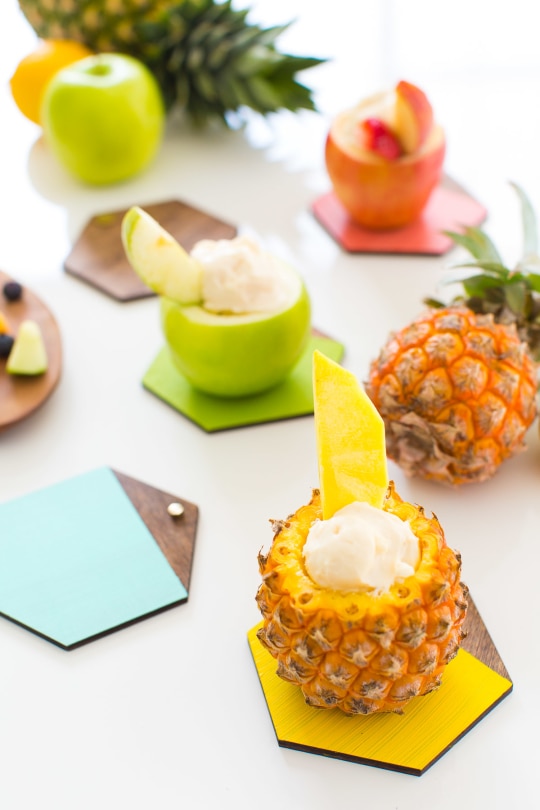
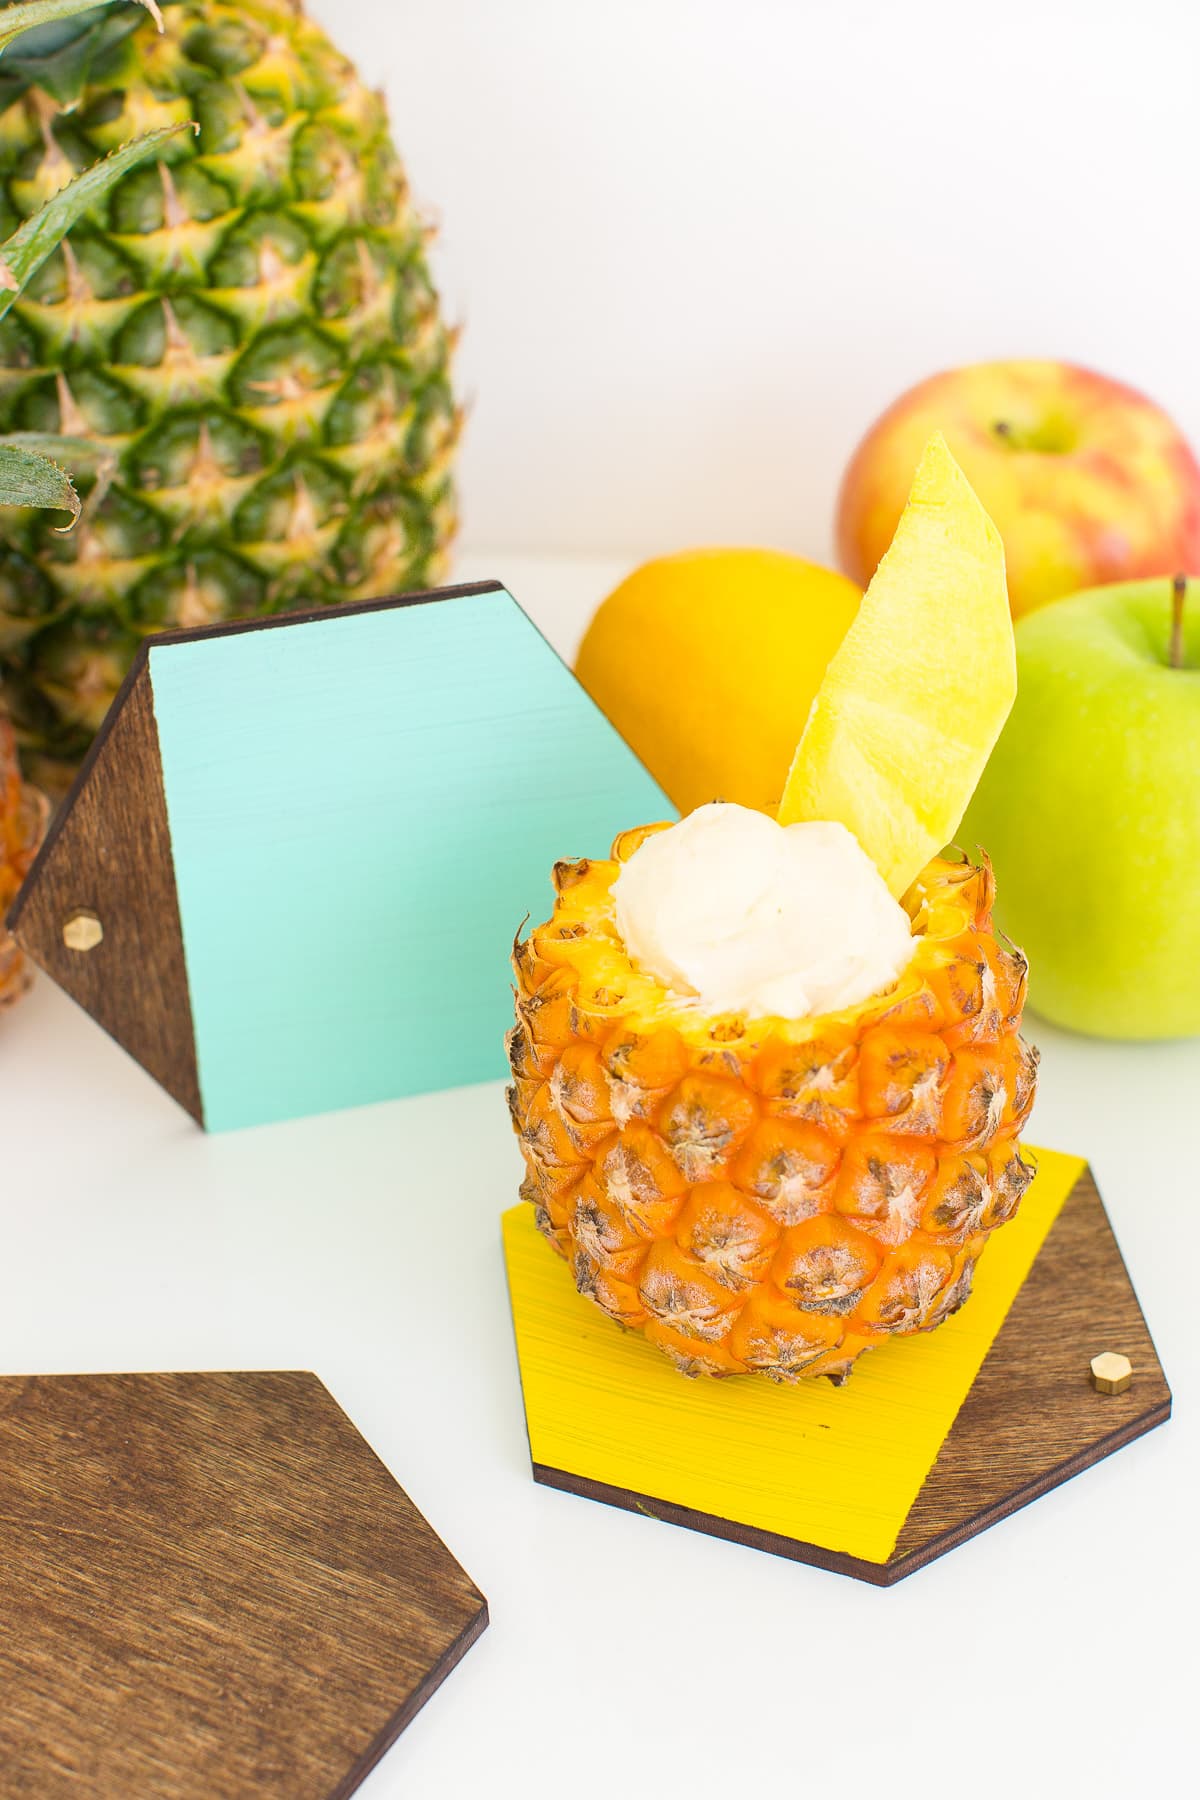
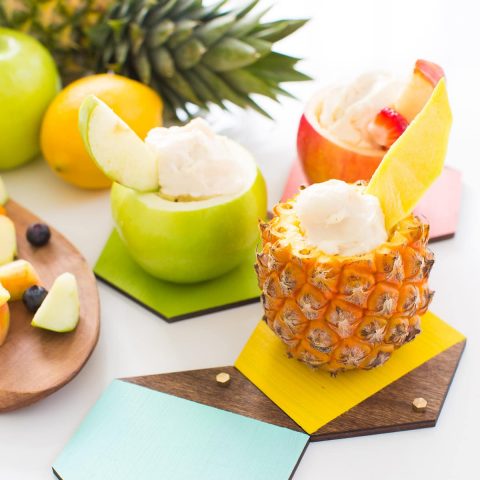
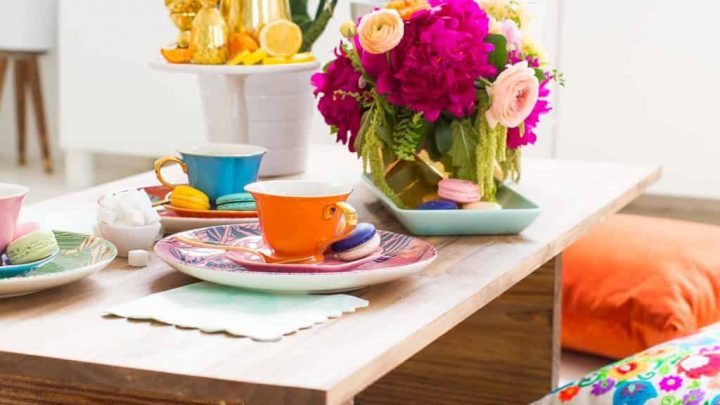
We’ve been making fun snack pairings for them each month behind the scenes (can you guess which photos are ours?!), and this month we made these super cute fruit slices and Creamy Light Swiss Cheese pairings served in mini fruit bowls.
It was all very tropical and delicious, and they were just screaming for coordinating serving boards to go along with them, so obliged.
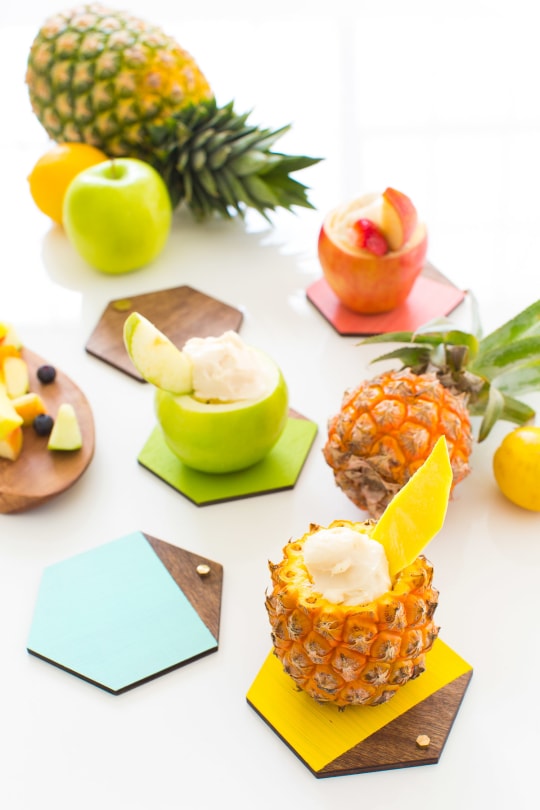
Now I’m here to spread the tropical love, because don’t these just look like they belong right next to your afternoon snack pairing by the pool?
You can even color coordinate them so that each guest knows which snack pairing is theirs…
Materials and Tools Needed to Make DIY Mini Wooden Serving Boards
Non-toxic clear spray shellac (a food-safe sealant for the serving boards)
Non-toxic paint in the color of your choice and foam brush (optional for the color blocking)
How to Make DIY Mini Wooden Serving Boards
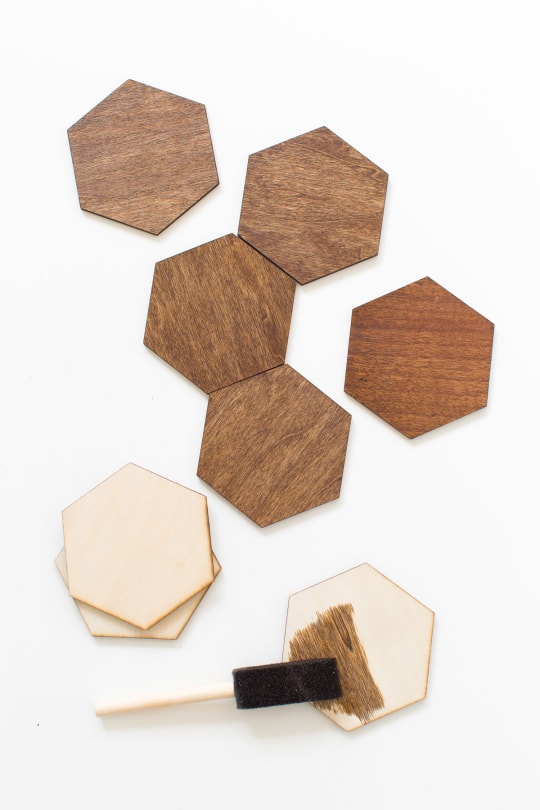
Step 1 — First stain the wooden hexagons with either an old cloth or foam brush dipped into the non-toxic stain. Let it dry completely.
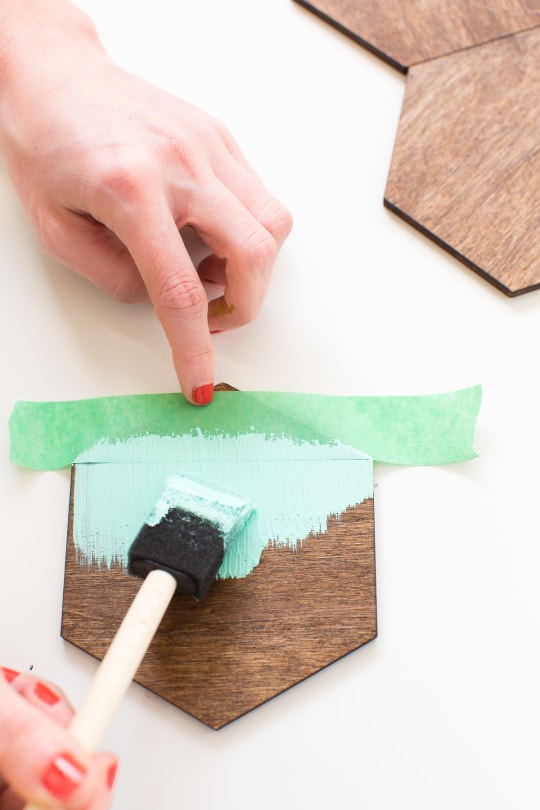
Step 2 — If you’re going to do the color blocking on some of the hexagons, use the painter’s tape to tape different sections, making sure to run your hands over the edges of the tape to get a clean, sharp line.

Step 3 — Paint the colors onto the tile brushing away from the tape so that it doesn’t gunk up and cause weird edges when you peel it away.
Then let it dry completely.
Step 4 — Once the paint is completely dry, you can spray the entire wood piece with the clear spray shellac so that it has a food-safe, resistant surface.
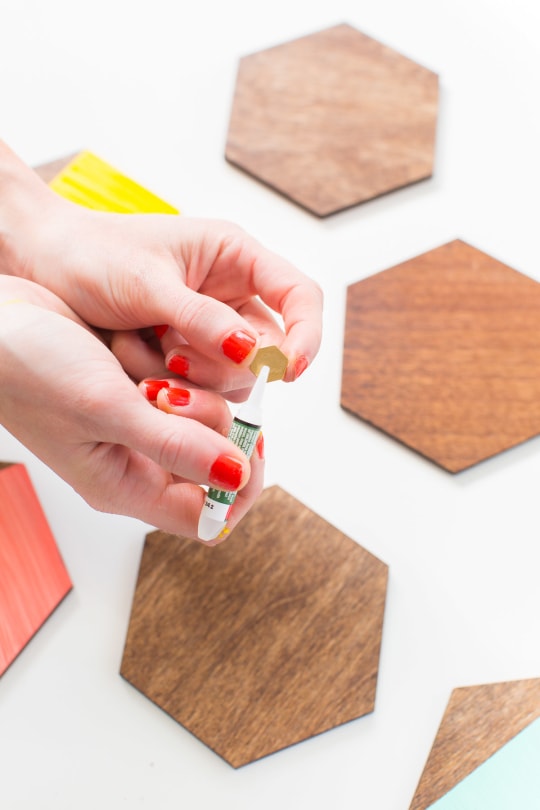
It will need to set for 24-48 hours to be fully cured, but you can super glue your finishing brass touches onto the tiles once the shellac is dry to the touch.
Be sure to lightly hand wash the tiles after using them, and avoid completely submerging them in water, especially if you’re using brass embellishments. 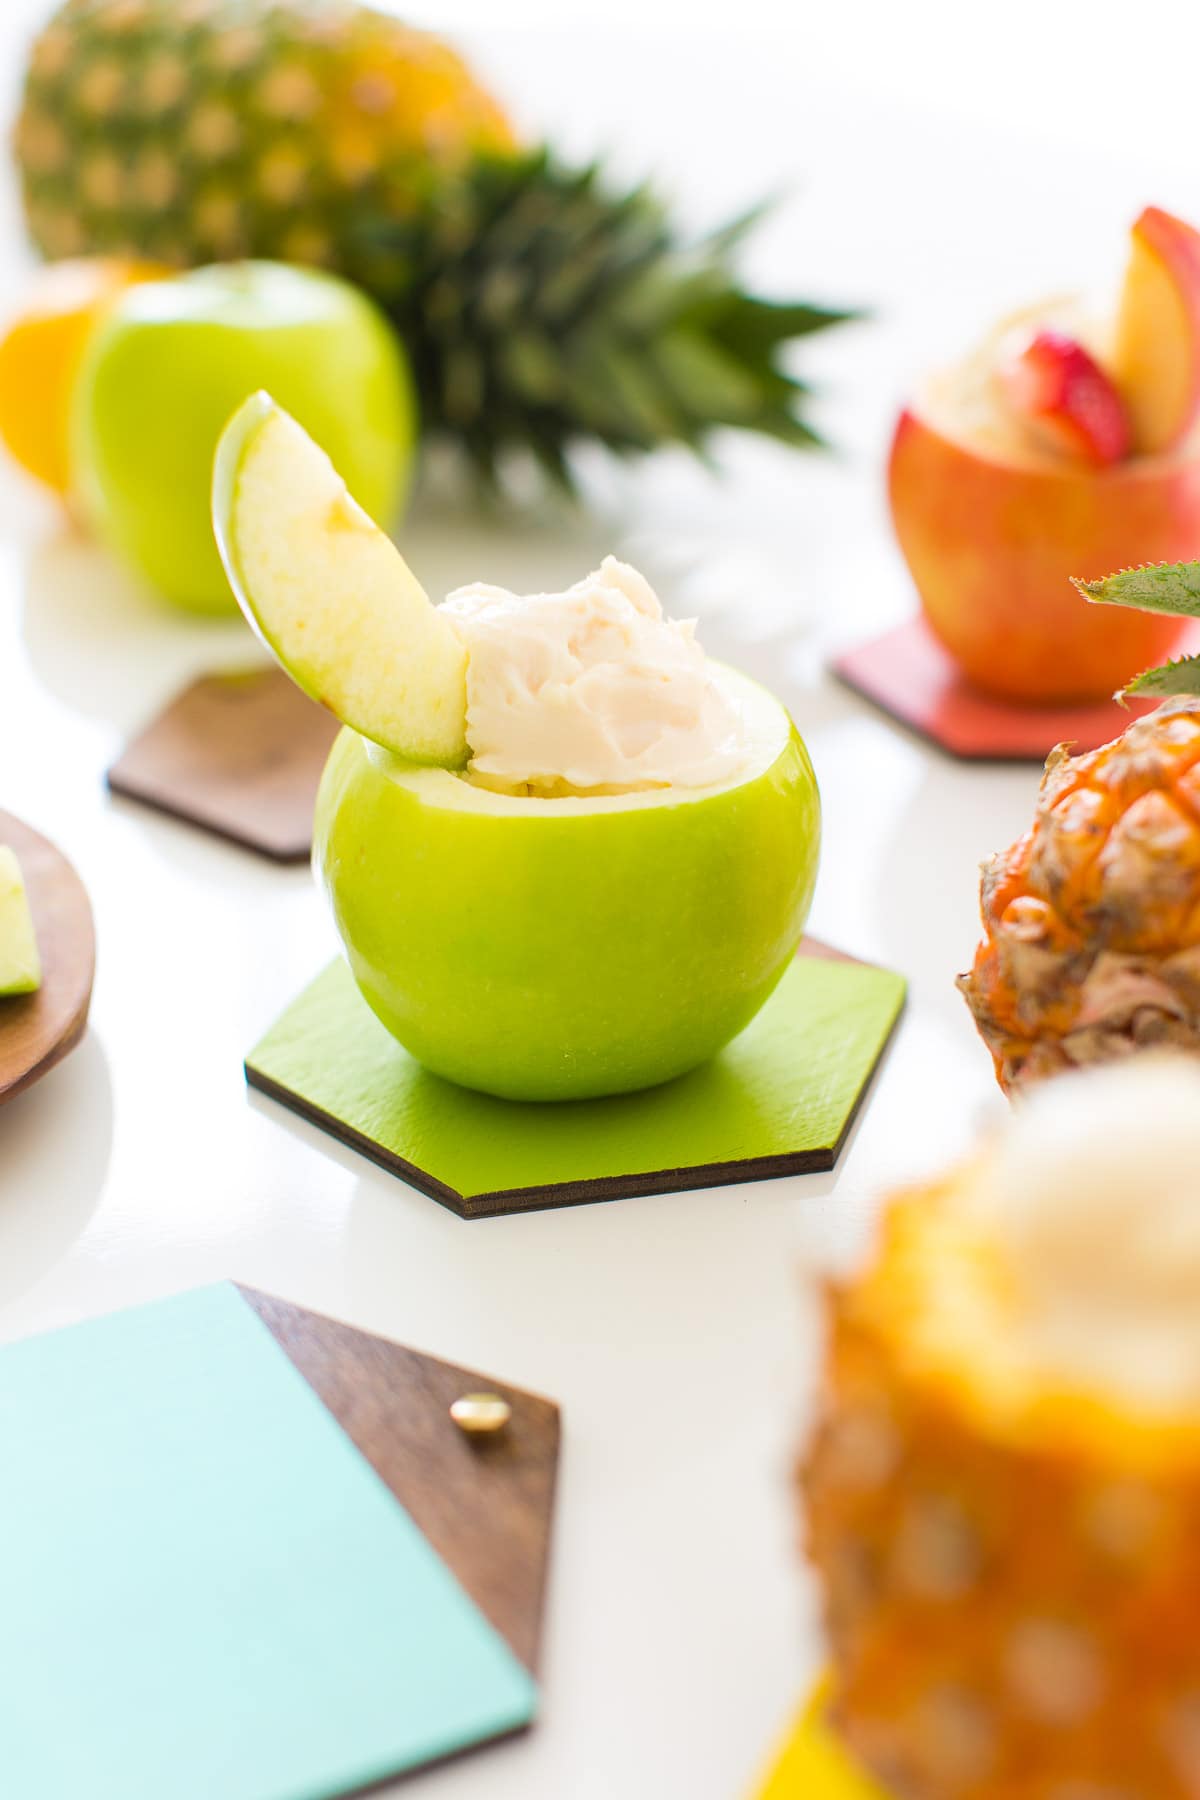

They make for pretty cute little serving boards, don’t you think?! And you know I couldn’t resist adding a little touch of gold!
I still have approximately one million gold pieces left after my Etsy shopping spree, so don’t be surprised when you see them again soon.
Or do you fancy marble? Compared to their name-brand cousins, these DIY Gilded Marble Hexagon Serving Boards are seriously budget-friendly.
A big thanks to our friends at The Laughing Cow® for partnering with us on this post! You can also check out our other unexpected, spreadable cheese snack pairings Sriracha Bacon And Egg Breakfast Cupcake and Dessert Cheese and Crackers.
For more DIY ideas like this, you can check out our related posts below –
- How To Make Decorative DIY Marble Plates
- DIY Floral Pineapple Centerpiece
- Our Tropical Garden Party + DIY Fruit Necklaces For Summer
- DIY Mini Face Planters
DIY Mini Wooden Serving Boards
Equipment
- Foam brush
Materials
- 4 inch wooden hexagons
- Non-toxic wood stain
- Non-toxic clear spray shellac (a food-safe sealant for the serving boards)
- Non-toxic paint optional for the color blocking in color of your choice
- Brass hexagon embellishments
- Super glue optional
Instructions
- First stain the wooden hexagons with either an old cloth or foam brush dipped into the non-toxic stain. Let it dry completely.
- If you’re going to do the color blocking on some of the hexagons, use the painter’s tape to tape different sections, making sure to run your hands over the edges of the tape to get a clean, sharp line.
- Paint the colors onto the tile brushing away from the tape so that it doesn’t gunk up and cause weird edges when you peel it away.Then let it dry completely.
- Once the paint is completely dry, you can spray the entire wood piece with the clear spray shellac so that it has a food-safe, resistant surface.It will need to set for 24-48 hours to be fully cured, but you can super glue your finishing brass touches onto the tiles once the shellac is dry to the touch.
Notes
- Be sure to lightly hand wash the tiles after using them, and avoid completely submerging them in water, especially if you’re using brass embellishments.

Don’t forget to share your DIY wooden serving boards with us on Instagram using the hashtag #sugarandclothloves. We always love seeing all of your creations! Looking for more interior design inspiration? You can find all of our home decor tutorials and ideas right here!

Please note that we may earn a commission for some of the above affiliate links. However, products featured are independently selected and personally well-loved by us!
Love the idea! So simple and gorgeous. Noticed the brass hexagon, otherwise I would thought those are magnets. Last picture looks like a magnetic board.
It does, sort of! Technically you could make them both? :)
These are so cute! perfect for serving summer cocktails!
–Clarissa @ The View From Here
Thanks Clarissa!
Wonderful colors! These remind me of a modern style beach cottage :)
haha, now that’s my jam!
Gonna have to make some of these! Where’d you find your brass embellishments? The link sent me to shellac.
The link should be fixed! :)
LOVE these! I am totally on the hexagon bandwagon so no judgement here!
haha, thanks Kristina! xo