DIY Flip Photo Album
This DIY Flip Photo Album tutorial shows you how to create a personalized keepsake album, perfect for showcasing your favorite photos and sparking nostalgic joy!
In the age of digital everything, there’s something undeniably special about holding a physical photo album.
Flipping through tangible memories, the worn edges and handwritten captions sparking treasured recollections. It’s an experience the digital world just can’t replicate.
But who says creating a photo album has to be expensive or time-consuming? With a little creativity, Fujifilm Instax camera, and this handy DIY guide, you can craft a personalized flip album that’s as unique as your memories themselves.
So ditch the impersonal photo frames and generic store-bought albums for a one of a kind photo gift idea. And get ready to create a one-of-a-kind masterpiece that celebrates your most cherished moments in a truly unforgettable way with this handmade gift!
Materials and Tools Needed
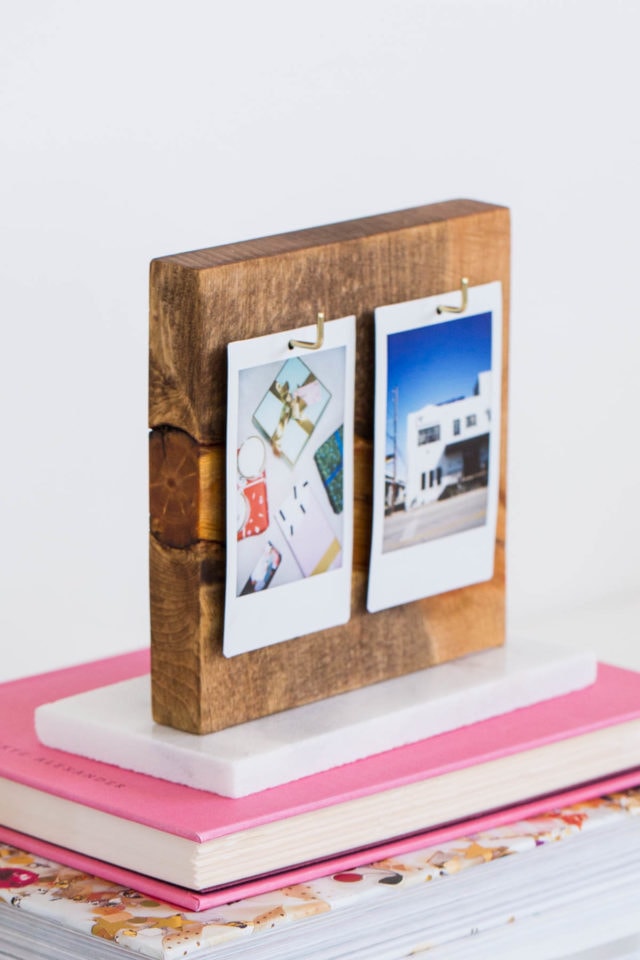
- Wood square — Ours measured 4.5″x 4.5″. The sizing will depend on the size of your film. There are so many cool scrap wood projects, and this was one of them for us. Since you only need so little, this is a wonderful way to reuse leftover wood.
- Hole punch — You’ll need one that has a punching diameter of 1/8″ hole.
- 3×6 inch marble subway tile — Or any desired base material. Ours measured 3″x6″x10mm.
- Instant epoxy glue
- Wood stain and foam brush — Optional in the color of your choice. We used the Early American Wood Finish stain.
- Shoulder hooks
- FUJIFILM INSTAX® Mini 70 camera and Instax Mini Film — Or any instant camera that uses polaroid film.
- Pencil
Check out this quick how-to video or follow the easy steps below:
How to Make a DIY Flip Photo Album
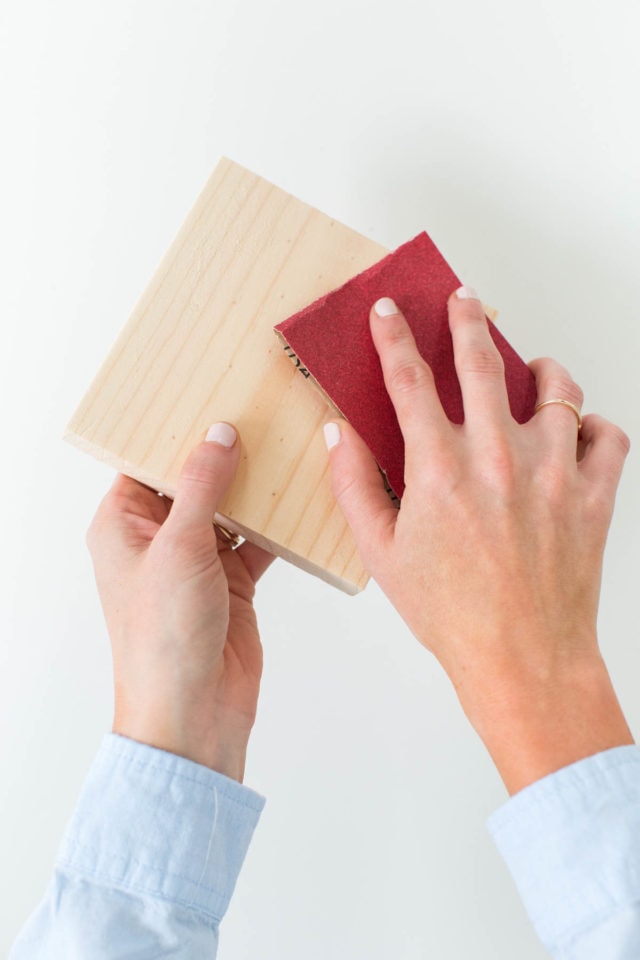
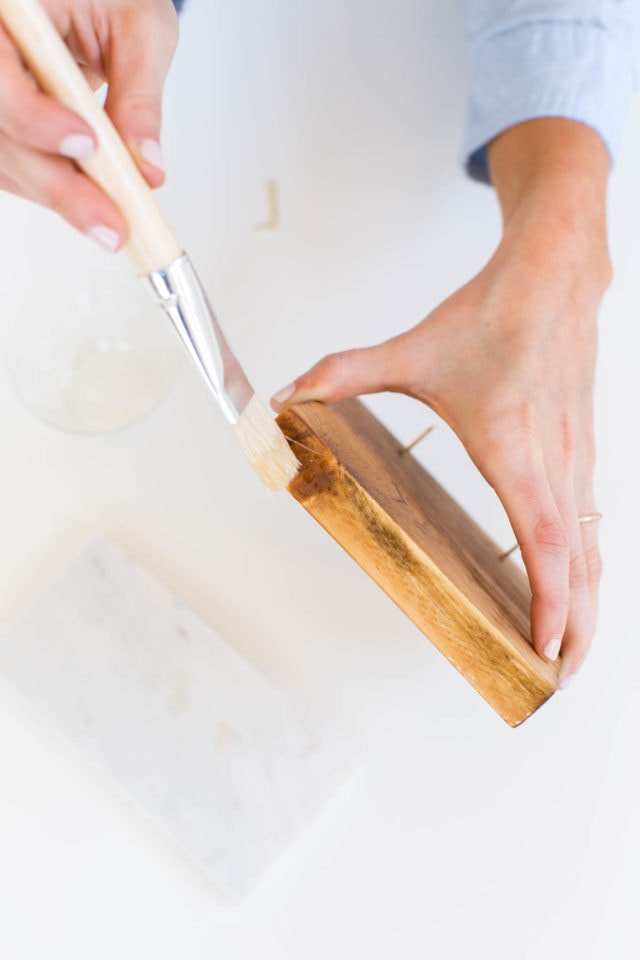
1 — Thoroughly sand the surface of the wood square for smooth edges and even staining.
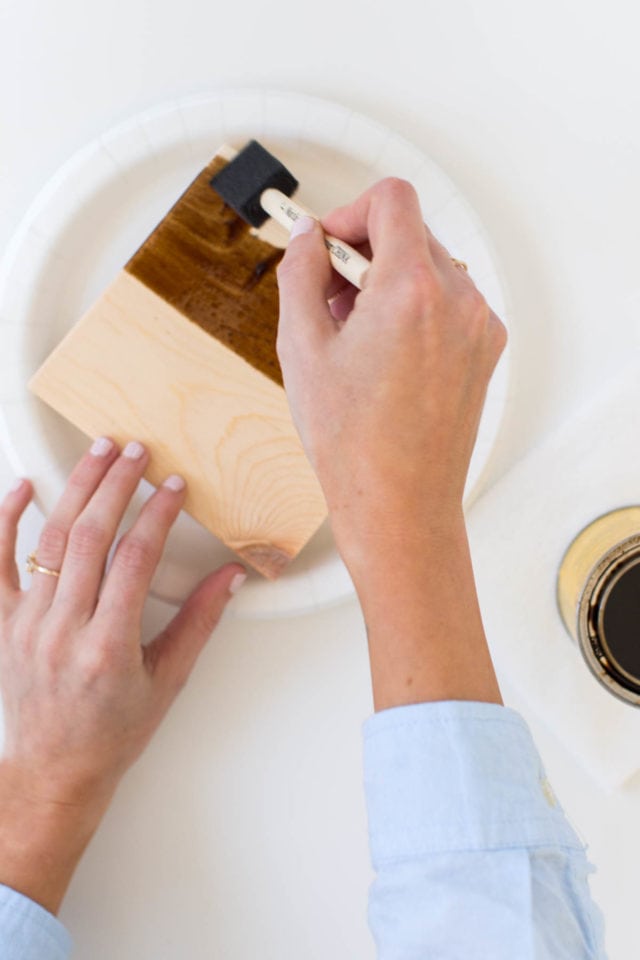
2 — Apply a thin coat of wood stain to your wood square using the foam brush. Let the stain dry completely according to the product instructions. Apply additional coats for a deeper color, if desired.
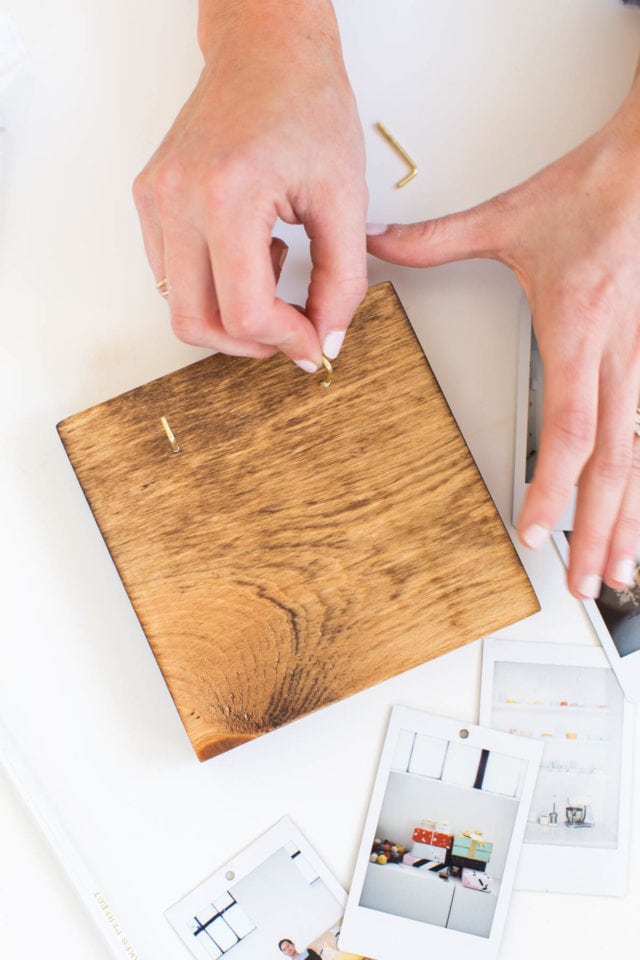
3 — Hole punch the Instax Mini prints of your choice in the middle of the top white border with a 1/8 hole punch. Lay two prints side by side on the board to use as a guide to mark where to insert your hooks.

.
3 — Attach the shoulder hooks to the wood by twisting them into place based on your hole markings. These rings will hold your Instax photos together.
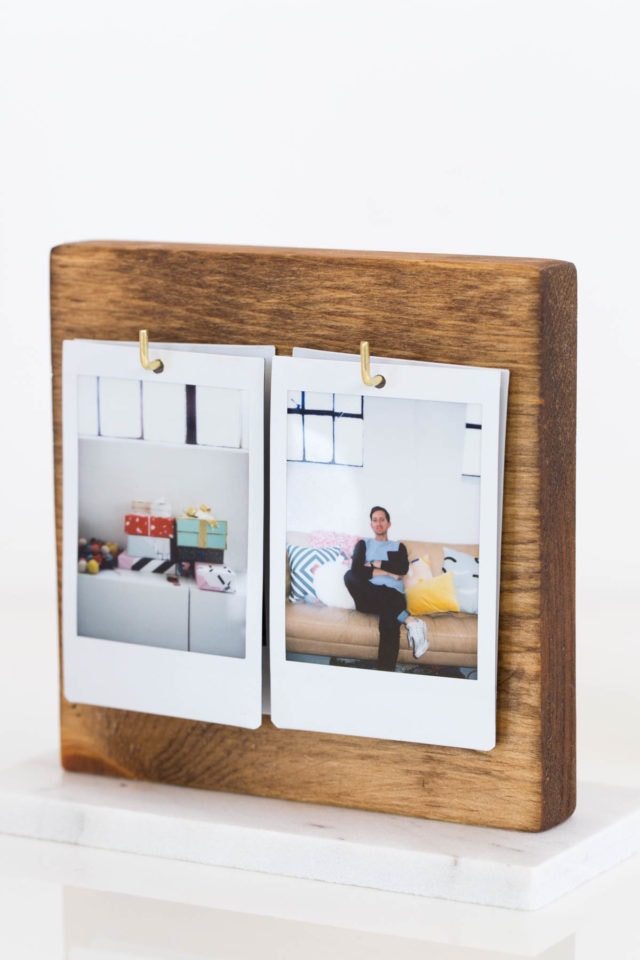
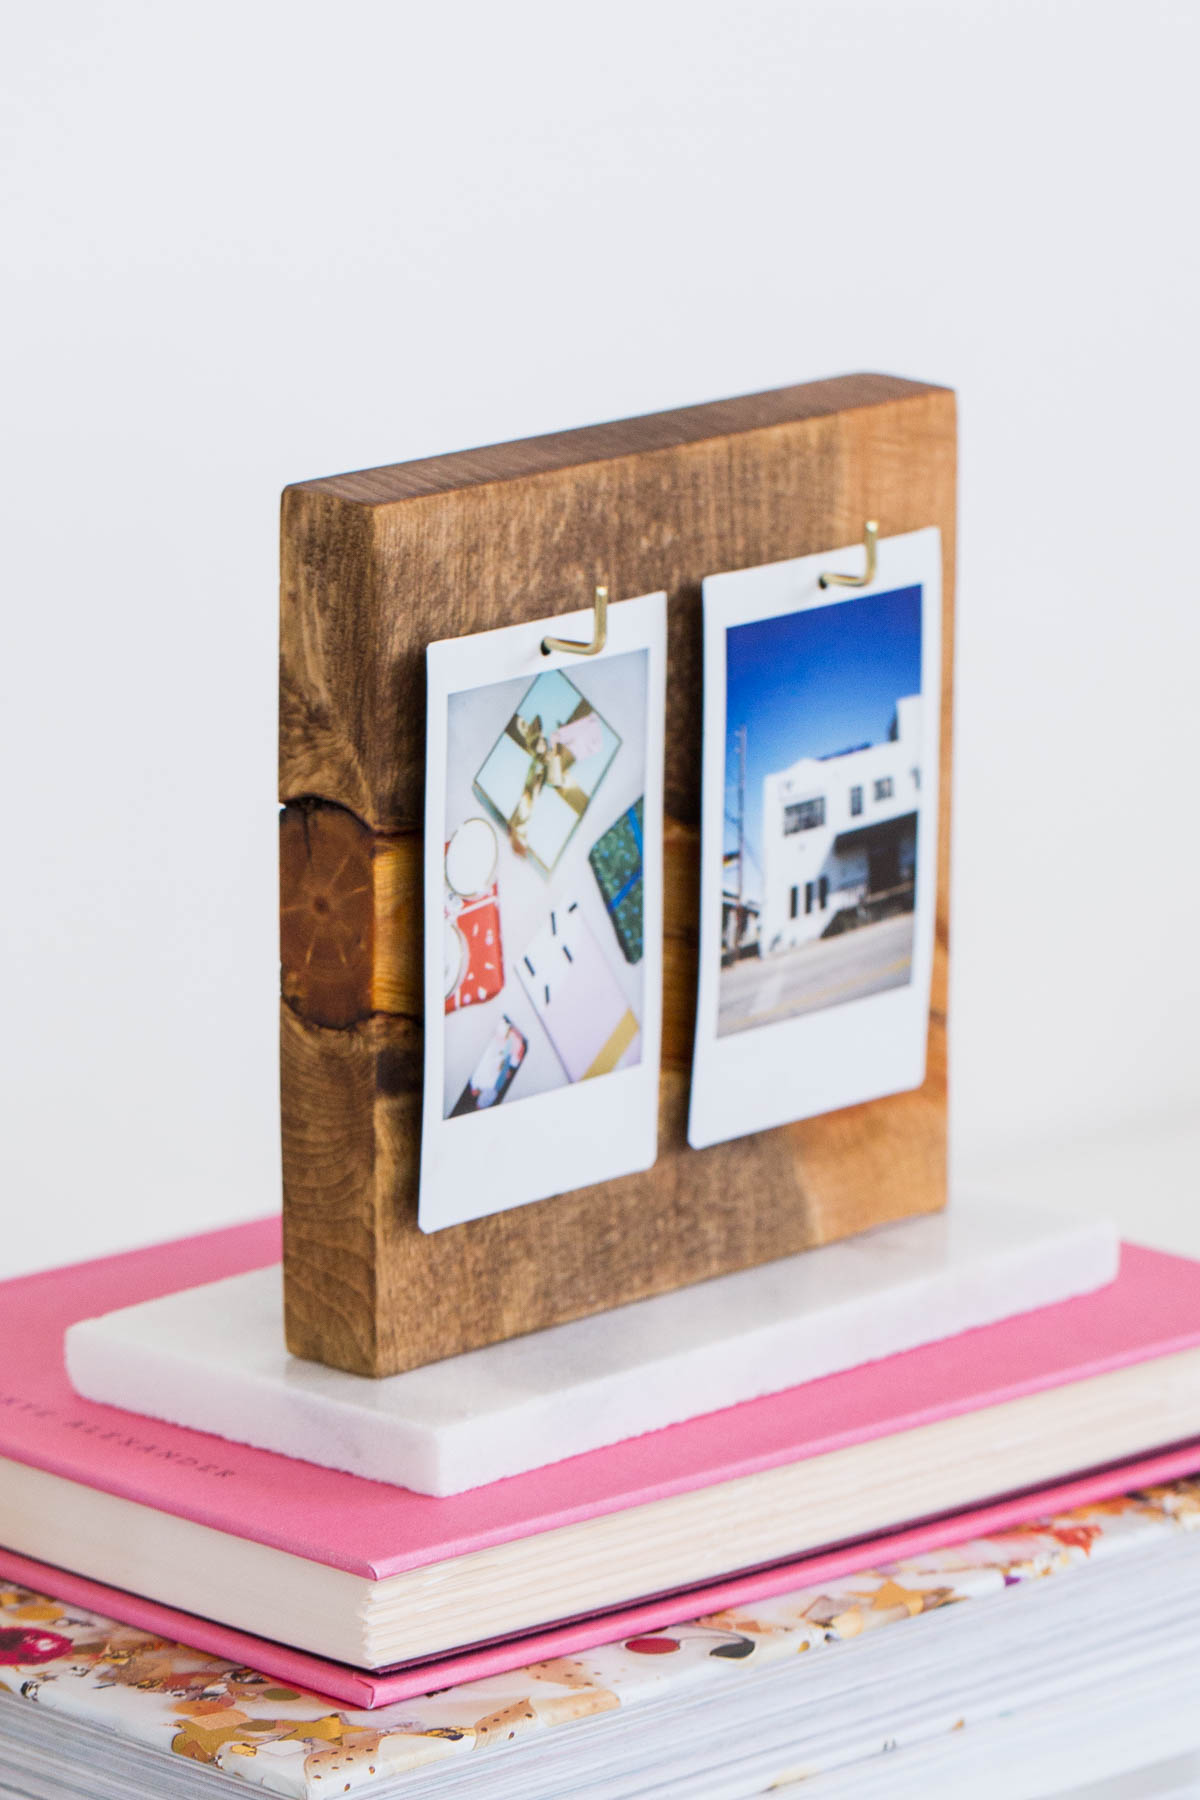
4 — Apply a generous amount of instant epoxy glue to the bottom of the wood piece. Quickly and carefully press the wood piece onto the center of the marble tile, ensuring its level to create a stand for your album. Hold firmly for a few minutes to allow the glue to set.
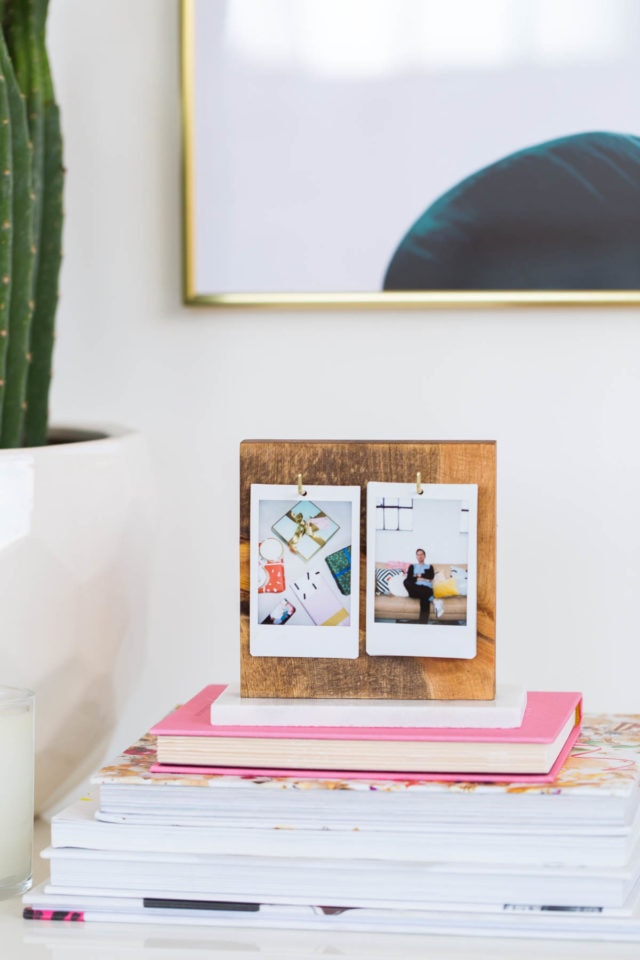
5 — Carefully slip the photos into the shoulder hooks. And now you have your own DIY Flip Photo Album!

Tutorial Notes and Tips
- Before gluing the tile, use a pencil to mark its placement on the wood for a more precise alignment.
- You can personalize your album further by adding small embellishments like stickers or washi tape to the photos or the wooden frame.
- For a traditional flip album, you can try using binder rings instead of shoulder hooks. Keep in mind that you will need a drill to create your holes.
- This project also makes for a fun hostess gift or housewarming gift, especially if you pair it with a new camera for your gift recipient.
More Tabletop Accessories
The great thing about this DIY Flip Album is that it a decor piece that could work in any room. For more fun projects to accessorize your space, check out a few of our favorites below —

DIY Flip Photo Album
Equipment
- Hole punch diameter of 1/8″ hole
- Foam brush
- Pencil
Materials
- 1 wood square size dependent on size of photos
- 1 subway tile or any other desired base material
- 2 shoulder hook
- Wood stain in color of choice
- Instant epoxy glue
- Personal polaroid photos
Notes
Instructions
- Thoroughly sand the surface of the wood square for smooth edges and even staining.
- Apply a thin coat of wood stain to your wood square using the foam brush. Let the stain dry completely according to the product instructions. Apply additional coats for a deeper color, if desired.
- Hole punch the Instax Mini prints of your choice in the middle of the top white border with a 1/8 hole punch. Lay two prints side by side on the board to use as a guide to mark where to insert your hooks.
- Attach the shoulder hooks to the wood by twisting them into place based on your hole markings. These rings will hold your Instax photos together.
- Apply a generous amount of instant epoxy glue to the bottom of the wood piece. Quickly and carefully press the wood piece onto the center of the marble tile, ensuring its level to create a stand for your album. Hold firmly for a few minutes to allow the glue to set.
- Carefully slip the photos into the shoulder hooks. And now you have your own DIY Flip Photo Album!

Thanks to Fujifilm for sponsoring this post, we’re huge fans!
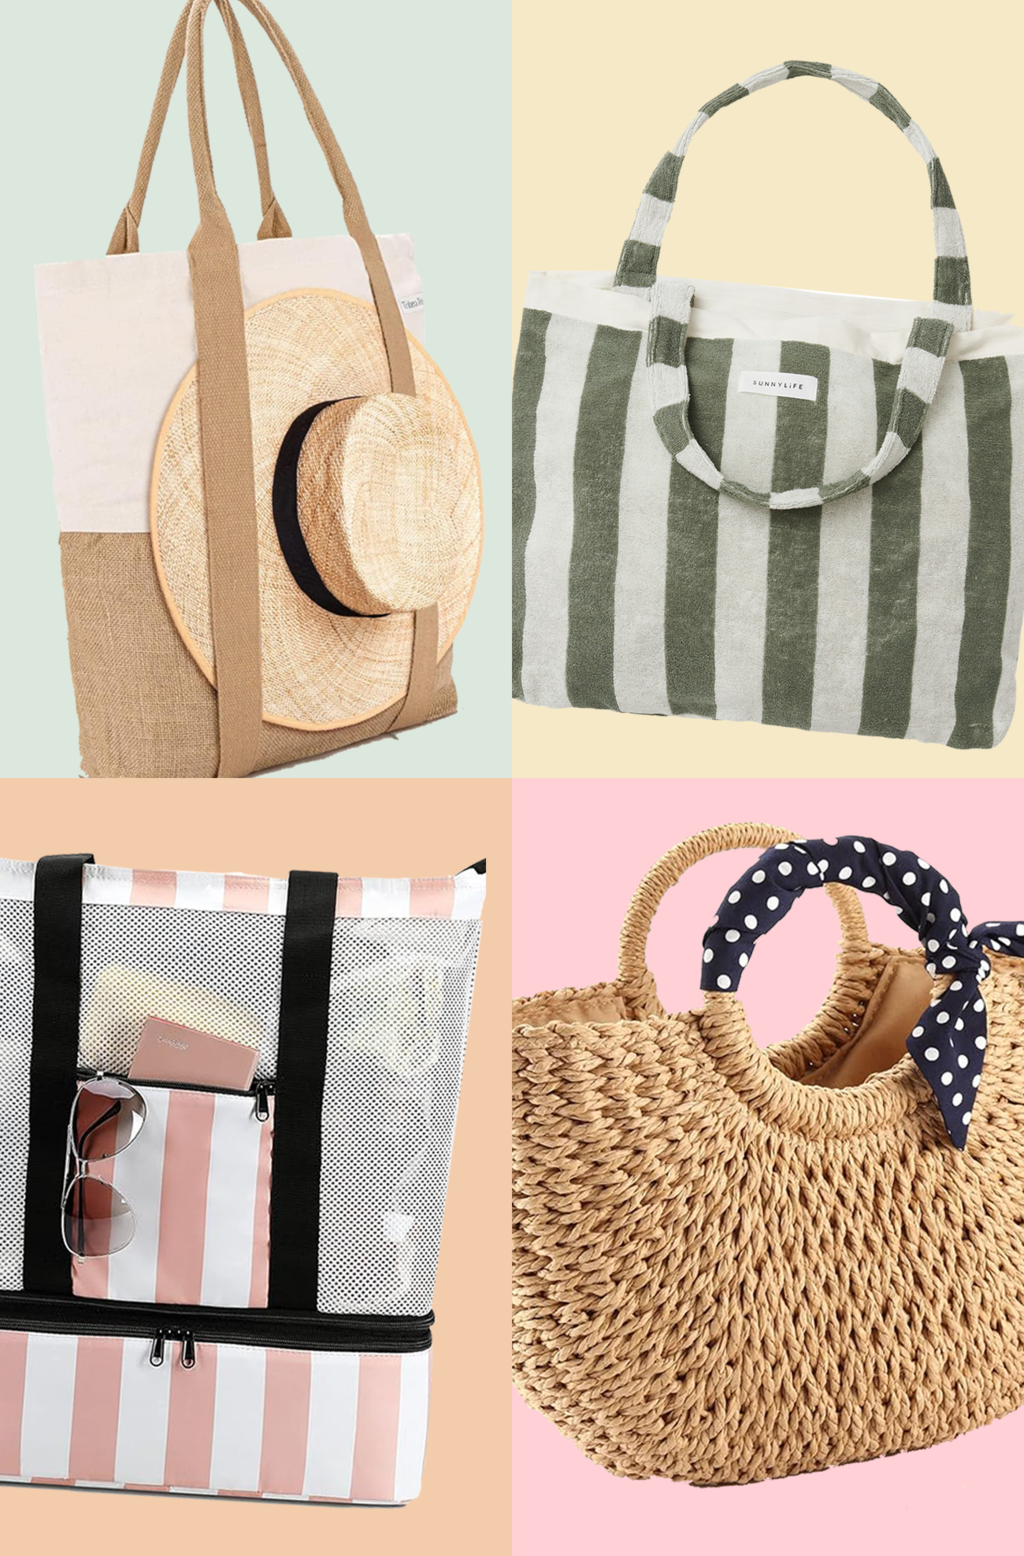
31 Best Beach Bags for Your Summer Essentials
From tote bags to straw bags, stay organized and chic…
Continue Reading 31 Best Beach Bags for Your Summer Essentials
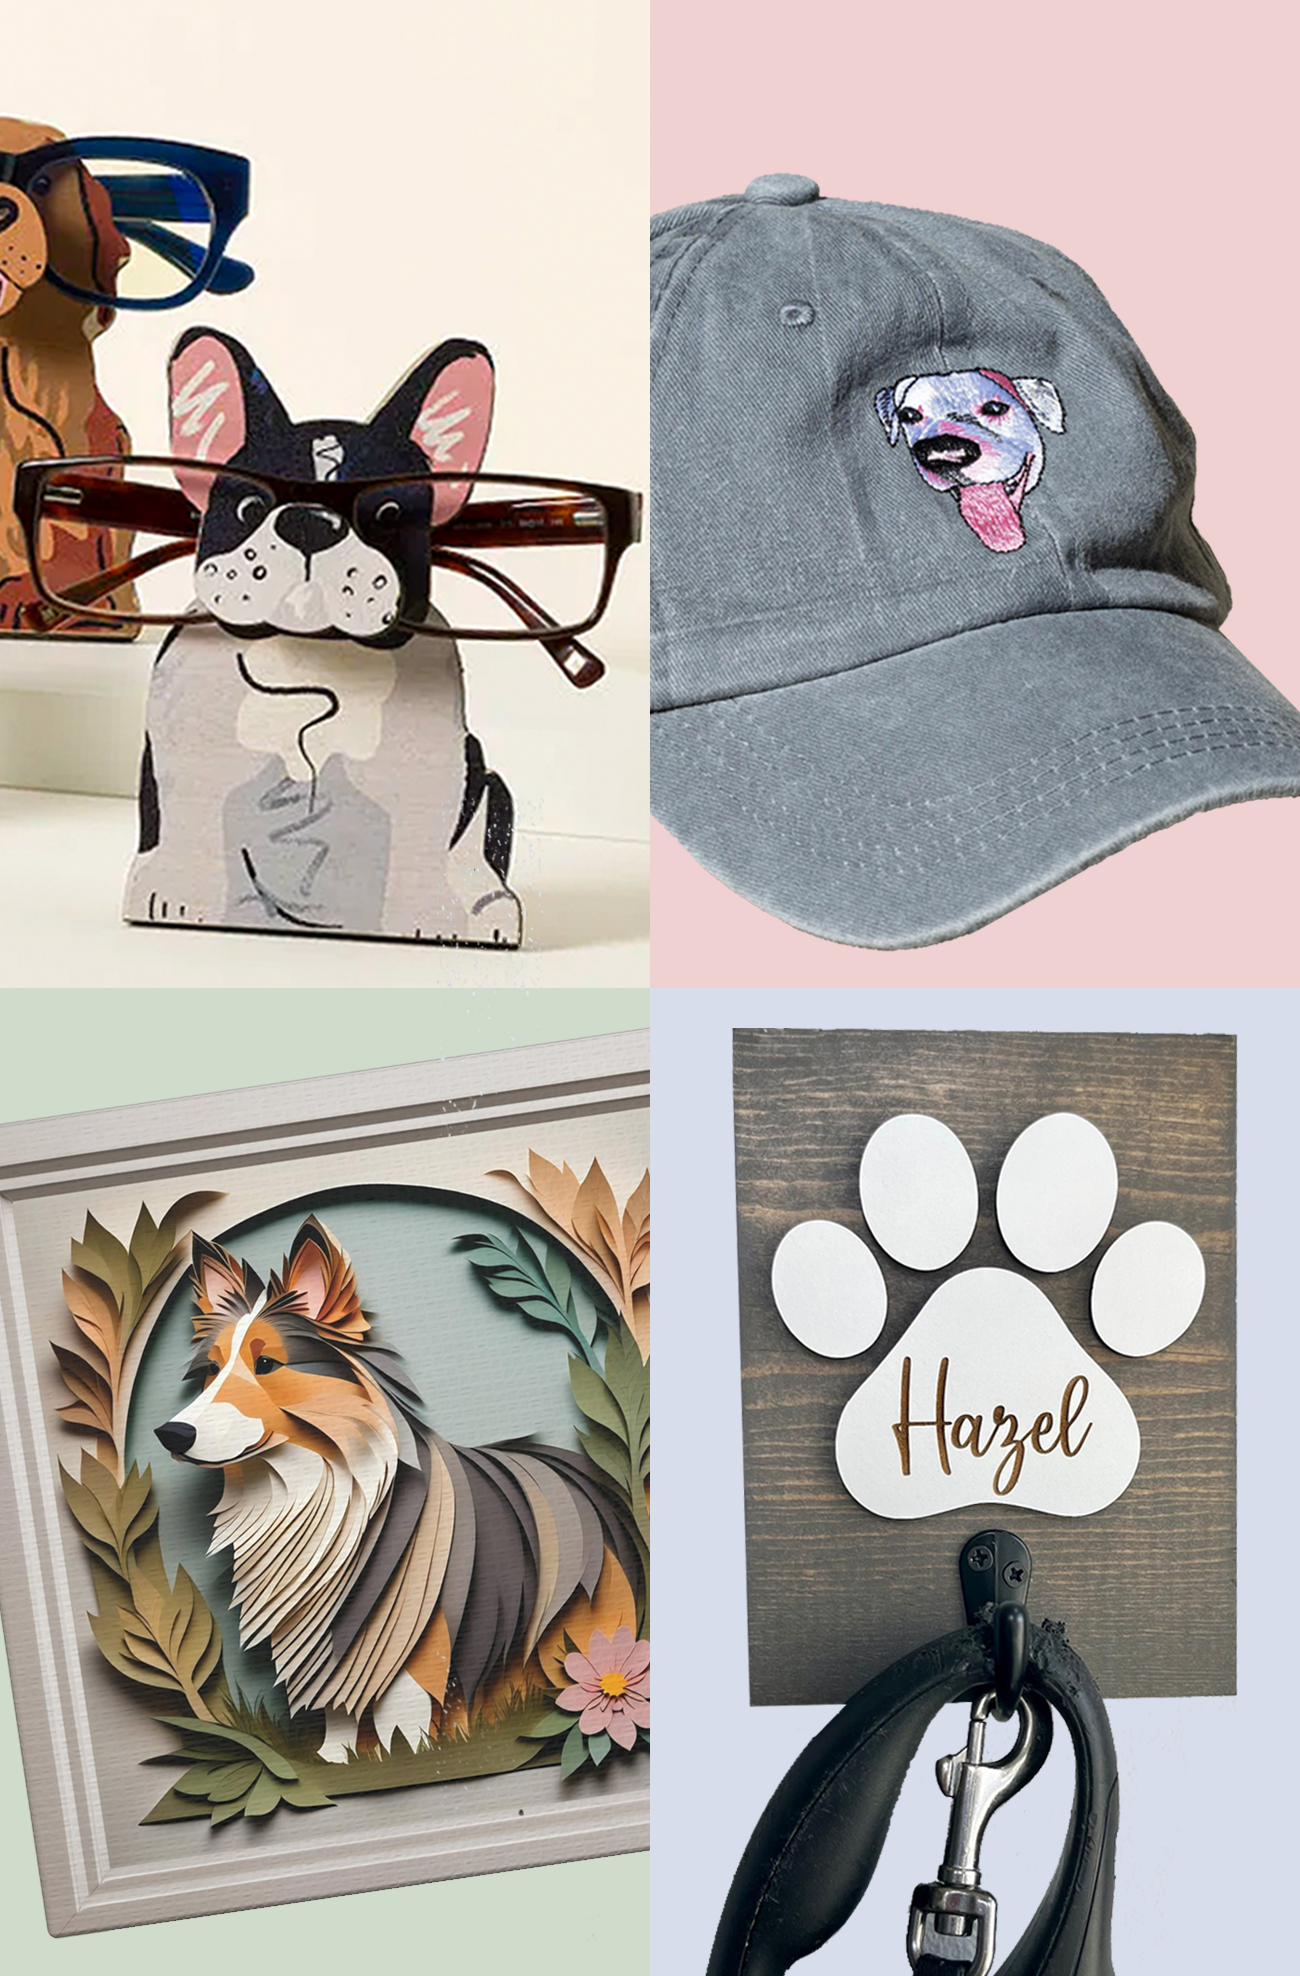
30 Best Paw-some Gifts for Dog Owners
Check out our top picks for gifts for dog owners.…
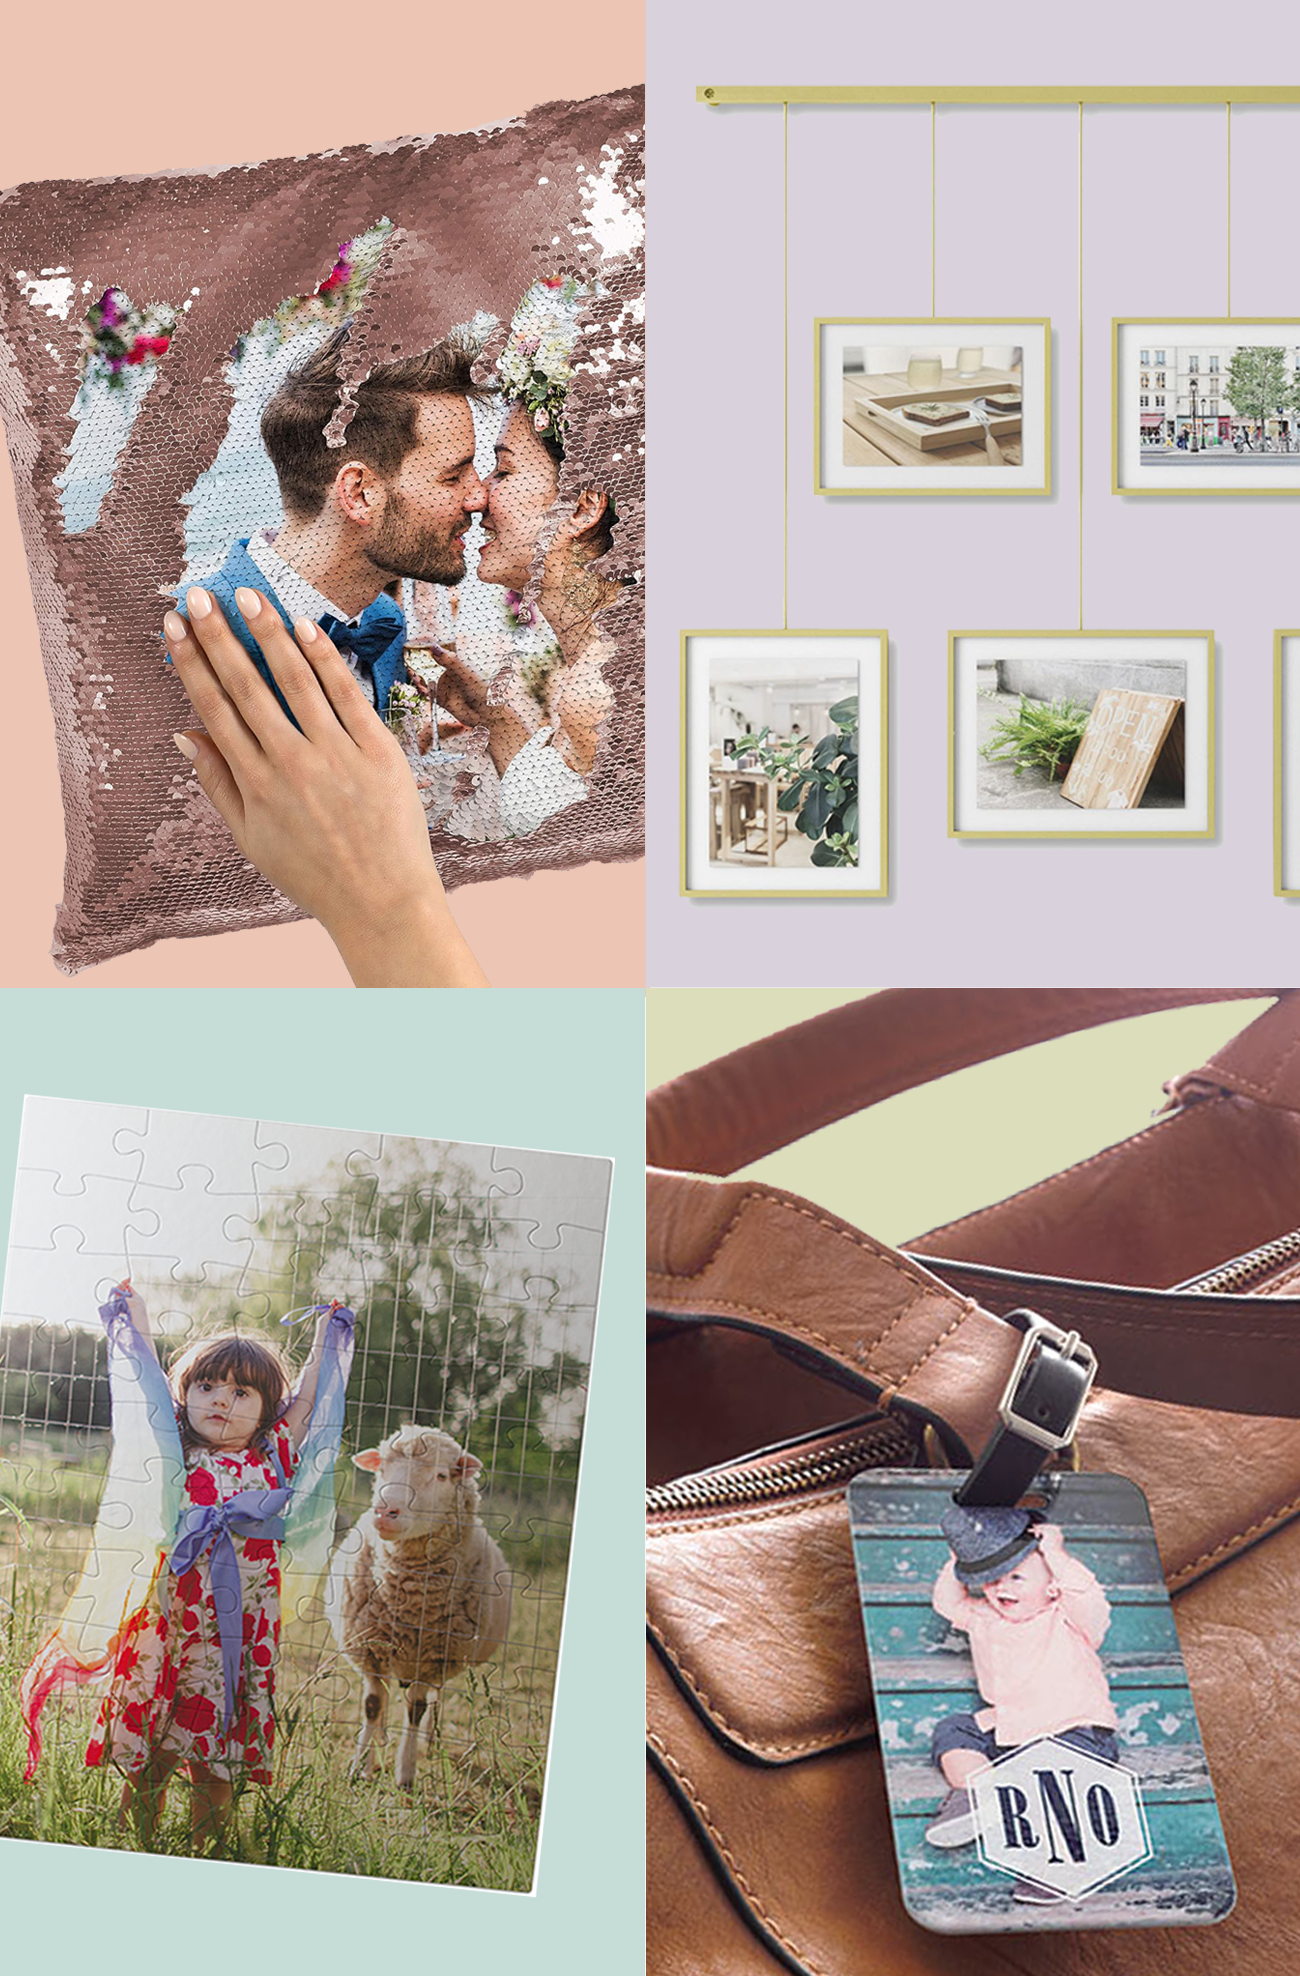
Perfect Photo Gifts Ideas for Anyone
Make memories last with these thoughtful photo gift ideas that…

Ultimate Travel Essentials for Women
From a passport case to lipstick, check out our favorite…
Please note that we may earn a commission for some of the above affiliate links. However, products featured are independently selected and personally well-loved by us!