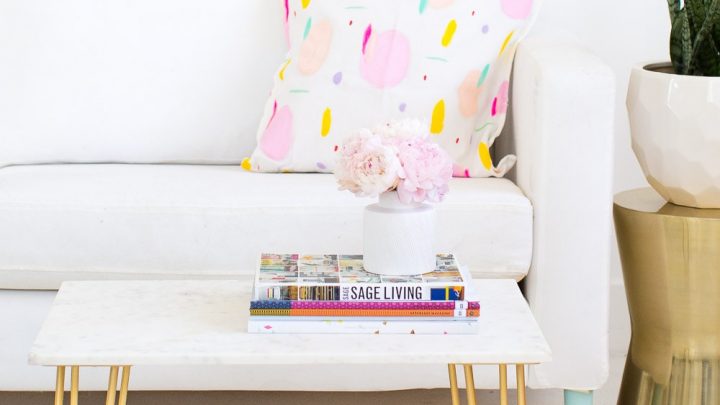
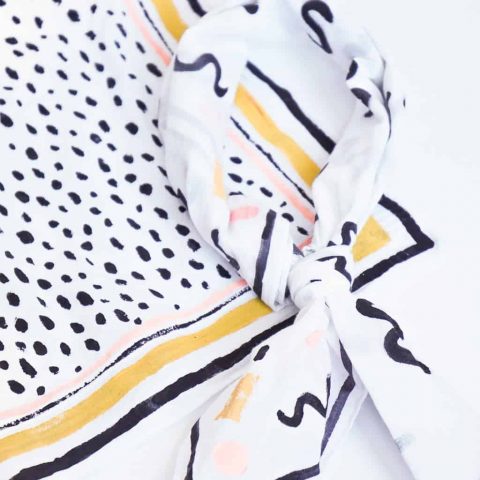
Patterned DIY No Sew Neckerchief
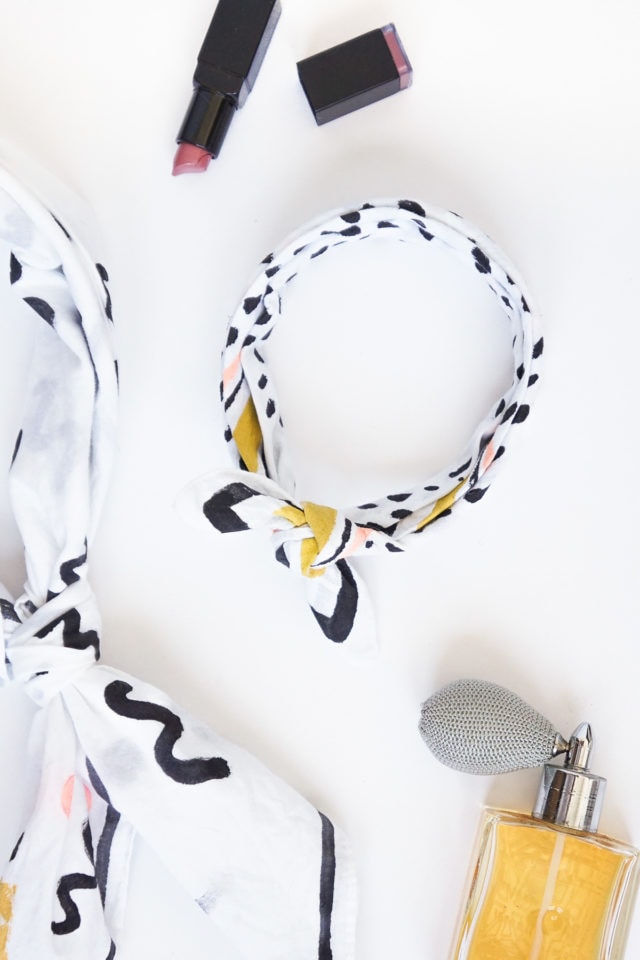
Learn how to make a Patterned DIY No Sew Neckerchief with this easy, no-sew tutorial. This project is perfect for beginners and can be customized to fit any outfit.
The Neckerchief. It’s chic, often cheeky, and even the most basic outfit looks thoughtful and pulled together.
Not to mention, it’s an undeniably fun word to say. What’s not to love?!
If you’re like me, Erin and you’re looking for some chic new accessories for your new year wardrobe, pull out your stashed away craft paints and make a Patterned DIY No Sew Neckerchief while you’re avoiding the snowy weather.
They’re a super cute and customizable statement piece for any outfit!
Also, this Statement DIY Pom Pom Scarf is perfect for the cold weather and bundling up this winter.
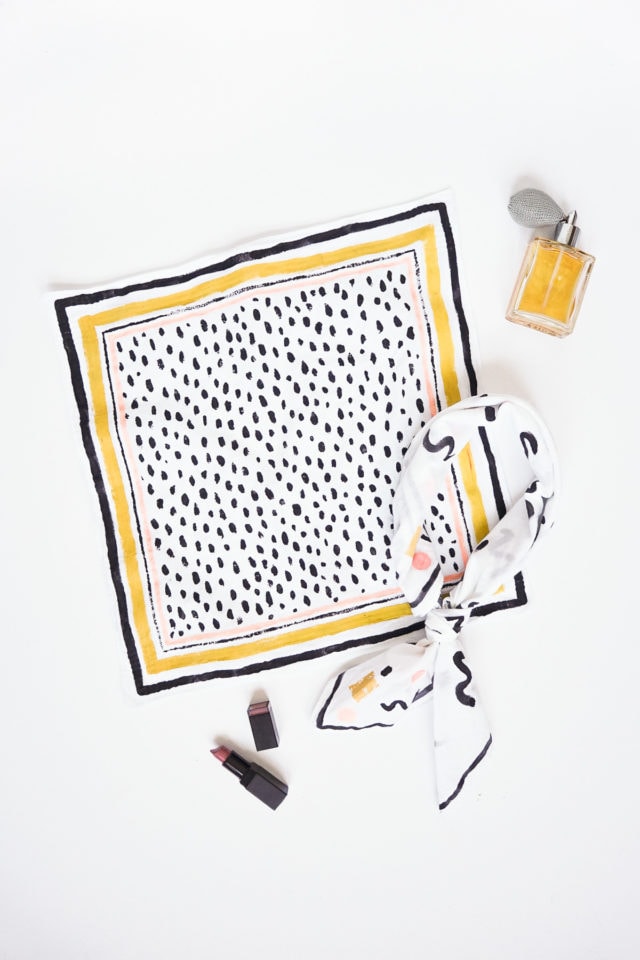
Materials and Tools Needed to Make a Patterned DIY No Sew Neckerchief
27” x 27” cotton gauze neckerchiefs or 16.5″ x 16.5″ cotton handkerchiefs
Acrylic fabric paint in various colors of your choice
Fabric paint in a heat setting medium for clothing
Paintbrush and dish
Tape
Drop cloth or something to protect your work surface
Sugar and Cloth Pattern and Design Pinterest boards for design inspiration
Iron
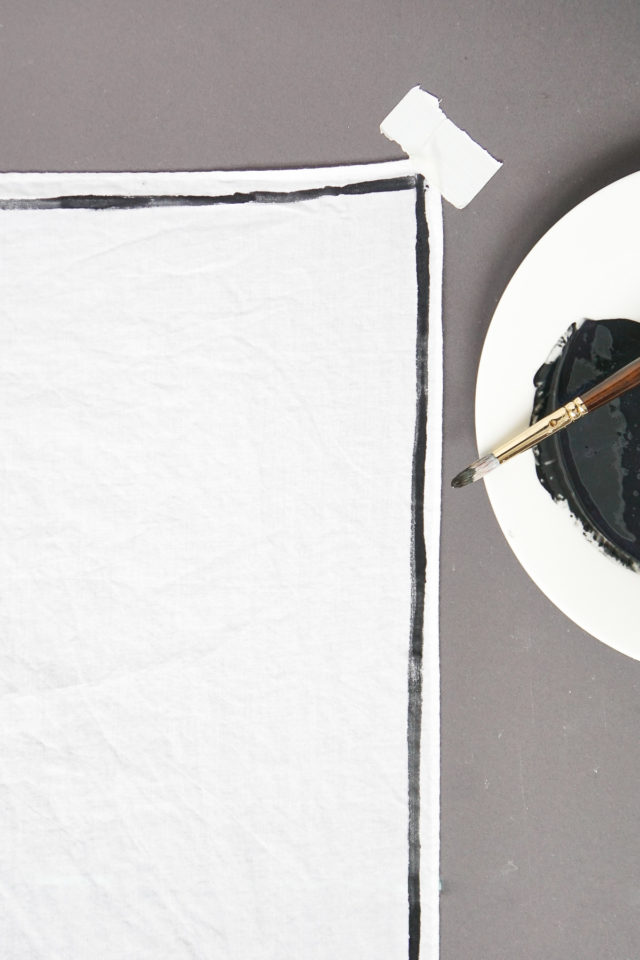
How to Make a Patterned DIY No Sew Neckerchief
For this project, I’m working with two different size neckerchiefs.
The larger 27” size wears like a looser fitting French foulard around the neck, and the smaller 16.5” size fits snuggly with a single knot.
There is a range of different sizes out there depending on your desired look and size needs!
Step 1 — Run the neckerchiefs through a wash/dry cycle to soften them up a bit.
Step 2 — Tape down the neckerchief’s four corners onto your protected work surface to keep it in place as you paint.
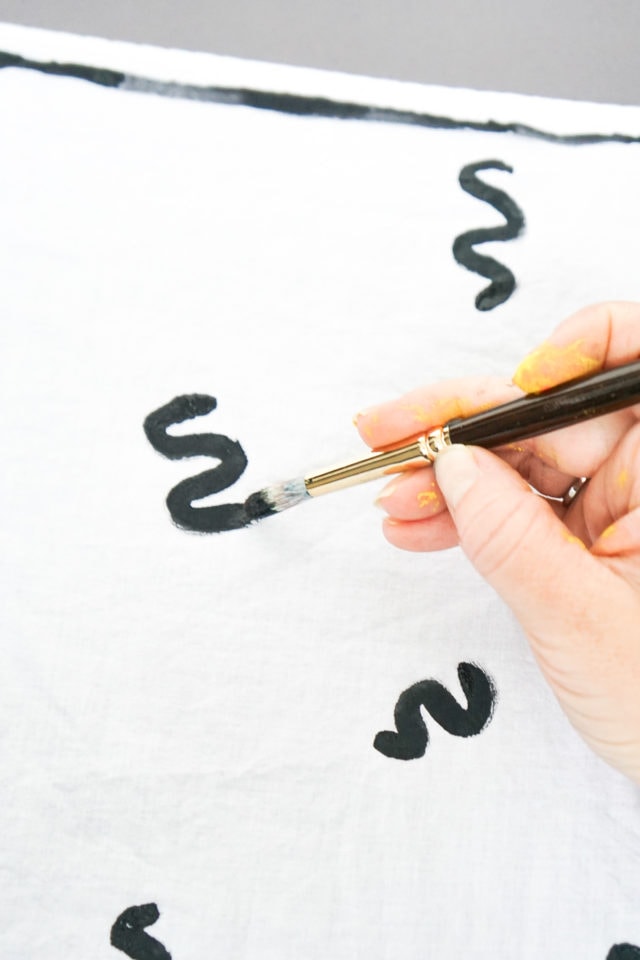
Step 3 — Print off your pattern inspiration and slide it underneath your neckerchief. OR free hand paint your pattern as I’m doing here.
On the smaller neckerchief, I use the handkerchief’s woven line design as the guide for the border.
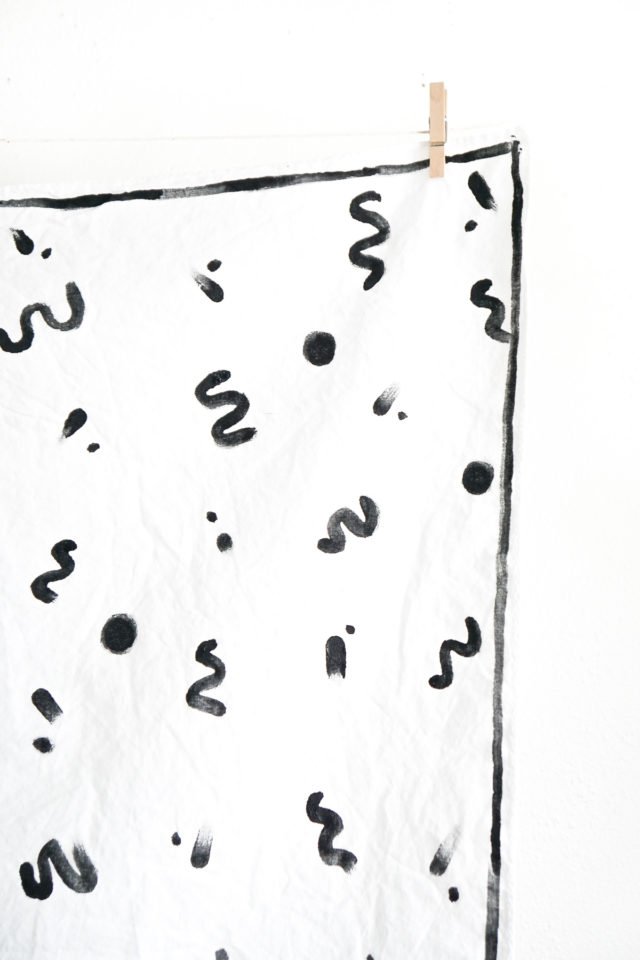
Step 4 — Mix the acrylic paint with a fabric paint medium at a 1:1 ratio or according to the instructions and begin painting the neckerchief.
Step 5 — Once you’ve completed your design, remove the tape and hang the neckerchief up to dry.
Don’t leave it to dry on the work surface as it may stick and make it difficult to remove.
Step 6 — Once completely dry, iron the fabric with a medium heat setting for 3-5 minutes.

Different Ways to Tie a Scarf
Now just tie them on, wrap them up, and get gifting in style!
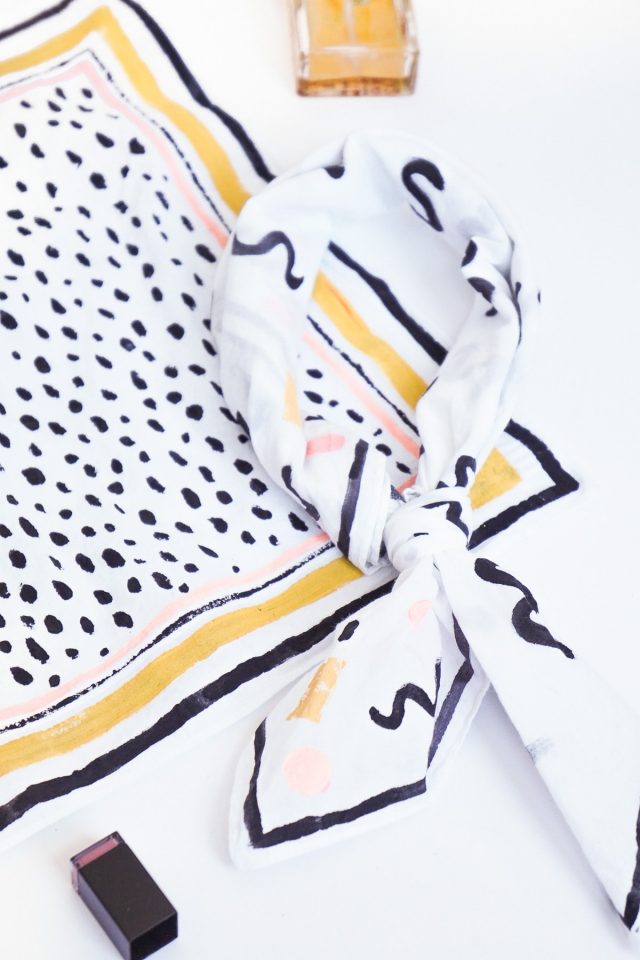
Need a little instruction on how to tie your DIY No Sew Neckerchiefs? Two tutorial videos I’ve found helpful are here and here!
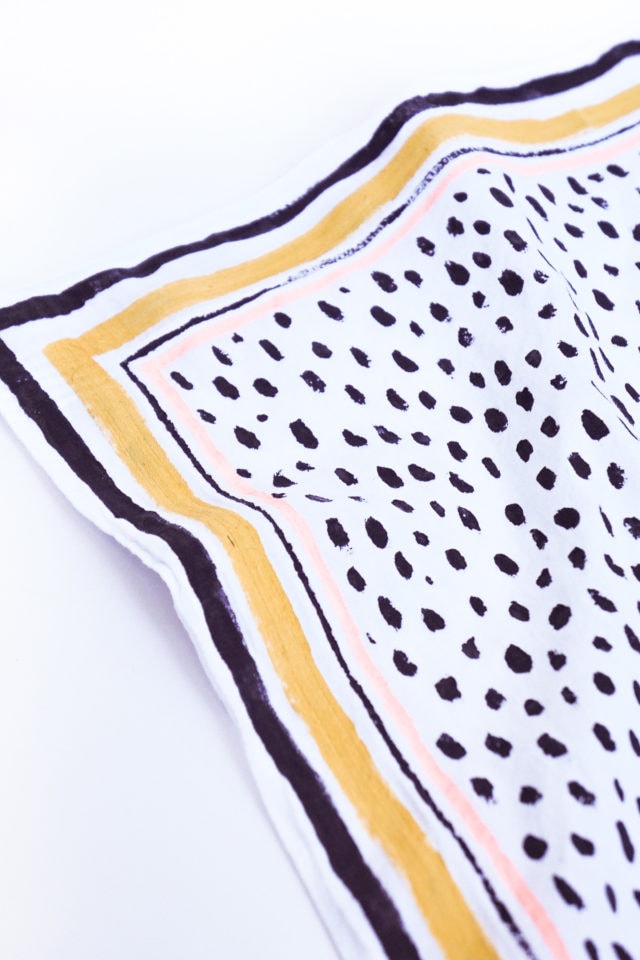
So there you have it, my friends – a simple (and stylish) way to keep your neck warm all winter long.
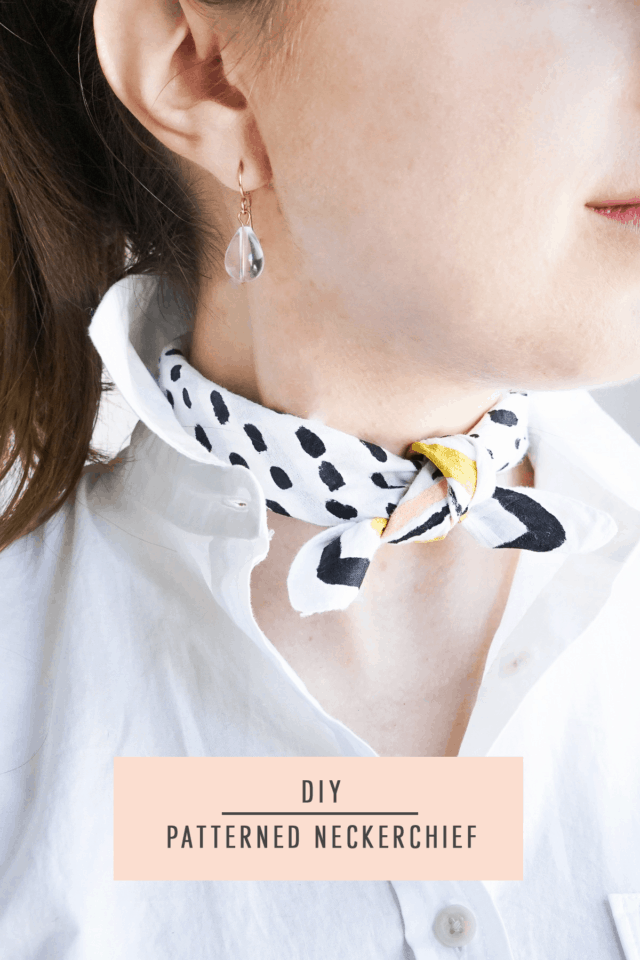
Whether you’re rocking a basic t-shirt and jeans or dressing up for a night out, adding a fun neckerchief can make all the difference.
And if you are looking for a handmade gift for a friend or family member, this DIY neckerchief is just right!
Also perfect for any occasion, this Polka Dot DIY No Sew Infinity Scarf also requires no sewing.
For more DIY costume accessories ideas like this one, be sure to check out our related post below –
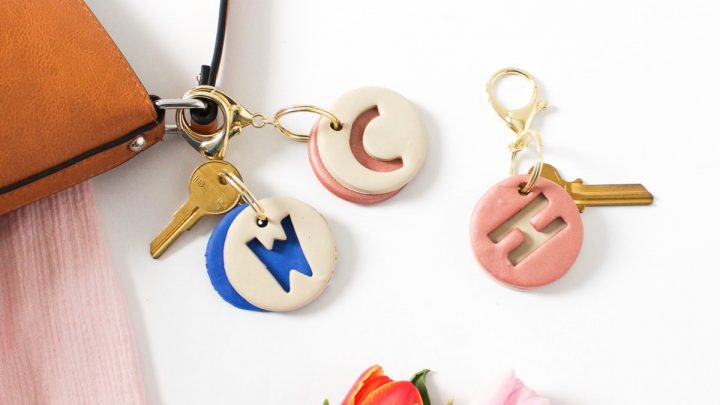
- DIY Clay Letter Keychain
- Office Accessories – Patterned DIY Magnetic Board
- DIY Cooling Neckerchiefs That Snap For Babies
- DIY Halloween Wigs & Lashes Costumes
DIY No Sew Neckerchief
Equipment
- Iron
- Paintbrush and dish
- Tape
- Drop cloth or something to protect your work surface
- Clothespins and string
Materials
- 1 cotton gauze neckerchief 27"x27" neckerchief or 16.5″ x 16.5″ cotton handkerchief
- Acrylic fabric paint in various colors of your choice
- Fabric paint in a heat setting medium for clothing
Instructions
- Run the neckerchief through a wash/dry cycle to soften it up.
- Tape down the neckerchief’s four corners onto your protected work surface to keep it in place as you paint.
- Print off your pattern inspiration and slide it underneath your neckerchief. OR free hand paint your pattern. On the smaller neckerchief, you can use the handkerchief’s woven line design as the guide for the border.
- Mix the acrylic paint with a fabric paint medium at a 1:1 ratio or according to the instructions and begin painting the neckerchief.
- Once you’ve completed your design, remove the tape and hang the neckerchief up to dry. Don’t leave it to dry on the work surface as it may stick and make it difficult to remove.
- Once completely dry, iron the fabric with a medium heat setting for 3-5 minutes.

More Easy DIY's To Try
Please note that we may earn a commission for some of the above affiliate links. However, products featured are independently selected and personally well-loved by us!
