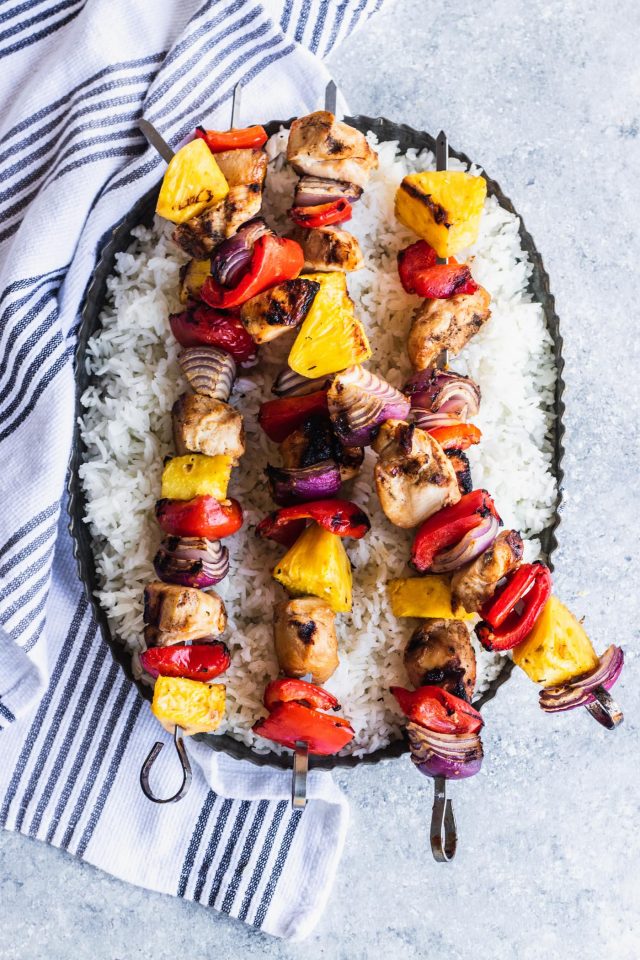
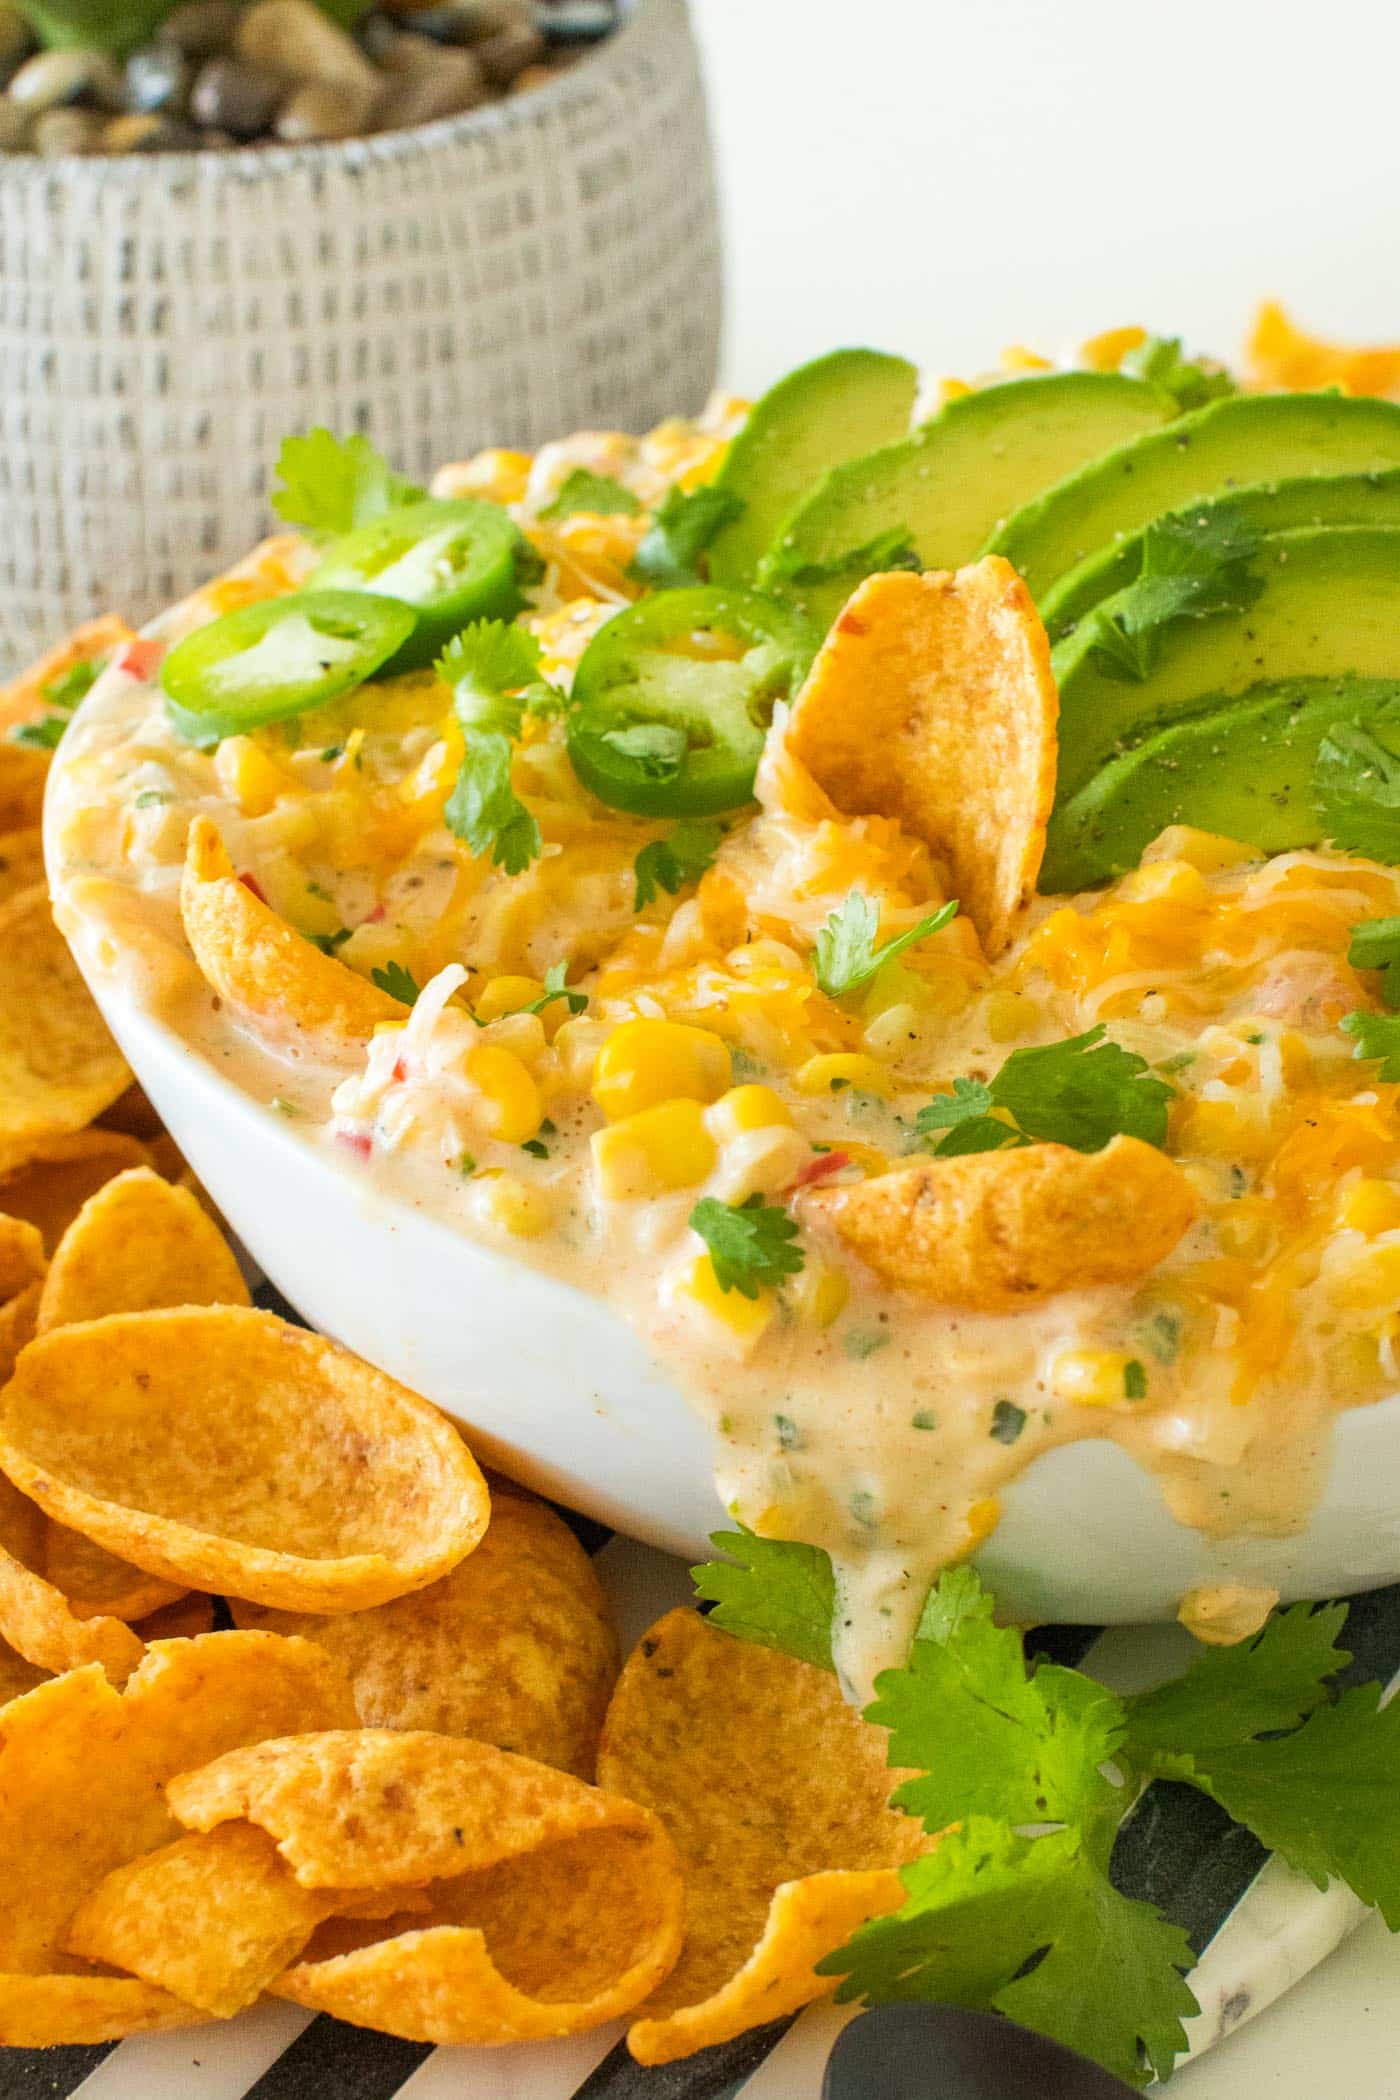
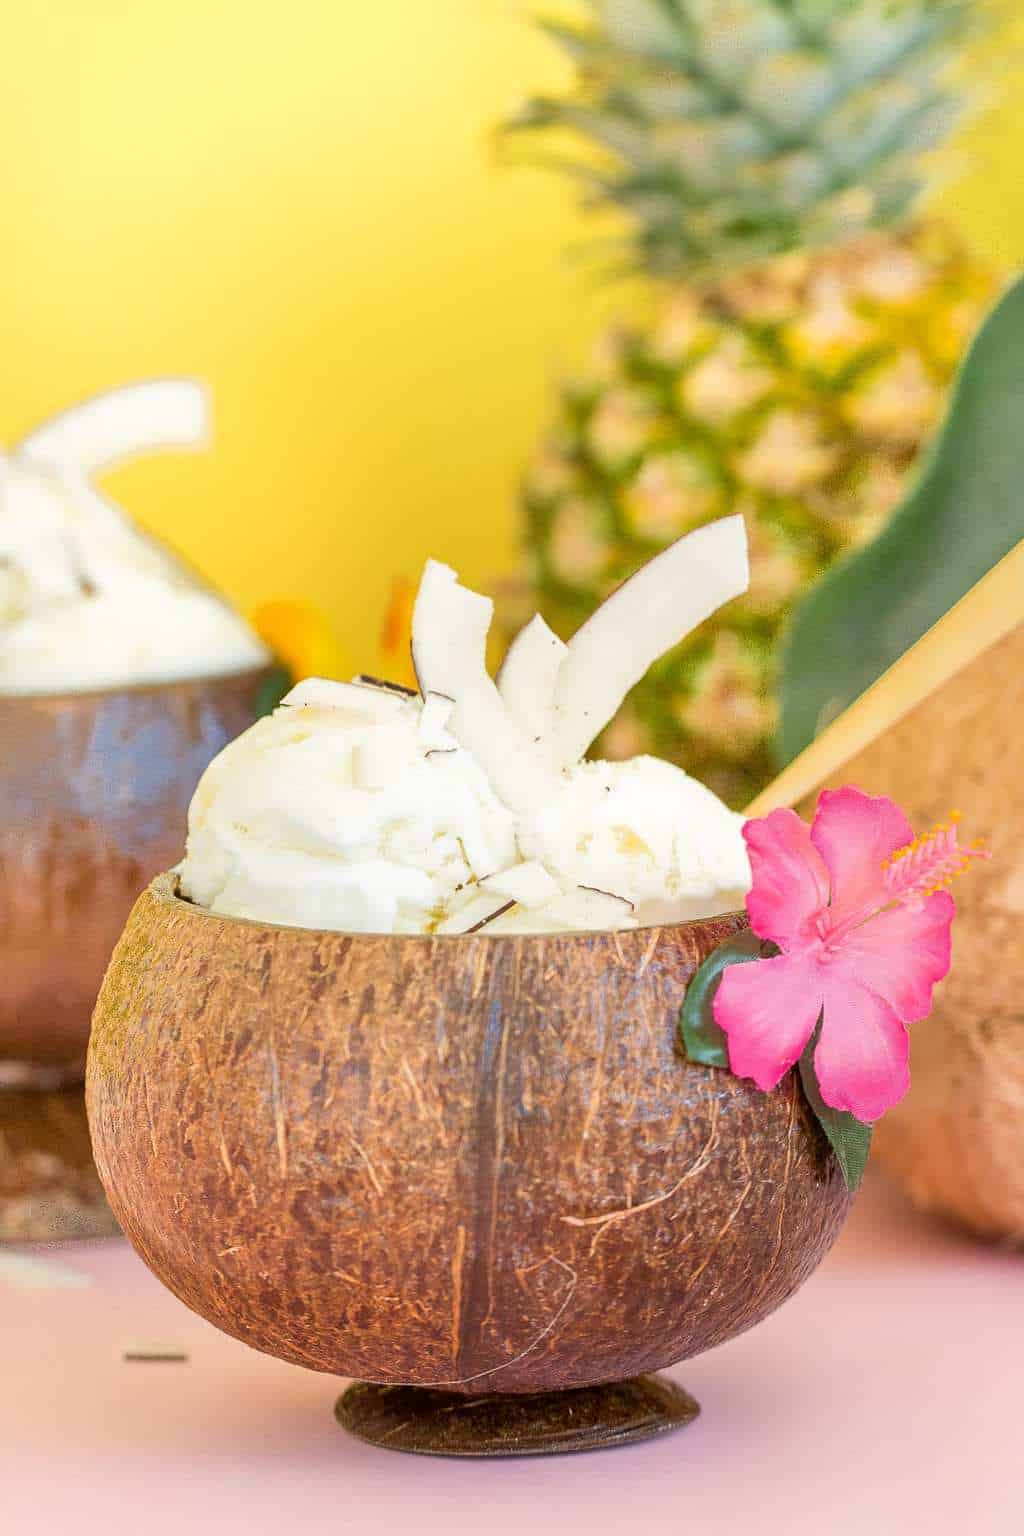
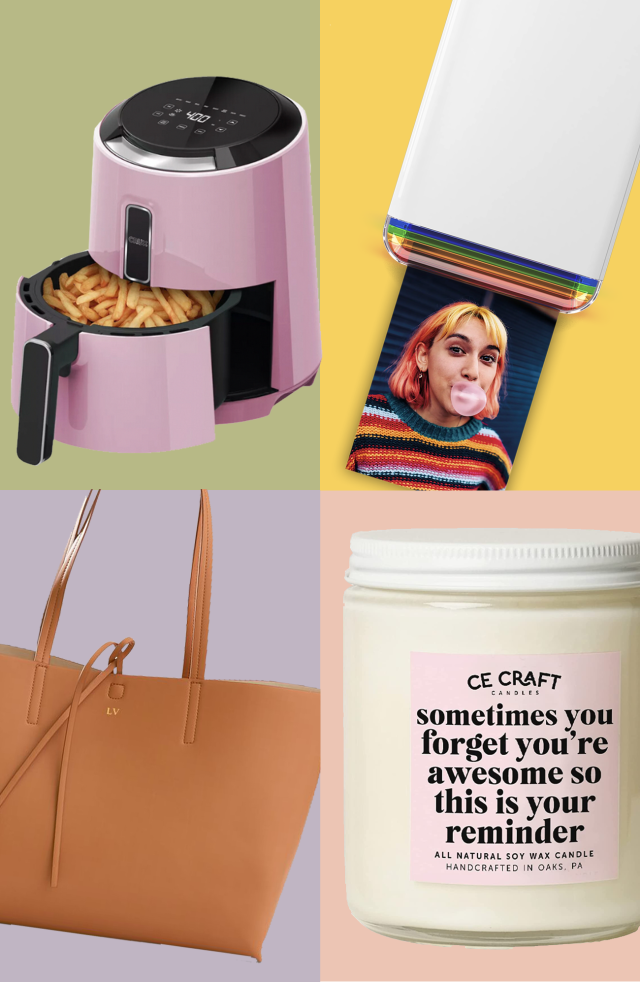
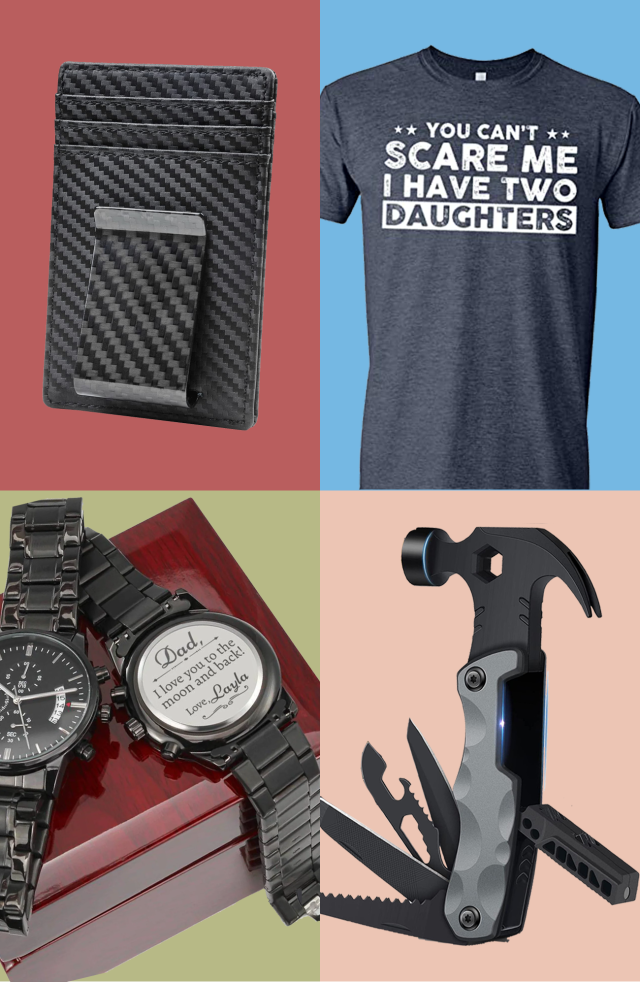
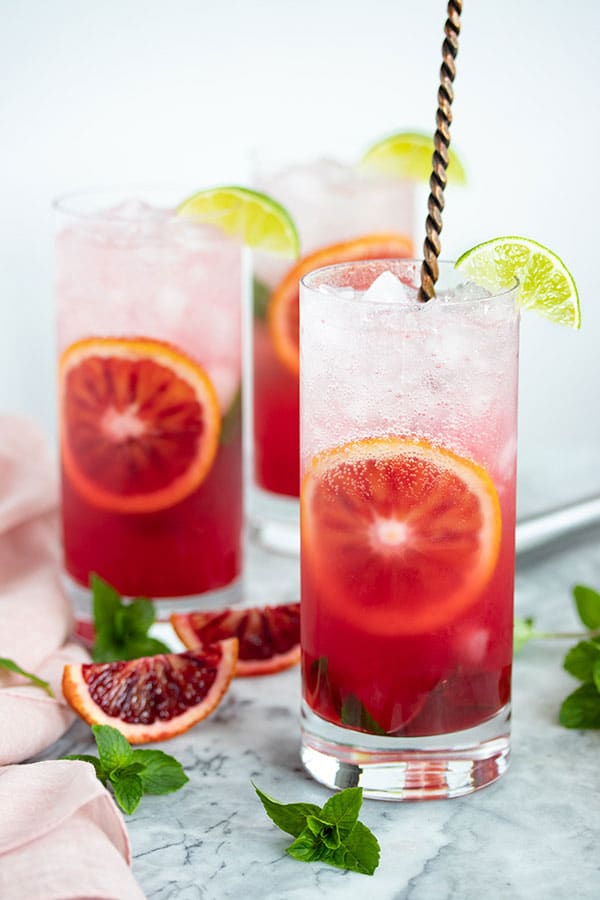
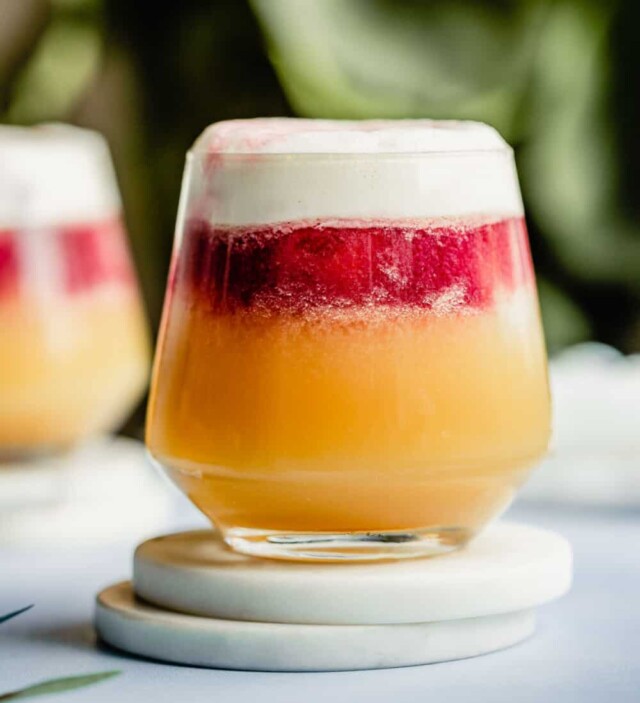
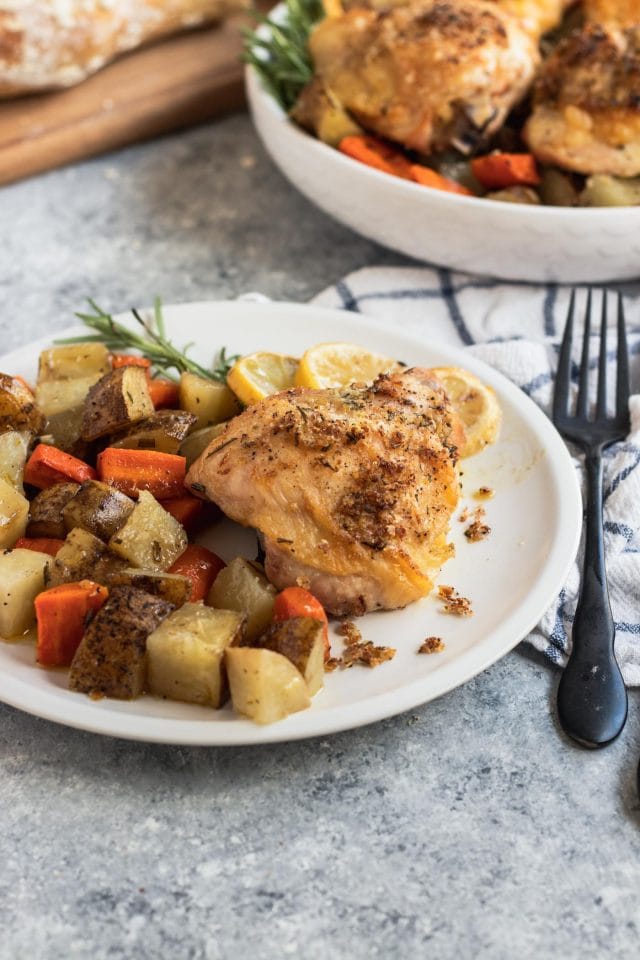
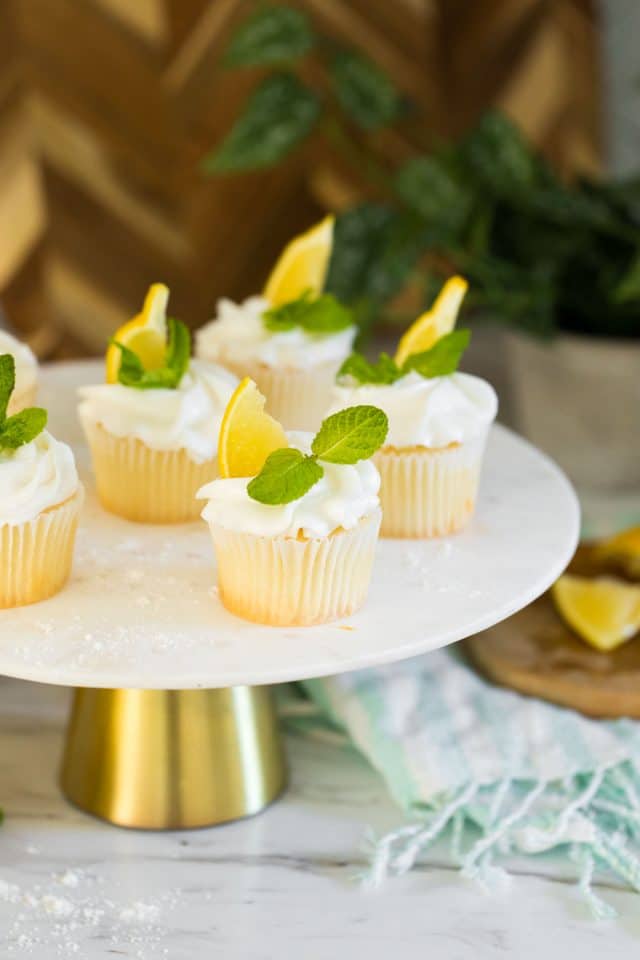
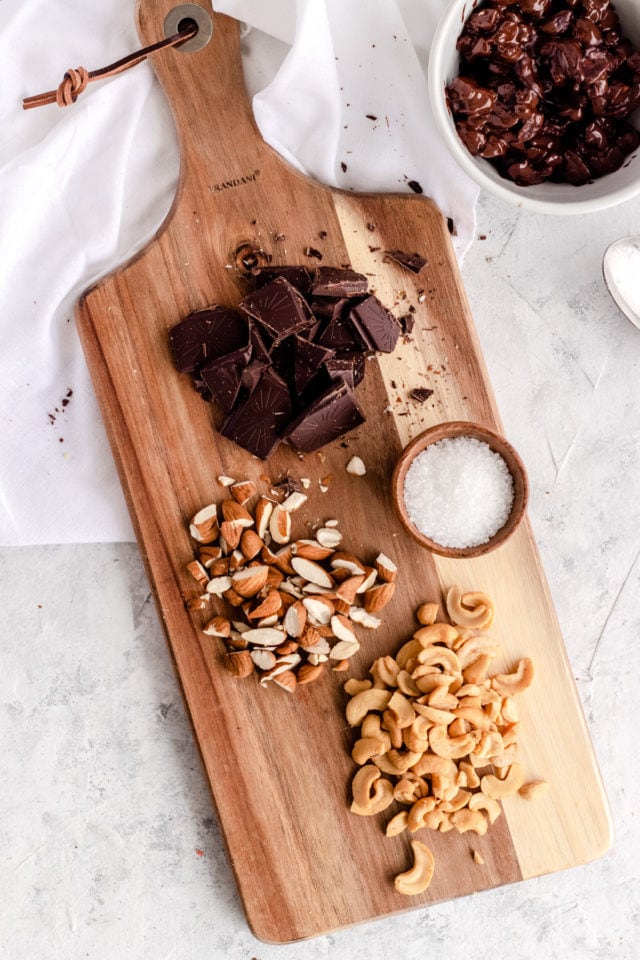
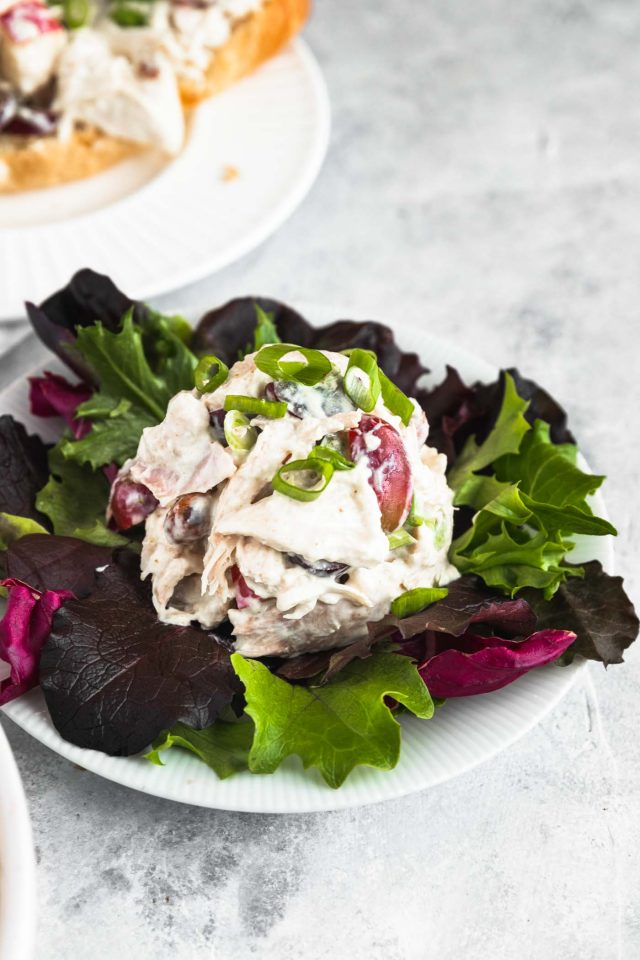
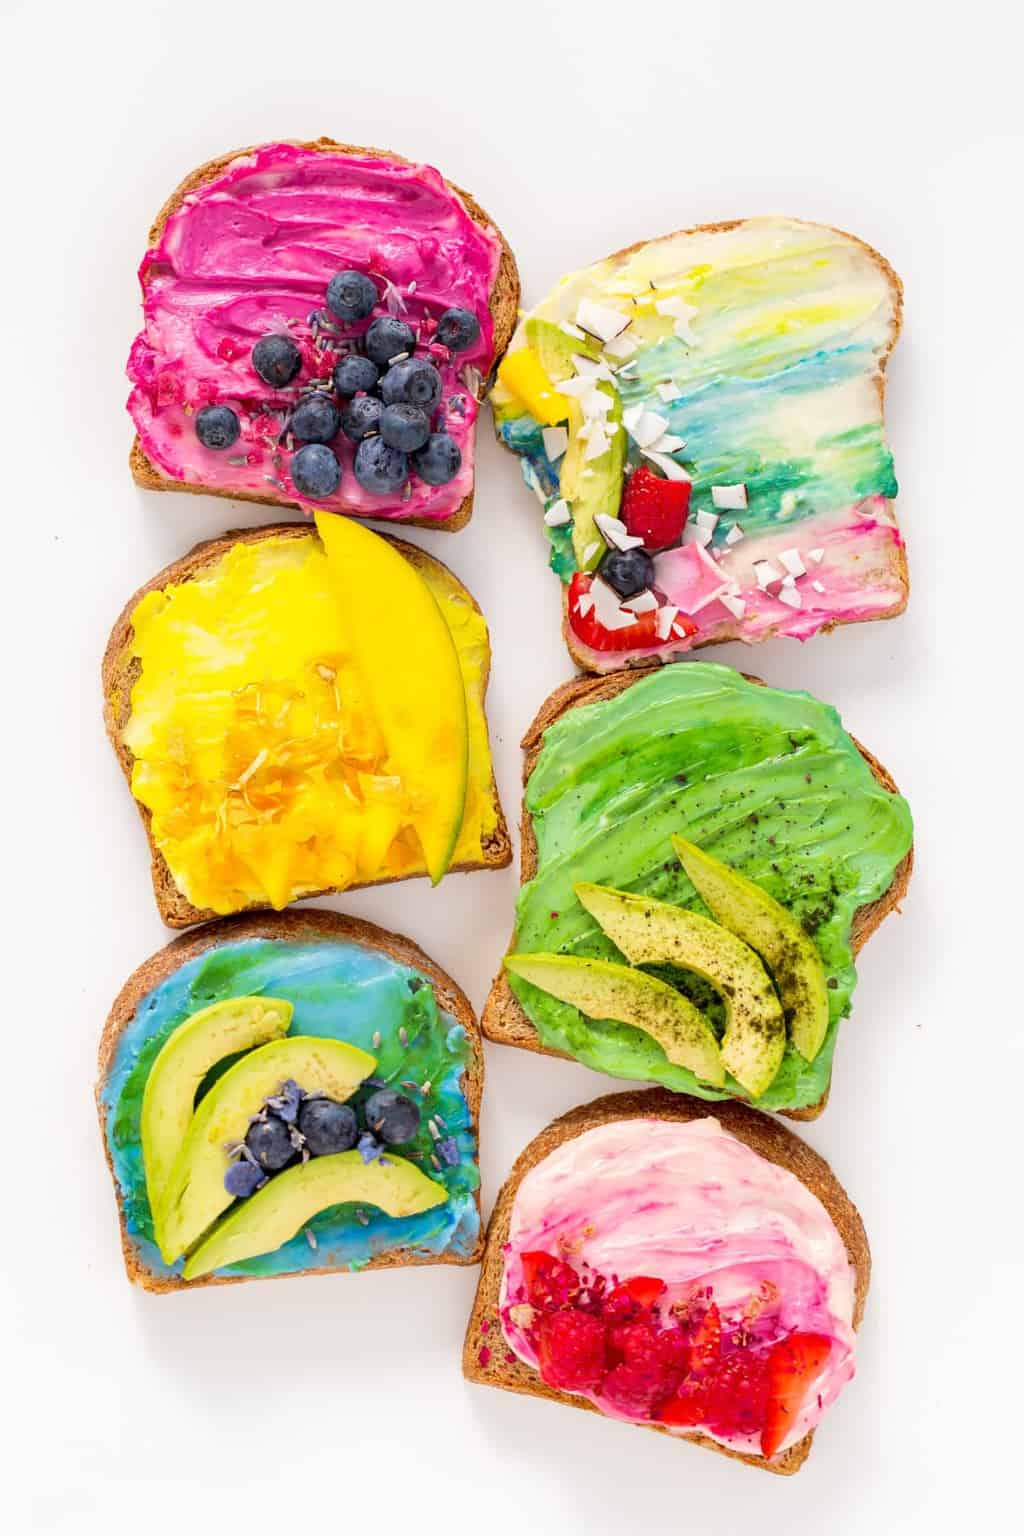
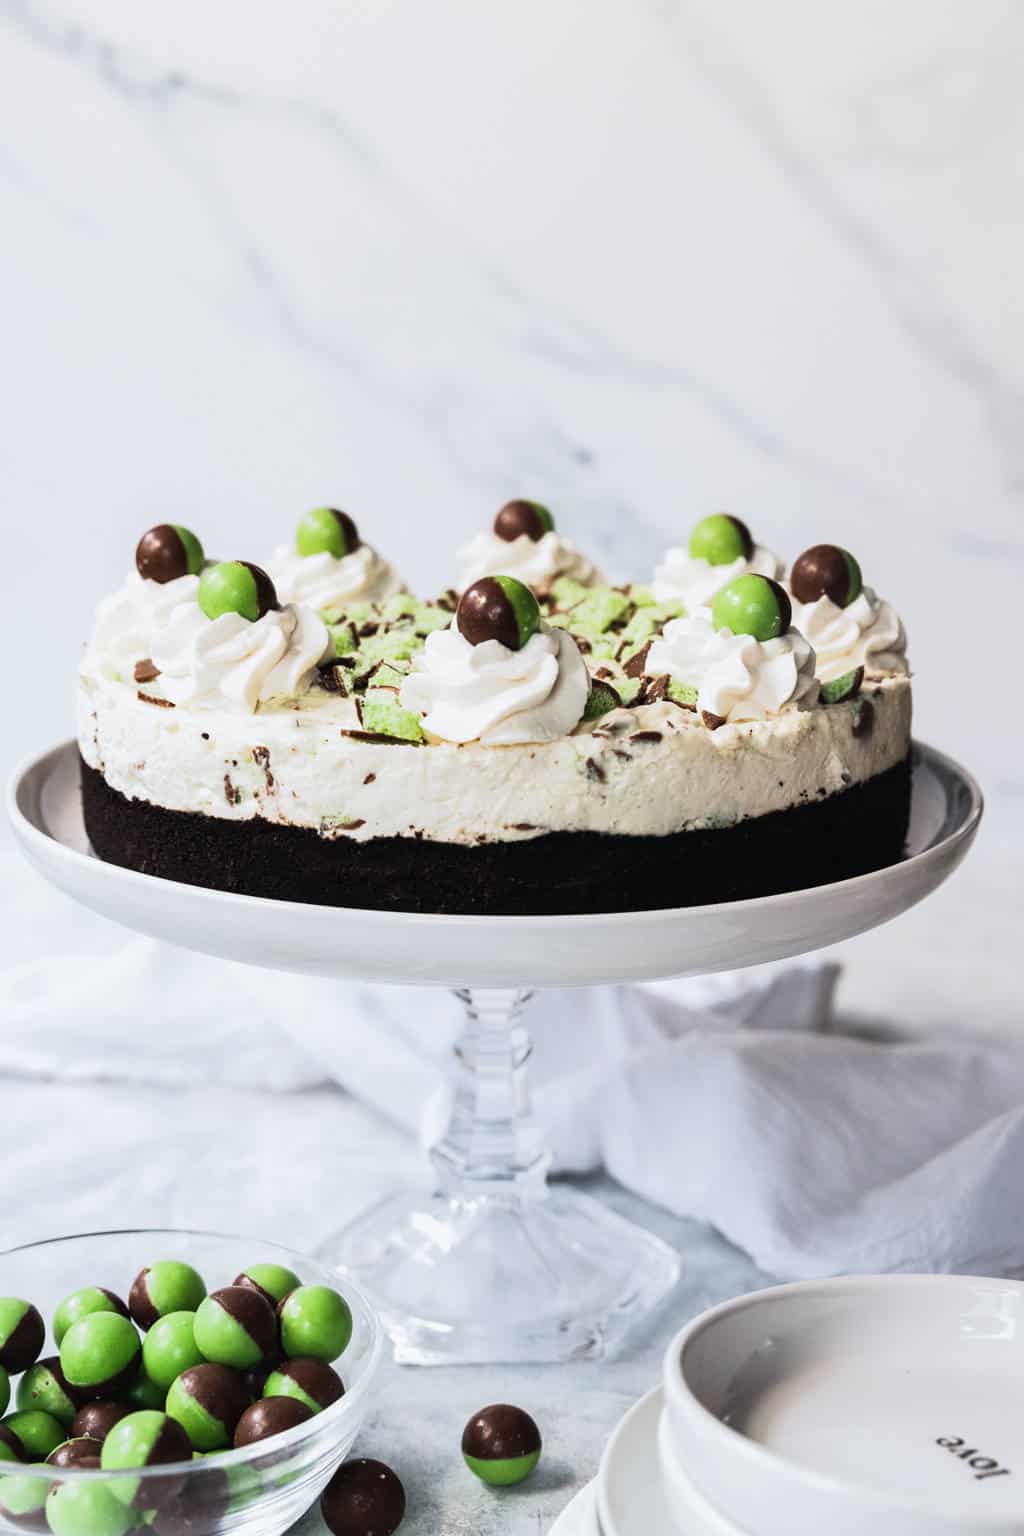
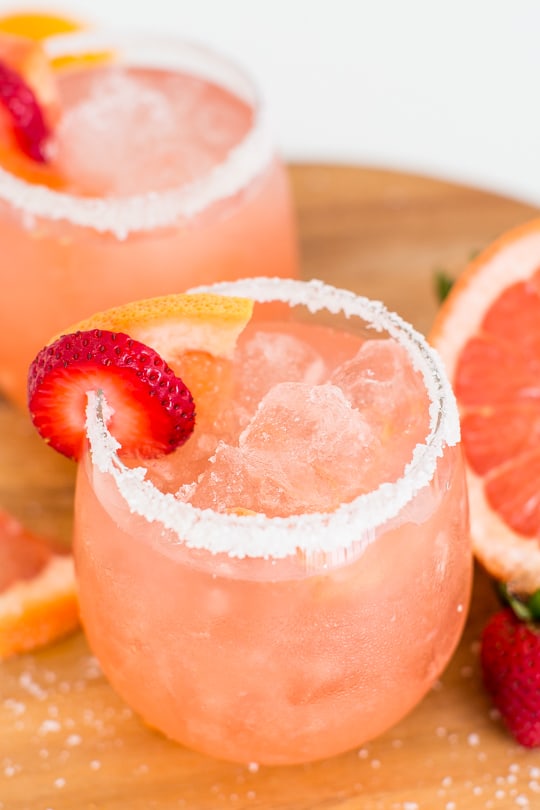
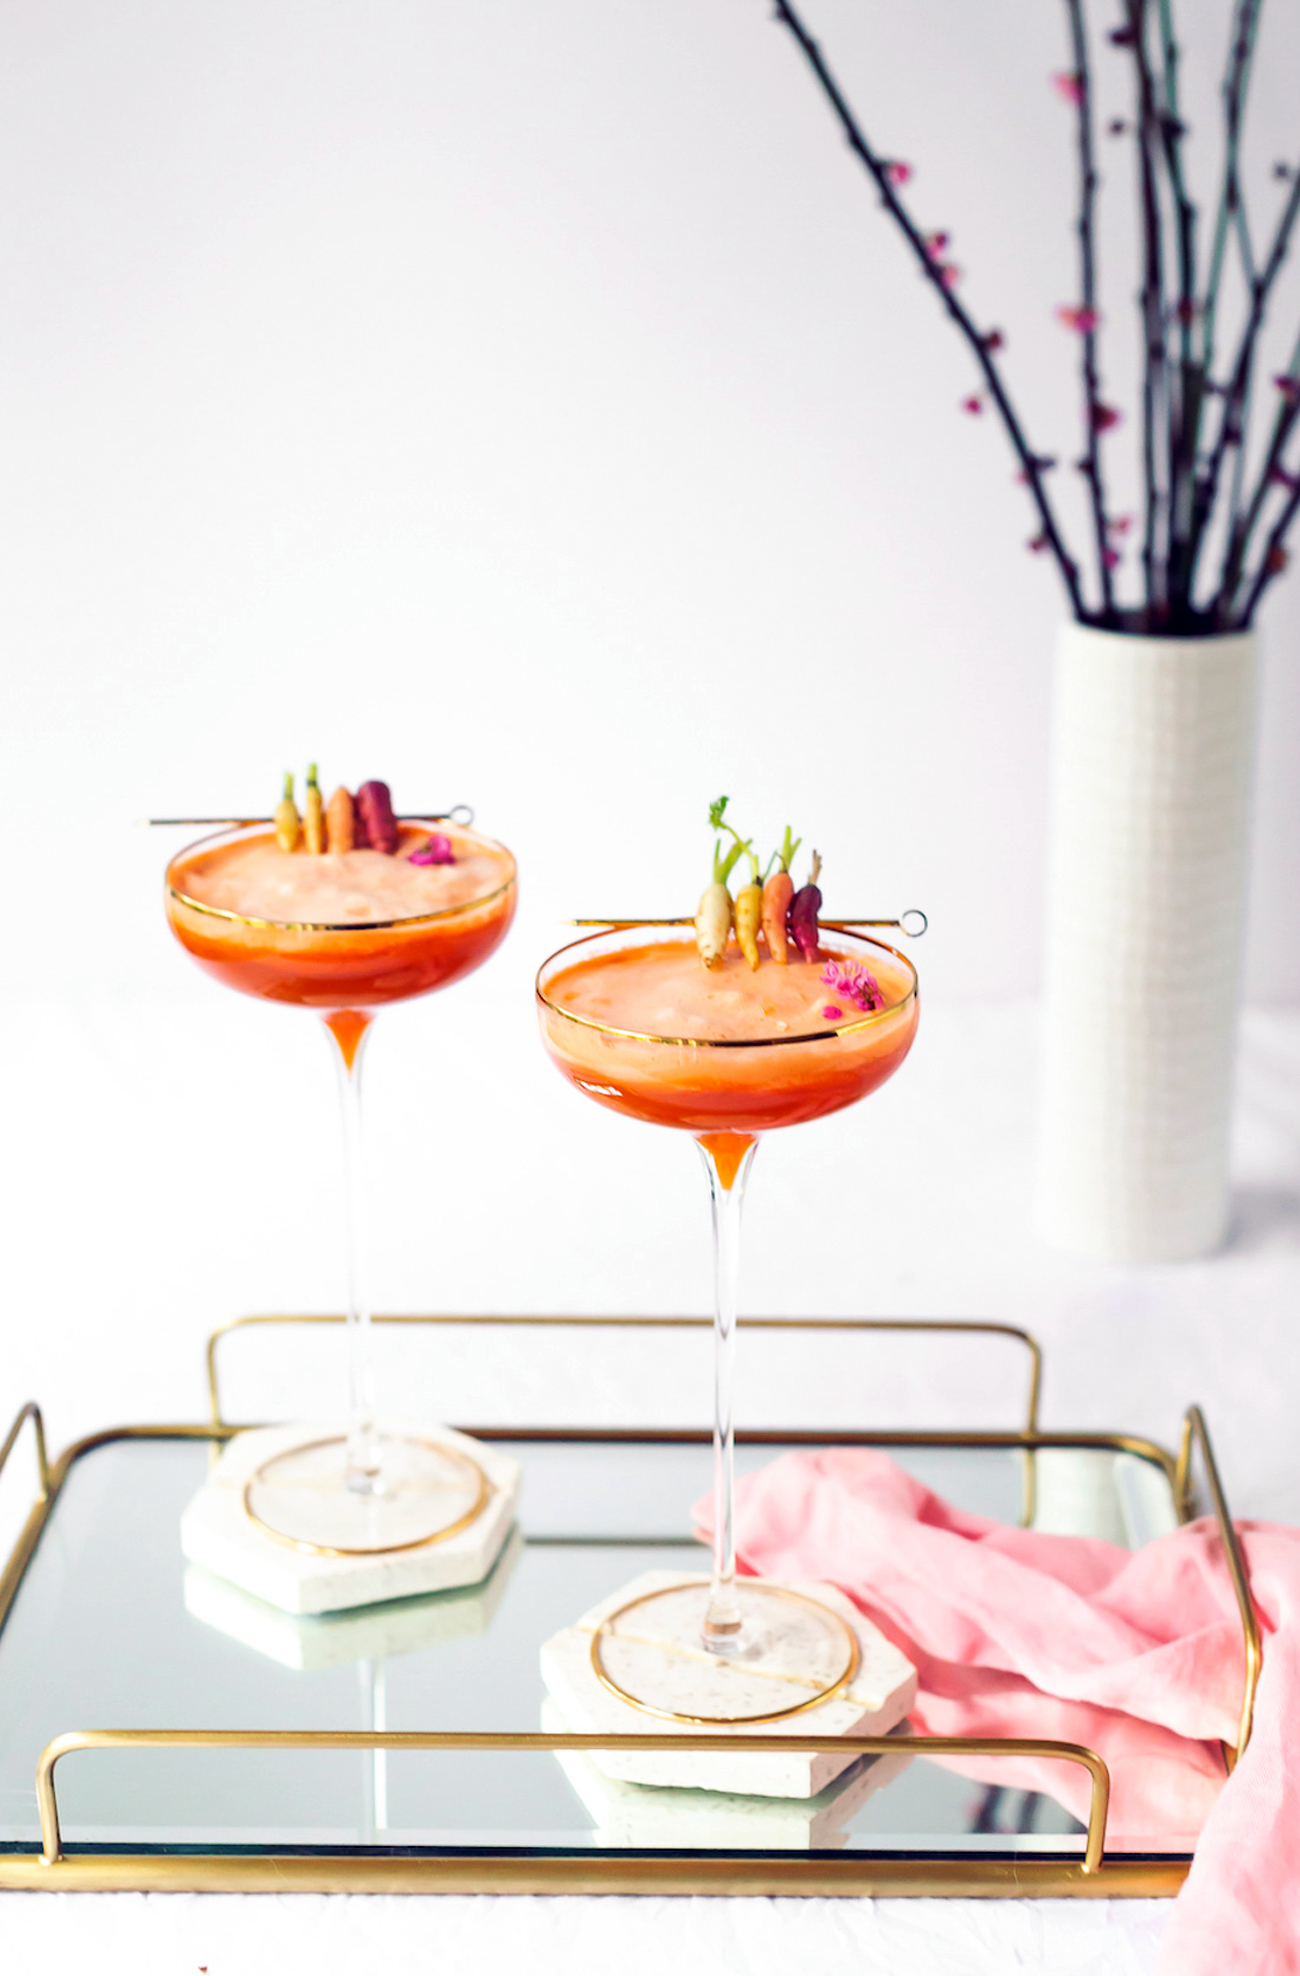
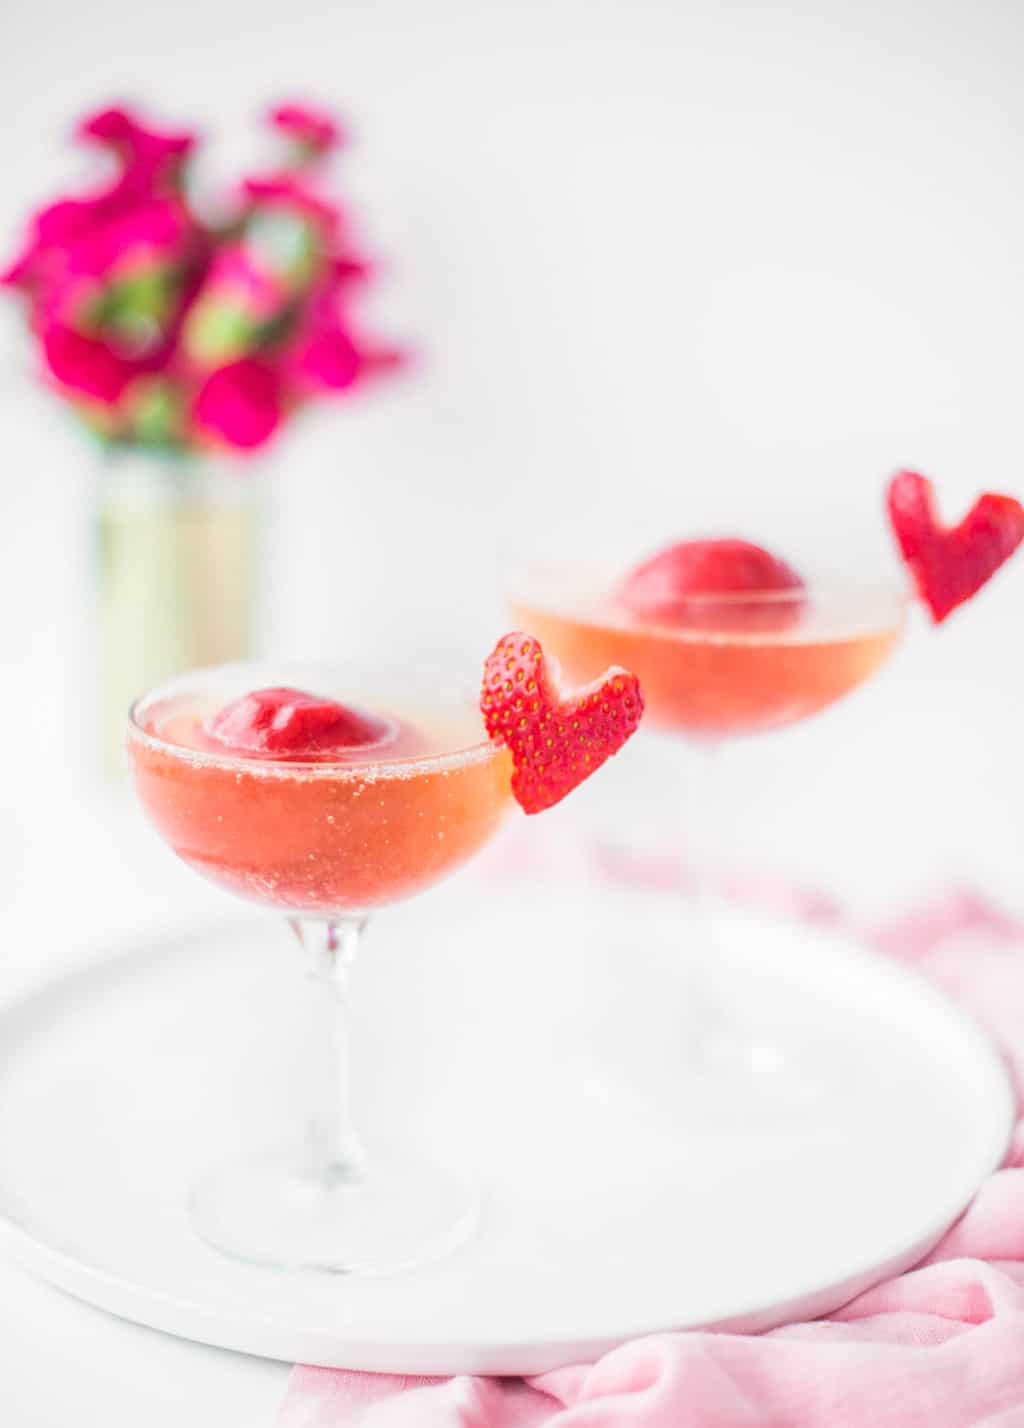
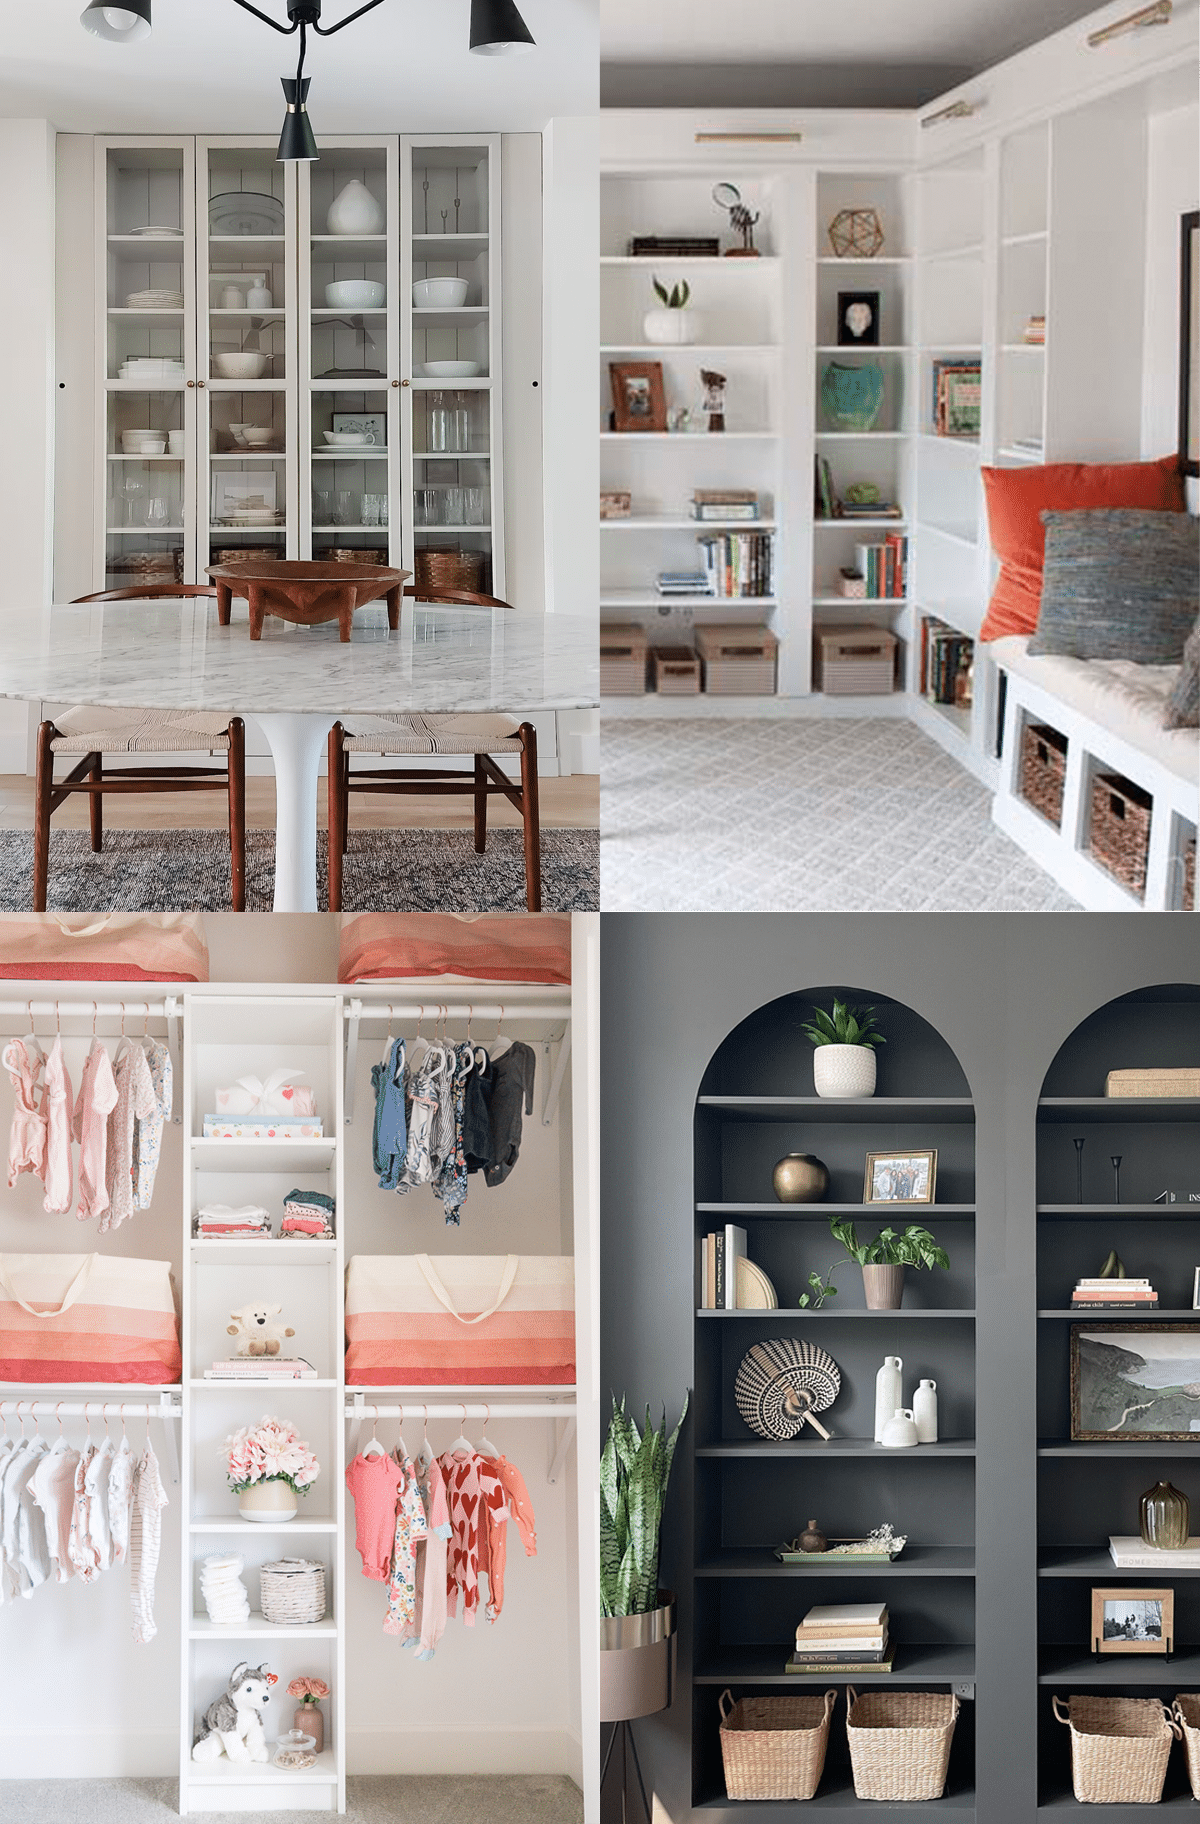
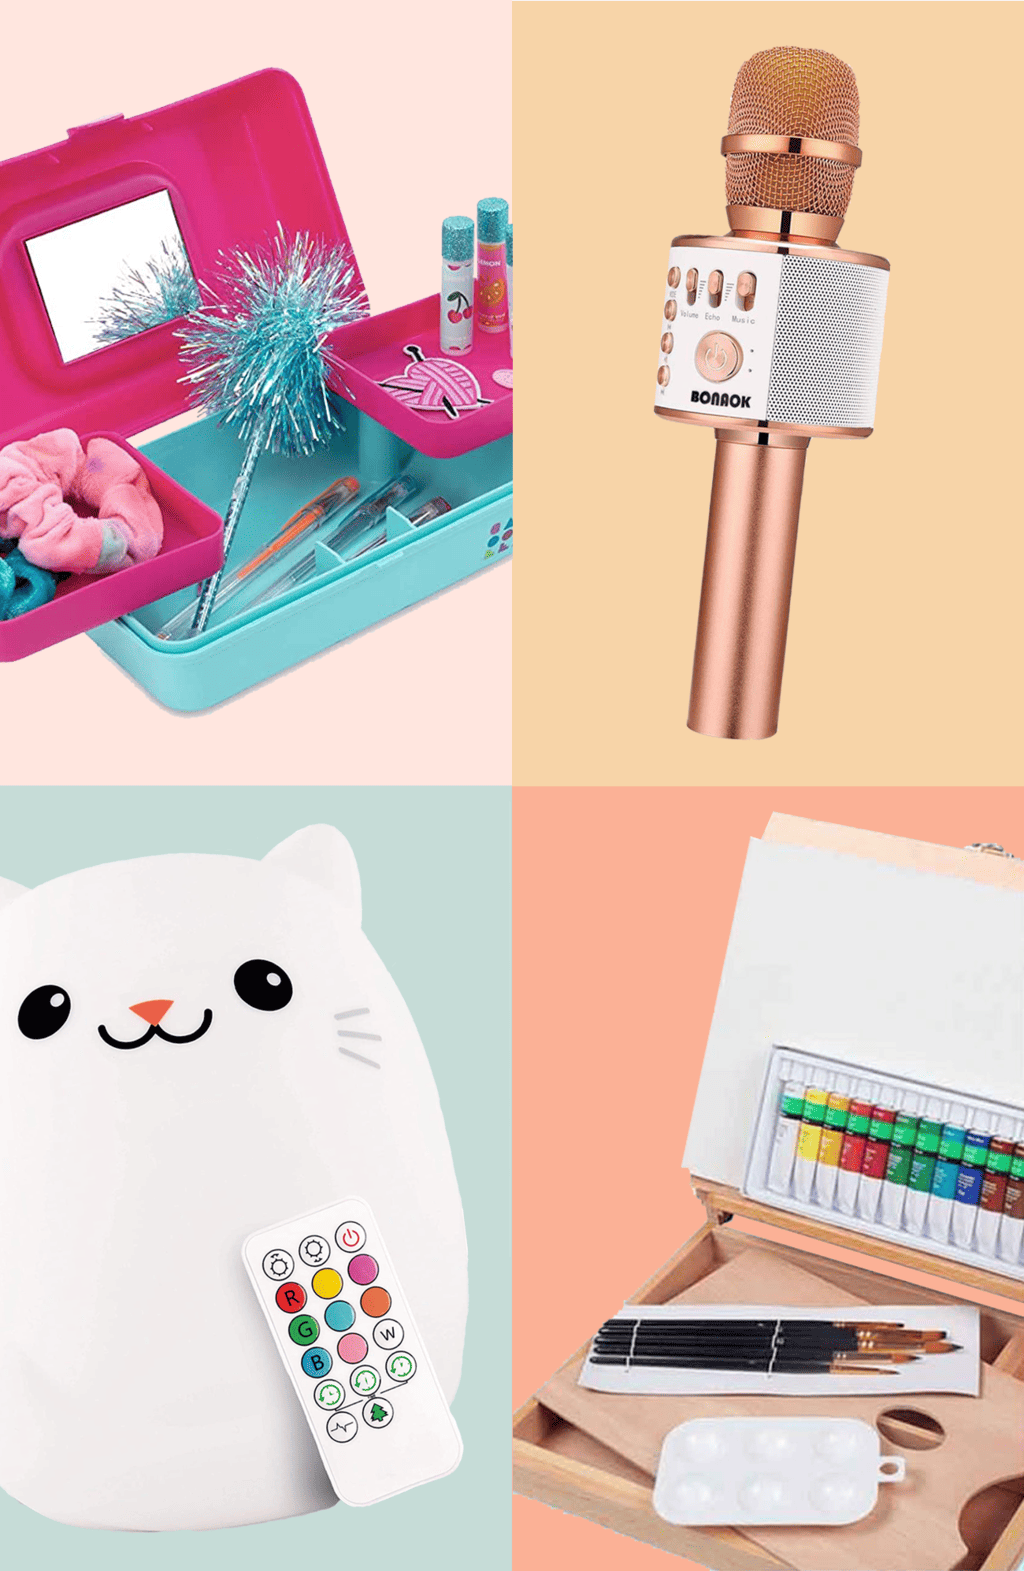
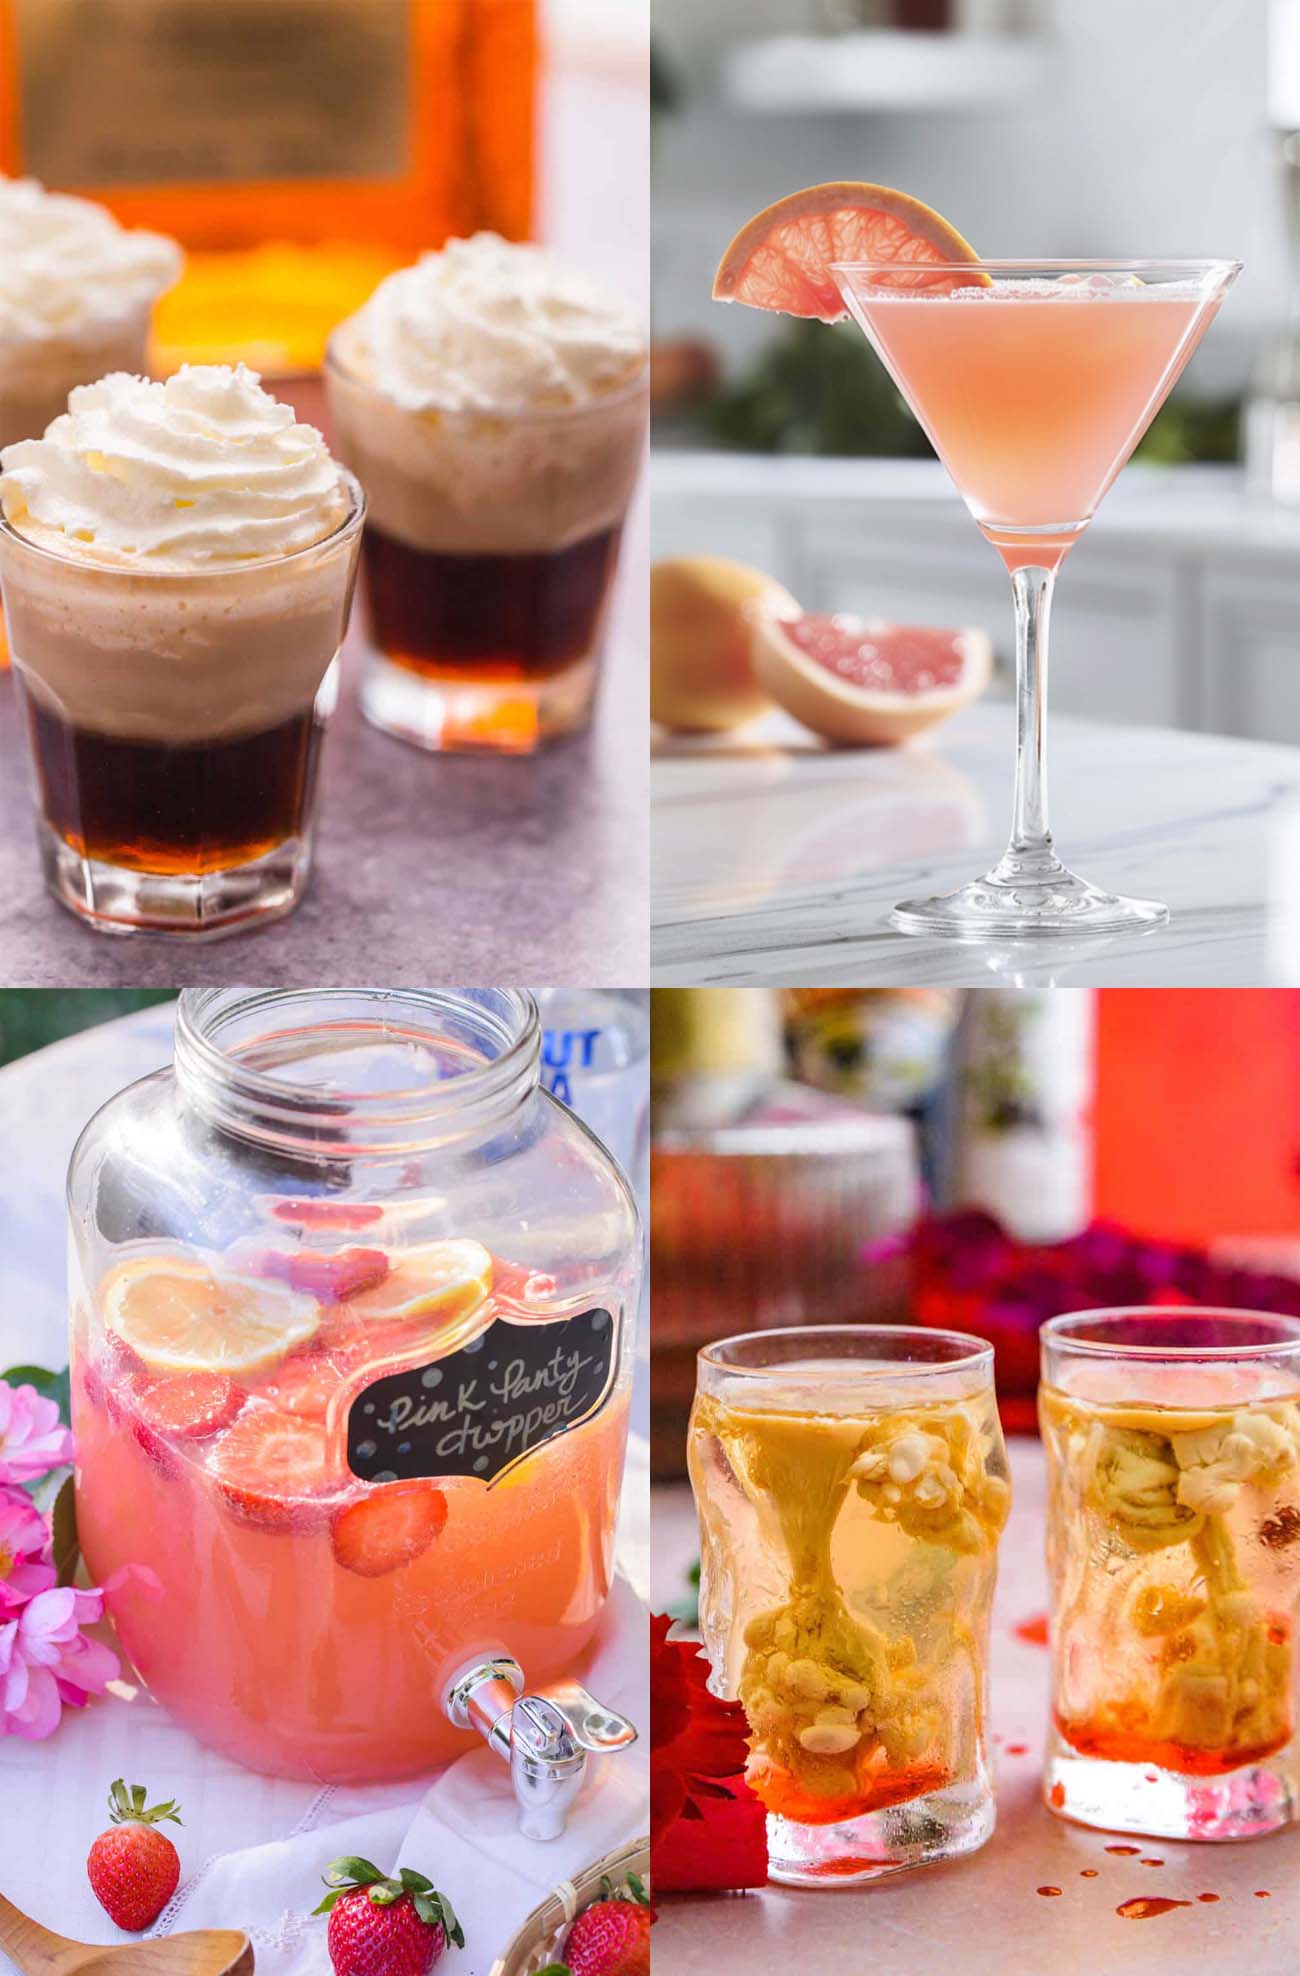
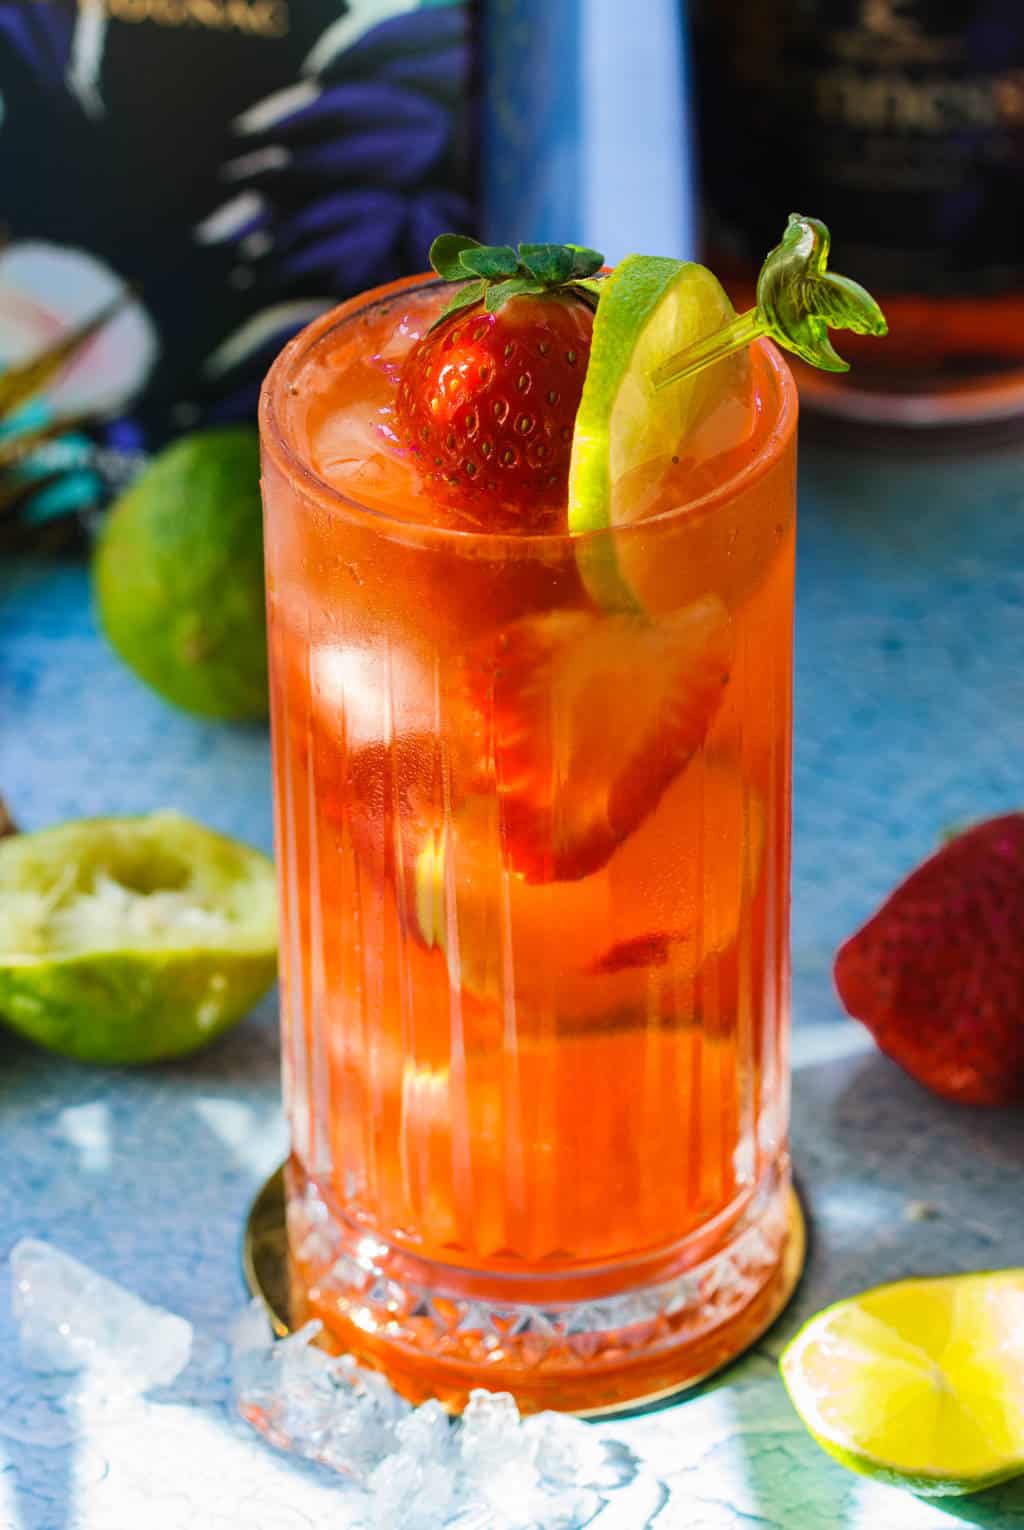
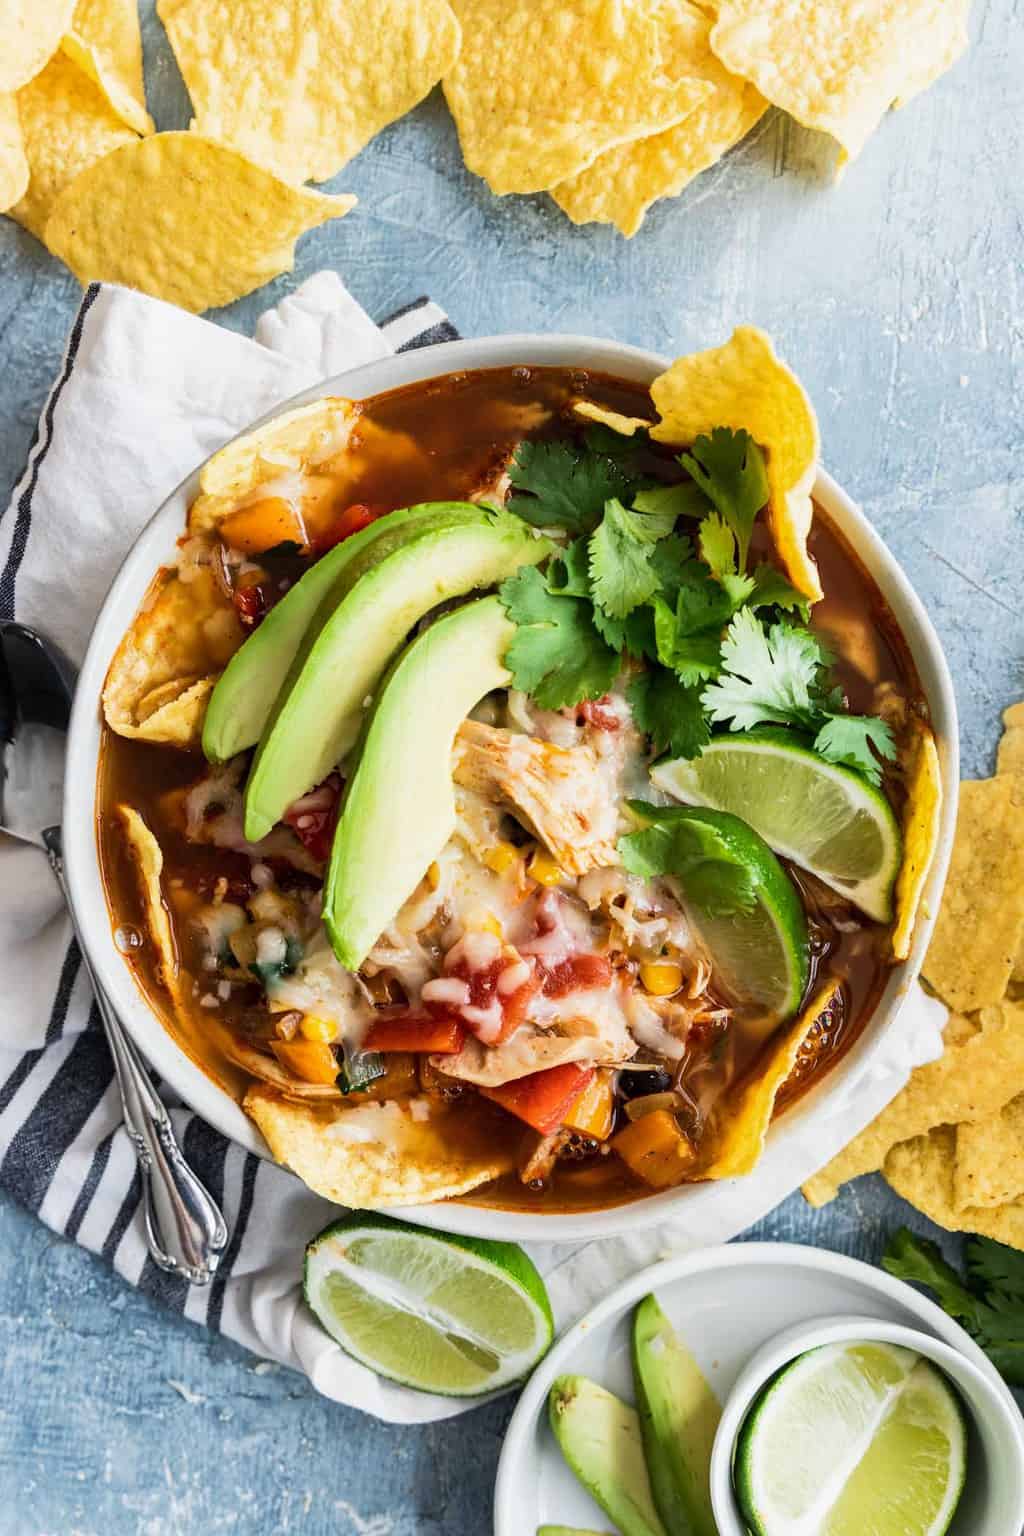
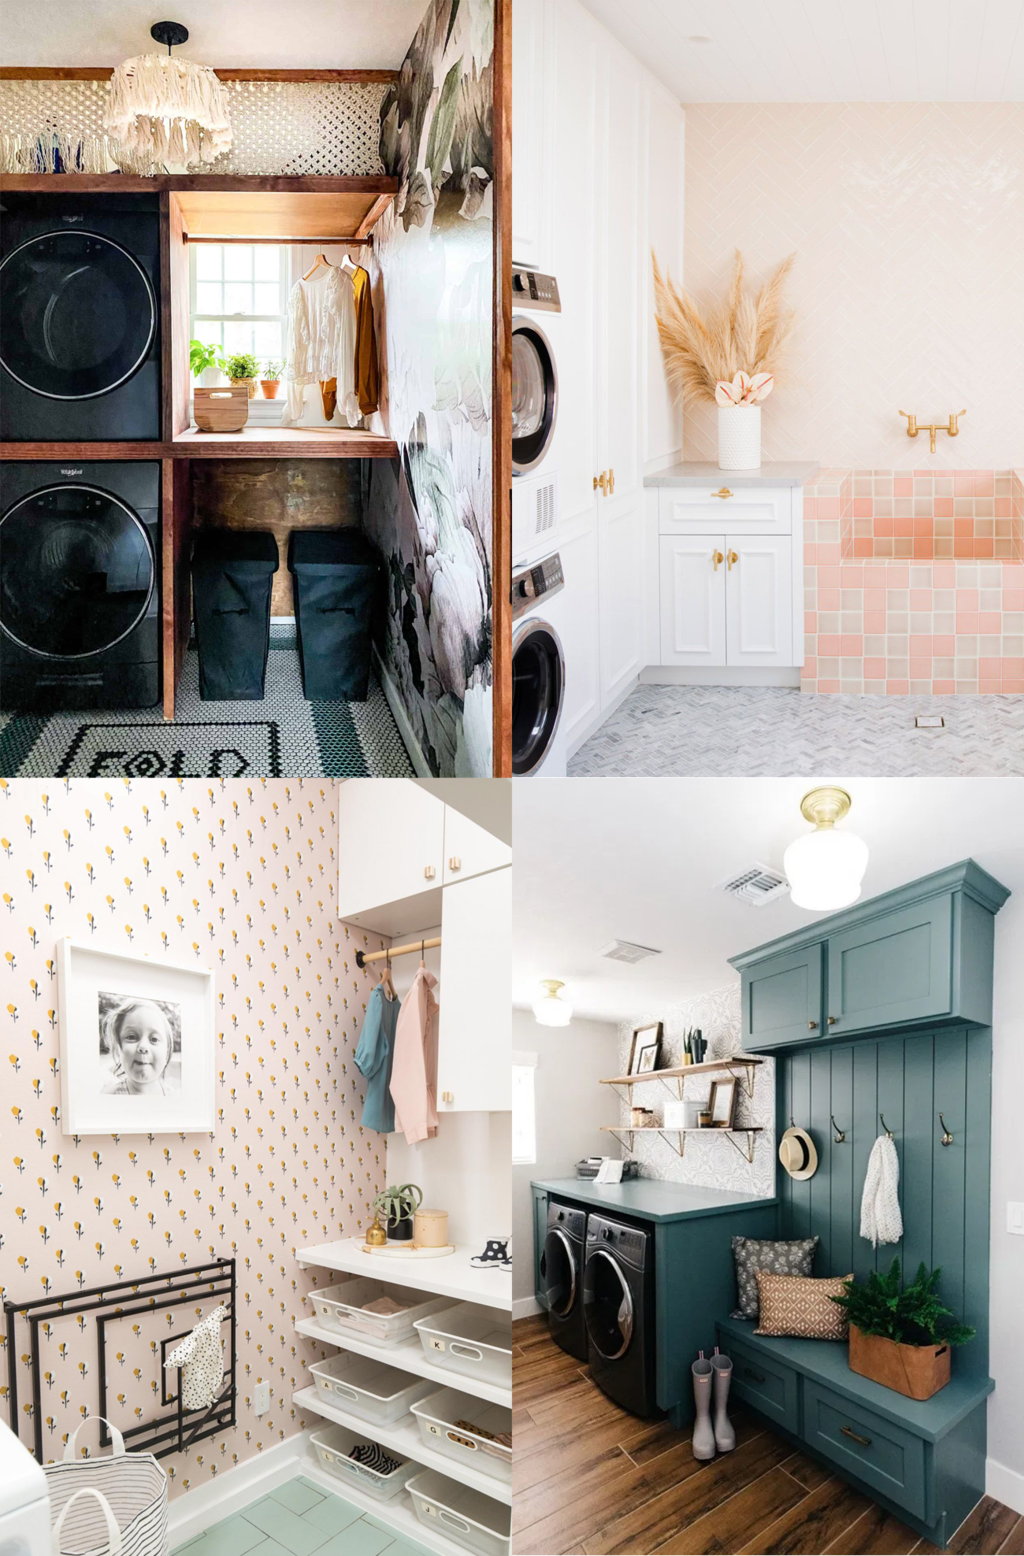
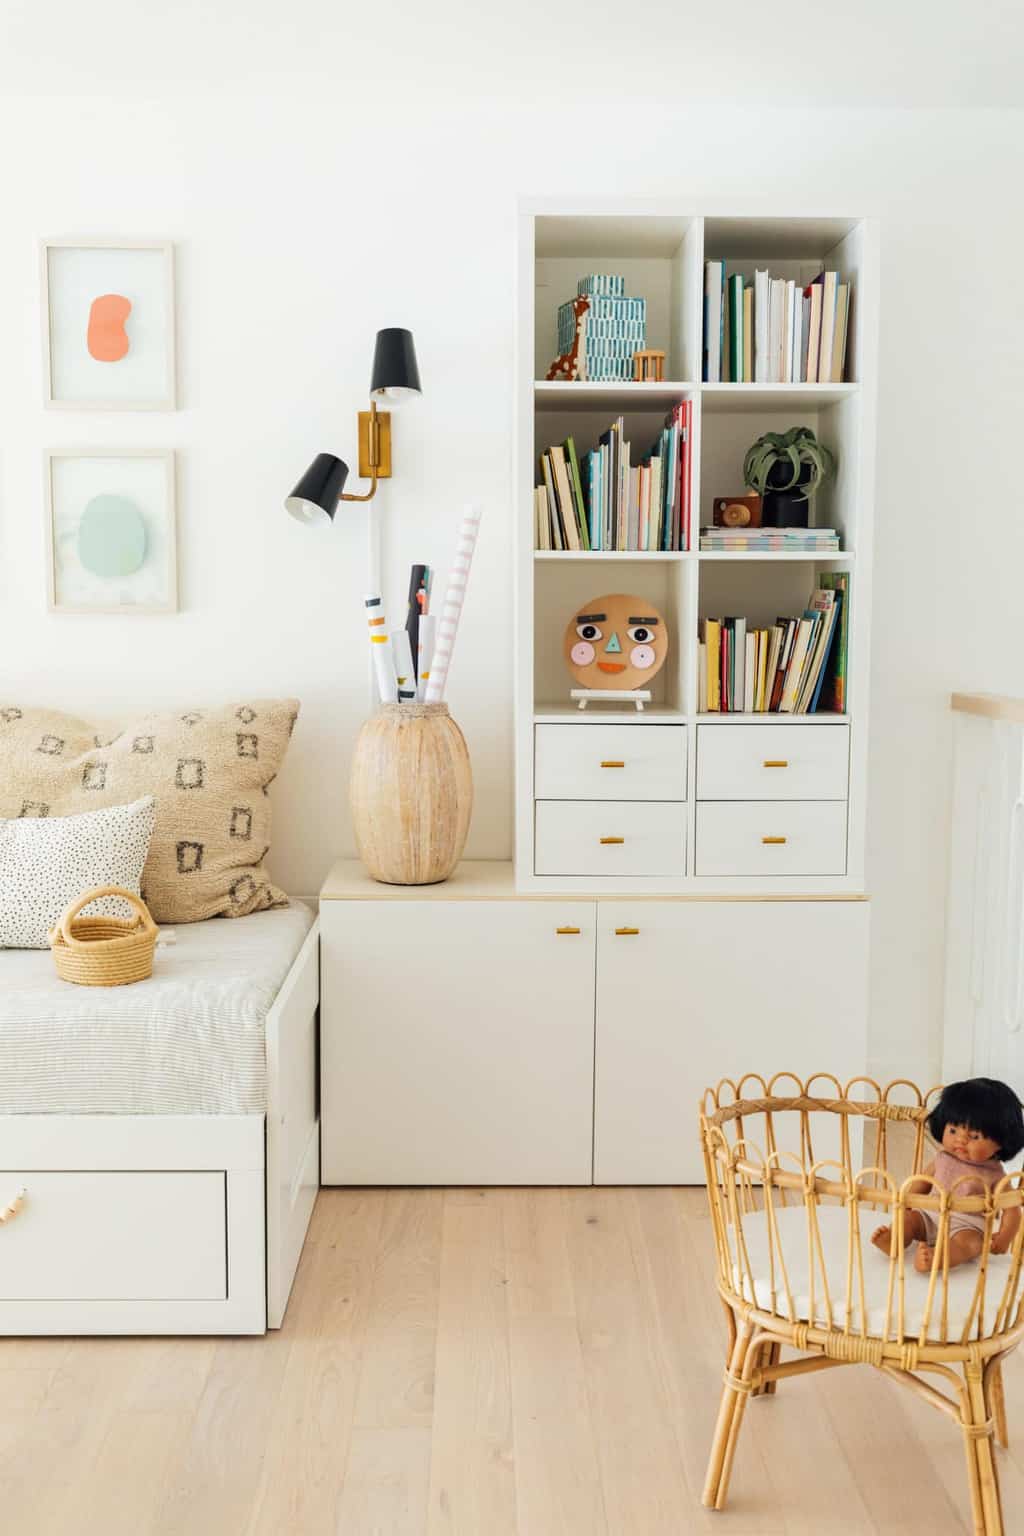
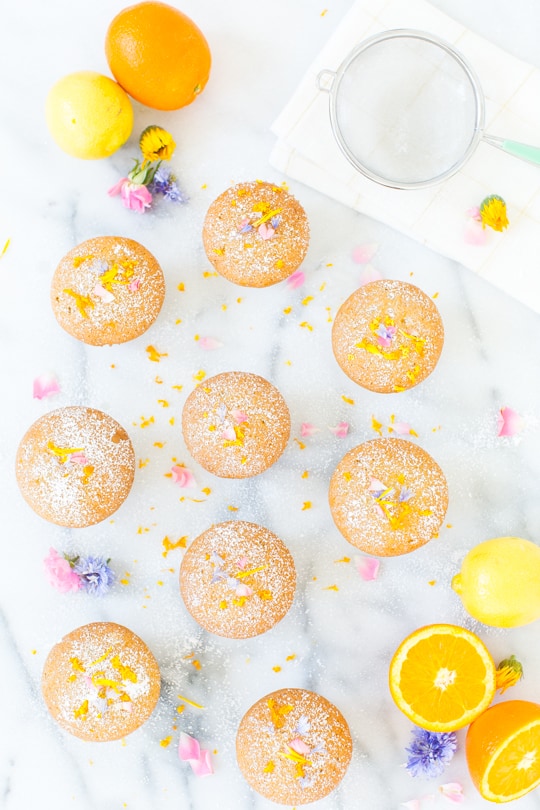
I’m not sure if it’s possible or not, but I swear I lost a fraction (give or take), of my outgoing personality over the last few years. Has this happened to anyone else, or am I just really out of practice? Maybe I’ve just gotten a little too comfortable with being behind the camera, but either way, I got a crash course in overcoming my new found stage fright shooting videos with the Whimseybox crew yesterday. Here are few pictures I snapped behind the scenes.–
Behind the Scenes (and a bit of stage fright)
October 23rd, 2012 § 3 comments § permalink

Eats // Glittering Cookie Sandwiches
October 19th, 2012 § 23 comments § permalink
If confetti was a cookie, they would definitely be glittering cookie sandwiches. Also, let me just tell you that this was my first time ever making these lovelies which A) was totally worth it and B) reminded me how important it is not to make up your own portion sizes when it comes to sweets. Technically they are supposed to be bite-sized (making a total of 5 dozen), but my laziness got the better of me and I decided I was just going to make fewer, bigger cookies… um, no. Not a good idea at all. Bite size is about all you can handle of the sweetness, so take my word for it.
Glittering Cookie Sandwiches from The Gourmet Cookie Book inspired by The Purl Bee:
Ingredients:
Cookies
2 2/3 cups all-purpose flour
1 1/3 cups cornstarch
1/2 teaspoon salt
4 sticks unsalted butter, softened
1 cup confectioners’ sugar
1 teaspoon vanilla
1 teaspoon almond extract
Sanding sugars in various colors
Filling
2 cups confectioners’ sugar
2 tablespoons almond extract
1/4 cup light corn syrup
1 stick unsalted butter, softened
To Make the Cookies:
Preheat oven to 350 degrees.
Place flour, cornstarch and salt in a bowl, mix togetgher and set aside.
With electric mixer, mix butter, confectioners’ sugar, almond extract and vanilla until fluffy.
Add flour mixture and mix on low until dough forms.
Place each sanding sugar into a small bowl.
Roll dough into balls, 1/2-inch in diameter, then roll balls in sanding sugar. Place balls on parchment lined baking sheet, 3/4-inch apart.
Bake for 9-11 minutes. Bottoms should just be turning golden. Remove and place on cooling racks.
To Make Filling:
With electric mixer, mix all filling ingredients on medium until combined.
Complete Cookies:
With offset spatula place approximately 1/4 teaspoon of filling on half a cookie, sandwich the other half to form a ball.
To package them, fill a clear take out container with different colors, and tie a gold ribbon around the top!
Fall Wish List
October 18th, 2012 § 7 comments § permalink
If I had to force myself to only choose 8 reasonable fall items to wish for, I would pick these… technically I already own the lavender hearts, but I really recommend them that much.
P.s.- Want to see a crazier side of S+C, check out my quick feature on Studio DIY!
1 dot sweater // 2 ban.do bobbi pins // 3 lavender filled heart brooches // 4 anthropologie throw // 5 voluspa candle // 6 penguin classics book set // 7 viscid watch // 8 modcloth dotted scarf
DIY // No-Sew Sequin Camera Strap
October 17th, 2012 § 34 comments § permalink
I’ve been really swooning over a certain sequin camera strap that’s taunted me on Pinterest for the last month. After little deliberation and a week or two of procrastination, I’ve finally busted out a DIY version for me, I mean, for you. Just in case knowing this project costs less than a fraction of the real deal doesn’t convince you, it’s also super comfortable, durable, and simple.
Materials:
- Soft leather strip
- Double-cap rivets
- Sequin ribbon/trim
- Rotary punch
- Tacky glue
- 2 x D-ring
- 2 x Swivel hook (jewelry section of craft stores)
DIY // Leather & Stamped Tote Bag
October 15th, 2012 § 6 comments § permalink
Cool news: I started working for Whimseybox! Any job that requires me to carve and stamp and make a leather strapped tote bag on my very first day is a dream come true. The downside is that I secretly really want to keep this bag forever and ever, but life could be worse. If you want to see my full tutorial to make your own, check it out here! Oh, and you’ll be able to see the unhappy accident I had in the making…


