How to Distress Wood Shelves for an Ikea Shelf Hack
Upgrade your IKEA shelf with our expert tips on how to distress wood, adding vintage charm and personality to any room in your home.
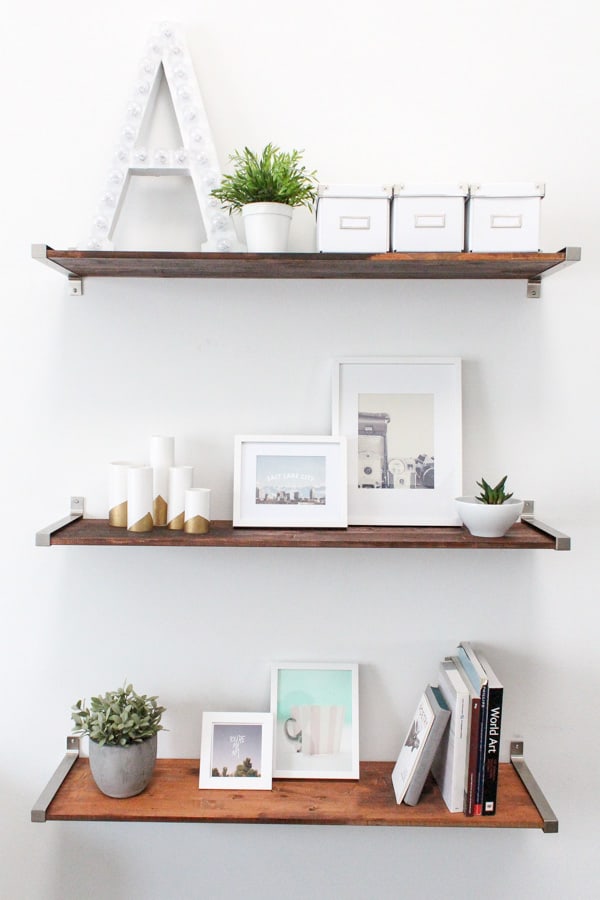
Are you tired of your plain and boring IKEA shelf? Do you want to add a rustic and vintage touch to your home decor? Look no further!
We’re really into the distressed wood look. But the hefty price tag that goes along with reclaimed wood isn’t exactly doable. Luckily, the weathered aged appearance can be created with a little elbow grease and a few key supplies for an easy DIY reclaimed wood shelf.
So instead, we’ll guide you through the step-by-step process of distressing wood and turning your ordinary IKEA shelf into a stunning piece of furniture.
This isn’t the first time we’ve hacked this weathered rustic look for a DIY Reclaimed Wood Folding Table, DIY Wooden Headboard and simple bedroom makeover.
Whether you’re a DIY enthusiast or just looking for an easy way to upgrade your interior, this IKEA shelf hack is sure to bring character and charm to any space. So grab your tools and let’s get started on this exciting project!
Materials and Tools Needed
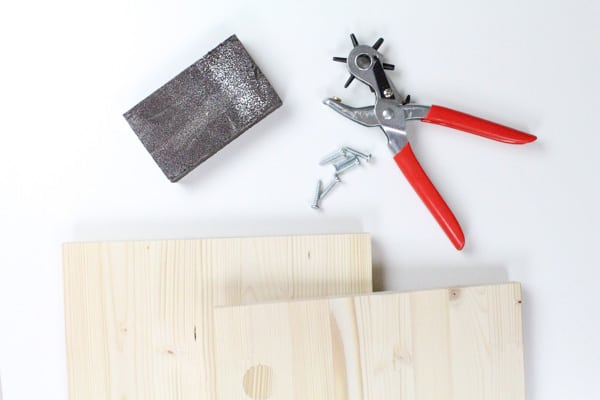
Untreated wood — Ikea has a lot of options like the Billy Shelf from the Billy Bookcase series. You can also use your own wood from the hardware store or repurpose scrap wood.
Wood stain or furniture paint in your preferred colors — Medium brown works best for a vintage look. We opted for Early American Stain from Minwax.
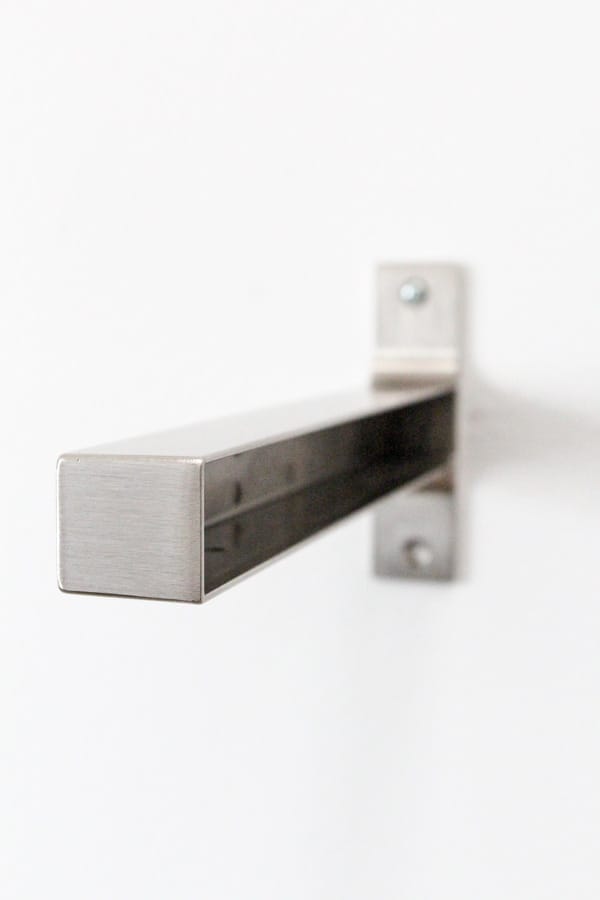
Ikea Ekby shelving brackets — Or any shelving bracket of your choice. (It doesn’t have to just be Ikea brackets.) You can also switch out the boards for any wall shelf like the Ikea Bergshult/Granhult.
Sandpaper (medium and fine grit)
Optional: Sealer or finish — To protect your distressed wood and give it a polished look, consider painting a clear sealer or finish. This also helps to lock in the distressed appearance.
How to Distress Wood Shelves
1 — Start by sanding the wood with medium-grit sandpaper to create a smooth surface. Focus on the edges, corners, and areas that would naturally receive wear and tear.
2 — Create indentations on the wood. Use random tools and utensils (like a hammer, chains, nails and/or steel wool) to scrape the wood. This simulates the effects of natural aging and wear. Place screws in various areas and twist them to create small holes. This adds another level of authenticity to the distressing.
3 — Smooth out any major bumps caused when you were distressing the wood. Focus on the areas that you distressed earlier, smoothing out any rough edges.
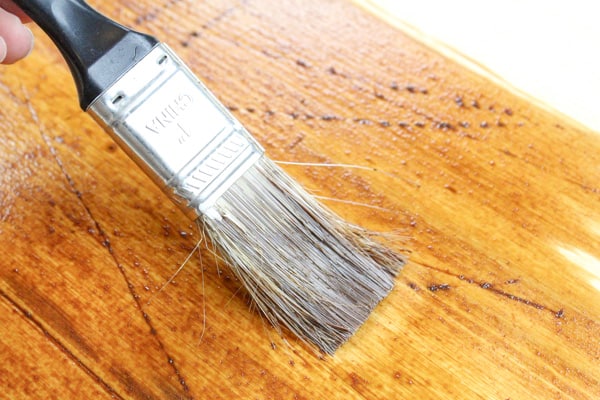
4 — Once the wood is distressed as much to your liking, apply a stain or paint onto the wood. Allow to dry to the touch in between coats.
5 — For the second coat, only apply in certain areas, and use a rag hand towel or brush to blend the edges of the second coat into the first. This will make certain spots a bit darker than others giving a reclaimed wood effect by having a variety of colors and will give interest to the distressed areas.
6 — Optional: Apply a clear finish to seal the wood from water.
7 — Once the stain has dried completely, install the Ikea EKBY shelving ends according to the instructions on the package.
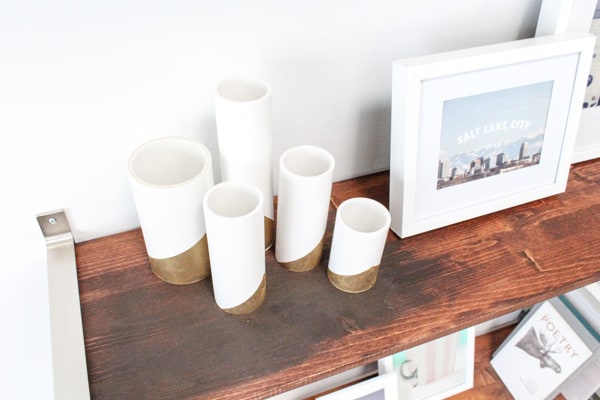
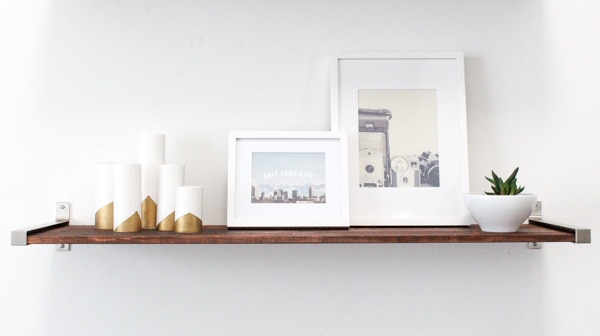
Now that your shelves are installed, decorate them with as many pretties as you’d like. And you’ve got yourself custom distressed wooden shelves for a fraction of the cost!
Distress Wood Shelves Tutorial Tips
- Experiment on Scrap Wood: Before distressing your main project, practice on a scrap piece of wood to get a feel for the technique.
- Layering Techniques: Combine different distressing techniques for a more authentic, aged look.
- Pay Attention to Detail: Focus on areas that would naturally receive the most wear, like edges, corners, and surfaces that come into contact with hands or objects.
- Gradual Process: Distressing is a gradual process, so take your time and build up the effect until you’re satisfied.
More Easy DIY Ikea Hacks
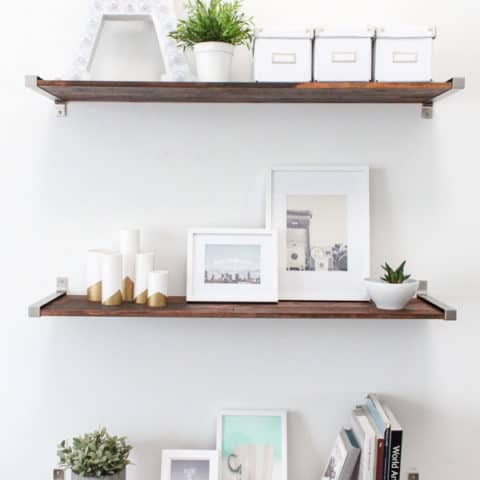
Now that your distressed wooden shelves are installed, decorate them with as many pretties as you’d like. This is a great project if you need more storage, especially for a home office. And you’ve got yourself a custom distressed wooden shelf for a fraction of the cost!
We love modifying Ikea furniture. For more Ikea hacks, check out some of our favorite DIY projects below —
DIY Distressed Wood Shelves
Equipment
- Sandpaper medium and fine grit
- Paint brush
- Hammer to create indentations
- Screws to create indentations
Instructions
- Start by sanding the wood with medium-grit sandpaper to create a smooth surface. Focus on the edges, corners, and areas that would naturally receive wear and tear.
- Create indentations on the wood. Use random tools and utensils (like a hammer, chains, nails and/or steel wool) to scrape the wood. This simulates the effects of natural aging and wear. Place screws in various areas and twist them to create small holes. This adds another level of authenticity to the distressing.
- Smooth out any major bumps caused when you were distressing the wood. Focus on the areas that you distressed earlier, smoothing out any rough edges.
- Once the wood is distressed as much to your liking, apply a stain or paint onto the wood. Allow to dry to the touch in between coats.
- For the second coat, only apply in certain areas, and use a rag hand towel or brush to blend the edges of the second coat into the first. This will make certain spots a bit darker than others giving a reclaimed wood effect by having a variety of colors and will give interest to the distressed areas.
- Optional: Apply a clear finish to seal the wood from water.
- Once the stain has dried completely, install the Ikea EKBY shelving ends according to the instructions on the package.

Please note that we may earn a commission for some of the above affiliate links. However, products featured are independently selected and personally well-loved by us!
