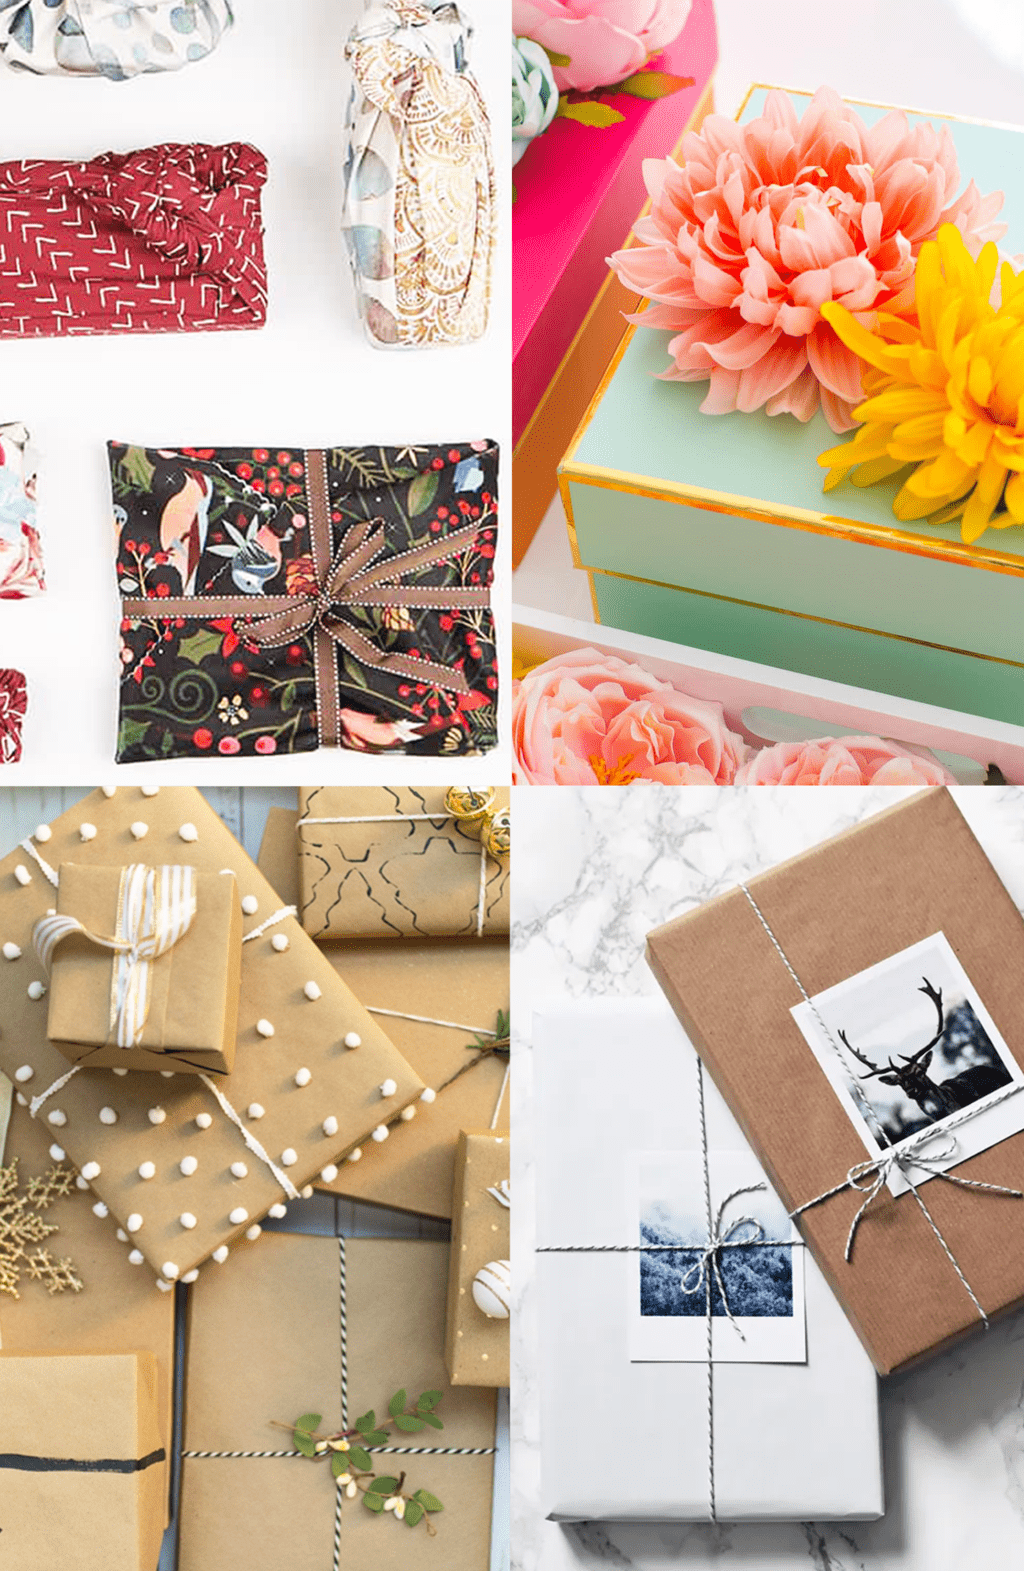
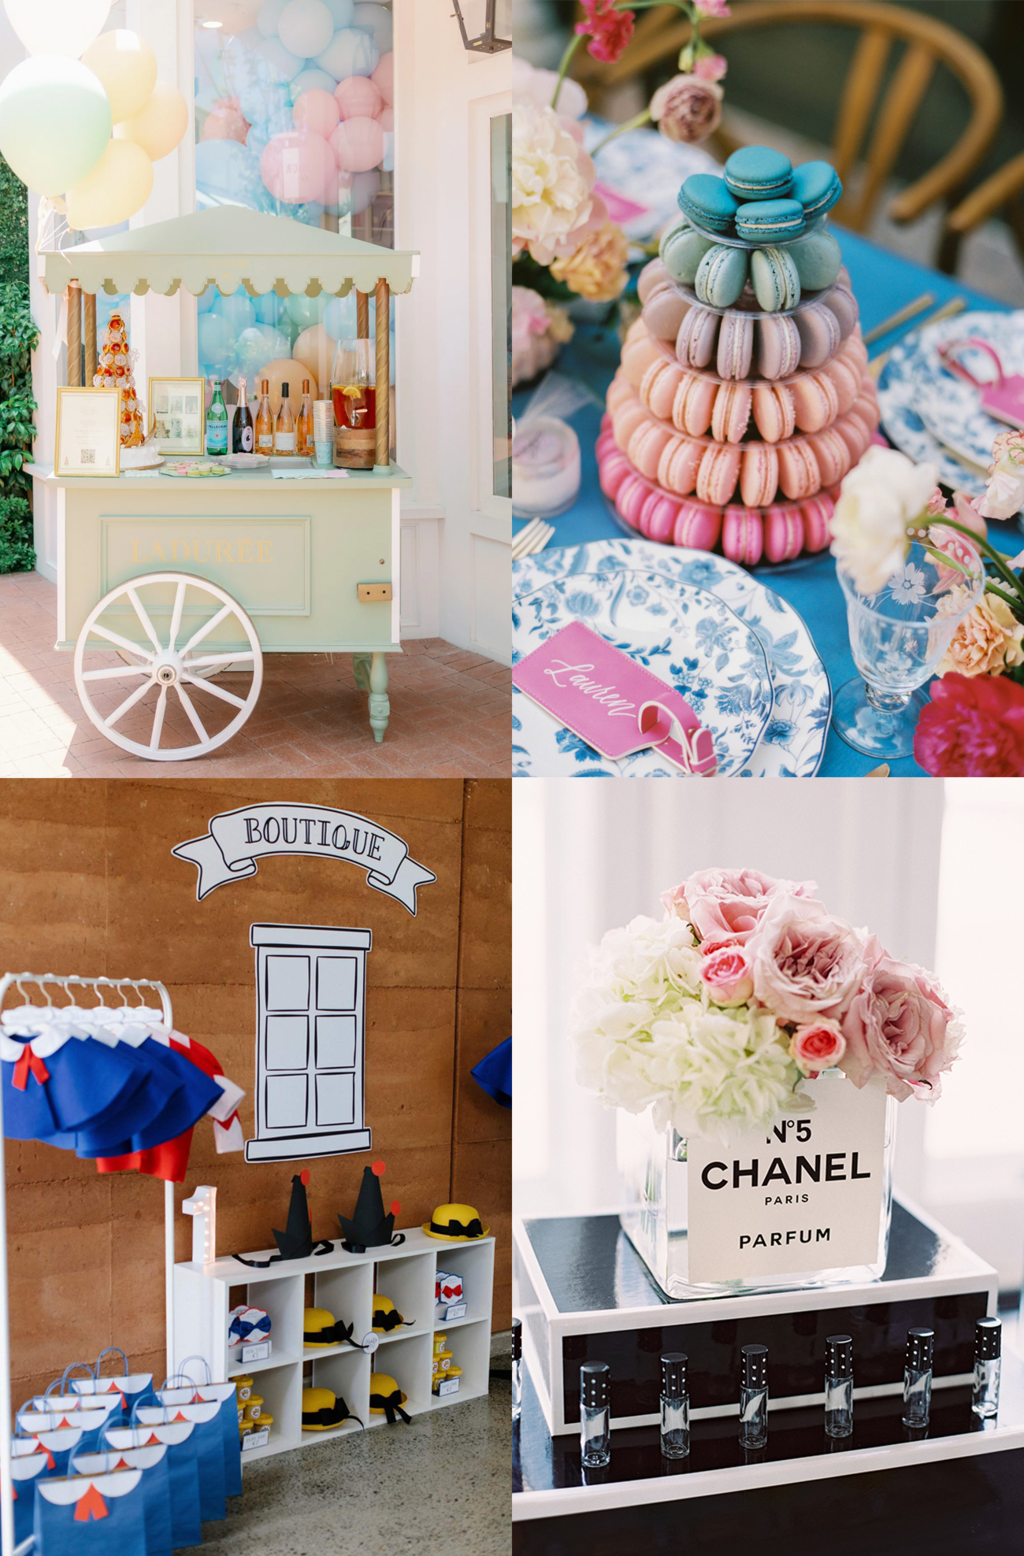
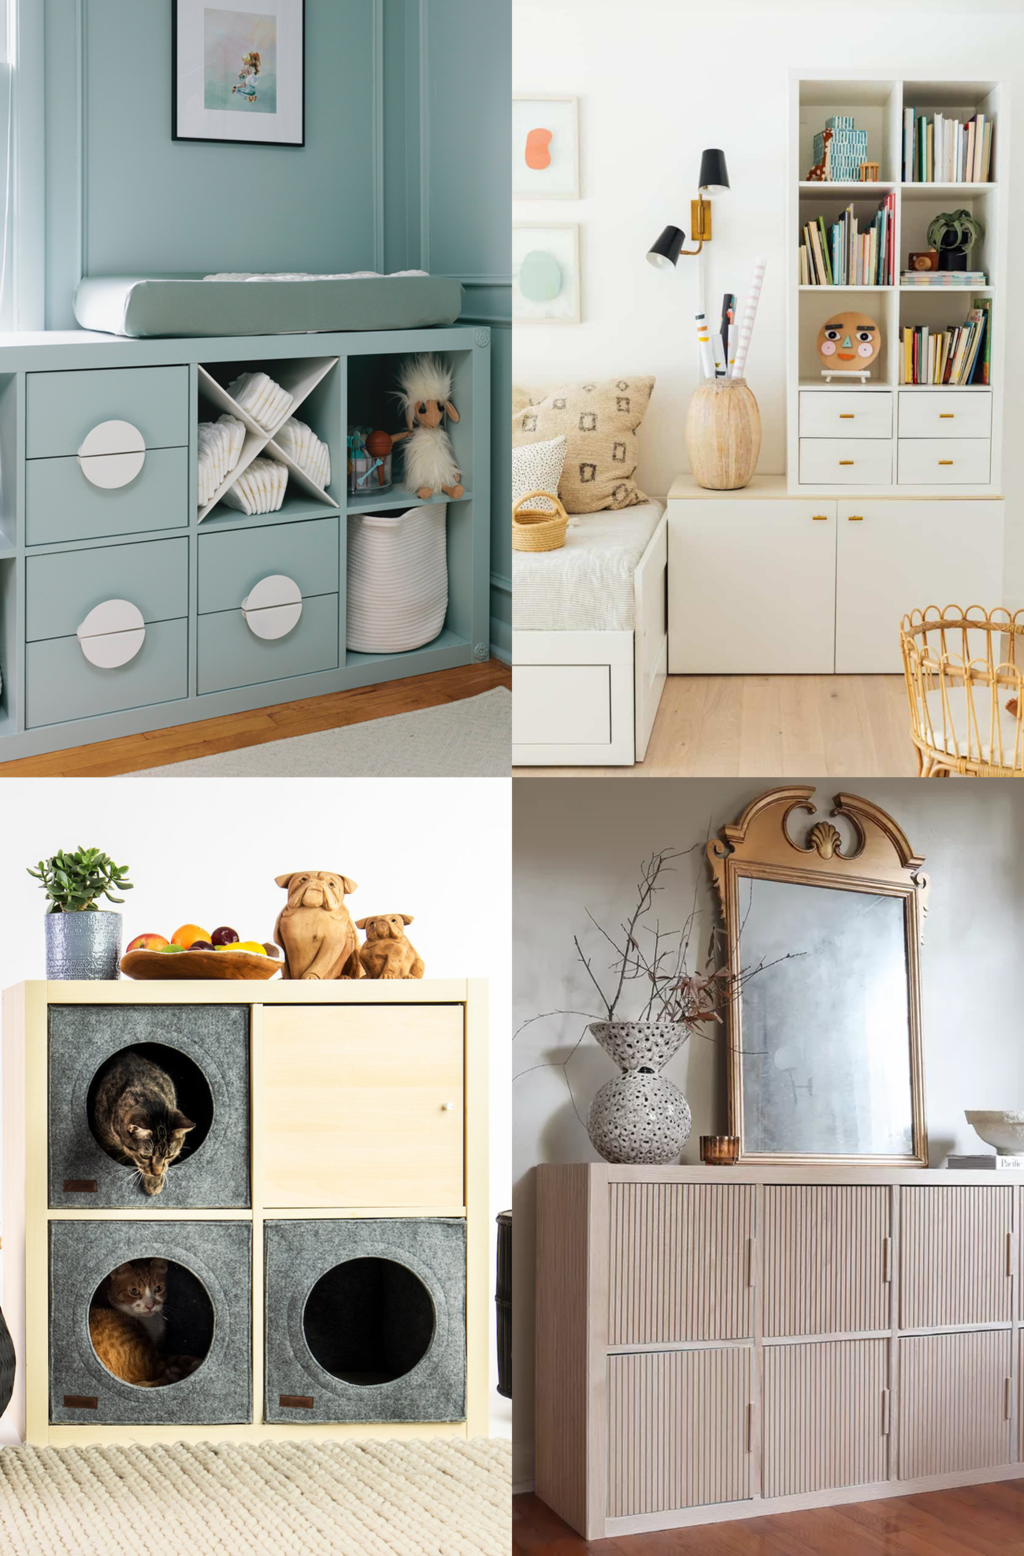
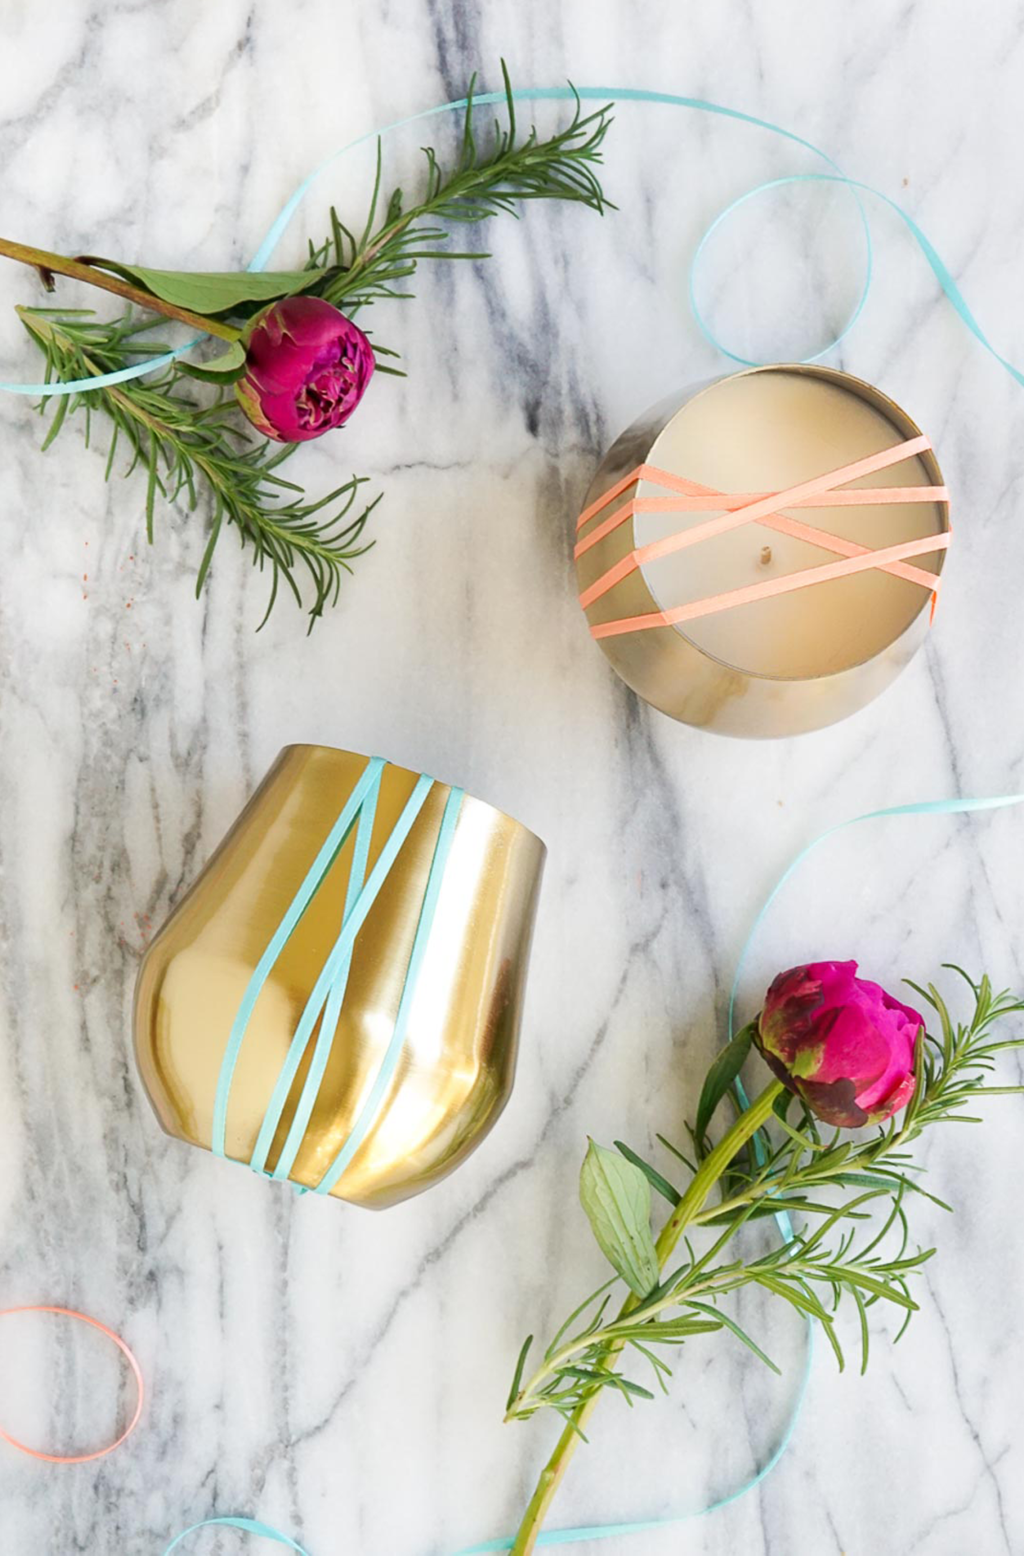
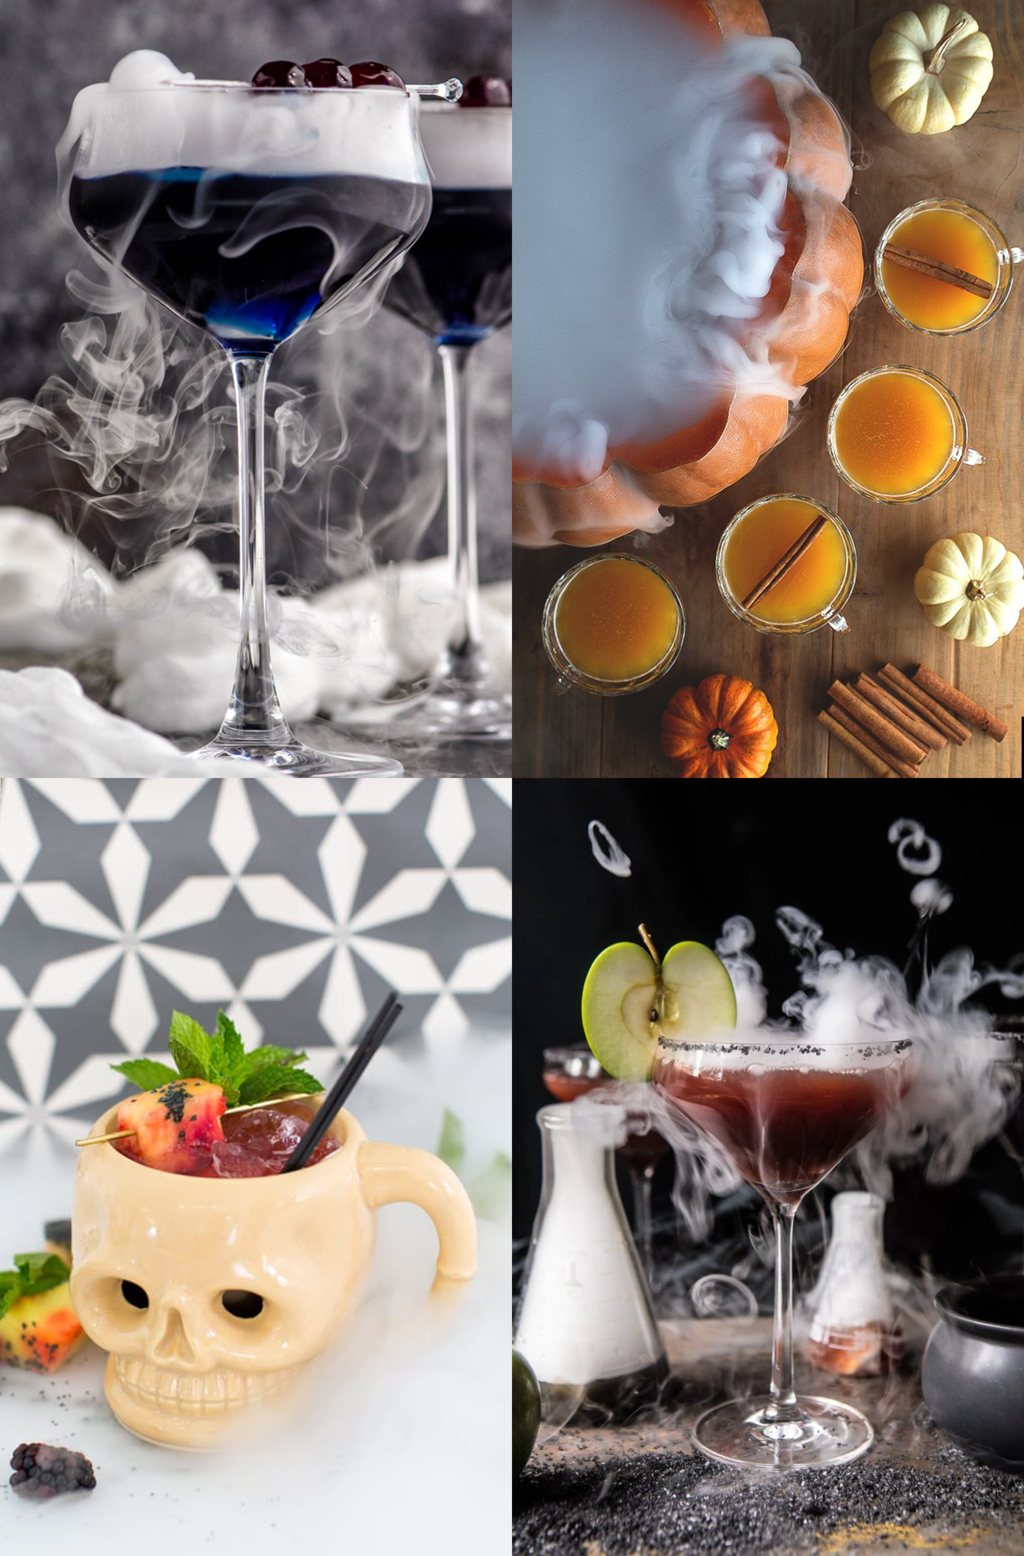
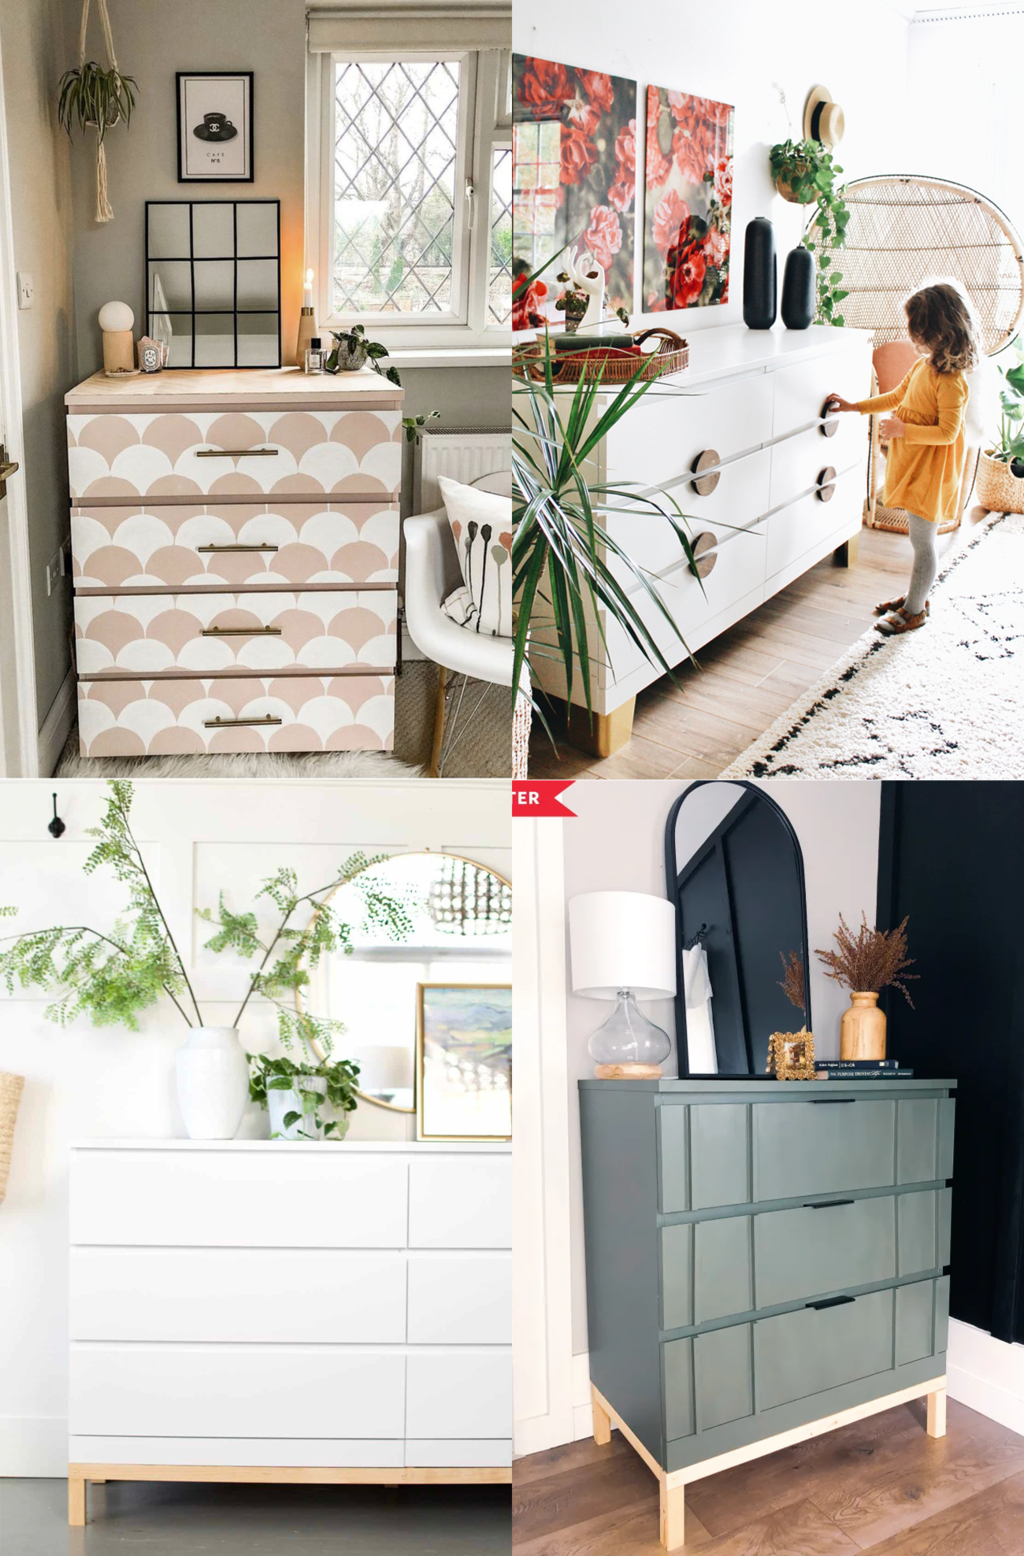
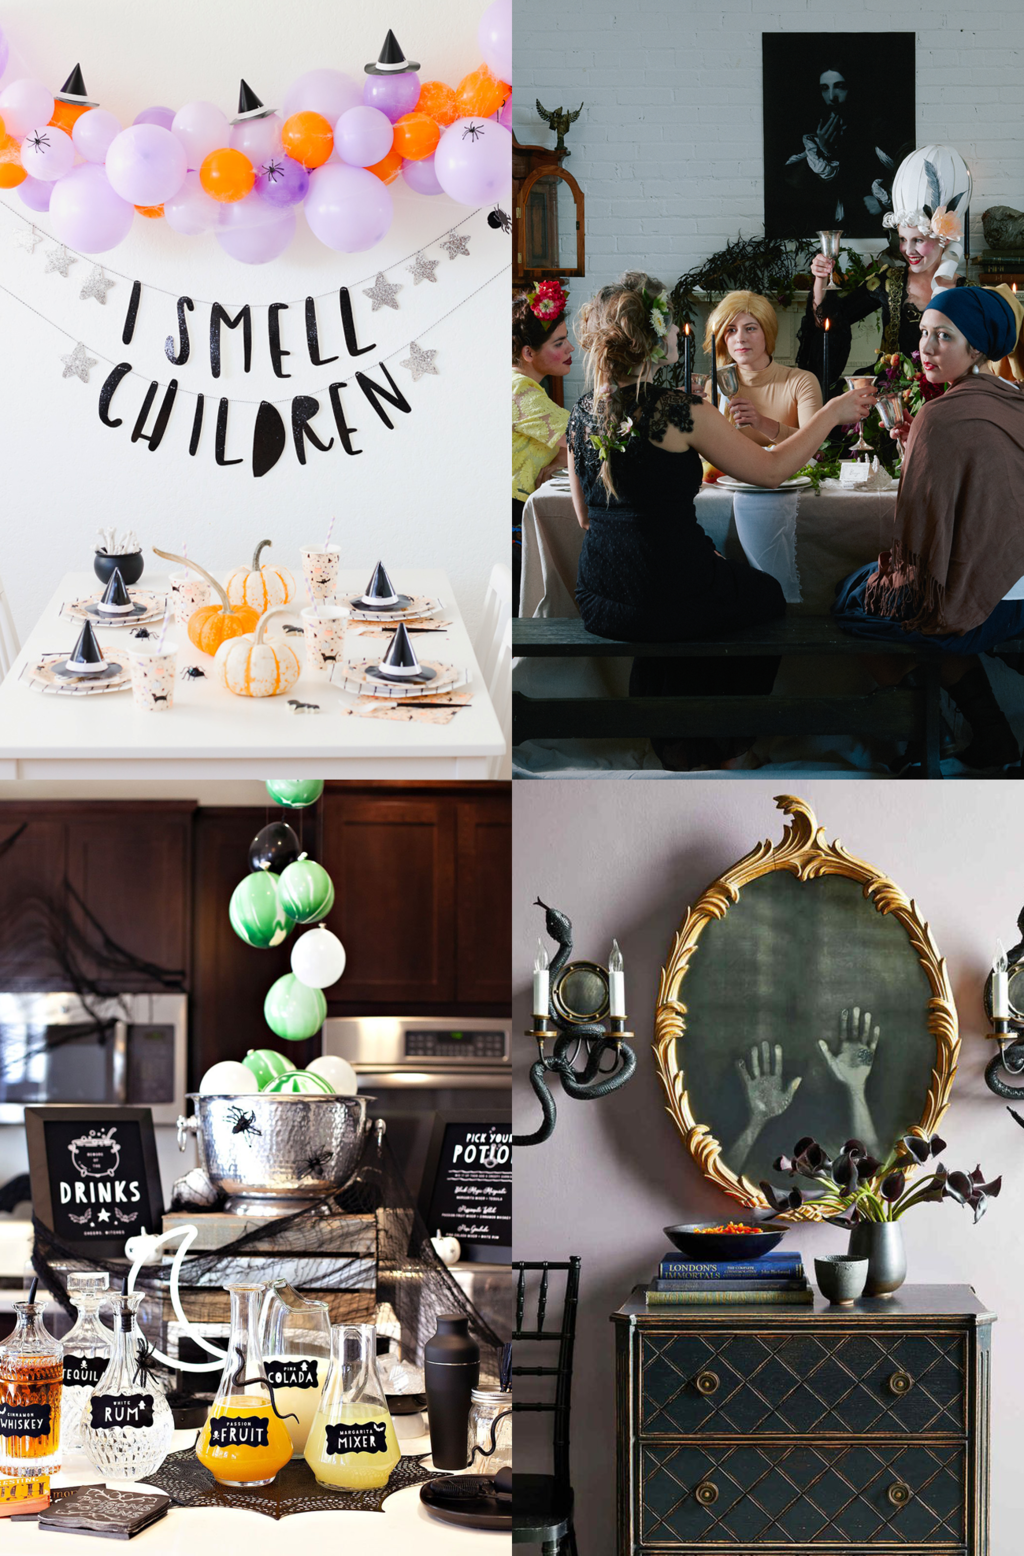
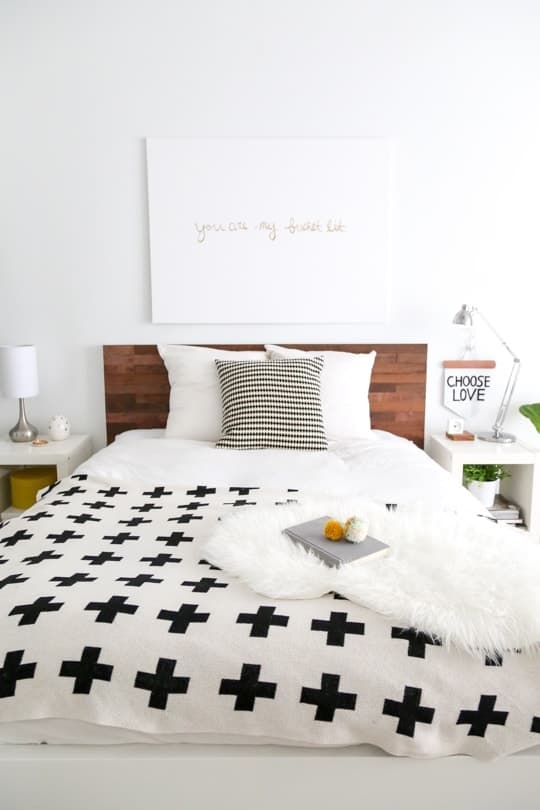
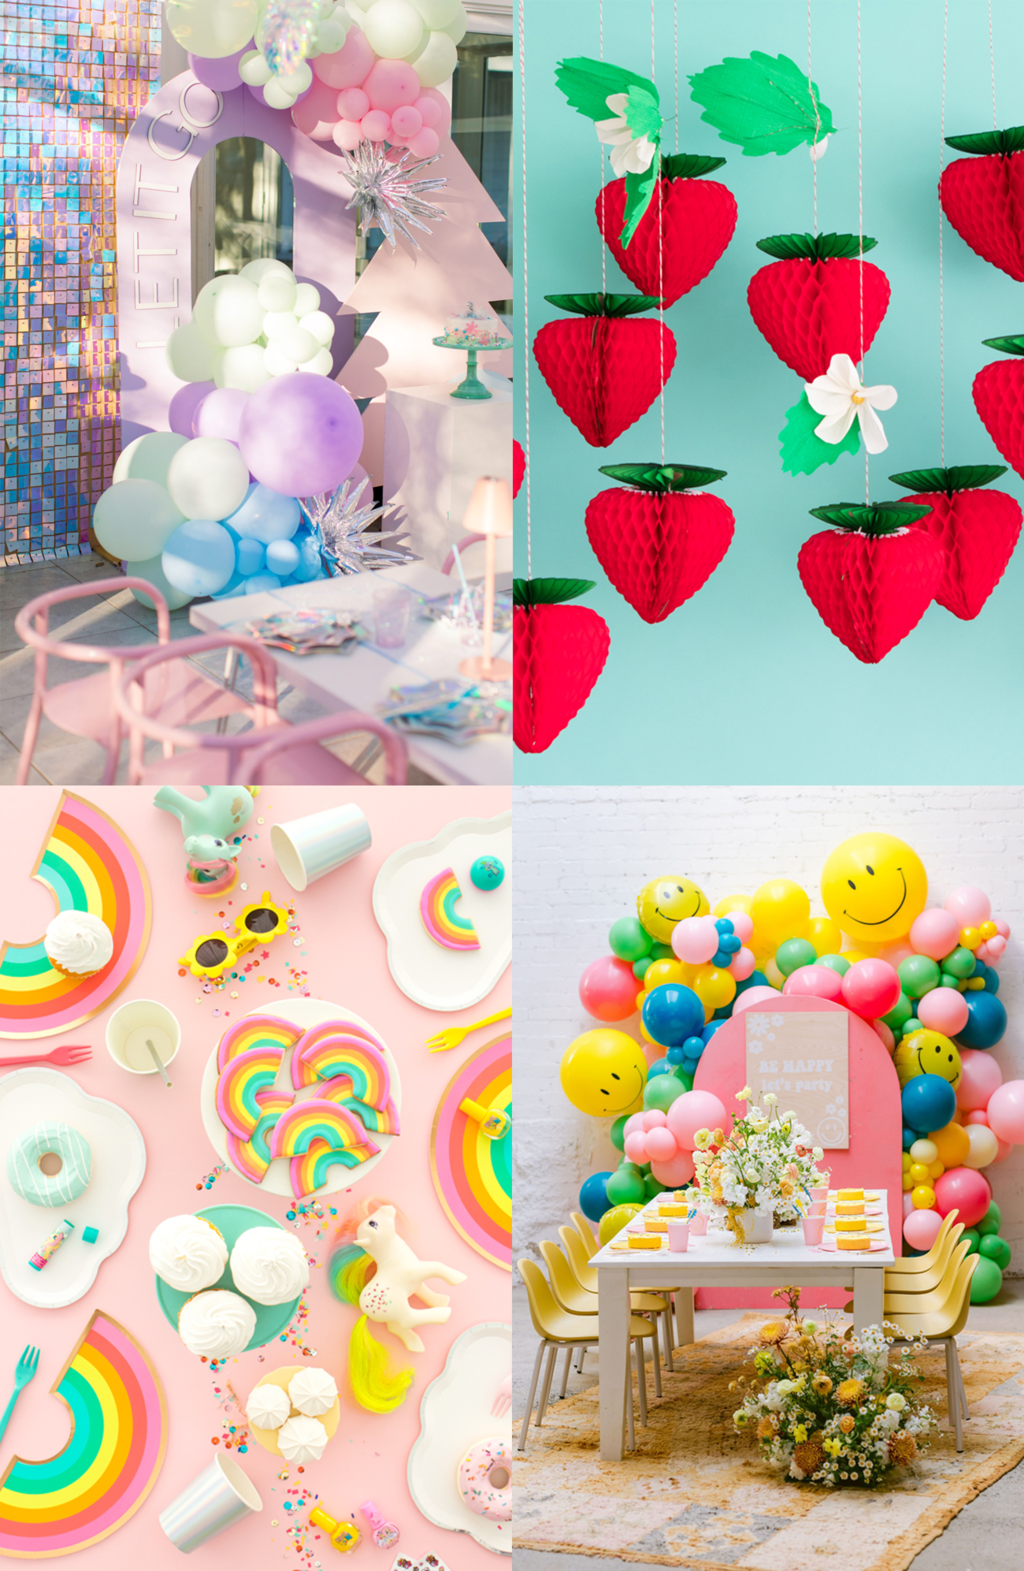
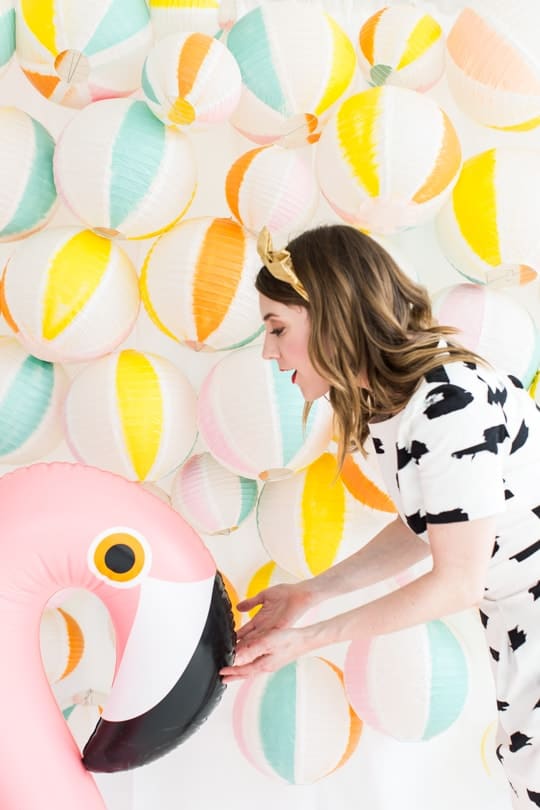
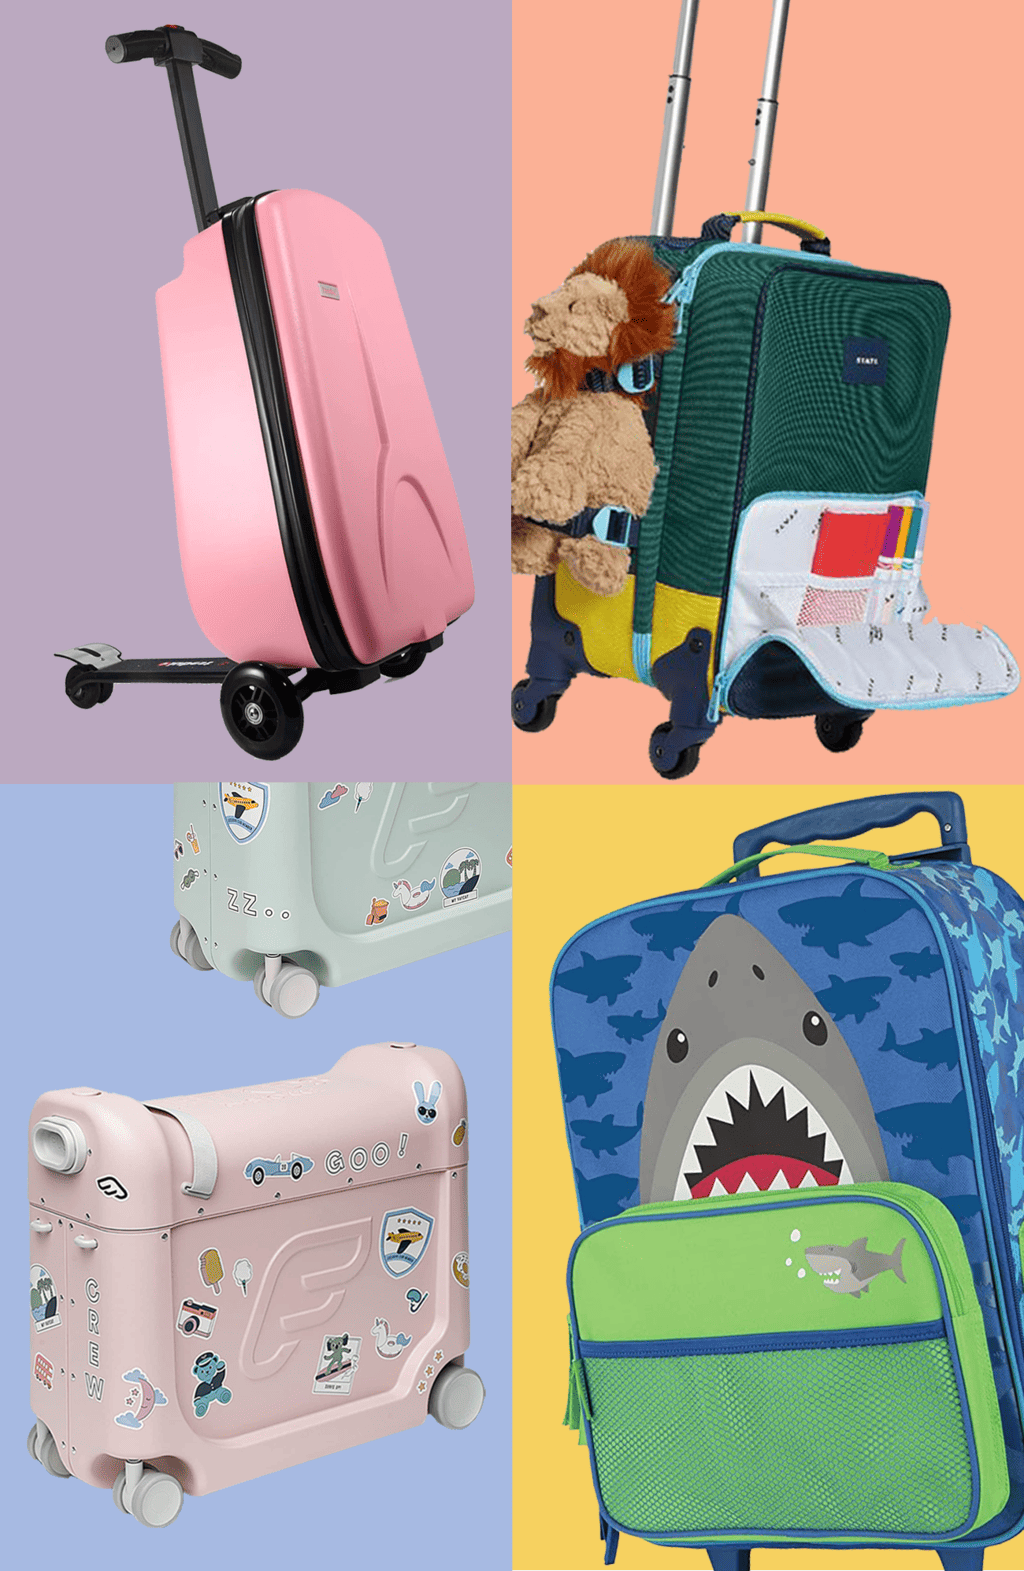
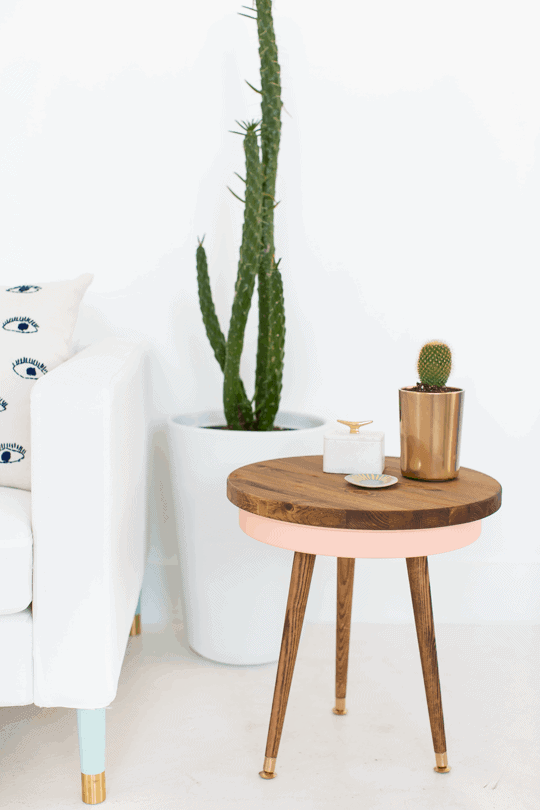
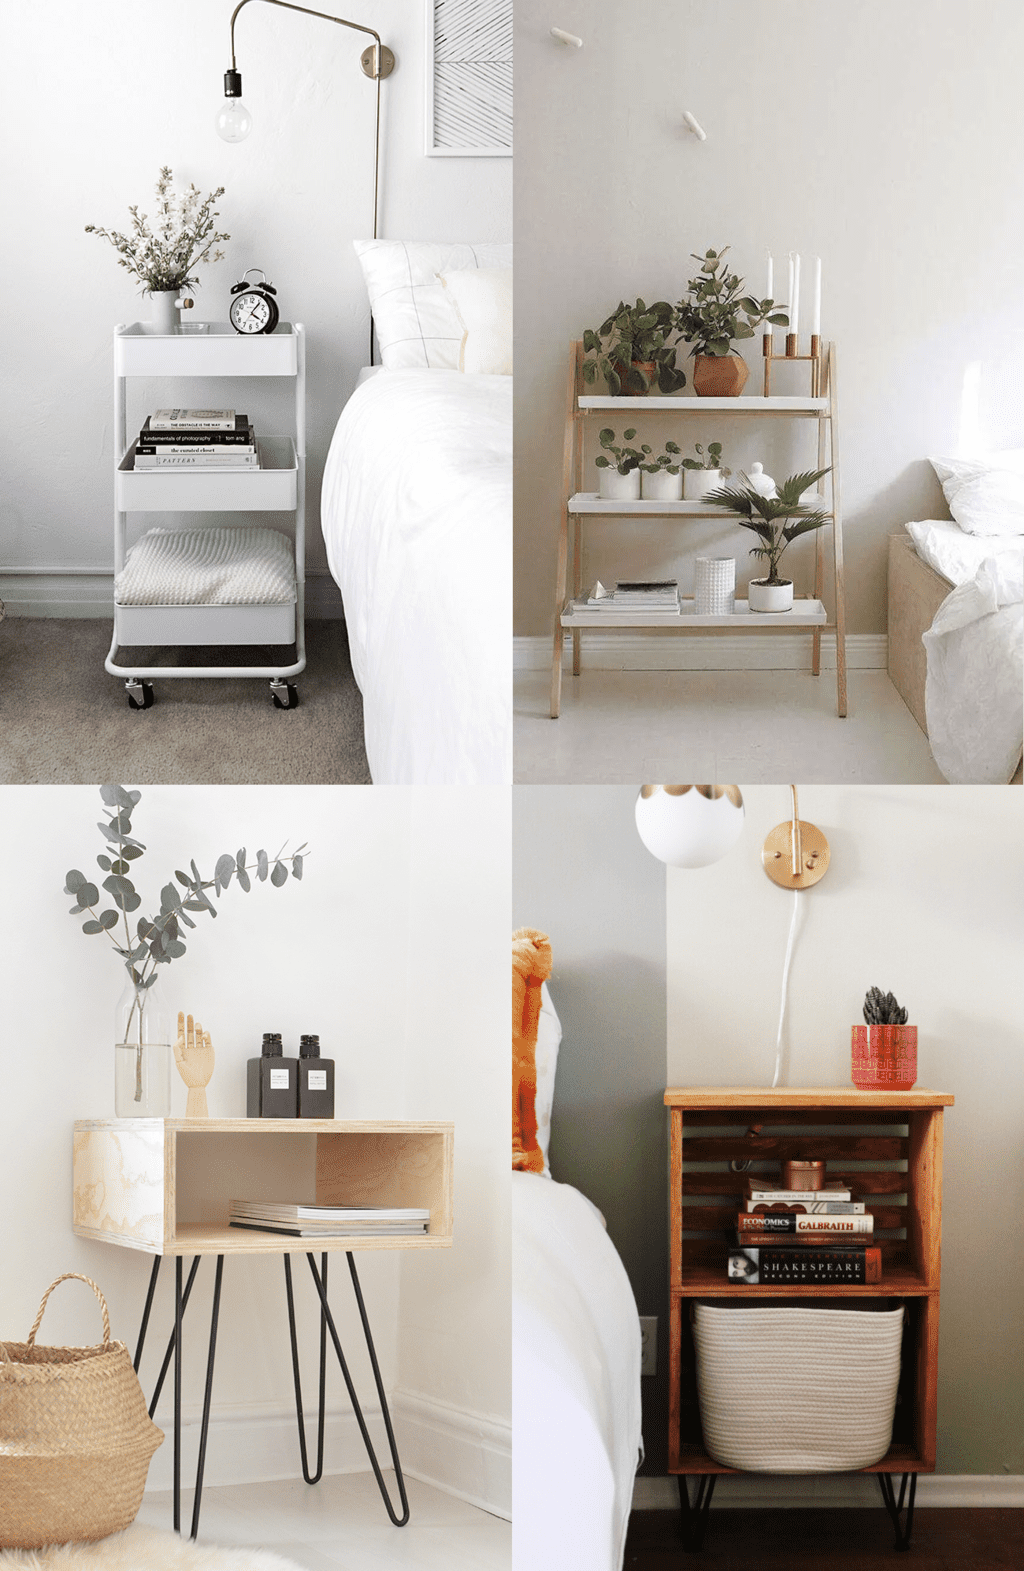
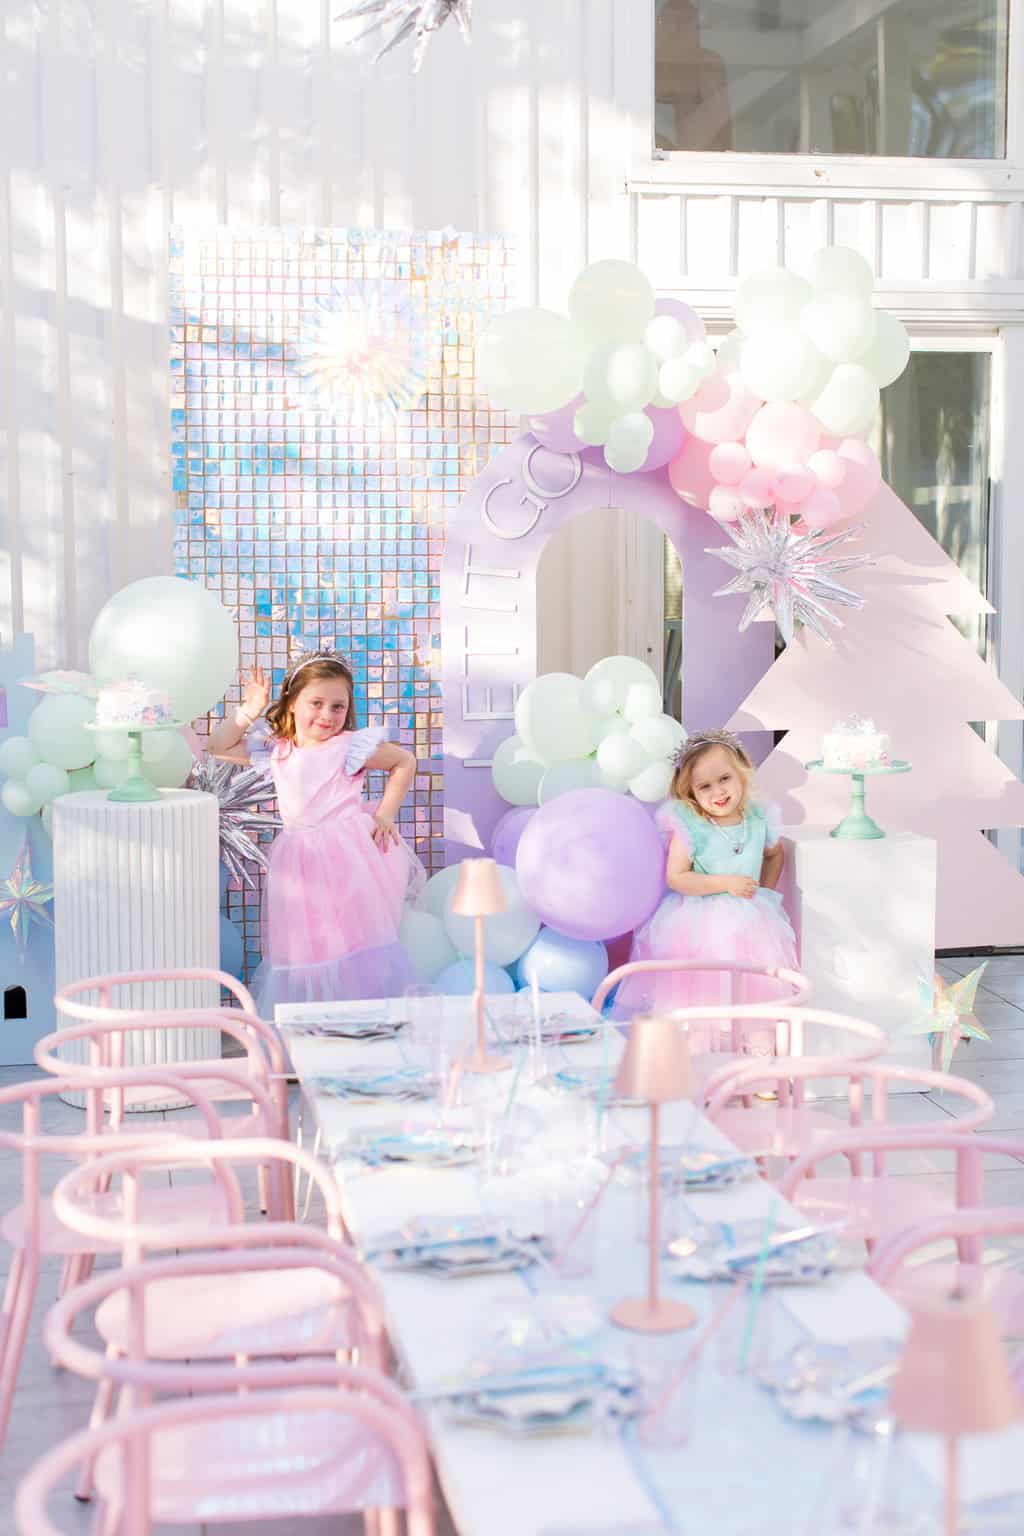
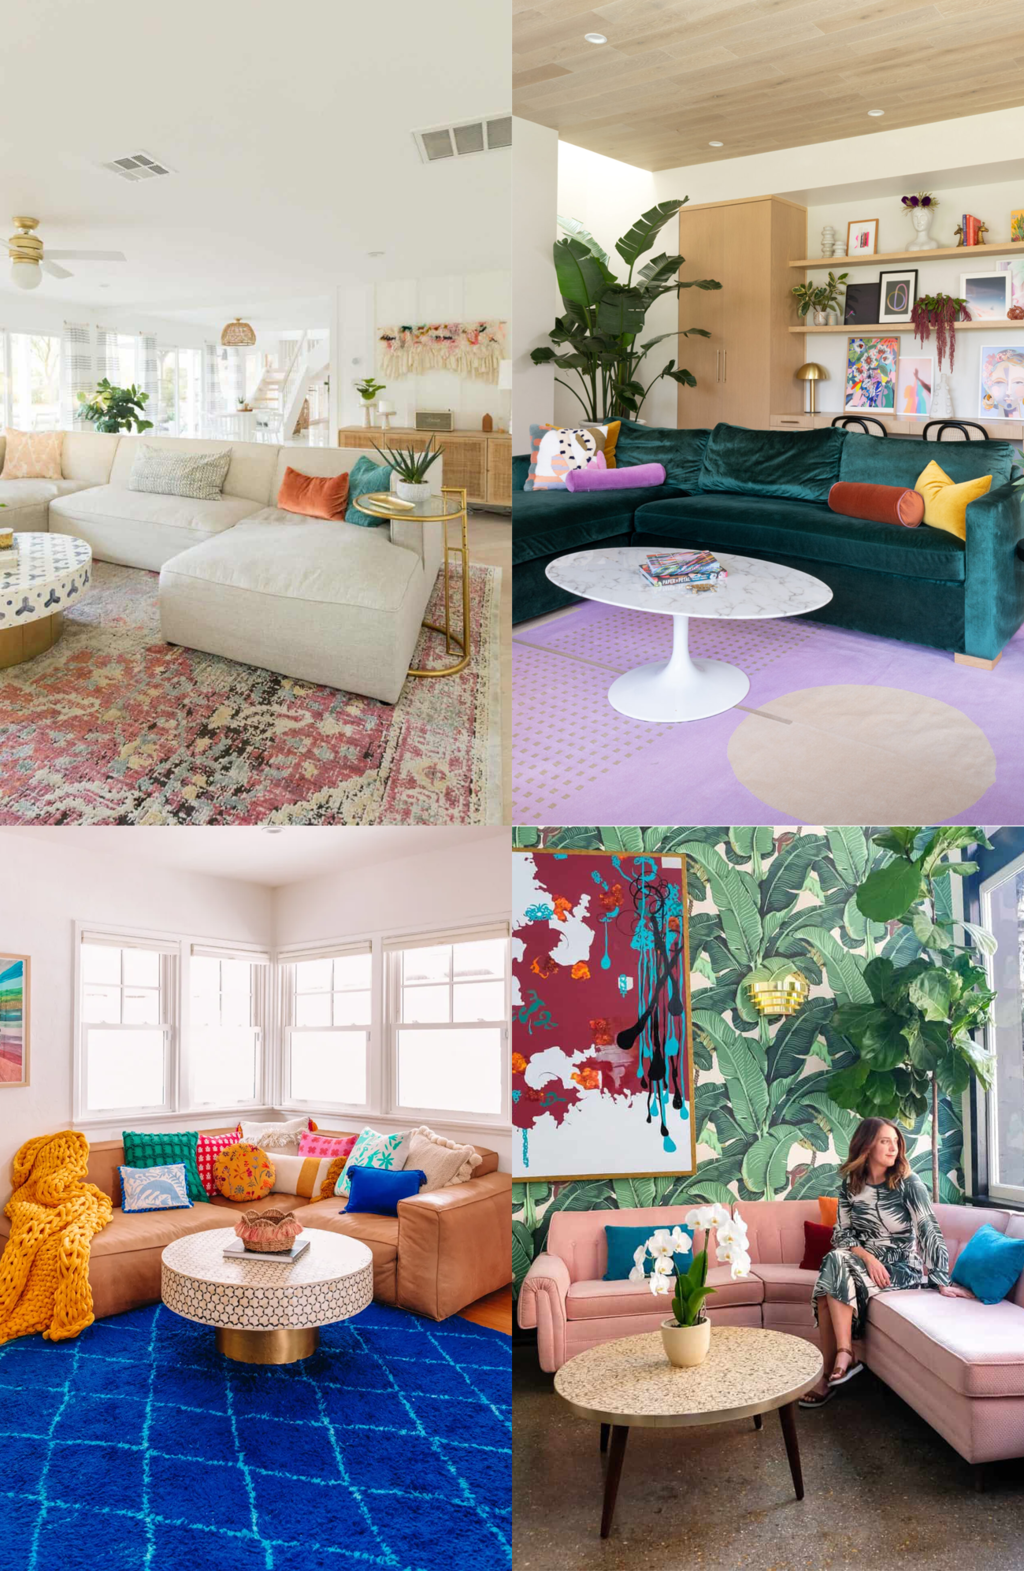
DIY // Hanging Diamond Decor

June 5th, 2013 § 13 comments § permalink

DIY hanging diamond decor by contributor Kathleen
project, photos, and tutorial contributed by Kathleen of Snowdrop & Co.

Now that June is upon us, it’s beginning to really feel like summer. These hanging diamond ornaments are a great way to offset that summer heat – don’t they remind you of ice cubes floating mid-air? Plus, with all the diamond-shaped products out there these days wouldn’t it be a blast to throw an icy cool diamond party this summer? I hope you won’t forget to send Sugar & Cloth an invitation!

These DIY metallic diamonds are fun to hang as an overhead table centrepiece or for photo backdrops, but you could easily leave off the string for modern tabletop décor.

Materials:

  • Box of straws
  • Silver muffler tape (available at hardware stores and some dollar stores)
  • Washi/masking tape
  • Wooden skewer
  • Cotton string
  • Scissors
  • Measuring tape
  • Additional string/thread if desired (for hanging completed diamonds)

DIY hanging diamond decor

Step 1: Cut your straws to the desired lengths. The step-by-step photos for this tutorial show the largest of the three diamonds pictured. The lengths of the straws used are:

  • six 7 1/2″ straws (long)
  • six 5 3/4″ straws (medium)
  • twelve 3 3/4″ straws (short)

If you want to replicate the other diamonds in the photo, the medium five-sided diamond used:

  • five 6 1/4″ straws
  • five 5 1/2″ straws
  • ten 3 1/2″ straws

And the smallest five-sided diamond used:

  • five 4 1/2″ straws
  • five 3 1/4″ straws
  • five 2 1/2″ straws
  • five 1 3/4″ straws

You can always play around with straw lengths and make whatever size best suits your space.

Step 2: Cut pieces of muffler tape in corresponding lengths to the straws. Because the tape is so wide, cut each piece length-wise; therefore one 6″ piece of muffler tape will cover two 6″ straws. It isn’t a bad idea to cut the tape a tiny bit longer than your straws – you can trim the excess later.

To cover the straws, the best way to ensure a wrinkle-free covering is to carefully peel off the tape backing, lay the tape flat on your work surface, place the straw along one edge of the tape, and then roll forward smoothing the tape as you go. If you have excess tape extending past the end of the straw, trim it off.

DIY hanging diamond decor

Step 3: Time to connect the straws! Tape the end of your string close to the pointy end of your wooden skewer – this will be used as a needle to make threading the straws easier. Slide two long and one medium straw onto the string. Pull the string taught so that the straws form a triangle and tie a double knot where the two straws meet. Cut off excess thread.

Step 4: “Rethread” your needle if necessary. To create the next five sides, simply slide the needle through one of the long straws on the existing triangle (leaving a few inches of thread to tie off with) and add another long and medium straw; tie off as before. Repeat, rethreading as needed. For the sixth side, slide the skewer through the two long straws and add the final medium straw; tie off. You should now have a six-sided pyramid.

Step 5: To add the upper trapezoidal facets, slide the needle through one of the medium straws on the pyramid and add three short straws. Pull tight and tie off. Slide the skewer through the next medium straw, the adjacent short straw, and add two short straws; tie off. Continue to add facets in this way, two short straws at a time, tying off after each new facet. For the last facet, slide through the short, medium, and short straws, and then add the final short straw. Tie off.

Step 6: To tidy up the diamonds, use the skewer to push any knots visible at the intersections into the length of the straw.

Step 7: If you want to use the diamonds as tabletop decor, then you’re done! If you would prefer to hang them, use string (silver cord is pictured, but you can use clear thread or whatever you like) and tie 6″ pieces to the exposed strings at the top intersections of the diamond. Tie these six strings together, and then tie a long piece of string onto this knot. Tape the string to your ceiling and trim any excess string.

DIY hanging diamond decor from contributor kathleen

If hung in direct sunlight the diamonds reflect onto nearby walls, disco ball style. In lower light they can make gorgeous shadows if hung near a wall.

kathleen of snowdrop and company

project and photos contributed by Kathleen of Snowdrop & Co.


Share

DIY // Golden Charm Necklace

May 31st, 2013 § 7 comments § permalink

DIY golden charm necklace @ms_living #12monthsofmartha

I’m always a sucker for long necklaces. They’re just so easy to throw on with almost anything, and the long length makes me feel not too put together. I say all of this like I know what’s going on in the real fashion world (as opposed to my little bubble), but what I do know for sure is that I pretty much love the new golden charms and enamels from the Martha Stewart jewelry line.

This DIY golden charm necklace is super simple to make, plus you could easily skip the long chain and throw them on a golden loop ring for drink charms or key-rings, too!

Materials:

  • Golden charms by Martha Stewart (at Michael’s)
  • Golden chain necklace
  • Gold jump rings
  • Chain nose pliers by Martha Stewart

DIY golden charm necklace @ms_living #12monthsofmarthaDIY golden charm necklace @ms_living #12monthsofmarthaThis necklace is literally as simple as attaching your charms to the jump rings, and slipping them onto your necklace chain. Easy to do, but packs a big punch!

DIY golden charm necklace @ms_living #12monthsofmarthaDIY golden charm necklace @ms_living #12monthsofmartha

Share

Buy or DIY // 5 Scalloped items you wish you had.

May 30th, 2013 § 5 comments § permalink

buy or DIY, five scalloped items you wish you had

I realize not everyone will actually DIY, so I decided to start a new column that’s the best of both worlds to give you the option to buy or DIY (yes, I rhyme.) Now for other important measures…

Without a doubt, polka dots are one of my favorite things of all time. I really can’t think of anything that wouldn’t be cuter with a few polka dots, but if I had to pick a second favorite, it would be anything that’s scalloped. To help you add a few scalloped items to your collections, here are five products and inspirations for you to buy or DIY.

Succulent planter kit by Oh No Rachio // DIY scalloped cut-off shorts // DIY scalloped candle holders // Scalloped cupcake side table by Loyal Loot // Chloe mint green scalloped ballerina flats

Share

DIY // Pool Noodle Garland

May 24th, 2013 § 13 comments § permalink

DIY pool noodle garland

I, Kathleen, don’t know about you, but once the summer beach toys start popping up in stores, I can’t help but be sucked right in. It’s silly because I don’t have a pool or live near the beach, but somehow I’m able to ignore that fact and browse for ages anyway.

This DIY pool noodle garland is a super simple way to add some summery fun to your next party or barbeque. And don’t worry: no pool, no problem!

Materials:

  • 3 different colored pool noodles*
  • String
  • Exacto knife
  • Cutting mat

*Note: I’ve found that if you’re looking for noodles that are in the same color family, you might have to visit a few different stores to choose from different pool noodle brands. If shopping around, it’s a good idea to cut a thin slice off of each noodle you’ve purchase to bring along – I’ll admit that I did get a few funny looks comparing noodles!

DIY pool noodle garland

With the blade of your exacto knife fully extended, cut your noodles into ½” slices using the lines on your cutting mat as a guide.

Depending on how long you want your finished garland to be, continue to cut the pool noodles until you have enough. The garland pictured used a half of each of the three noodles.

DIY pool noodle garland

Feed the noodles onto the string.

Tie a noodle slice at each end of the garland to prevent the noodles from sliding off while you hang it. If hanging from the ceiling or wall, you can simply tape this noodle to the surface as well or if it’s a visual distraction cut it off once the garland is secured.

And there you have it – a fun alternative use for pool noodles this summer!

And there you have it – a fun alternative use for pool noodles this summer!


kathleen of snowdrop and company

project and photos contributed by Kathleen of Snowdrop & Co.

Share

DIY // Distressed Wooden Shelves

May 22nd, 2013 § 9 comments § permalink

DIY distressed wood shelves

I think we can all agree on our mutual obsession with distressed wood these days. Unfortunately, buying reclaimed wood has about as much competition as the last cupcake at at a kid’s party (or mine..), and the dollar signs to go with it. So, I made my own DIY version, and you almost can’t tell the difference!

Simple to make with just a few supplies, you can find my full tutorial on DIY distressed wooden shelves, here, on the Ikea blog.

DIY distressed wood shelves

DIY distressed wooden shelves

Share

Where Am I?

You are currently browsing the DIY category at Sugar & Cloth.

  • about ashley
  • Twitter Bloglovin Facebook Instagram Pinterest
  • DIY column
  • eats column
  • sugar and cloth on instagram
  • PARTNERS
  • OLD NEWS