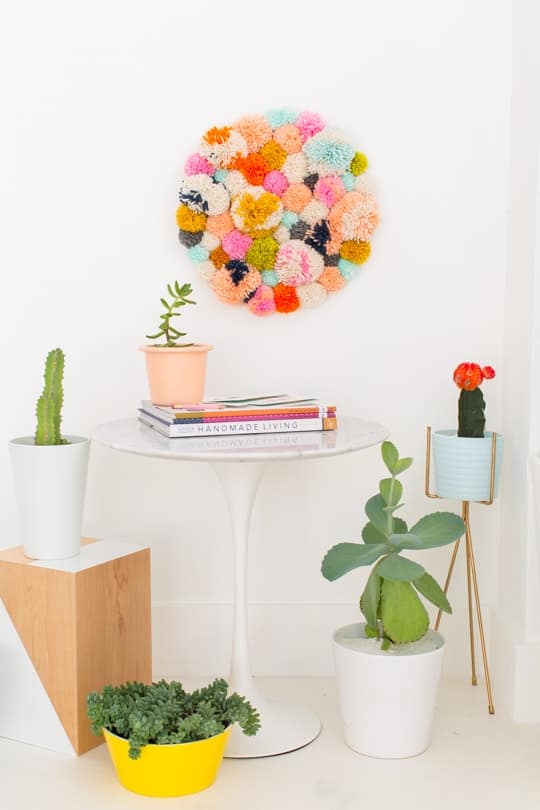
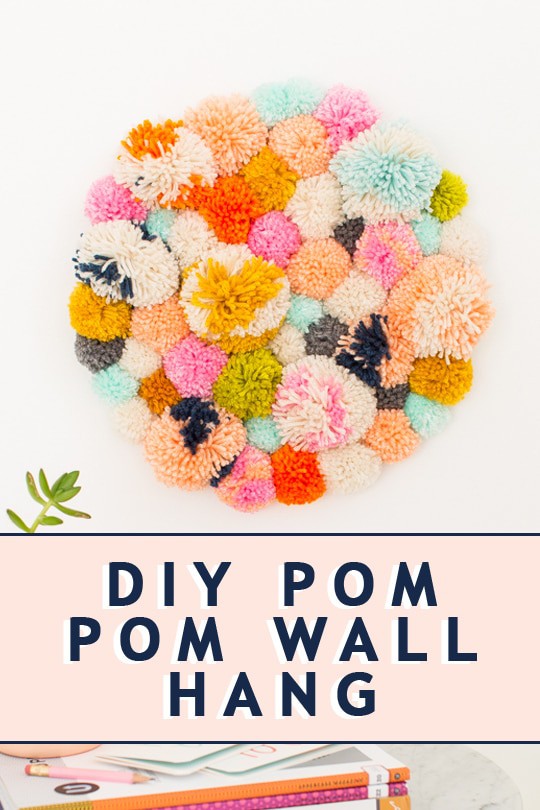
DIY Pom Pom Wall Hanging
DIY Pom Pom Wall Hang — For those of us that don’t have the knack for woven versions, let me introduce you to this cute little DIY pom pom wall hanging instead!
I’ve wanted one of the woven wall hangs that are popping up everywhere forever, but the honest truth is I can’t really swing purchasing wall art in that price range at the moment.
I’m also 120% positive that I don’t have the attention span for learning how to weave one, so I decided to make my own version of a wooly (that’s a technical word right?) wall piece myself with this DIY pom pom wall hanging.
Lucky for me I happen to be dating a guy that loves to help, and he reallllly loves to make pom poms (it’s true, he says it’s relaxing), so this turned out to be a not-so-time consuming project, but you can also purchase pre made poms on Etsy too!
While you’re saving yourself all kinds of pom pom making time you can now be pondering what Jared is going to look like in thirty years with knitting gear in hand, cause clearly that’s where he’s headed (love you, babe!)…
Materials Needed To Make A Yarn Pom Pom Wall Hanging DIY
Yarn pom poms — You can buy them pre-made or make your own with a pom pom maker.
How To Make A Pom Pom Wall Hang
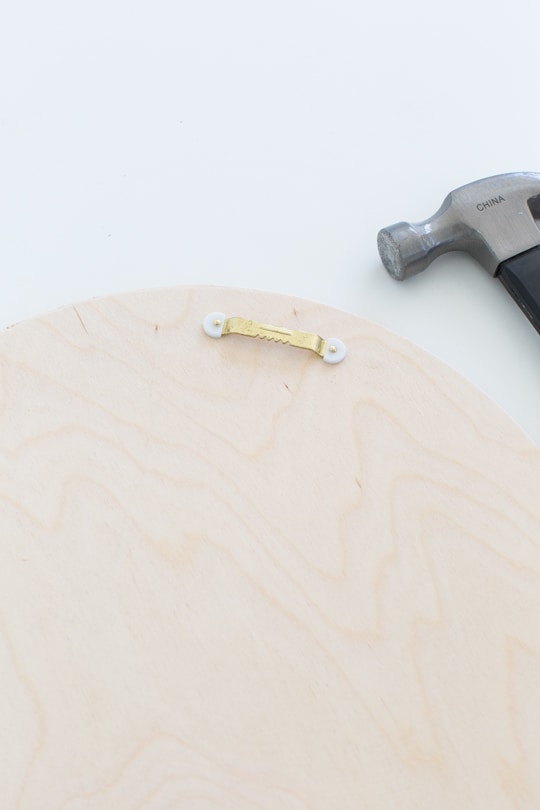
Step 1 – First, attach the picture hanger to the back of the wooden round.
Depending on how thick the wood is, the nails might actually be a bit longer than the wood and so will stick out on the other side, but no worries!
You’ll be gluing the pom poms to the from anyways, so it won’t be noticeable or hazardous once you’re finished.
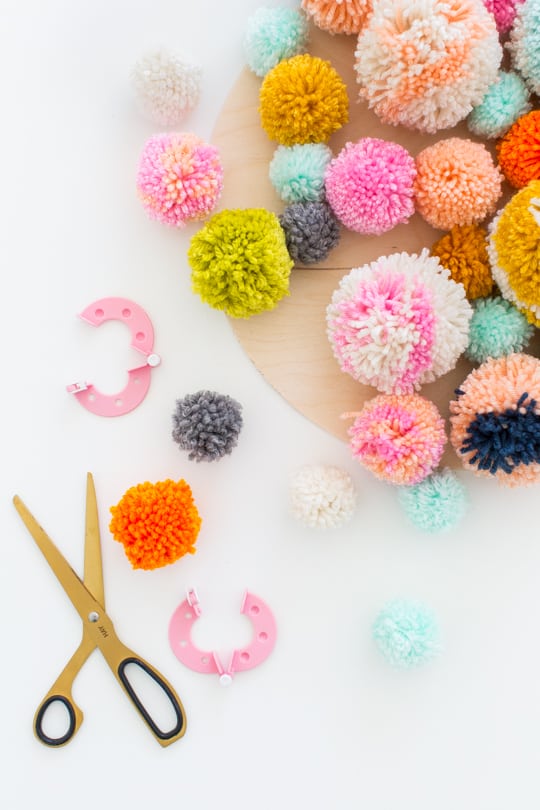
Step 2 – Next, get a general layout of where your pom poms will be placed on the wood, because once you hot glue them down, they aren’t coming off!
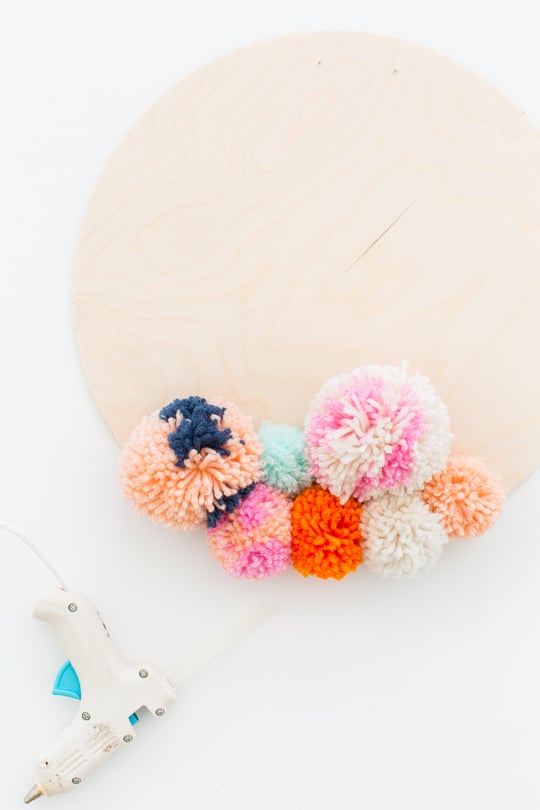
Step 3 – Now that you have a good idea of placement, start hot gluing them into place one by one by and applying a generous amount of glue on the wood in a given area so that they aren’t hanging on by a single thread.
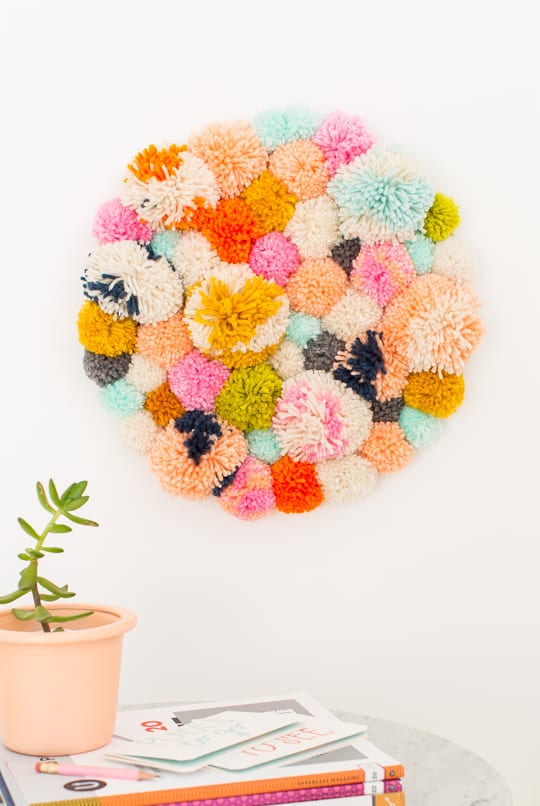
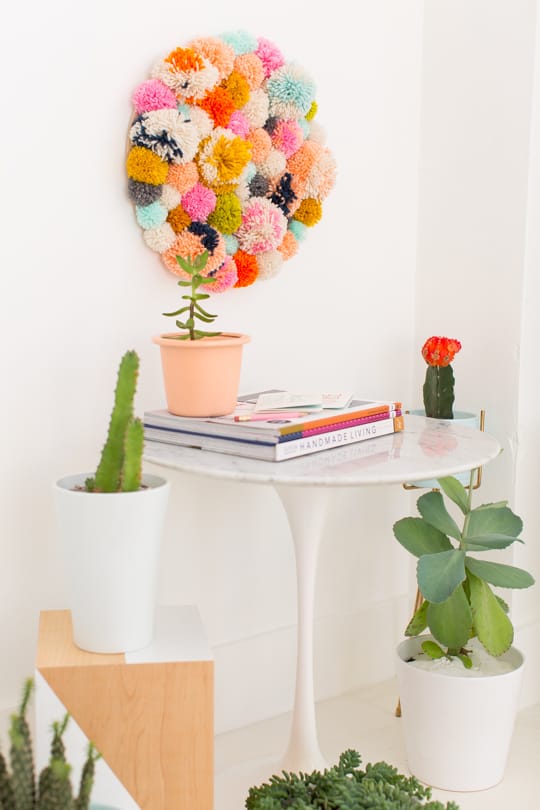
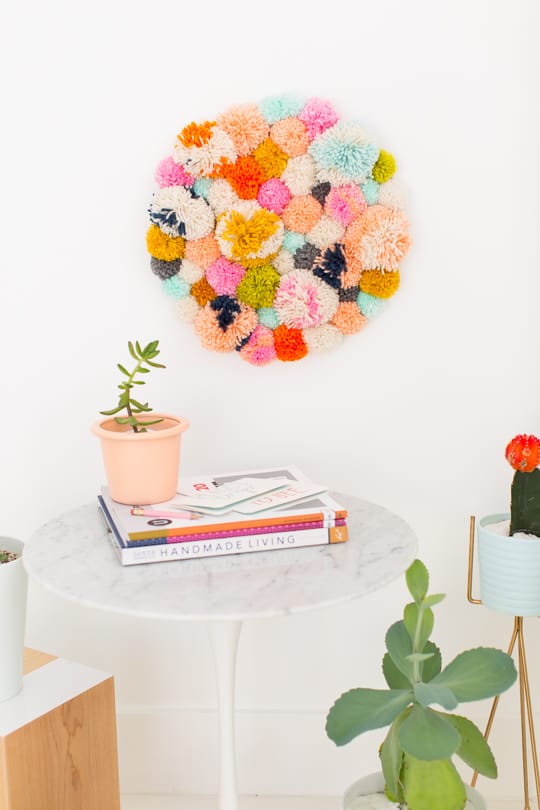
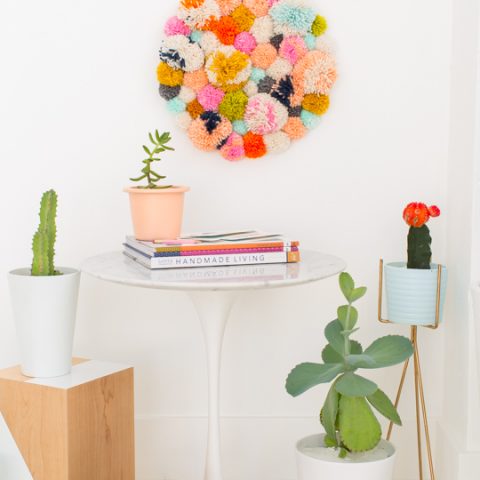
Finish adhering them until the wood round is fully covered, and you’re all set. Now just to style and hang!
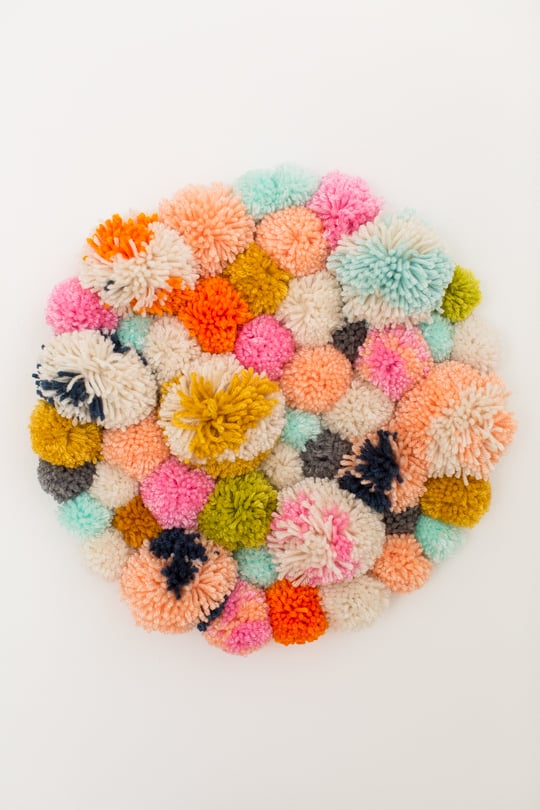
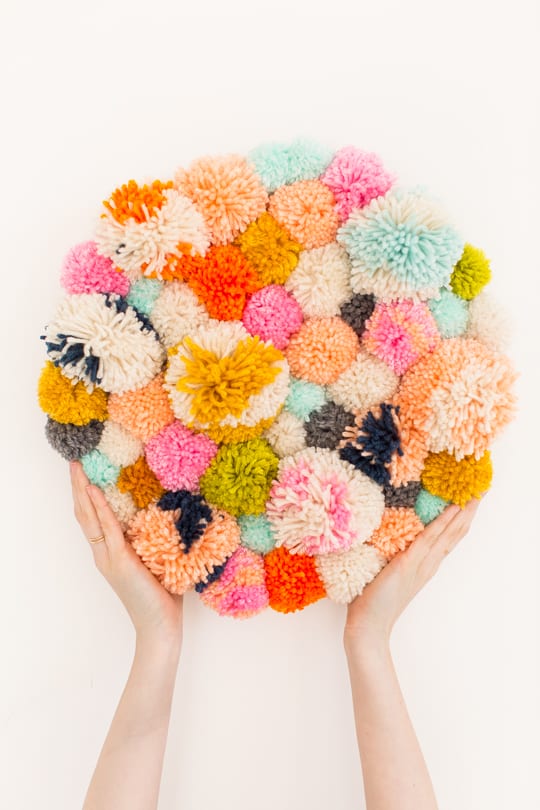
I went with the “whatever goes” color palette, and yes, I’ve been wondering when Pantone is going to officially announce that as a color option, too.
You can always go with more neutral colors or a different shape besides a round wooden piece!
Think you’ll be making one of these fluffy guys this weekend?! Be sure to tag #mysugarandcloth so we can see what you come up with for your DIY Pom Pom Wall Hanging!
Related posts:
- DIY Pom Pom Christmas Tree Idea
- Colorful DIY Fabric Wall Hanging
- DIY Pom Pom Tassel Circle Pool Bag
- DIY Pom Pom Leather Luggage Tags
Equipment
- Hot glue and glue sticks
Materials
- Wood round
- Picture hanger
- Yarn pom poms You can buy them pre-made or make your own with a pom pom maker.
Notes
- You can always go with more neutral colors or a different shape besides a round wooden piece
Instructions
- Attach the picture hanger to the back of the wooden round.Depending on how thick the wood is, the nails might actually be a bit longer than the wood and so will stick out on the other side, but no worries!You’ll be gluing the pom poms to the from anyways, so it won’t be noticeable or hazardous once you’re finished.
- Get a general layout of where your pom poms will be placed on the wood, because once you hot glue them down, they aren’t coming off!
- Now that you have a good idea of placement, start hot gluing them into place one by one by and applying a generous amount of glue on the wood in a given area so that they aren’t hanging on by a single thread.Finish adhering them until the wood round is fully covered, and you’re all set. Now just to style and hang!

More Easy DIY's To Try
Please note that we may earn a commission for some of the above affiliate links. However, products featured are independently selected and personally well-loved by us!