Skip to content
About
CONTACT
Subscribe
Search for:
Search
Facebook
Instagram
Pinterest
TikTok
Gift Guides
Expand
For Her
For Him
For Kids
Just Because
For Special Occasions
Decor
Expand
Bedroom
Kids’ Room
Living Room
Office
Bathroom
Kitchen
Outdoors
Recipes
Expand
Cocktails
Expand
Shots
Gin
Rum & Brandy
Sparkling
Tequila
Vodka
Whiskey
Wine & Beer
Non Alcoholic Drinks
Dinner
Desserts
Expand
Cakes & Cupcakes
Cookies & Candy
Donuts
Ice Cream
Macarons
No Bake Desserts
Snacks & Appetizers
Healthy Bites
DIY Projects
Expand
Home Decor
Entertaining
Travel
Beauty & Style
Free Printables
Holidays
Expand
Mother’s Day
Father’s Day
Fourth of July
Game Day
Halloween
Thanksgiving
Christmas
Birthdays
Valentine’s Day
St. Patricks Day
Easter
Shop
Search
Toggle Menu
Cake
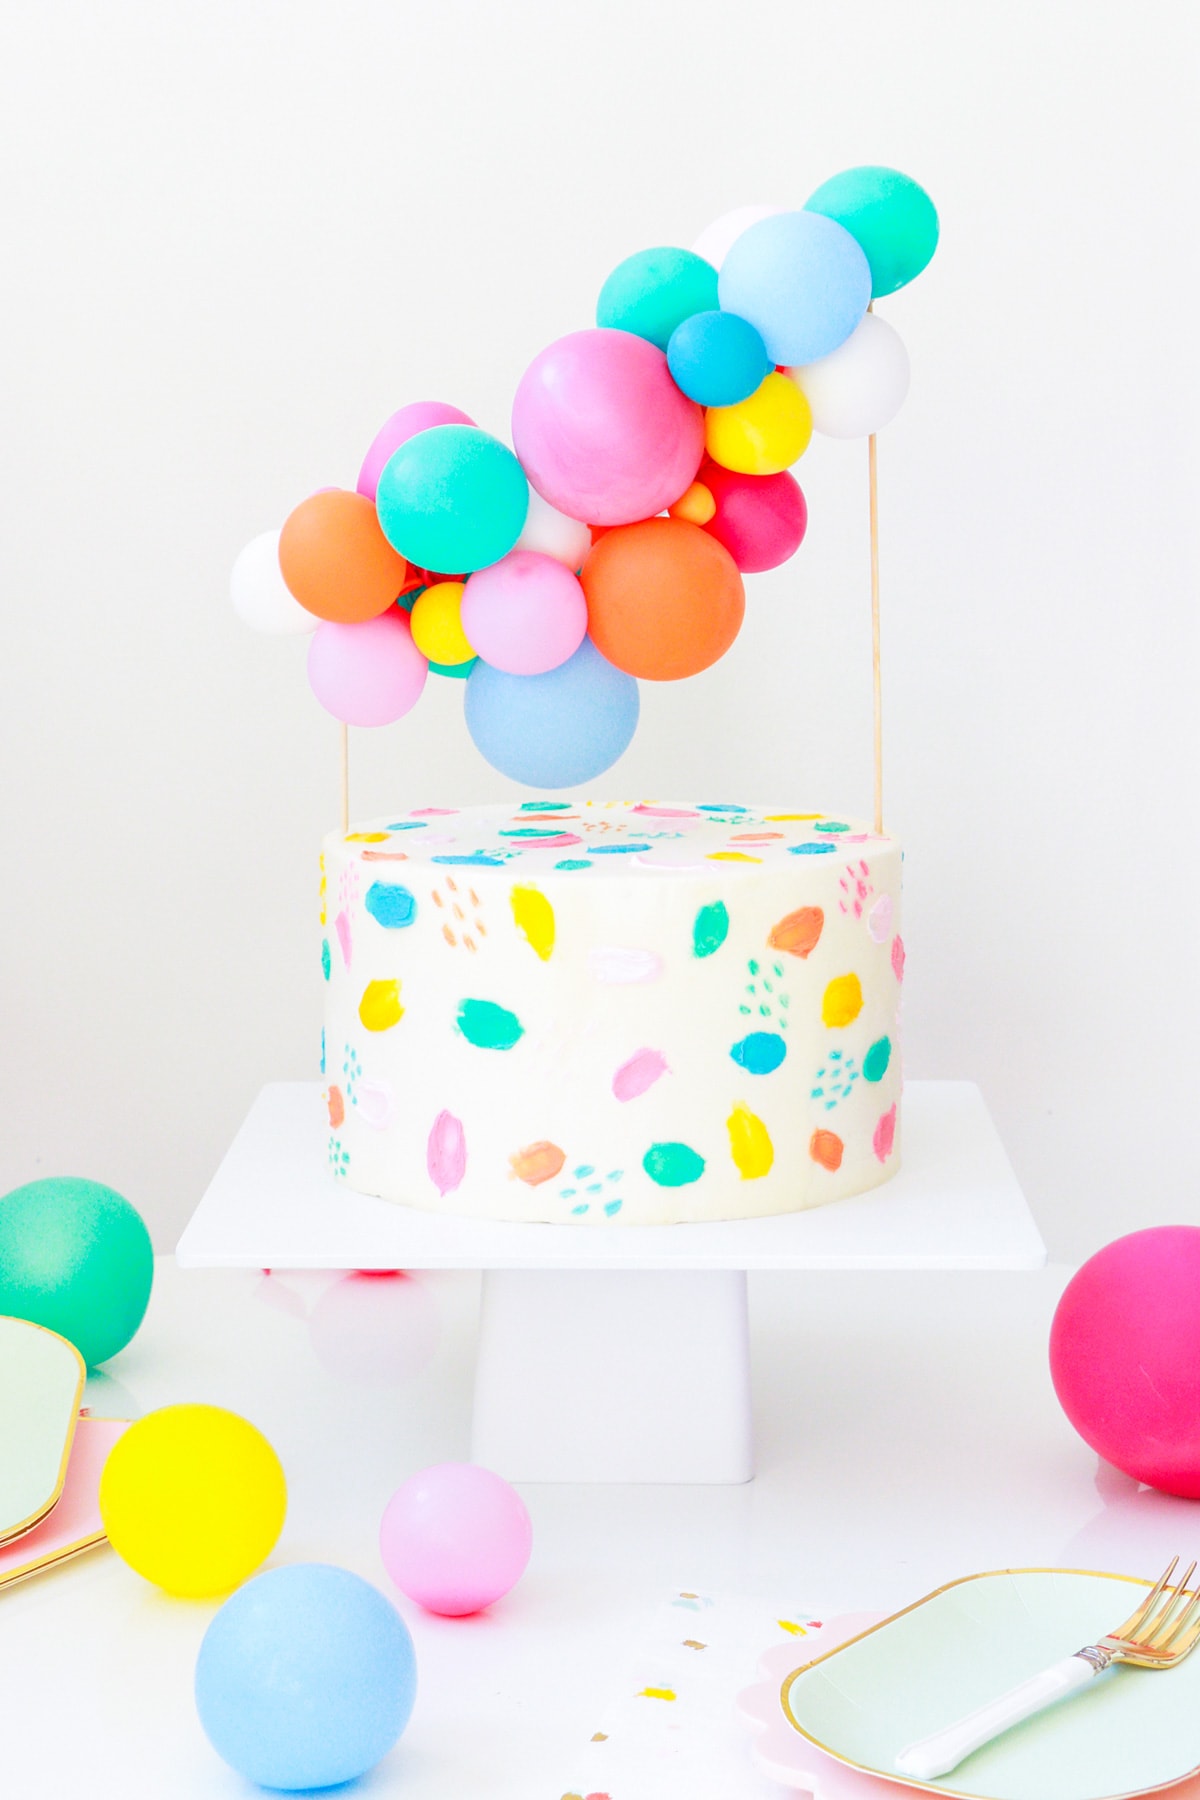
DIY Balloon Cake Topper & Cake Painting Tutorial
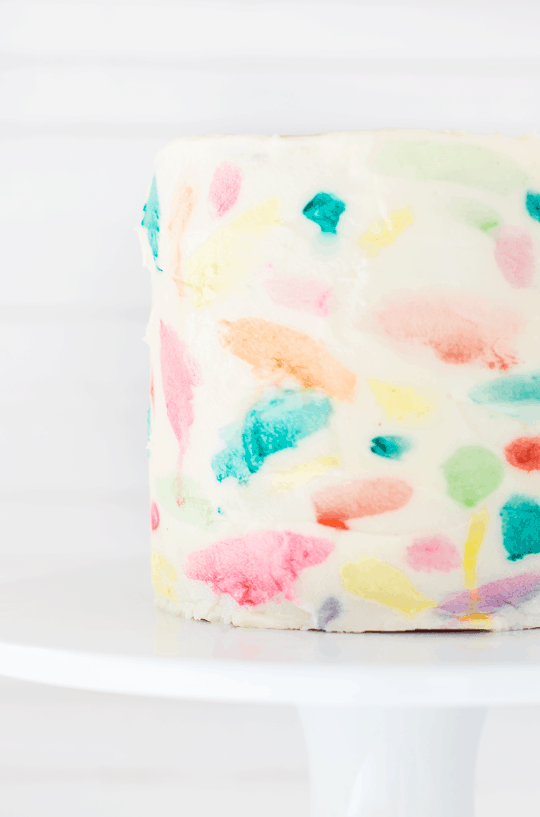
How to Make a Watercolor Cake
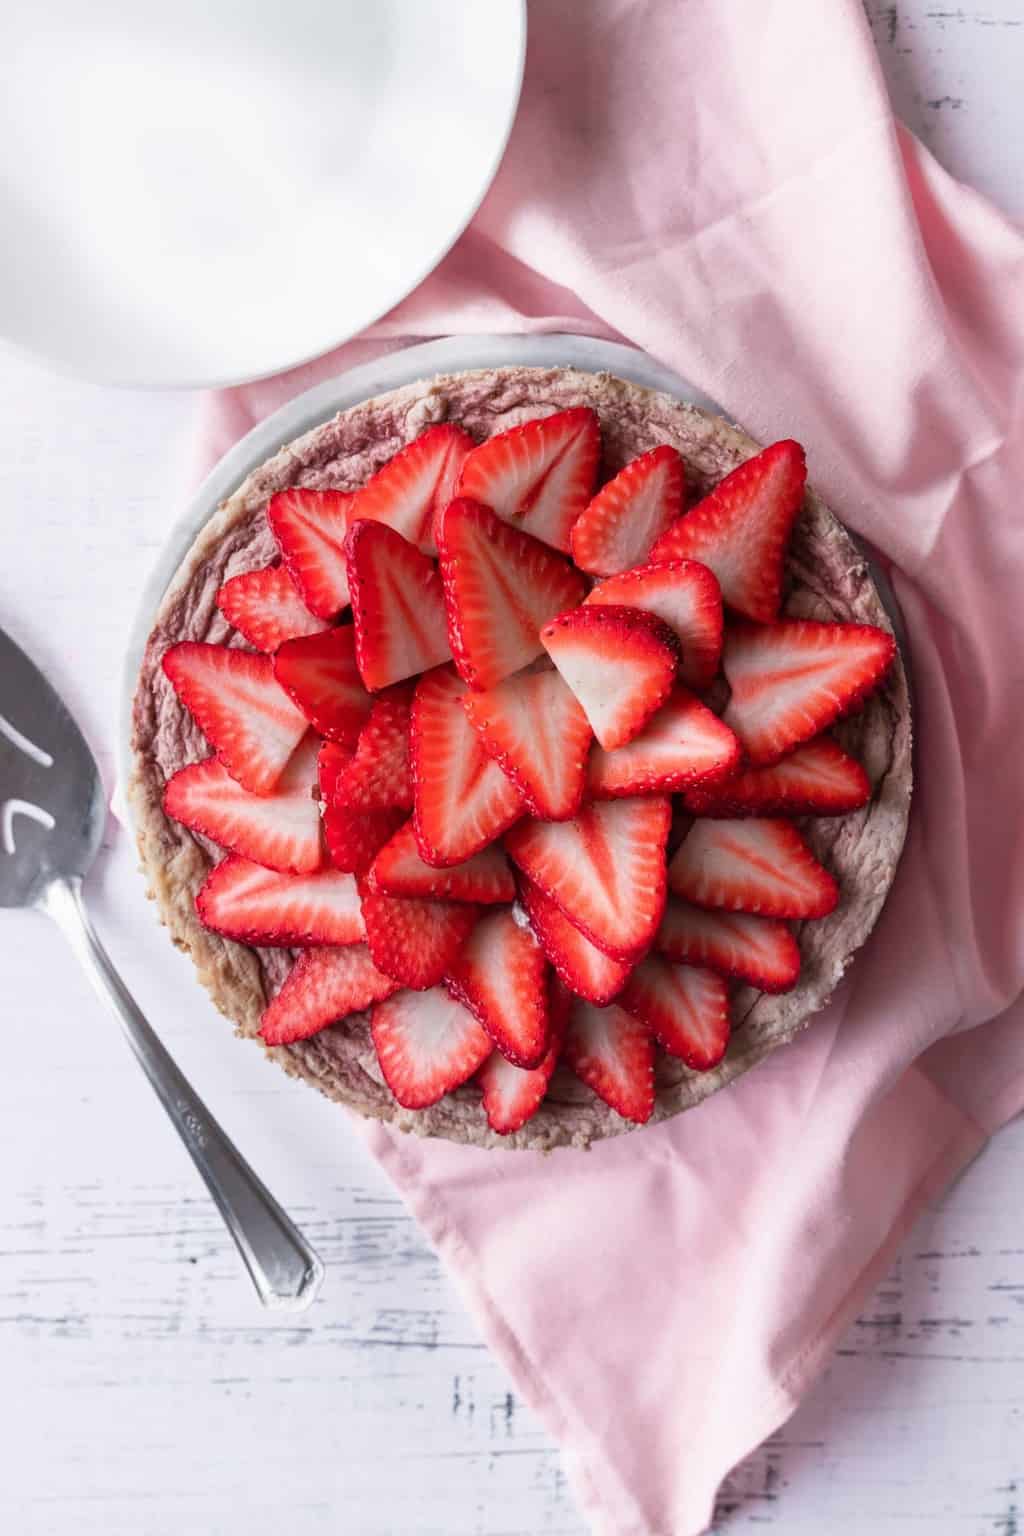
Keto Strawberry Cheesecake Recipe
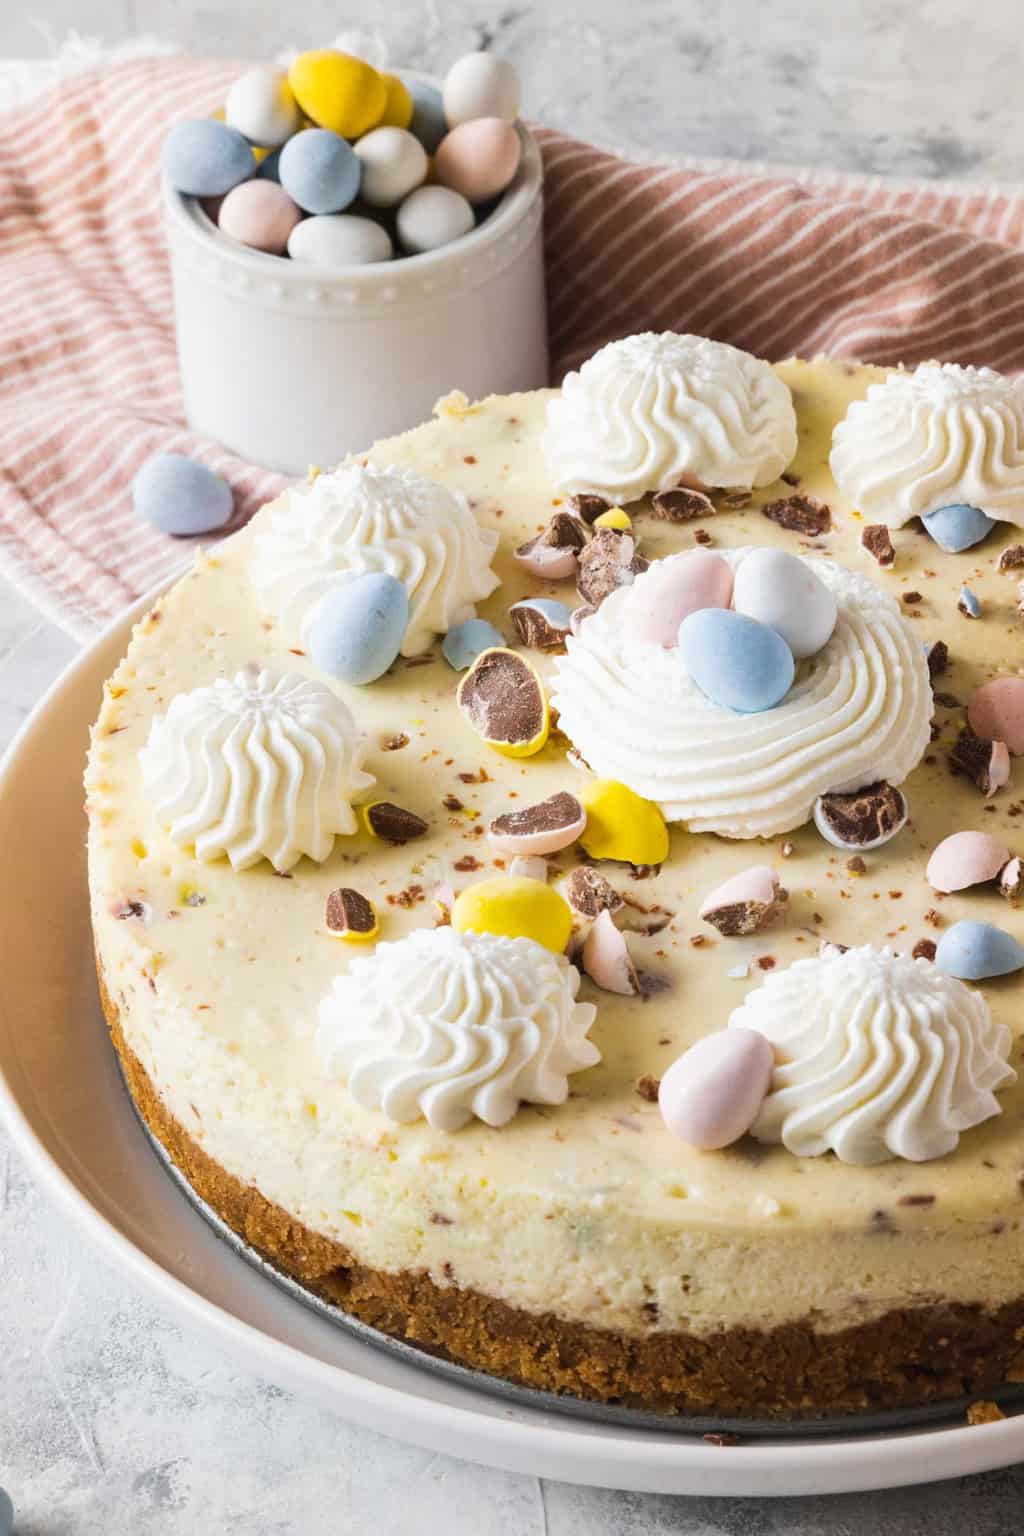
Easter Egg Cheesecake Recipe
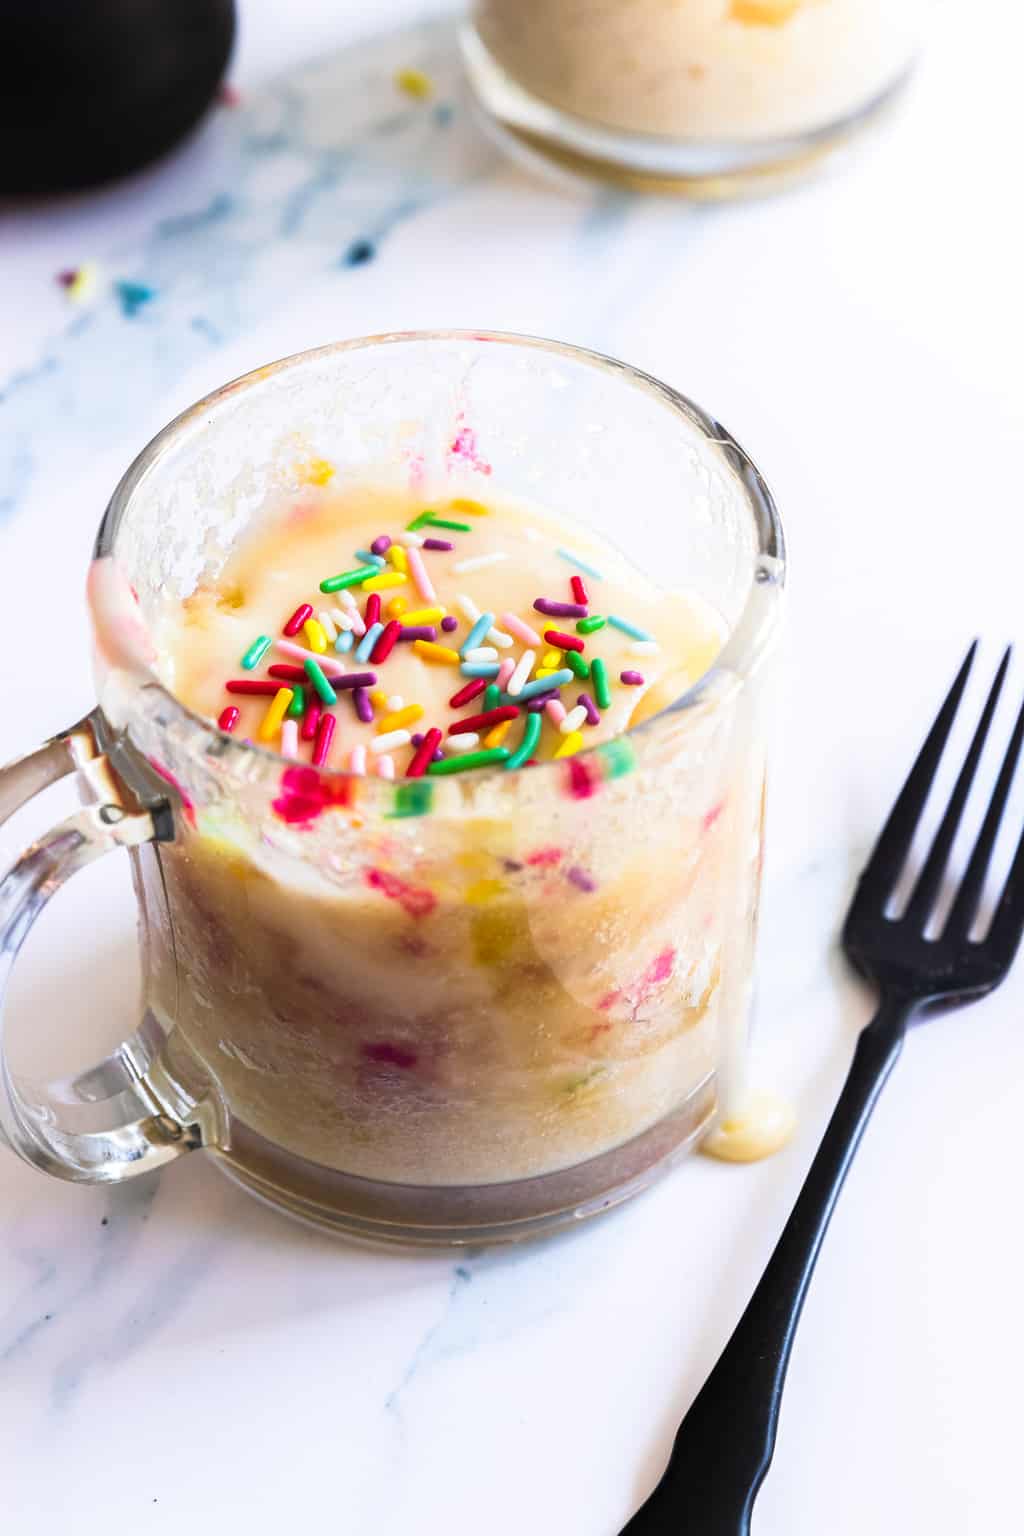
One Minute Microwave Mug Cake Recipe
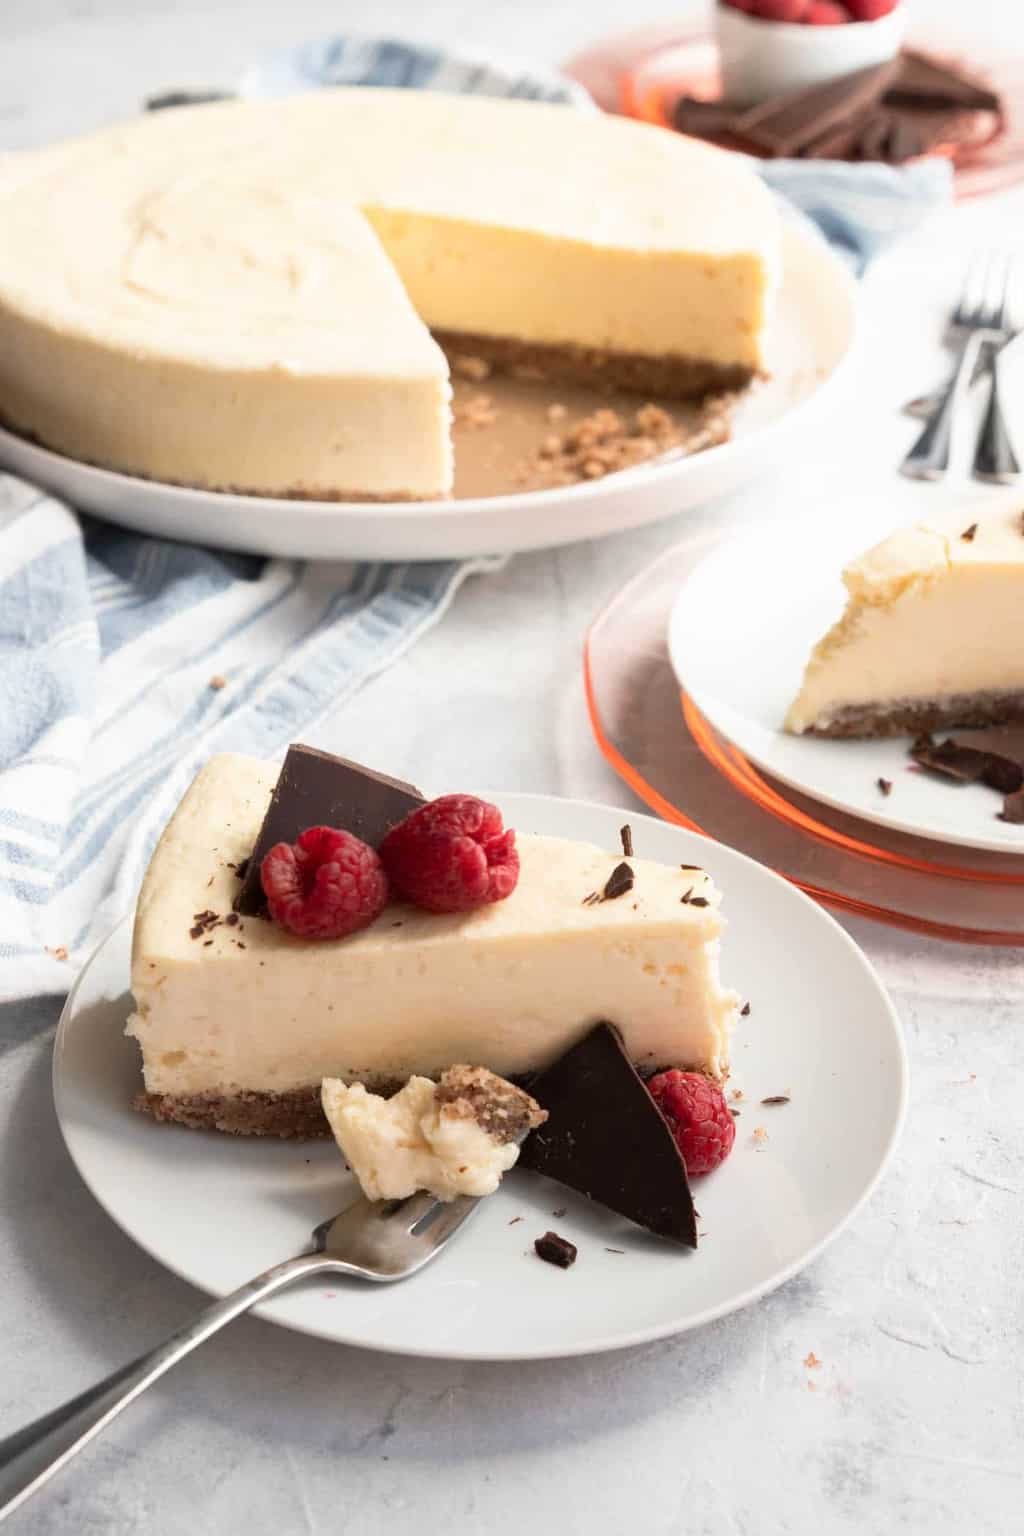
Keto Cheesecake – Low Carb Cheesecake Recipe
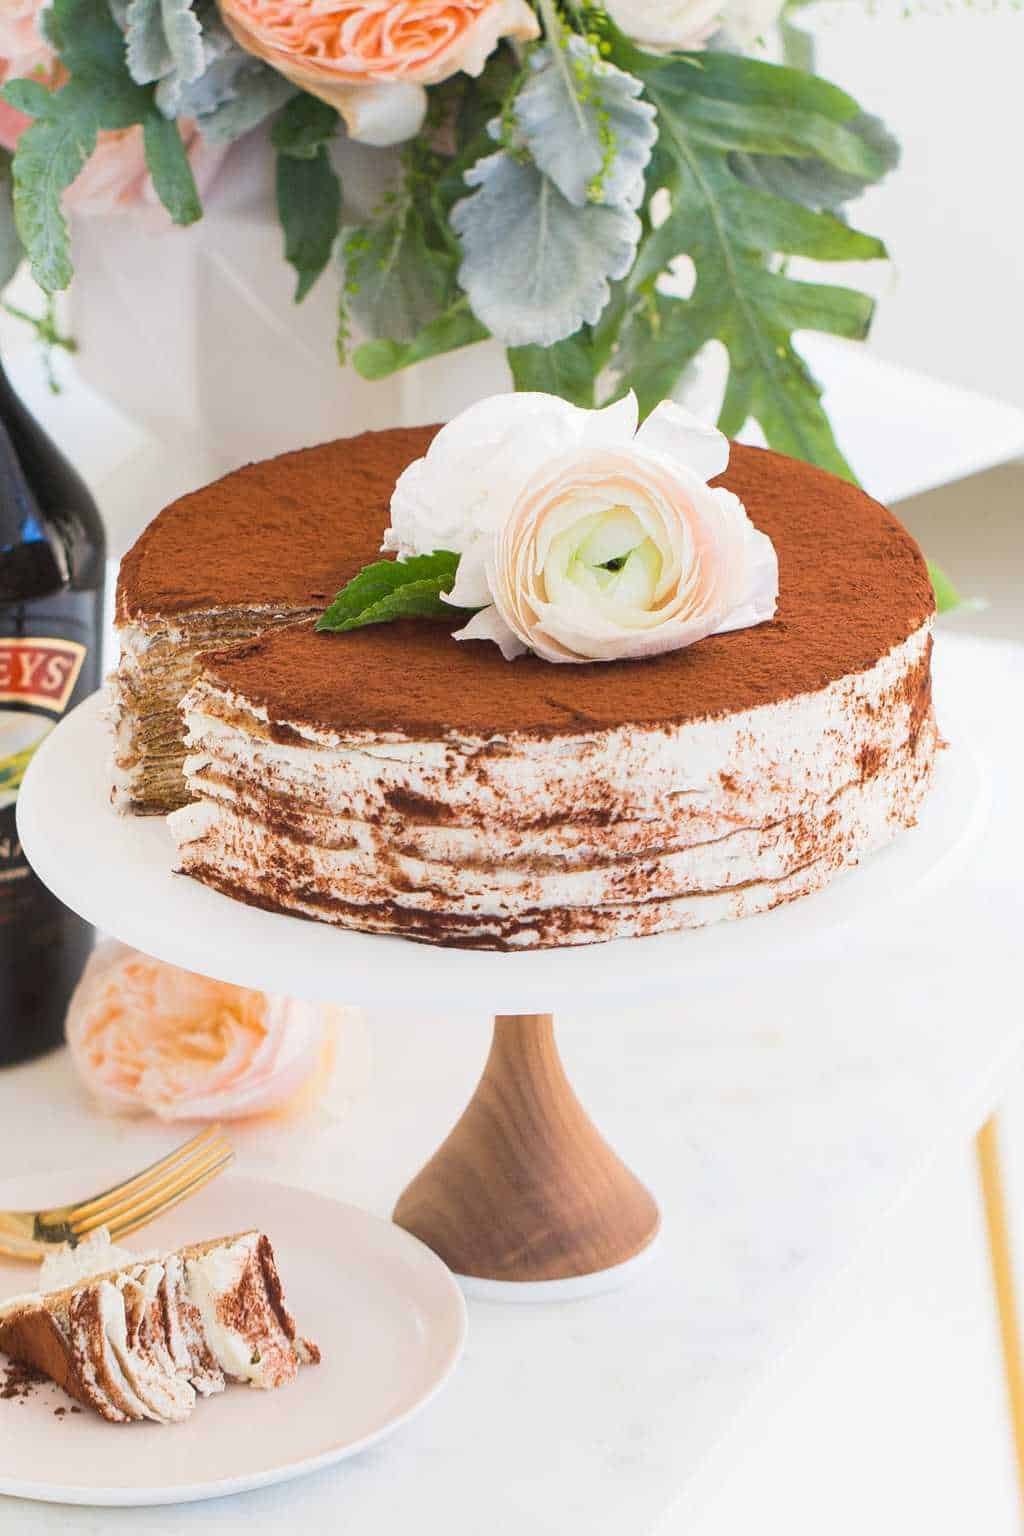
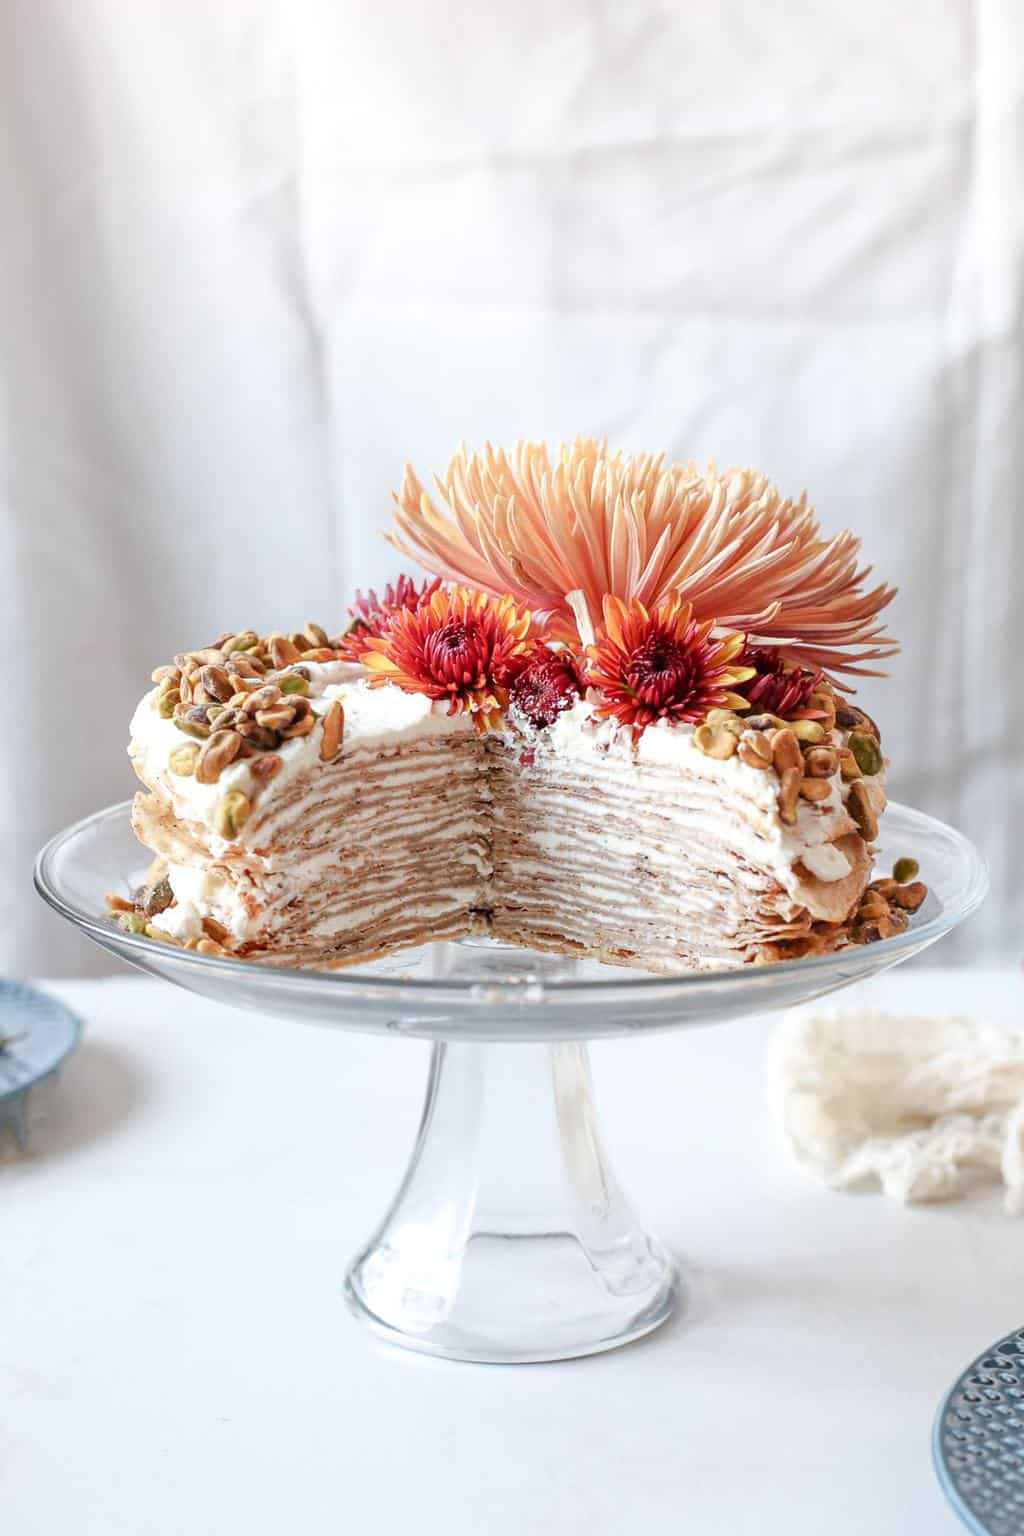
Baileys Tiramisu Crepe Cake Recipe
Spiced Chai Cake Recipe with Edible Leaves
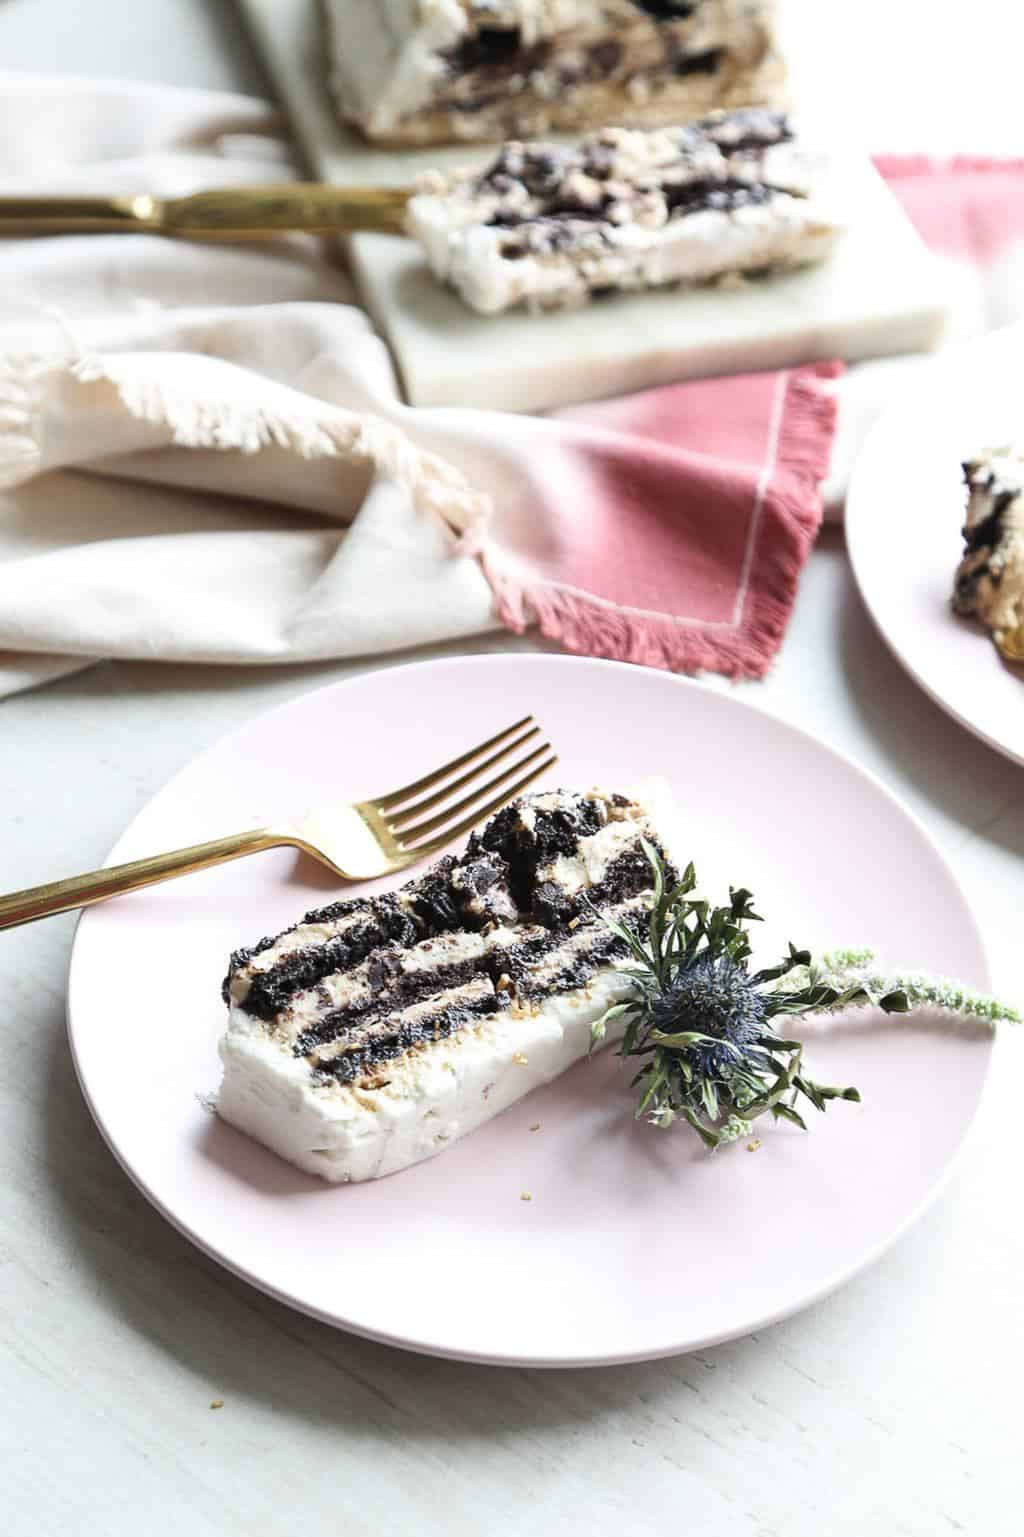
Boozy Mudslide Icebox Cake Recipe
Flower Pot Cake Recipe Hack
Layered Cookie Cake Recipe
Chai Crepe Cake Recipe
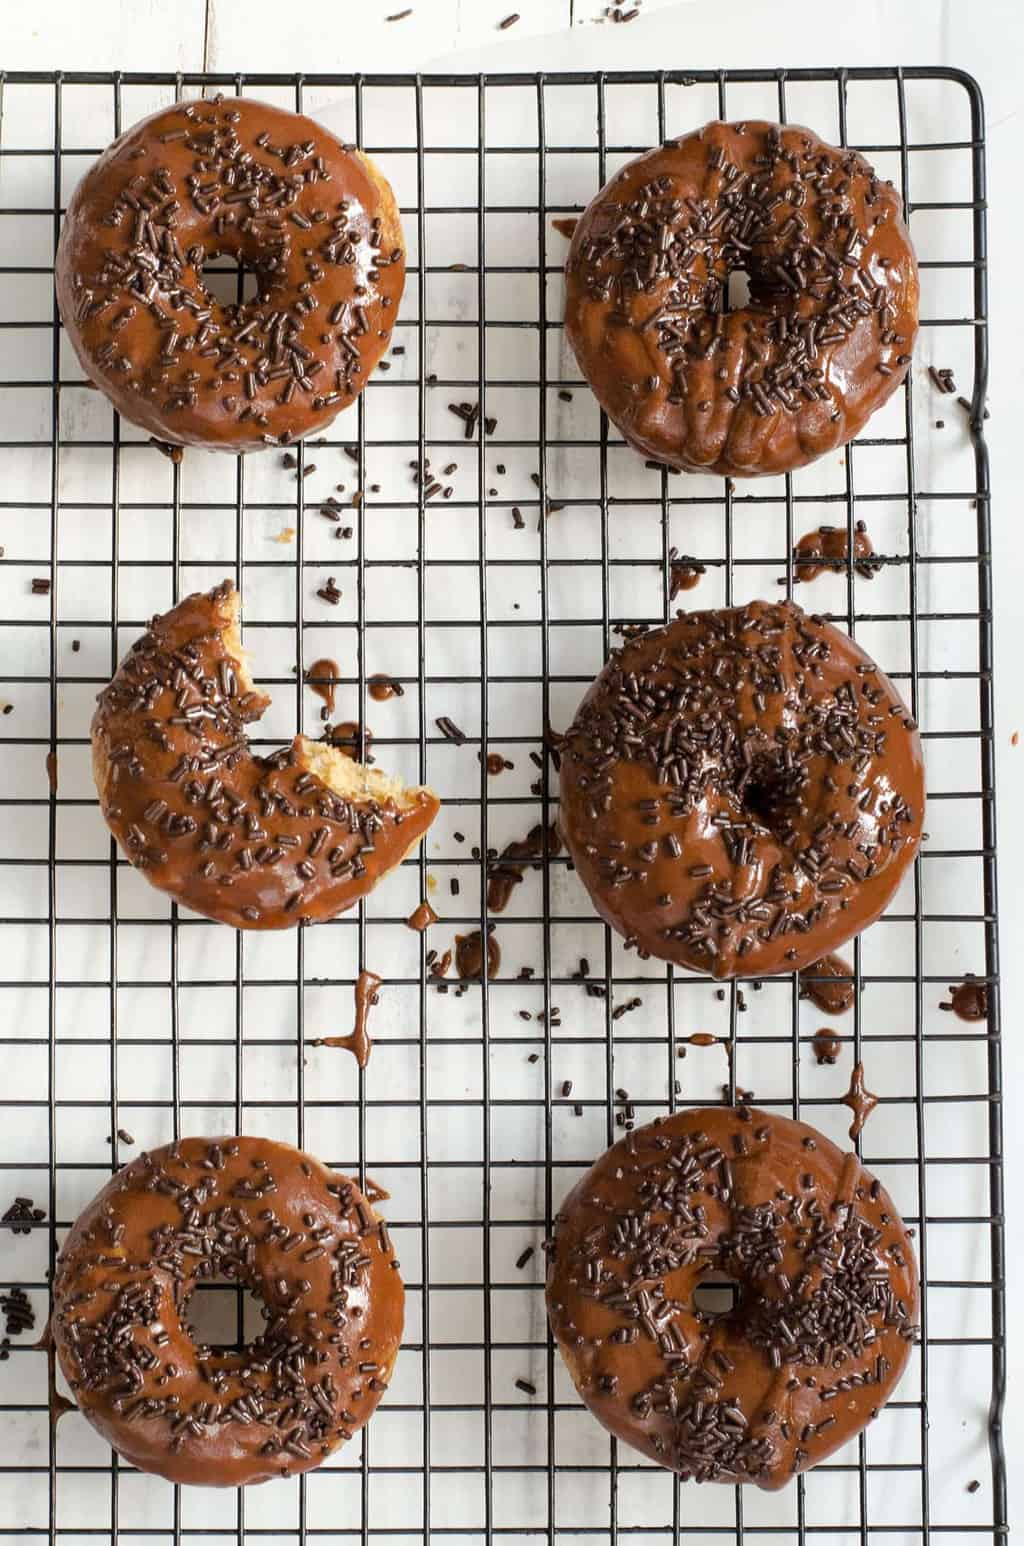
Baked Cake Donuts with Chocolate Glaze
Drake On Cake Inspired Birthday Cake Macarons
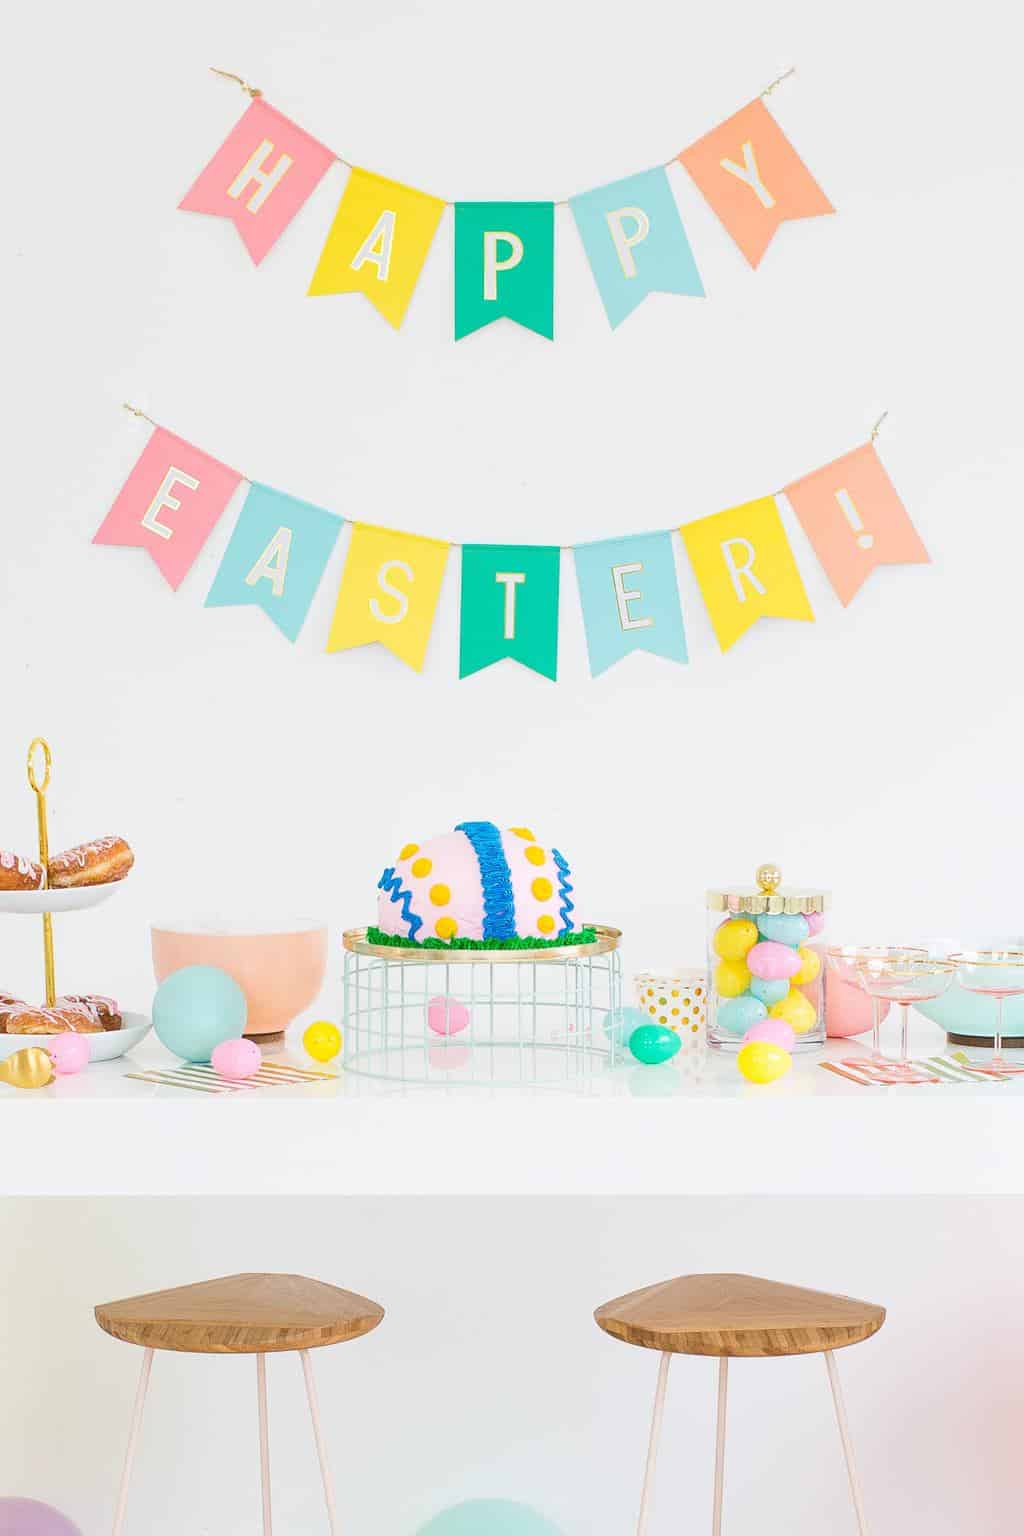
A Last Minute Playful Easter Dessert Table Idea
How To Make DIY Sugar Flower Cake
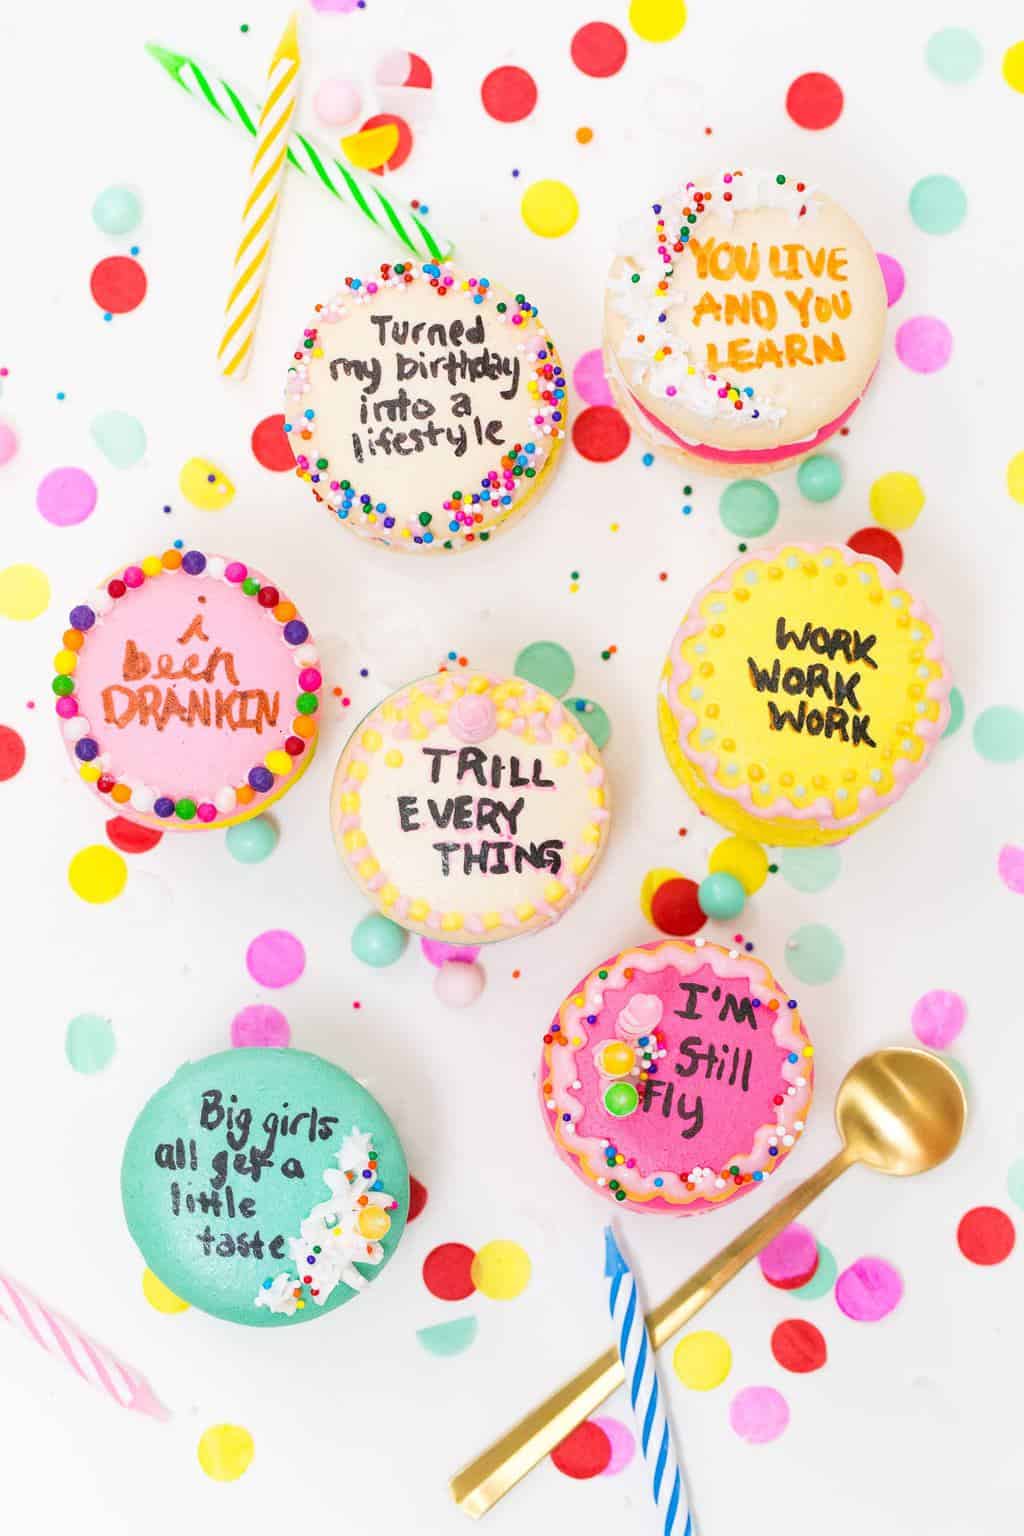
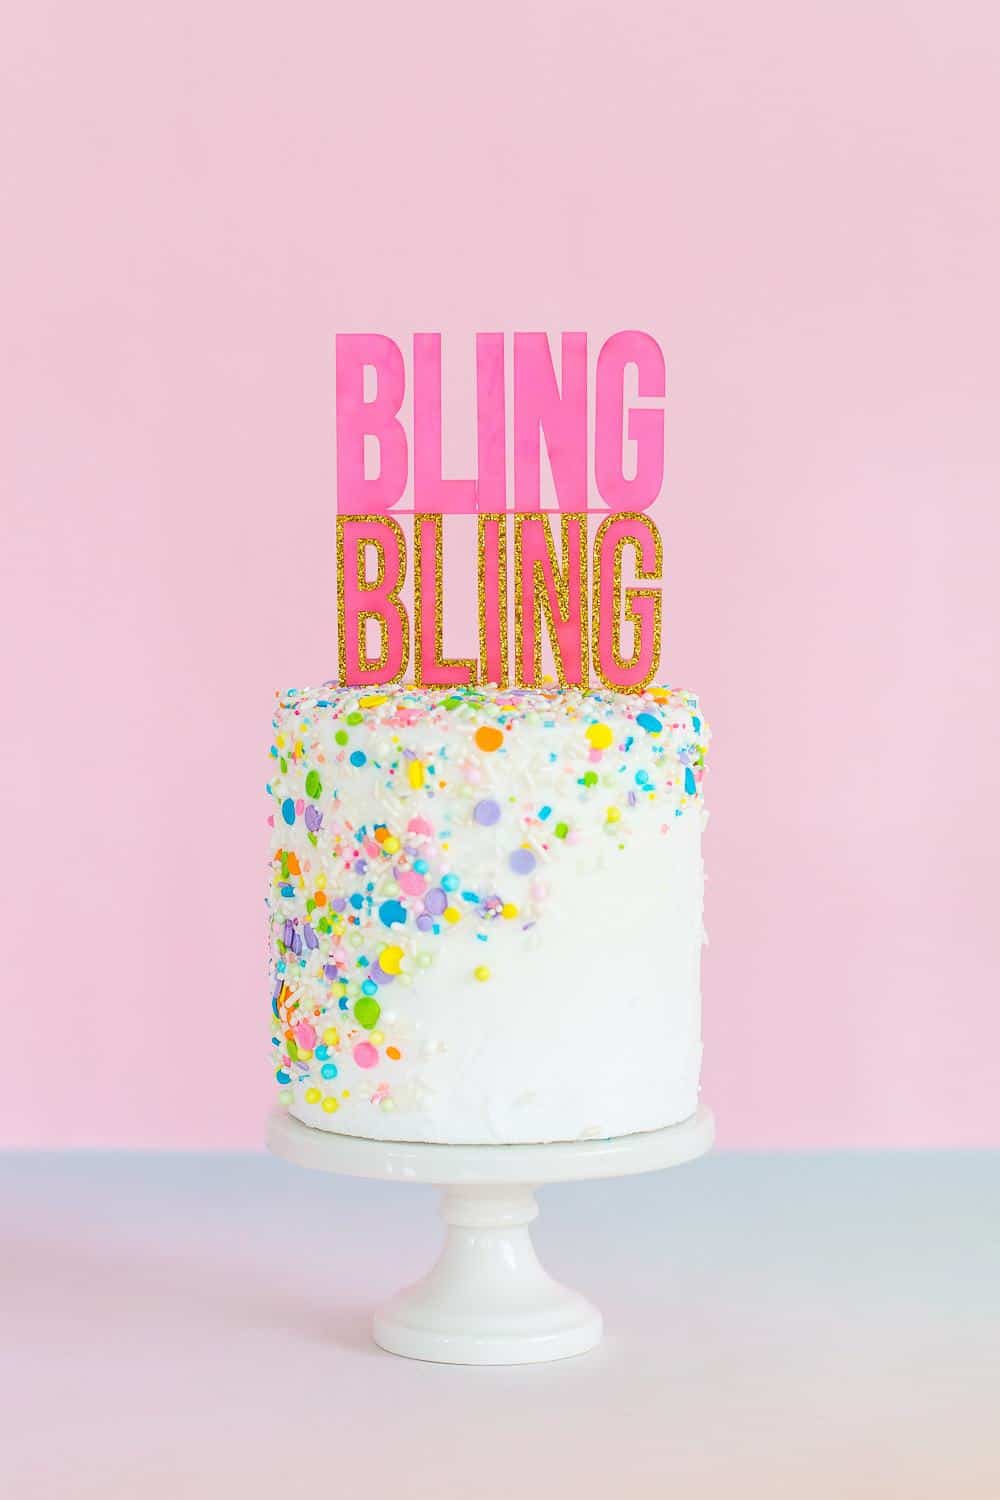
Because Why Not: Slang Cakes
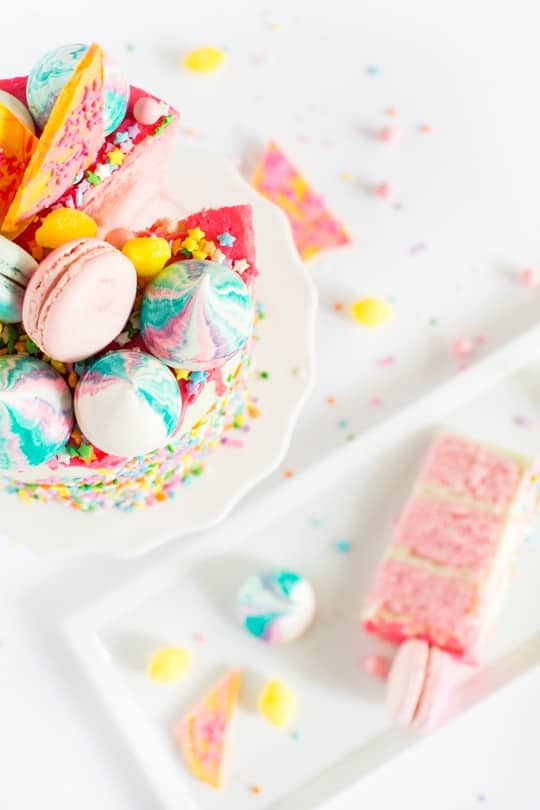
How to Make a DIY Macaron Cake
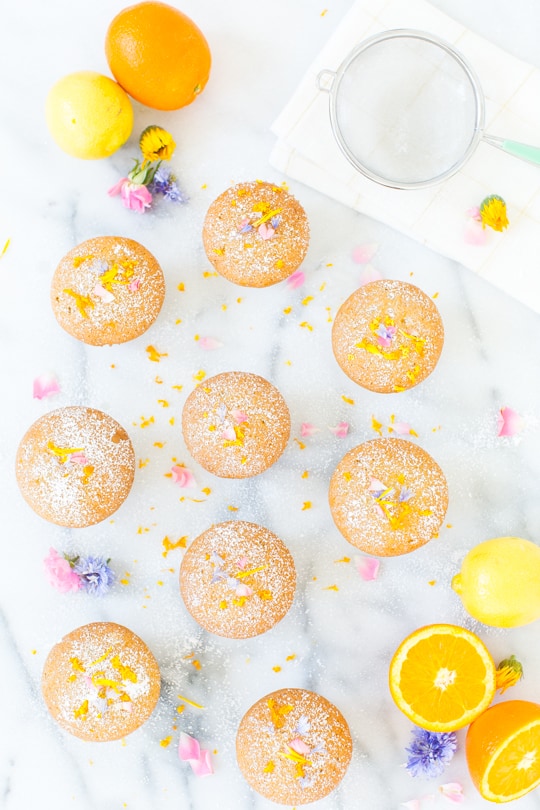
Lemon Orange Olive Oil Cupcakes Recipe
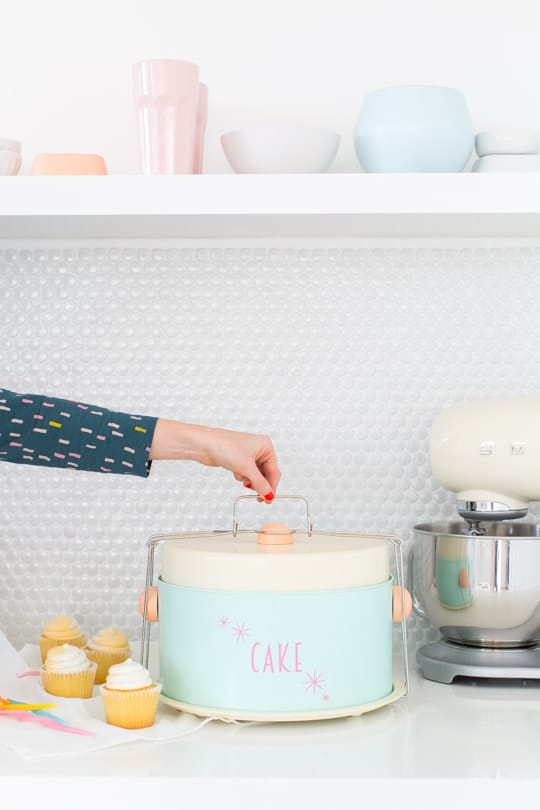
Retro DIY Cake Carrier Idea
DIY Paper Flower Cake Topper
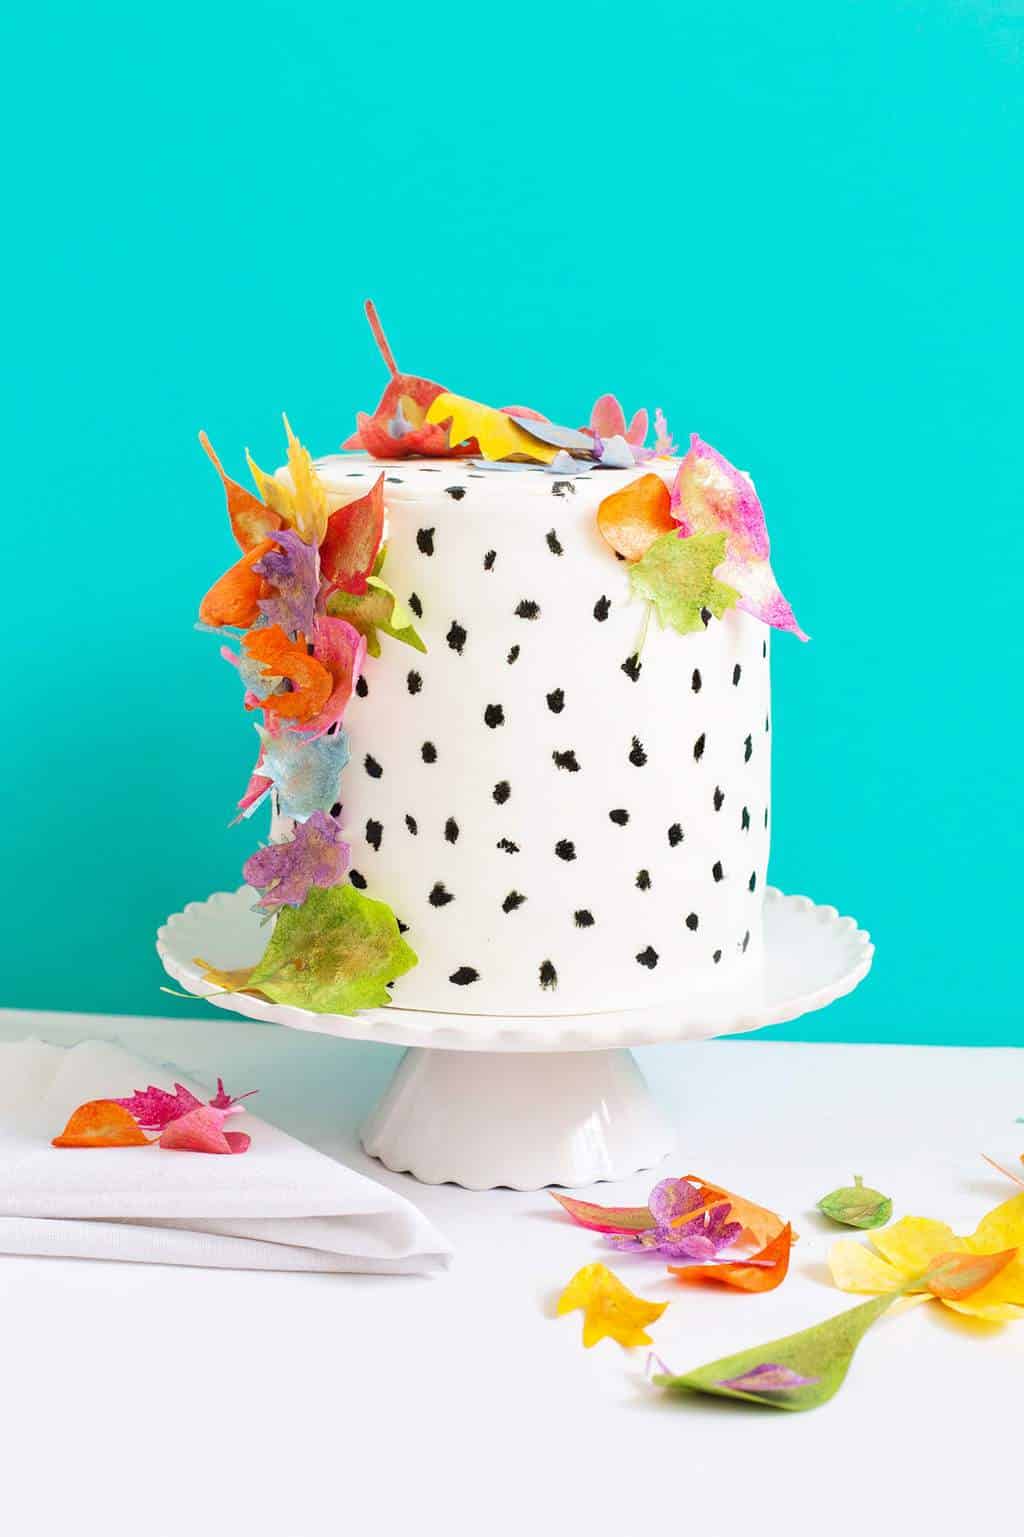
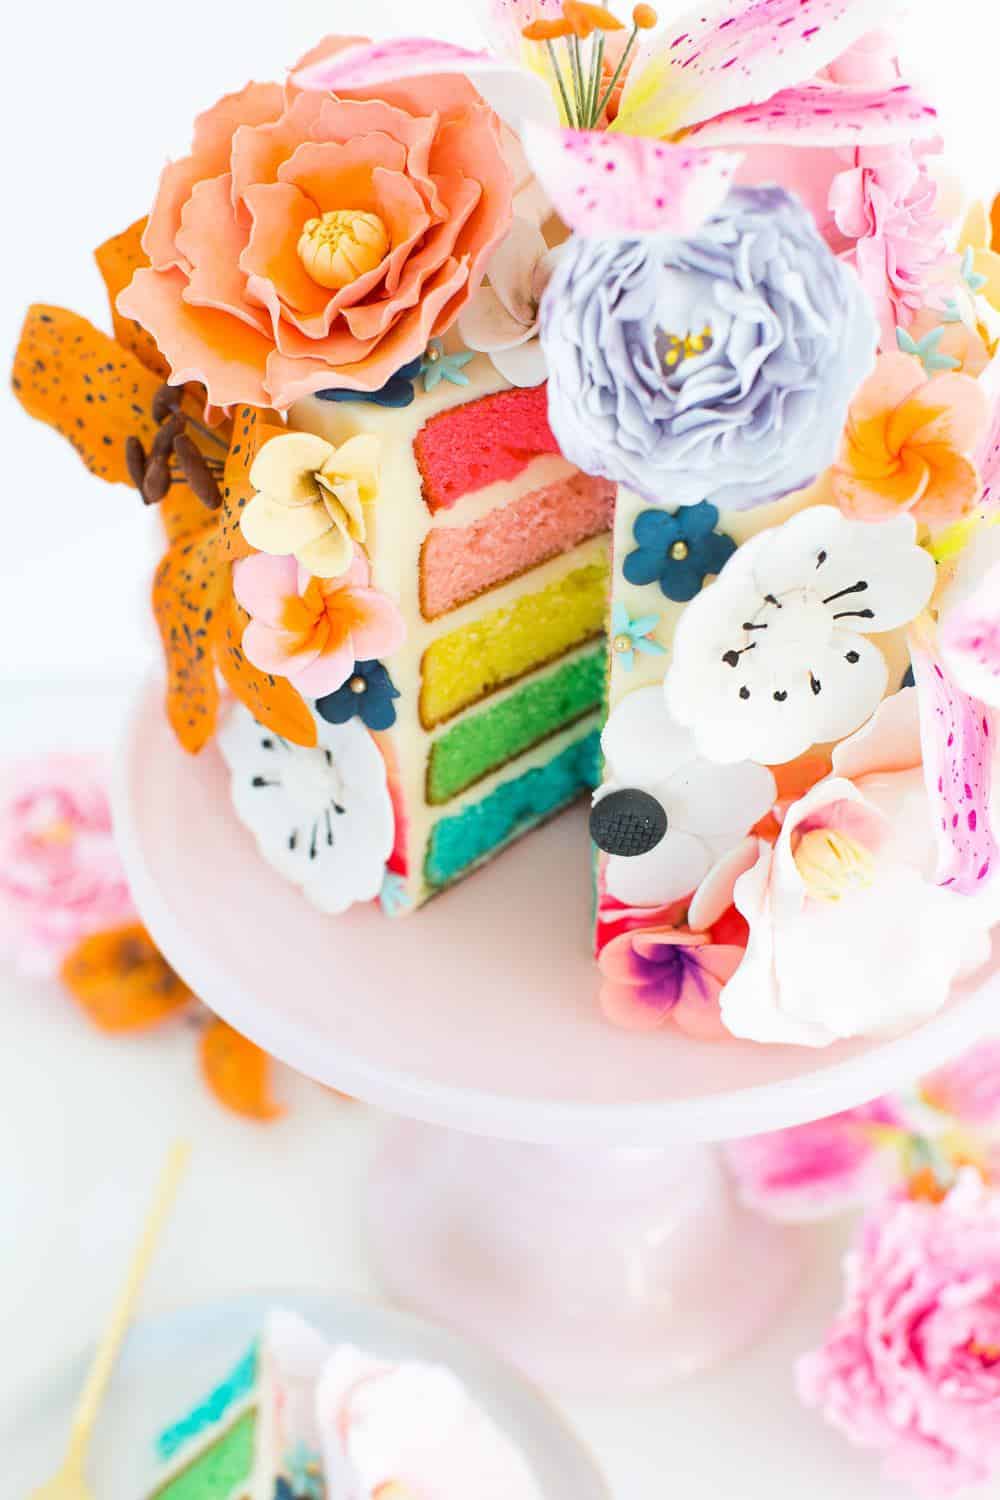
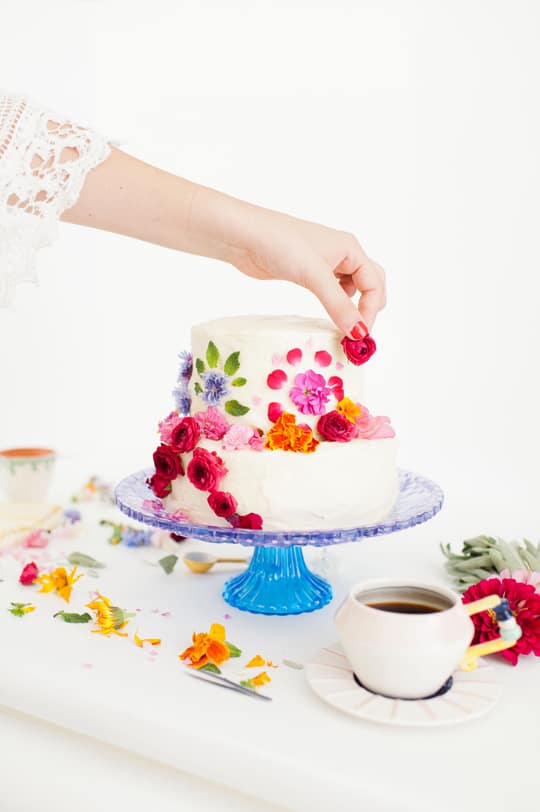
DIY Abstract Floral Pattern Cake
Strawberry Unicorn Cake Recipe
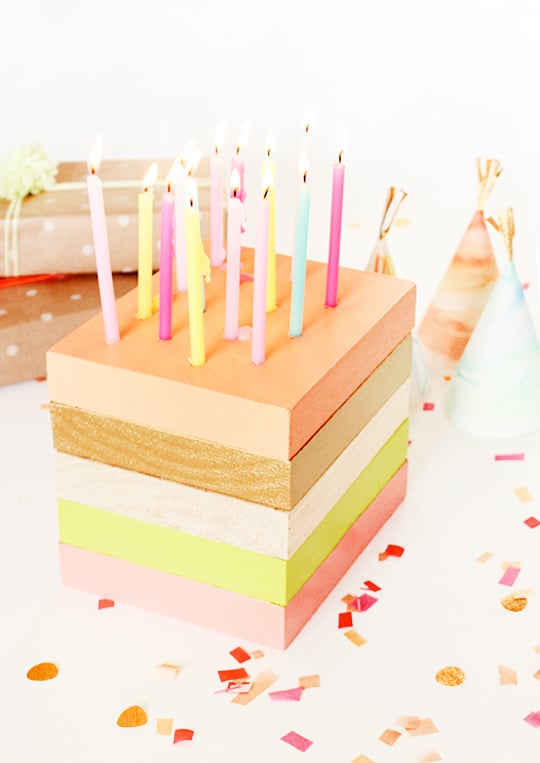
DIY Wooden Birthday Cake Decor
Page navigation
1
2
Next Page
Next
Gift Guides
Toggle child menu
Expand
For Her
For Him
For Kids
Just Because
For Special Occasions
Decor
Toggle child menu
Expand
Bedroom
Kids’ Room
Living Room
Office
Bathroom
Kitchen
Outdoors
Recipes
Toggle child menu
Expand
Cocktails
Toggle child menu
Expand
Shots
Gin
Rum & Brandy
Sparkling
Tequila
Vodka
Whiskey
Wine & Beer
Non Alcoholic Drinks
Dinner
Desserts
Toggle child menu
Expand
Cakes & Cupcakes
Cookies & Candy
Donuts
Ice Cream
Macarons
No Bake Desserts
Snacks & Appetizers
Healthy Bites
DIY Projects
Toggle child menu
Expand
Home Decor
Entertaining
Travel
Beauty & Style
Free Printables
Holidays
Toggle child menu
Expand
Mother’s Day
Father’s Day
Fourth of July
Game Day
Halloween
Thanksgiving
Christmas
Birthdays
Valentine’s Day
St. Patricks Day
Easter
Shop
Facebook
Instagram
Pinterest
TikTok
Toggle Menu Close
Search for:
Search