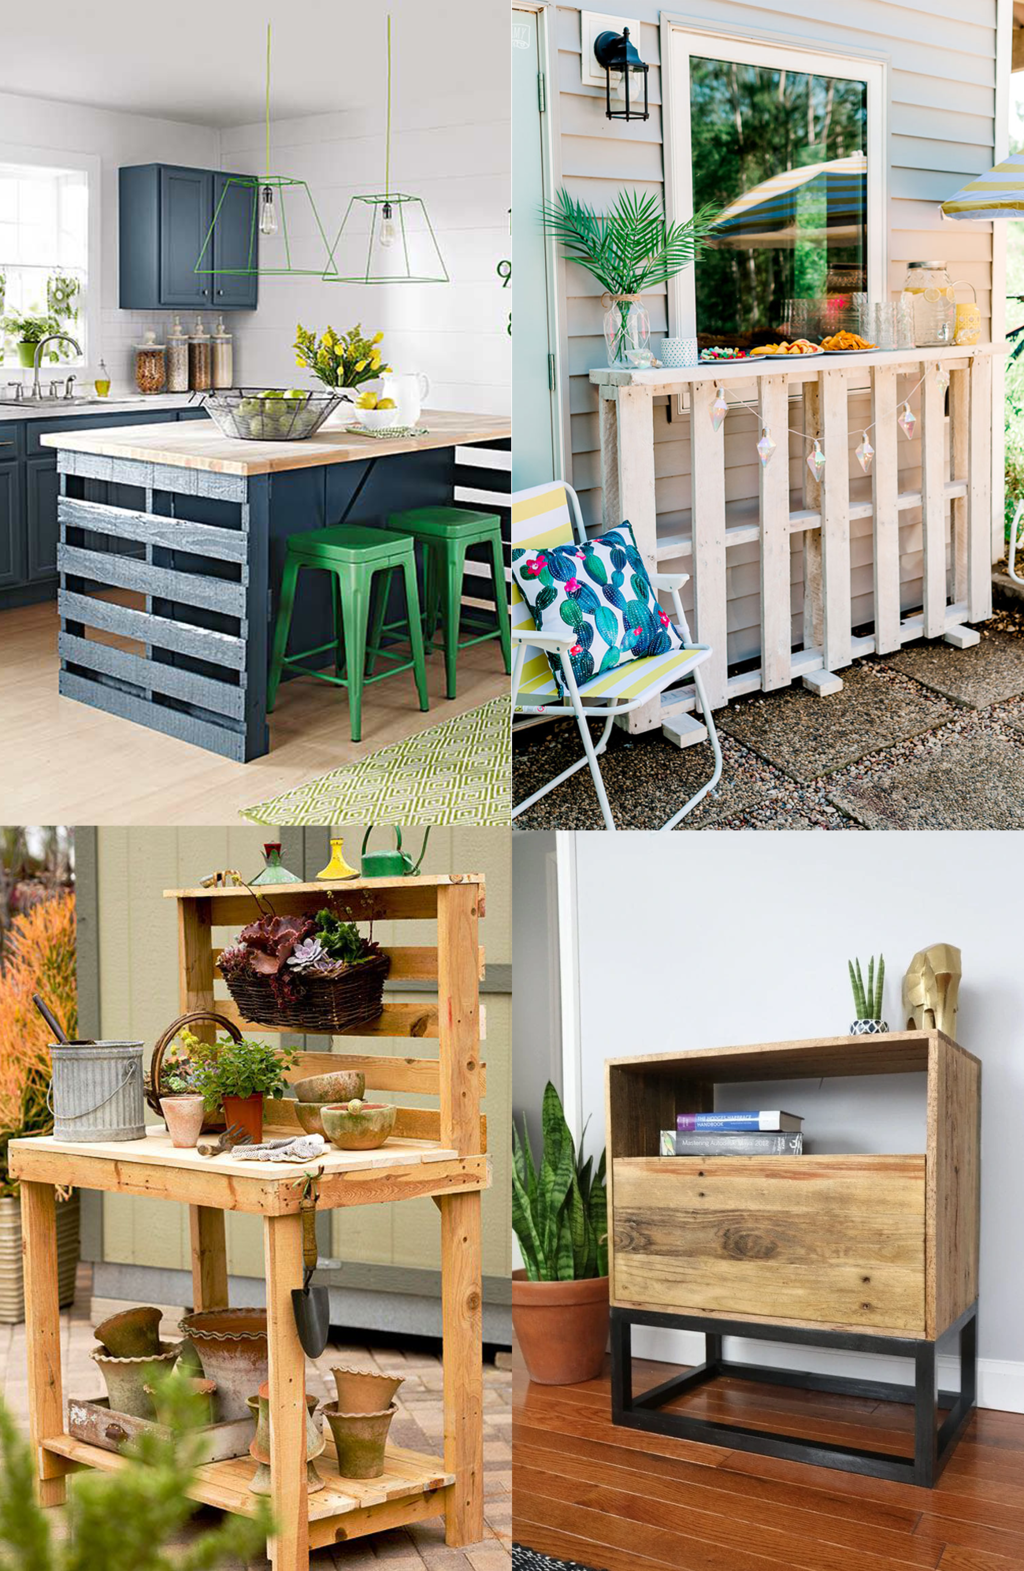
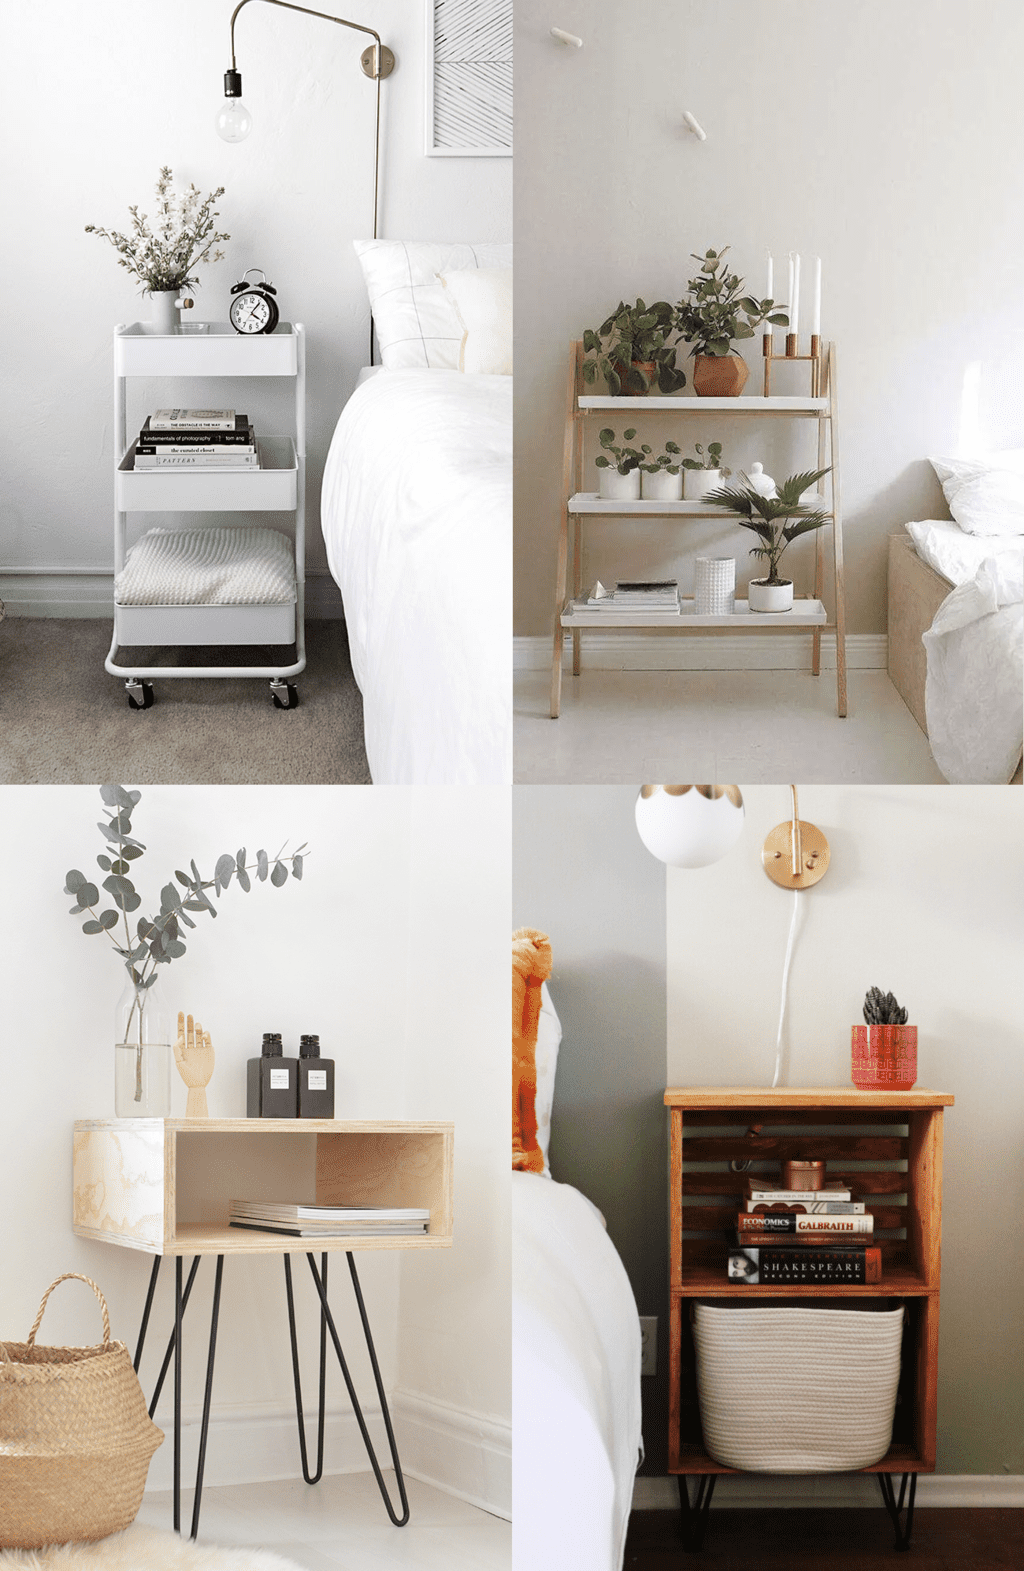
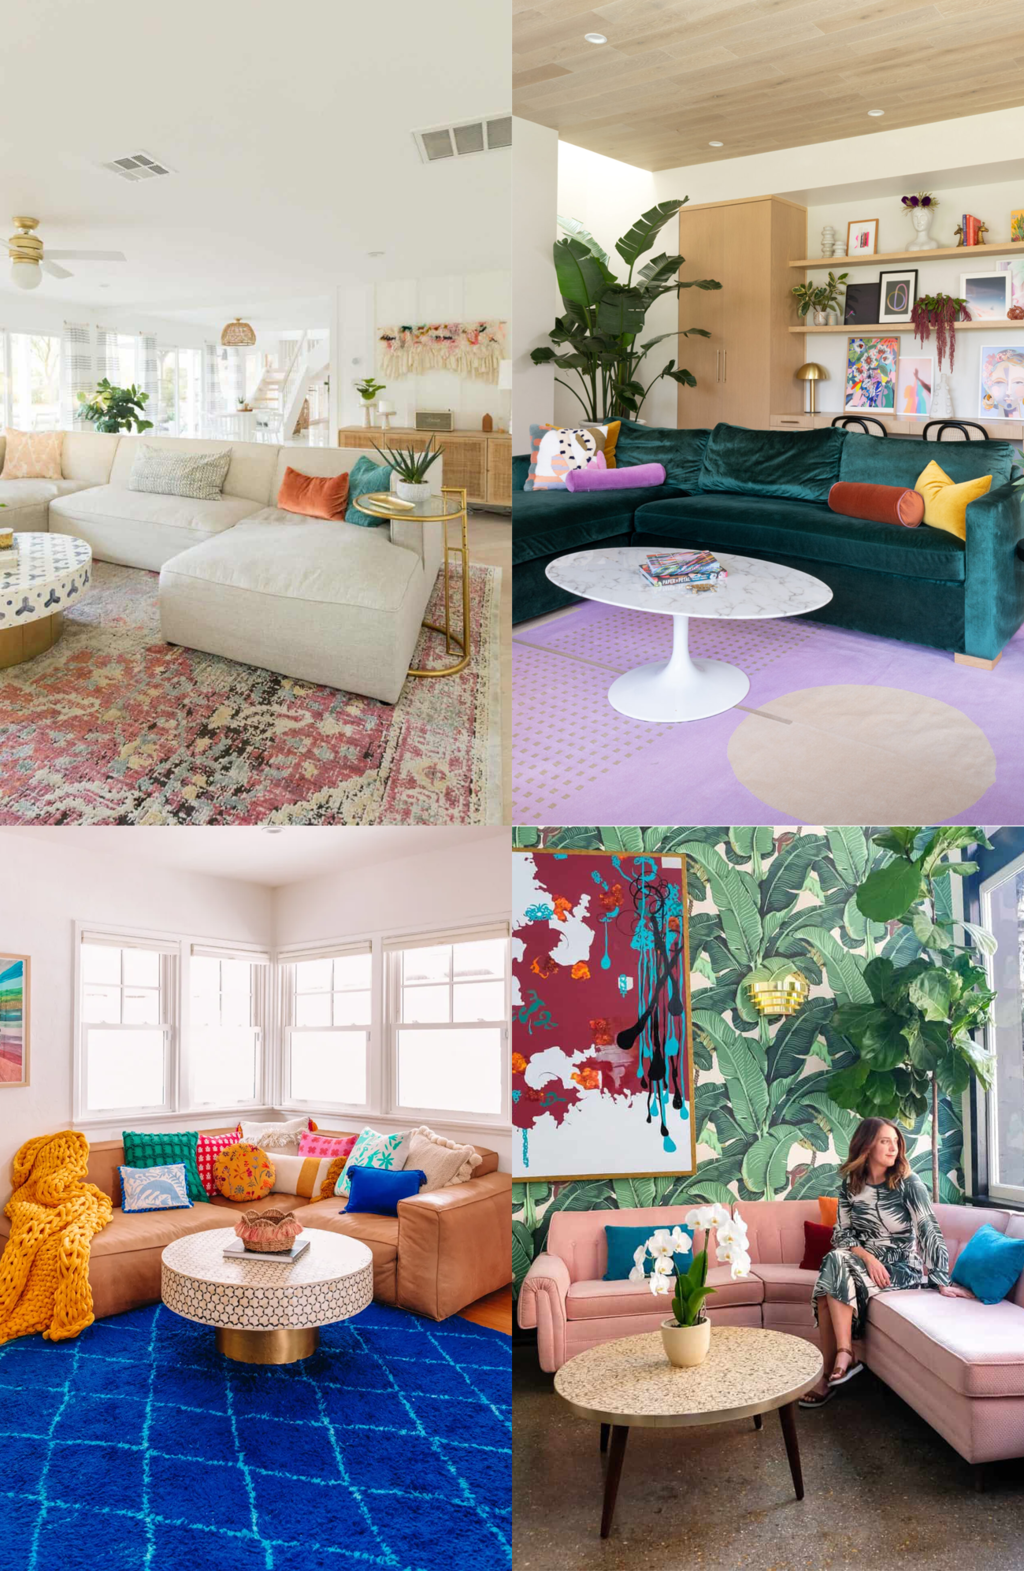
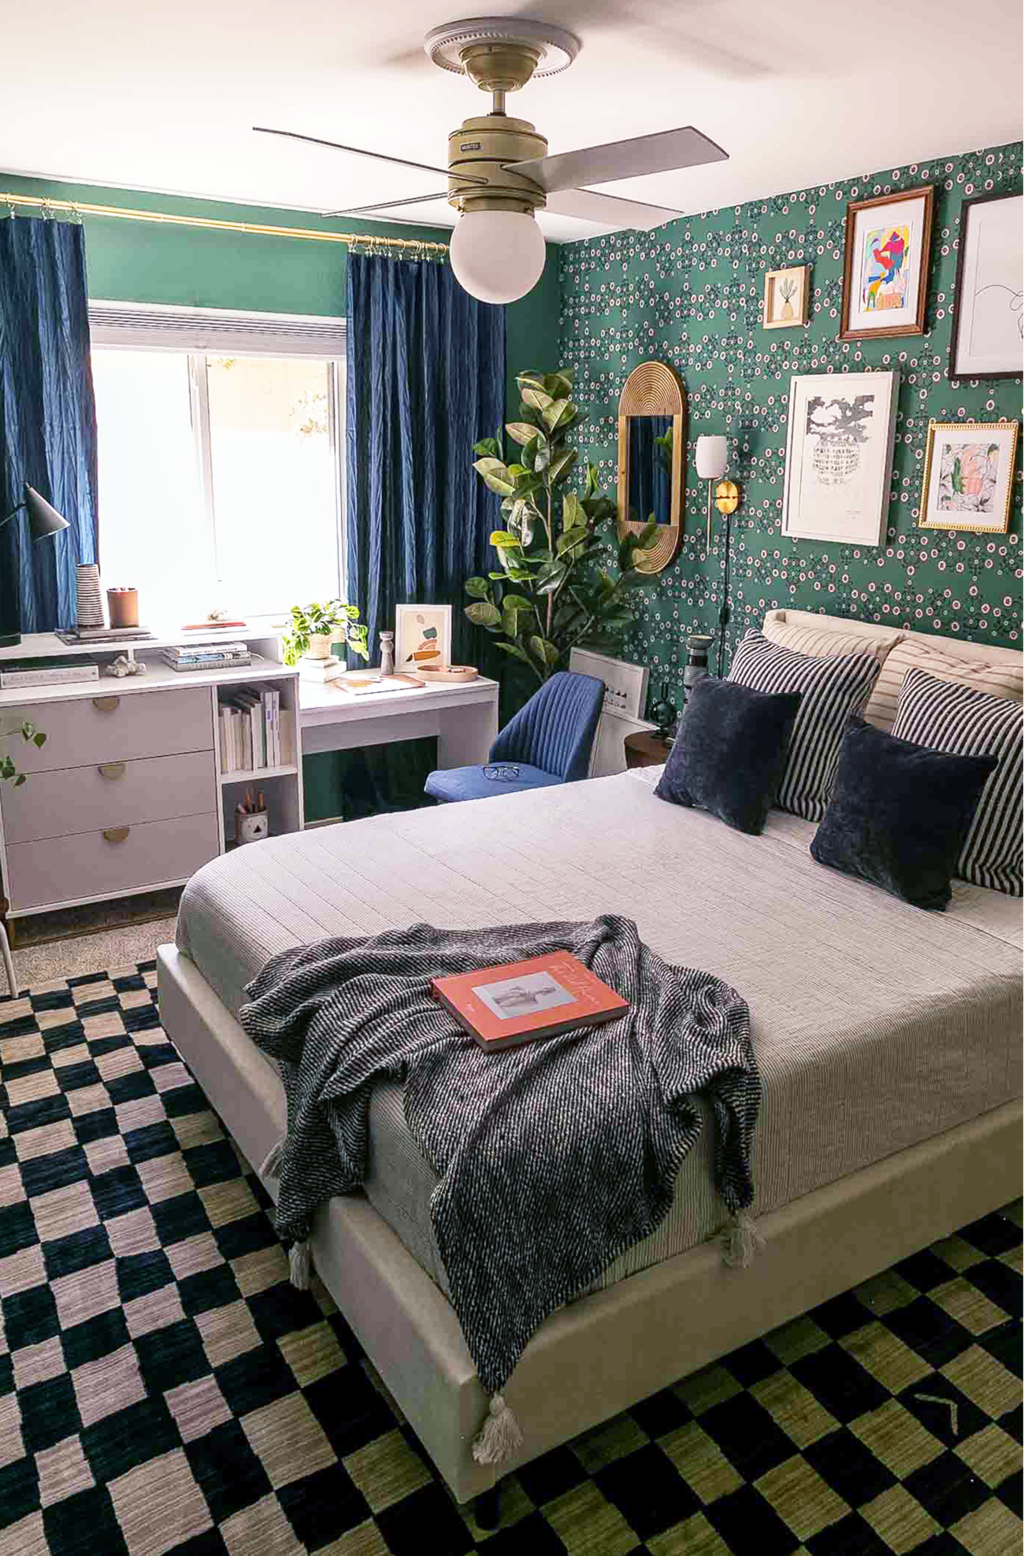
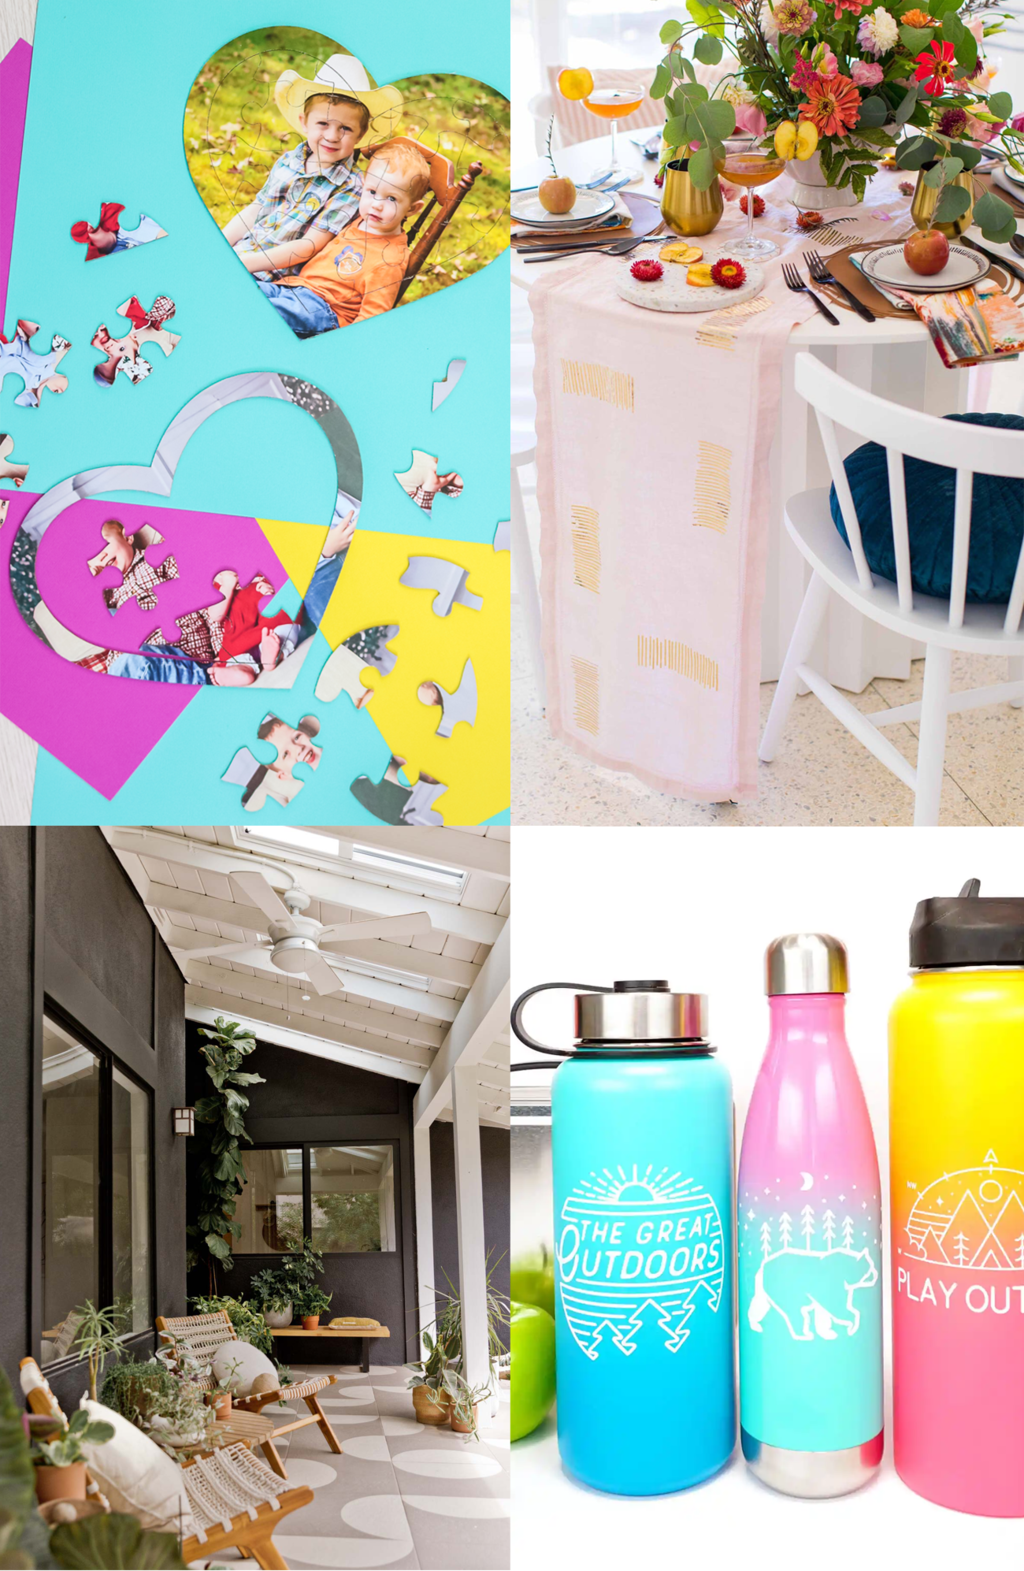
8 Simple Tricks to Add Sparkle to Your Holiday Table

December 21st, 2012 § 13 comments § permalink

There aren’t that many occasions besides weddings, New Year’s, and Christmas (and maybe an extra 52 days of the year here and there in our house), that it’s socially acceptable to go crazy with sparkly, glittery decor. So of course, in the name of sparkly living, I have to go all out for these particular holidays. See my 8 simple DIY tricks to add sparkle to your holiday table (without making you the neighborhood’s glittering weirdo), by clicking through the gallery below!

Picture 1 of 10

Eight short, sweet, and simple ways to add sparkle to your holiday table!

Share

DIY // A wheeled crate gift carrier

December 17th, 2012 § 11 comments § permalink

DIY wheeled crate for presents!

Originally I had planned on making an unconventional Christmas tree DIY using tulle and lights, but it really, really didn’t pan out. In fact, now that I actually write out “tulle Christmas tree”, I probably should have known..

On a brighter note, I’ve been hoarding this DIY wheeled create idea in the back of my mind for some time now, and I decided it would be a perfect double-duty solution for the holidays for traveling presents and organizing them once they’re opened. Clever, no? Okay, so maybe Santa thought of it first, but it’s still debatable.

Materials:

  • Wooden crate ($7 at Home Depot)
  • 4 x Caster wheels
  • Screws for the casters
  • Spray paint (optional)

DIY wheeled crate for presents!DIY wheeled crate for presents!

All you have to do to make this wheeled crate is spray paint the crate (unless you like the au naturale look), and then screw the wheels onto the bottom. It’s really simple, but packs a big punch!

DIY wheeled crate for presents


Share

Not One, but Two Giveaways for 24 Merry Days

December 3rd, 2012 § 517 comments § permalink

potter and butler pom pom collection giveaway

mini cloud golden bracelet giveawayFor the third day in the 24 Merry Days blog event, two lucky S+C readers will be randomly selected to win one of the following two prizes by Potter & Butler and Jelanie:

24 merry days of blogger giveaways, day 3I’d like to throw it out there for the winners that I do, ironically, accept mini cloud bracelets in exchange for DIY’s just in case you feel like sharing the awesome.

To enter to win: just leave a comment below telling me your favorite item from their shops! If you want an extra entry, “Like” Sugar & Cloth on Facebook, and leave a second comment telling me that you did so. The giveaway is open until midnight (CST) Monday Dec. 10th to all U.S. readers, good luck!
As a good gesture, you can also Like Potter & Butler and Jelanie on Facebook  for their generosity.

P.s.- You can also enter the previous two giveaways, plus mark your calendars for the next 21 prizes, right here.

Share

DIY // Paper Mache Animal Heads

November 28th, 2012 § 13 comments § permalink

simple DIY paper mache animal head

I’m not into taxidermy, but I’m really into paper mache animal heads (like these). Can someone make sense out of that one? Yeah, me neither. Despite the irony, I really couldn’t bring myself to pay the hefty price tags for these babies, and I’d make one from scratch, but I’m not a sculpture artist either. Alas, I bought a paper mache animal and sawed it’s head off. All of the awesome, with half the work and half the cost!

Materials:

  • Paper mache animal (Lots of options here, mine is from Michael’s)
  • Spray paint
  • Saw (or heavy duty scissors)
  • Two long nails
  • Hammer

DIY paper mache animal heads

Technically you could use any plastic animal for this project, but I think the paper mache looks much better in the end. Either way, first thing is to saw the head off. As long as you saw/cut straight down, the finished product should lay flush against the wall. If it doesn’t, you can use scissors to trim up troubled edges. Spray paint it the color of your choice and let it dry.

DIY paper mache animal headsMy solution for hanging the animal is pretty straightforward, but if you have any clever solutions for this, I’m all ears!

This version calls for two long, industrial nails two inches apart (according to the size of your animal), and hammered in at a downward angle. Then the animal just slips over the nails and sits up straight.

simple DIY paper mache animal headsimple DIY paper mache animal head

Share

Handmade Holiday Supplies

November 20th, 2012 § 5 comments § permalink

I hope you’re getting your holiday crafting boots ready, my friends, because I’ve got lots of cute DIY’s planned for you. I thought I’d let you in on my recent best-kept-crafting-secret discovery that I like to call Consumer Crafts, reason being, it’s insanely inexpensive! Seriously, you could decorate your whole neighborhood. These are my favorite items for your home this holiday season–

super cheap handmade holiday supplies

1- Acrylic pom poms 100, $1.17 // 2- Martha Stewart twine 36 yds, $4.67 // 3- Grapevine heart garland 5ft, $3.97 //4- 18 in. pinewood tree, $3.97 // 5- 5lbs. of pine cones, $4.97 // 6- 12in. Paper mache letters, $2.27 // 7- Gold curling ribbon 100 yds, $1.77 // 8- Cinnamon sticks 1lb, $5.97 // 9- 15ft. Mini ming pine garland, $1.97

Follow Consumer Crafts for (even cheaper) black friday deals-

Facebook
Twitter
Crafts Unleashed blog  (for inspiration)

*This post was sponsored by Blueprint Social and Consumer Crafts, opinions listed are my own.

Share

Where Am I?

You are currently browsing the Decor category at Sugar & Cloth.

  • about ashley
  • Twitter Bloglovin Facebook Instagram Pinterest
  • DIY column
  • eats column
  • sugar and cloth on instagram
  • PARTNERS
  • OLD NEWS